


在Python文档处理的领域中,python-docx库是一款备受欢迎的工具,尤其在处理基本文本时表现出色。本文将专注于介绍python-docx库在基本文本处理方面的常用操作,通过简单而实用的代码示例,帮助读者轻松入门。
我们将深入研究如何使用python-docx创建、修改和格式化文本内容,以及如何利用库中的功能为文档添加段落、标题、表格等基本元素。通过本文的指导,读者将能够在自己的项目中快速实现文档的基本构建和编辑。
在下一篇更新中,我们将更深入地探讨python-docx库的高级功能,重点关注样式设置等更为复杂的特性。因此,让我们首先聚焦于基础,逐步打造一个坚实的python-docx基础,为更深入的学习铺平道路。
新建Word文档
python-docx 将 Word 文档视为一个 Document 对象,通过加载 Word 文档为 Document 对象来操作它。
# * 如何新建一个word文档
from docx import Document
document = Document()
# * 如何打开一个现有的word文档,共有三种方式:
document = Document('existing-document-file.docx')
document.save('new-file-name.docx')

f = open('foobar.docx', 'rb')
document = Document(f)
f.close()

with open('foobar.docx', 'rb') as f:
    source_stream = StringIO(f.read())
document = Document(source_stream)
source_stream.close()
target_stream = StringIO()
document.save(target_stream)
插入文本段落
word文档中的段落对应的是paragraph对象,属于document中的一个对象。
# * 向document末尾添加一个段落(返回的是最后的添加的这个段落对象的引用)
paragraph = document.add_paragraph('Lorem ipsum dolor sit amet.')
# * 还可以在这个段落之前添加段落:
prior_paragraph = paragraph.insert_paragraph_before('Lorem ipsum')
# * 下面是如何设置段落的样式
document.add_paragraph('Lorem ipsum dolor sit amet.', style='ListBullet')
# * 或这
paragraph = document.add_paragraph('Lorem ipsum dolor sit amet.')
paragraph.style = 'List Bullet'
# * 上面是block-level的样式(比如缩进)
# * 下面是Character-level的样式(用add_run来设置)
paragraph = document.add_paragraph('Lorem ipsum ')
paragraph.add_run('dolor sit amet.')
paragraph = document.add_paragraph('Lorem ipsum ')
run = paragraph.add_run('dolor')
run.bold = True
paragraph.add_run(' sit amet.')
paragraph.add_run('dolor').bold = True
# * 等同于:
run = paragraph.add_run('dolor')
run.bold = True
paragraph = document.add_paragraph()
paragraph.add_run('Lorem ipsum ')
paragraph.add_run('dolor').bold = True
paragraph.add_run(' sit amet.')
插入标题
heading对应的就是word中的标题了,level就是标题的层级。
document.add_heading('The role of dolphins', level=2)
插入分页符
page break对应的word中的分页符。
document.add_page_break()
插入表格
table对象对应word中的表格。
# * 下面是添加一个2行2列的表格
table = document.add_table(rows=2, cols=2)
# * 获取第一行第二列的单元格,并修改单元格内容
cell = table.cell(0, 1)
cell.text = 'parrot, possibly dead'
# * 获取第一行,并修改单元格内容
row = table.rows[1]
row.cells[0].text = 'Foo bar to you.'
row.cells[1].text = 'And a hearty foo bar to you too sir!'
# * 打印每个单元格内容
for row in table.rows:
  for cell in row.cells:
    print(cell.text)
# * 获取单元格的行列数
row_count = len(table.rows)
col_count = len(table.columns)
row = table.add_row()
# * 添加表格数据
items = (
(7, '1024', 'Plush kittens'),
(3, '2042', 'Furbees'),
(1, '1288', 'French Poodle Collars, Deluxe'),
)
# 下面是添加一个1行3列的表格
table = document.add_table(1, 3)
# 修改表格中第一行的数据
heading_cells = table.rows[0].cells
heading_cells[0].text = 'Qty'
heading_cells[1].text = 'SKU'
heading_cells[2].text = 'Description'
# 为每个Item添加一行数据。
for item in items:
    cells = table.add_row().cells
    cells[0].text = str(item.qty)
    cells[1].text = item.sku
    cells[2].text = item.desc
# 设置单元格样式
table.style = 'LightShading-Accent1'
插入图片
from docx.shared import Inches
document.add_picture('image-filename.png', width=Inches(1.0))
设置分栏
from docx import Document
from docx.oxml import OxmlElement
from docx.oxml.ns import qn

document = Document()
section = document.sections[0]
# * 设置栏目数为2
sectPr = section._sectPr
cols = sectPr.xpath('./w:cols')[0]
cols.set(qn('w:num'),'2')

document.save('demo.docx')

# * 下面是对每个栏目进行格式设置
from docx import Document from docx.shared import Cm, Pt
document = Document()
sections = document.sections
for section in sections:
      section.start_type = 1 # 设置起始页为奇数
      section.orientation = 0 # 设置页面方向为纵向
      section.page_width = Cm(21) # 设置页面宽度
      section.page_height = Cm(29.7) # 设置页面高度
      section.left_margin = Cm(2) # 设置左边距
      section.right_margin = Cm(2) # 设置右边距
      section.top_margin = Cm(2) # 设置上边距
      section.bottom_margin = Cm(2) # 设置下边距
      section.gutter = Cm(0.5) # 设置分栏之间的间隔
      section.cols_num = 2 # 设置分栏数
设置页眉页脚
# ****************设置普通页眉*********
doc = Document('existing-document-file.docx')
doc.sections[0].header.paragraphs[0].text = "这是第1节页眉"
doc.save('existing-document-file.docx')
# ****************设置奇偶页眉*********
doc = Document('existing-document-file.docx')
doc.settings.odd_and_even_pages_header_footer = True
doc.sections[0].even_page_header.paragraphs[0].text = "这是偶数页页眉"
doc.sections[0].header.paragraphs[0].text = "这是奇数页页眉"
doc.save('existing-document-file.docx')
# ****************设置奇偶页眉*********
doc = Document('existing-document-file.docx')
doc.sections[0].different_first_page_header_footer = True
doc.sections[0].first_page_header.paragraphs[0].text = "这是首页页眉"
doc.save('existing-document-file.docx')
插入文本框
from docx import Document

doc = Document()
from docx.shared import Inches

width = Inches(1.0)  # 设置文本框宽度
height = Inches(4.0)  # 设置文本框高度

# 插入文本框
text_box = doc.add_textbox(width, height)
from docx.shared import Pt
from docx.enum.text import WD_ALIGN_VERTICAL

# 在文本框中添加一个段落
paragraph = text_box.add_paragraph()

# 设置文本方向为竖排
paragraph.alignment = WD_ALIGN_VERTICAL.ORIENT_90

# 添加竖排文本
text = "竖排文本"
run = paragraph.add_run(text)

# 设置文本样式,例如字体大小和颜色
font = run.font
font.size = Pt(12)  # 设置字体大小
font.color.rgb = (0x00, 0x00, 0x00)  # 设置字体颜色(这里是黑色)
doc.save("vertical_text.docx")
插入目录
from docx.oxml.ns import qn
from docx.oxml import OxmlElement

paragraph = self.document.add_paragraph()
run = paragraph.add_run()
fldChar = OxmlElement('w:fldChar')  # creates a new element
fldChar.set(qn('w:fldCharType'), 'begin')  # sets attribute on element
instrText = OxmlElement('w:instrText')
instrText.set(qn('xml:space'), 'preserve')  # sets attribute on element
instrText.text = 'TOC \o "1-3" \h \z \u'   # change 1-3 depending on heading levels you need

fldChar2 = OxmlElement('w:fldChar')
fldChar2.set(qn('w:fldCharType'), 'separate')
fldChar3 = OxmlElement('w:t')
fldChar3.text = "Right-click to update field."
fldChar2.append(fldChar3)

fldChar4 = OxmlElement('w:fldChar')
fldChar4.set(qn('w:fldCharType'), 'end')

r_element = run._r
r_element.append(fldChar)
r_element.append(instrText)
r_element.append(fldChar2)
r_element.append(fldChar4)
p_element = paragraph._p

# 下面是自动更新目录
import lxml
import os

from docx import Document

# 设置待自动更新目录的文件
file_name = "test.docx"

# 读取文件,初始化为document对象
word_obj = Document(os.path.realpath(file_name))

# 初始化各项参数
name_space = "{http://schemas.openxmlformats.org/wordprocessingml/2006/main}"
update_name_space = "%supdateFields" % name_space
val_name_space = "%sval" % name_space

# 自动更新目录
try:
    element_update_field_obj = lxml.etree.SubElement(word_obj.settings.element, update_name_space)
    element_update_field_obj.set(val_name_space, "true")
except Exception as e:
    del e

# 保存更新后的word文件对象
word_obj.save(os.path.realpath(file_name))
题外话
当下这个大数据时代不掌握一门编程语言怎么跟的上脚本呢?当下最火的编程语言Python前景一片光明!如果你也想跟上时代提升自己那么请看一下.

感兴趣的小伙伴,赠送全套Python学习资料,包含面试题、简历资料等具体看下方。

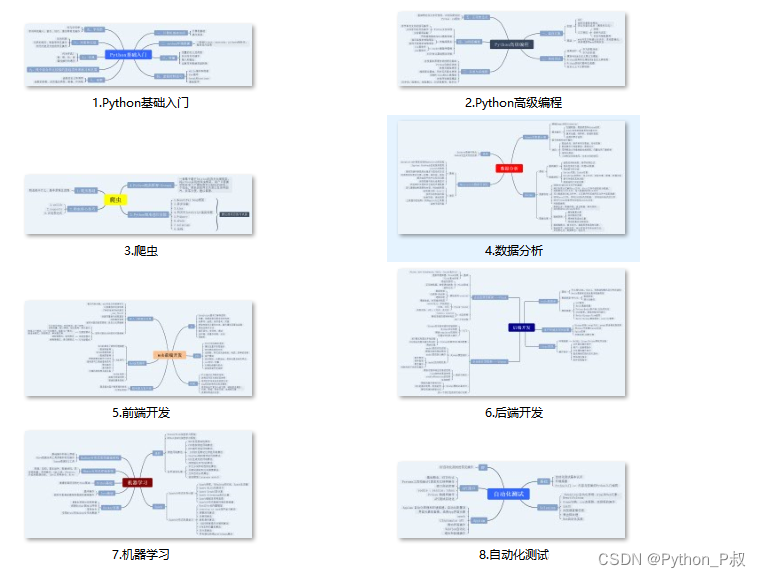
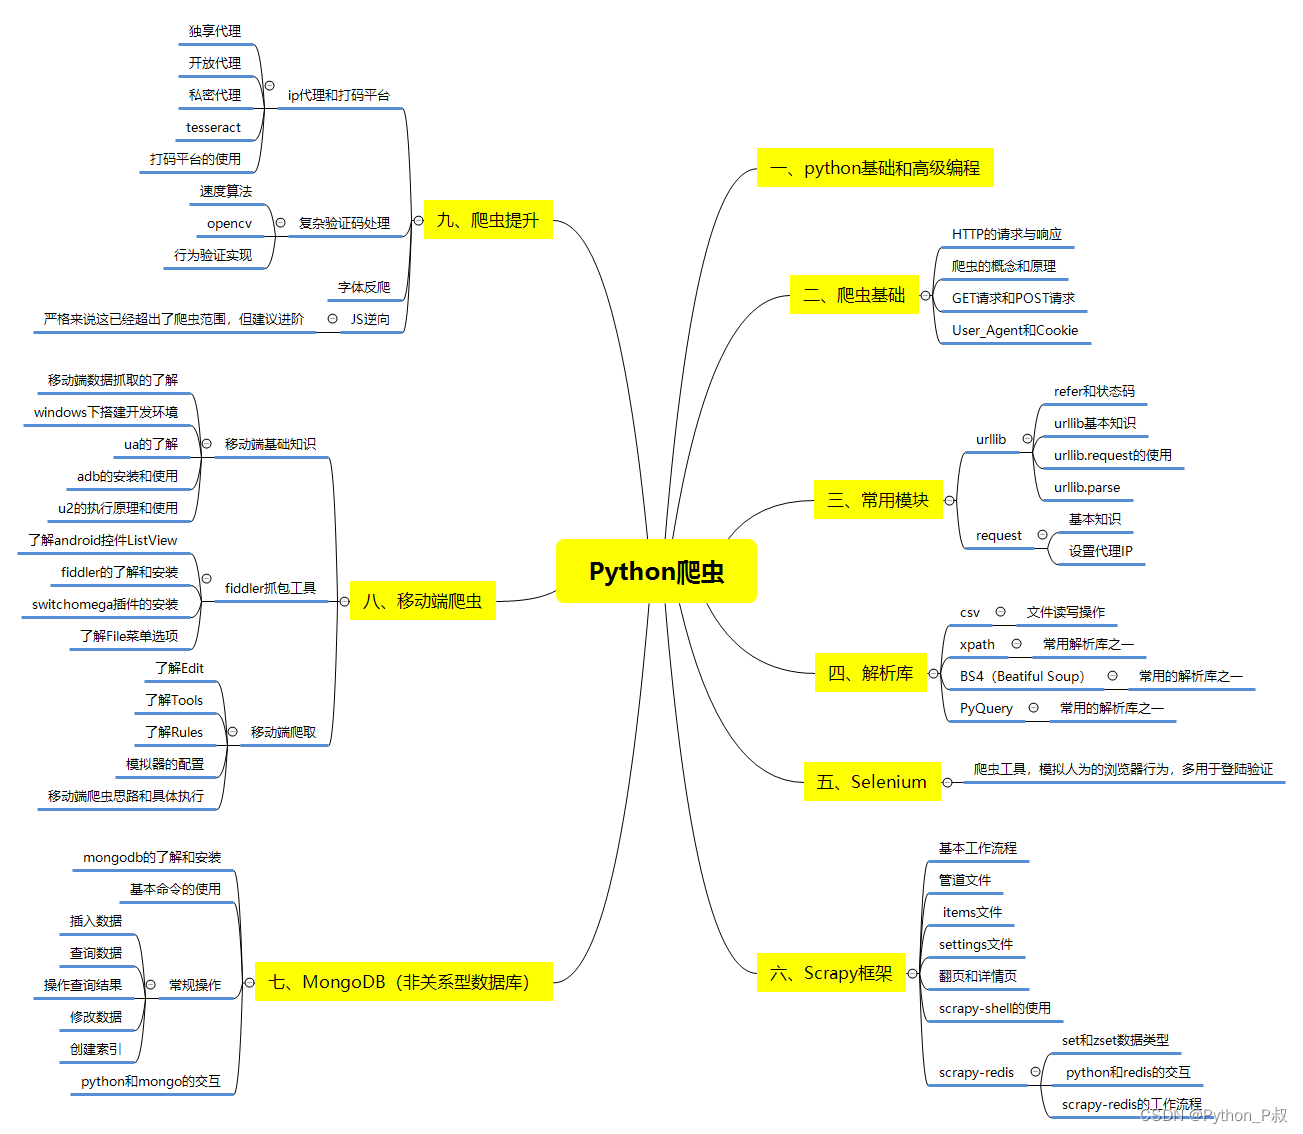
一、Python所有方向的学习路线
Python所有方向的技术点做的整理,形成各个领域的知识点汇总,它的用处就在于,你可以按照下面的知识点去找对应的学习资源,保证自己学得较为全面。
二、Python必备开发工具
工具都帮大家整理好了,安装就可直接上手!
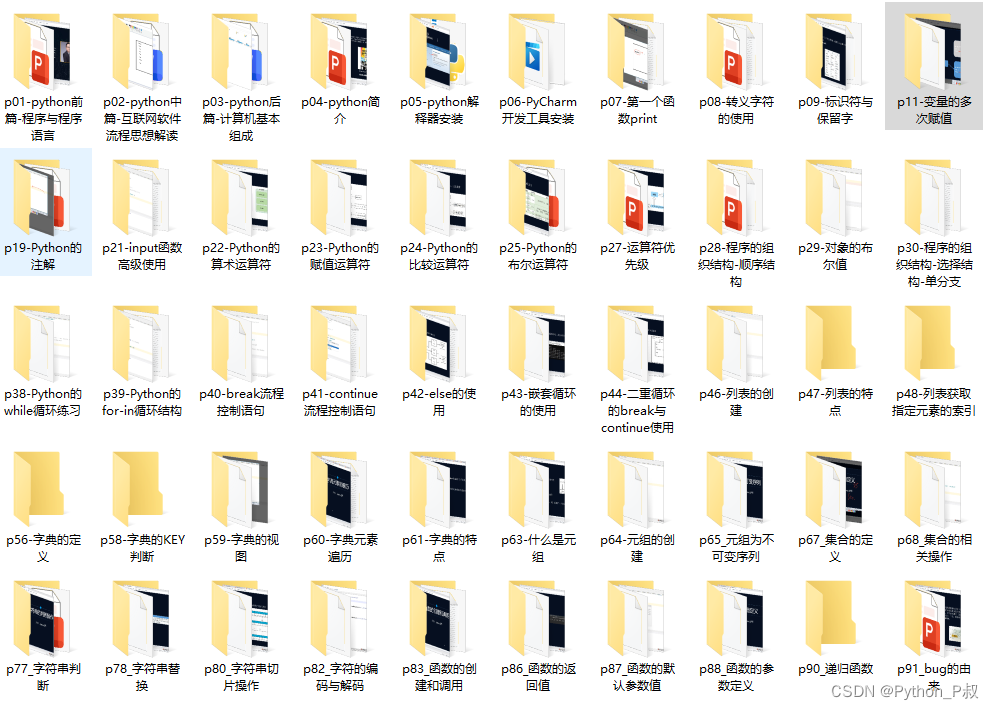
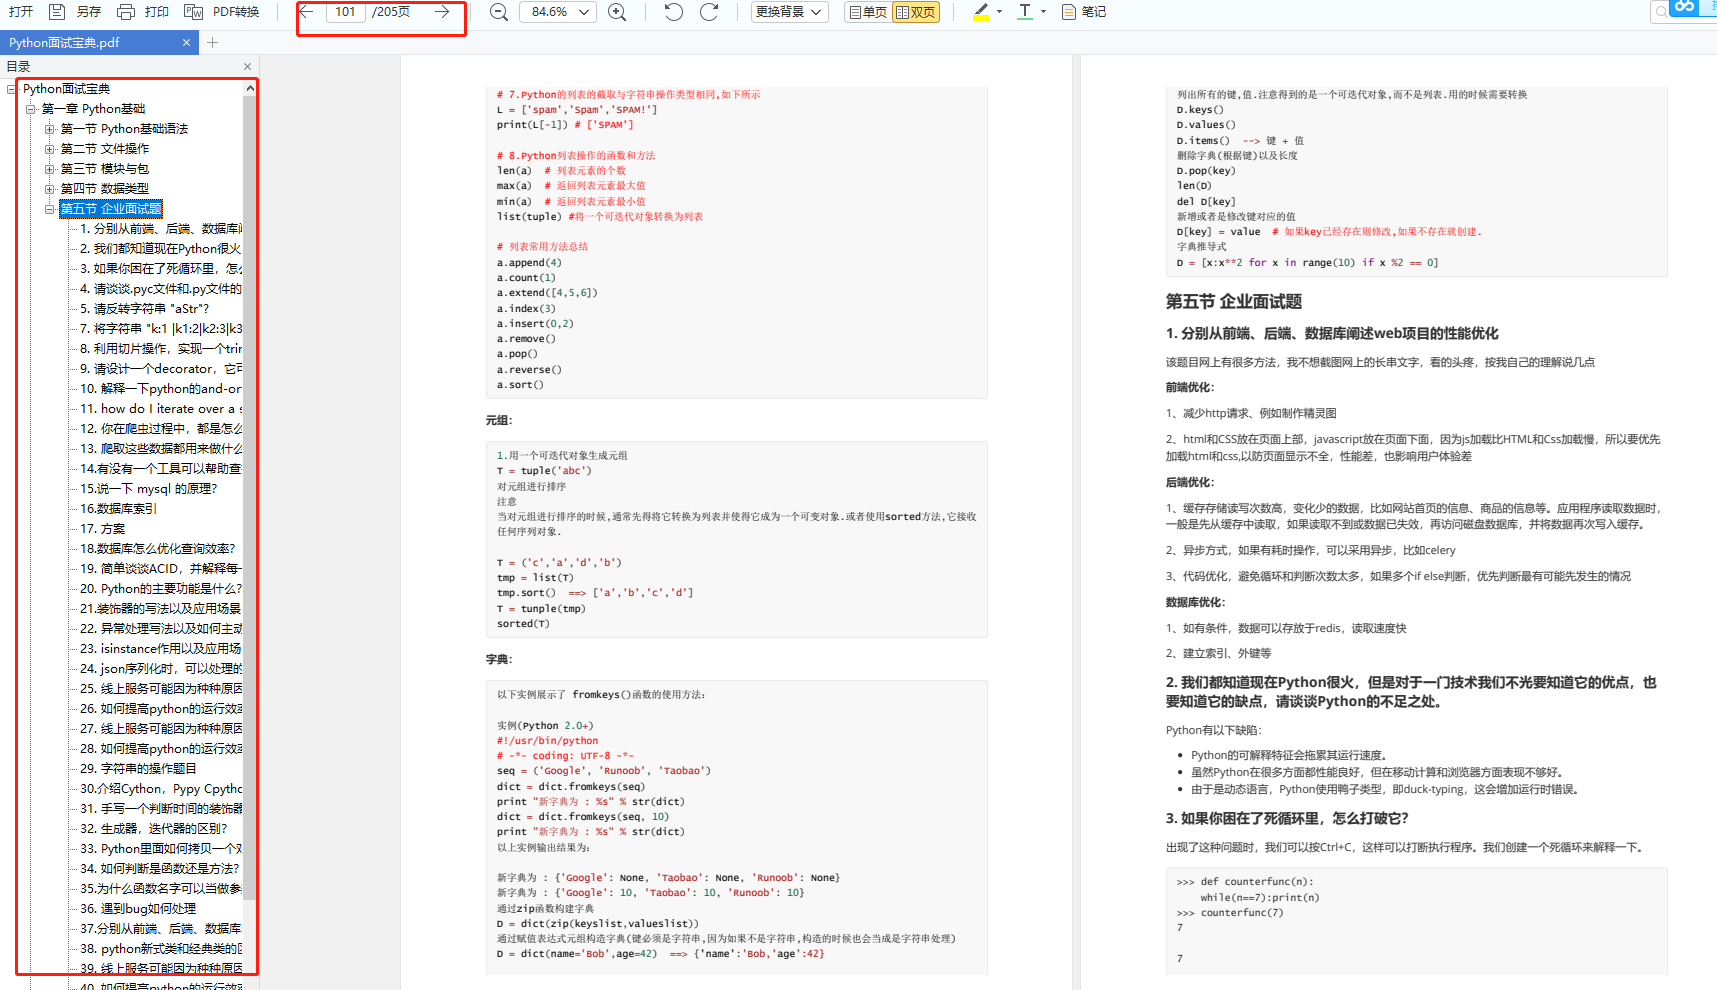
三、最新Python学习笔记
当我学到一定基础,有自己的理解能力的时候,会去阅读一些前辈整理的书籍或者手写的笔记资料,这些笔记详细记载了他们对一些技术点的理解,这些理解是比较独到,可以学到不一样的思路。

四、Python视频合集
观看全面零基础学习视频,看视频学习是最快捷也是最有效果的方式,跟着视频中老师的思路,从基础到深入,还是很容易入门的。
五、实战案例
纸上得来终觉浅,要学会跟着视频一起敲,要动手实操,才能将自己的所学运用到实际当中去,这时候可以搞点实战案例来学习。
六、面试宝典
简历模板
若有侵权,请联系删除


 4985
4985


 被折叠的 条评论
为什么被折叠?
被折叠的 条评论
为什么被折叠?
 到【灌水乐园】发言


