


 文章介绍了UIButtonConfiguration的使用,它是装饰模式的应用,用于设置UIButton的外观,如颜色、文字、图片等。文章详细讲解了配置方法,包括初始化、属性变量,如attributedTitle和attributedSubtitle,并对比了Swift中的实现方式。同时,文章提到了使用configuration时可能会遇到的ImageView失效问题。
文章目录
简述
起初是想实现button设置完图片下面附带文字标题的,且不用重新设置一个UILabel的,想让image和title存在于一个button里面,这样调整位置的时候也会更加轻松,在网上查了方法titleEdgeInsets发现其在iOS15.0时已经被抛弃,所以我就去查看官方文档,在button里面发现了Conifguration属性,在经过网络上的资料查询以及自己的验证,大概了解了一下UIButtonConfiguration的用法。
关于设置
首先是关于怎么去使用这个Configuration,先去定一个属性UIButtonConfiguraion* buttonConfig,在这个属性内去设置关于button的相关外观。
细说Configuration
UILabel,UITabbar,UIButton,UINavigationBar都有对应的Configuration对象,这种设计模式就是23种设计模式中的装饰模式
UIButtonConfiguration既然是装饰模式的一种,那么他就只会对UI元素做集成,消息传递,手势,动作什么的都是不参与的,像什么颜色,文字,图片,背景啥的都可以涉及到,像这种UI类的,自己写个demo,学起来是最快的,但是一些抽象类,google 百度找文档看比较合适。
UIButtonConfiguration初始化方法

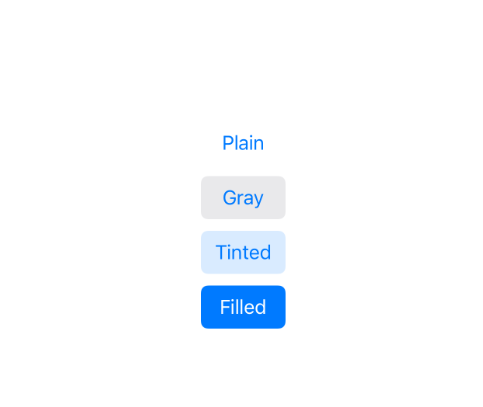
特别说一下GrayButtonConfiguration,如果设置basebackgroundColor会改变其背景颜色,也就是说它的优先级低一点

borderlessButtonConfiguration强制无边框圆角类ButtonConfiguration,它的优先级最高,如果你设置了btn.layer.cornerRadius, 或者config.background也设置了圆角或者设置了config.cornerStyle都不会出现圆角。
borderedButtonConfiguration内置一个圆角为5左右的配置,优先级小于Button.layer.cornerRadius
borderedTintedButtonConfiguration圆角半透明背景配置
borderedProminentButtonConfiguration主要体现在背景色不透明,文字和图片着色和背景色相反(例如黑色背景,白色文字或者白色背景,黑色文字等)。这一前提在于不主动设置文字颜色和图片颜色的前提。一般情况下,如果不设置文字和图片颜色,它们的颜色则为系统默认的系统蓝色。
updatedConfigurationForButton:(UIButton *)button说明为复制制定的Button的Configuration,但是不知道为什么这个只是复制普通状态下的,这个按钮有两个Configuration值normal状态下为config1,selected状态下为config2,但只会复制normal状态下的值,貌似可btn configuration = config差不多,有会的欢迎补充。
属性变量
一个关于background的config对象,能处理的内容很多,背景色,圆角,边框,阴影,自定义绘图,毛玻璃特效,背景图片等,只要是和背景相关的UI元素都能处理
@property(nonatomic, strong, readwrite) UIBackgroundConfiguration* background;
btnConfig.cornerStyle定义圆角风格-1,固定圆角,0,动态圆角,圆角值可以通过btn.layer.cornerRadius和config.background.cornerRadius两种方式设置。1、2、3这三个值代表内置的小、中、大三个内置的圆角,他的优先级比btn.layer.cornerRadius和config.background.cornerRadius 高,4是胶囊风格,就是圆角切成胶囊状,优先级和1、2、3一样。
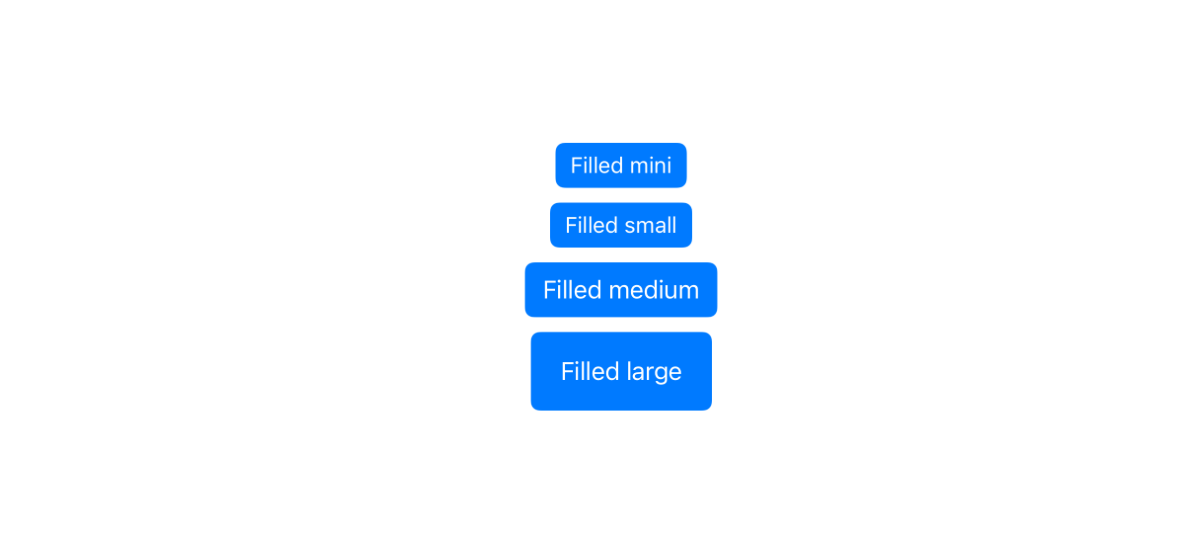
btnConfig.buttonSize内置的title字体大小,优先级比attributedTitle低,也就是你不想自己设置title和Subtitle字体大小时可以用这个枚举来参考设置,一般来讲如果自己的UI设计和审美不怎么样,或者无所谓时用一用系统推荐的也不错.
 _buttonConfig.buttonSize = UIButtonConfigurationSizeMedium;
 UIButtonConfigurationSizeSmall
 UIButtonConfigurationSizeMini
 UIButtonConfigurationSizeLarge
    _buttonConfig.baseBackgroundColor = [UIColor redColor];//设置按钮背景色,优先级低于background
//  文本颜色优先级低于AttributrTitle/SubTitle以及变形器,为一个全局设置变量,当你想让按钮任何状态时文本颜色不变时,可以设置这个值
    _buttonConfig.baseForegroundColor = [UIColor blackColor];
主要看一下attributedTitle和attritubedSubTitled的用法
先来看代码
UIButton* btn = [UIButton buttonWithType:UIButtonTypeCustom];
UIButtonConfiguration* btnConfig = [UIButtonConfiguration plainButtonConfiguration];
btn.configurationUpdateHandler = ^(UIButton *b) {
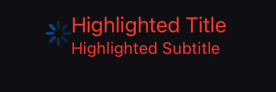
if (b.state == UIControlStateHighlighted) {
btnConfig.showsActivityIndicator = YES;
btnConfig.attributedTitle = [[NSAttributedString alloc] initWithString:@"Highlighted Title" attributes:@{NSForegroundColorAttributeName:[UIColor systemRedColor]}];
btnConfig.attributedSubtitle = [[NSAttributedString alloc] initWithString:@"Highlighted Subtitle" attributes:@{NSForegroundColorAttributeName:[UIColor systemRedColor]}];
btnConfig.image = [UIImage systemImageNamed:@"square.and.arrow.up.fill"];
btnConfig.activityIndicatorColorTransformer = ^UIColor * _Nonnull(UIColor * _Nonnull color) {
return [UIColor systemPurpleColor];
};
///这个赋值操作必须写,不然不生效
b.configuration = btnConfig;
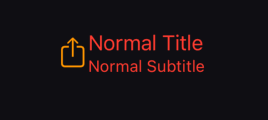
}else {
btnConfig.showsActivityIndicator = NO;
btnConfig.attributedTitle = [[NSAttributedString alloc] initWithString:@"Normal Title" attributes:@{NSForegroundColorAttributeName:[UIColor systemRedColor]}];
btnConfig.attributedSubtitle = [[NSAttributedString alloc] initWithString:@"Normal Subtitle" attributes:@{NSForegroundColorAttributeName:[UIColor systemRedColor]}];
btnConfig.image = [UIImage systemImageNamed:@"square.and.arrow.up"];
btnConfig.imageColorTransformer = ^UIColor * _Nonnull(UIColor * _Nonnull color) {
return [UIColor systemOrangeColor];
};
///这个赋值操作必须写,不然不生效
b.configuration = btnConfig;
}
};
[self addSubview:btn];
[btn mas_makeConstraints:^(MASConstraintMaker* make) {
make.top.equalTo(@((SIZE_HEIGHT/3)-50));
make.left.equalTo(@317.5);
}];
在这里重要的就是注意attributedTitle的写法
btnConfig.attributedTitle = [[NSAttributedString alloc] initWithString:@"Highlighted Title" attributes:@{NSForegroundColorAttributeName:[UIColor systemRedColor]}];
@property (nonatomic, readwrite, copy, nullable) UIImageSymbolConfiguration *preferredSymbolConfigurationForImage;内置的系统矢量图图标config对象,你可以设置指定风格,大小,颜色的矢量图图标作为按钮的image,目前不知道怎么用,文档上是这么说的,没见人用过
_buttonConfig.showsActivityIndicator = NO;//菊花指示器HUD图标,和image不能同时存在
btnConfig.imageColorTransformer图片颜色变形器,他是一个输入颜色,再输出颜色的回调,目前不清楚设置成回调的好处,反正你在回调里直接返回你想要设置的颜色即可,上面代码有用过。
btnConfig.activityIndicatorColorTransformerHUD指示器的颜色变形器,上面代码里面也有用到
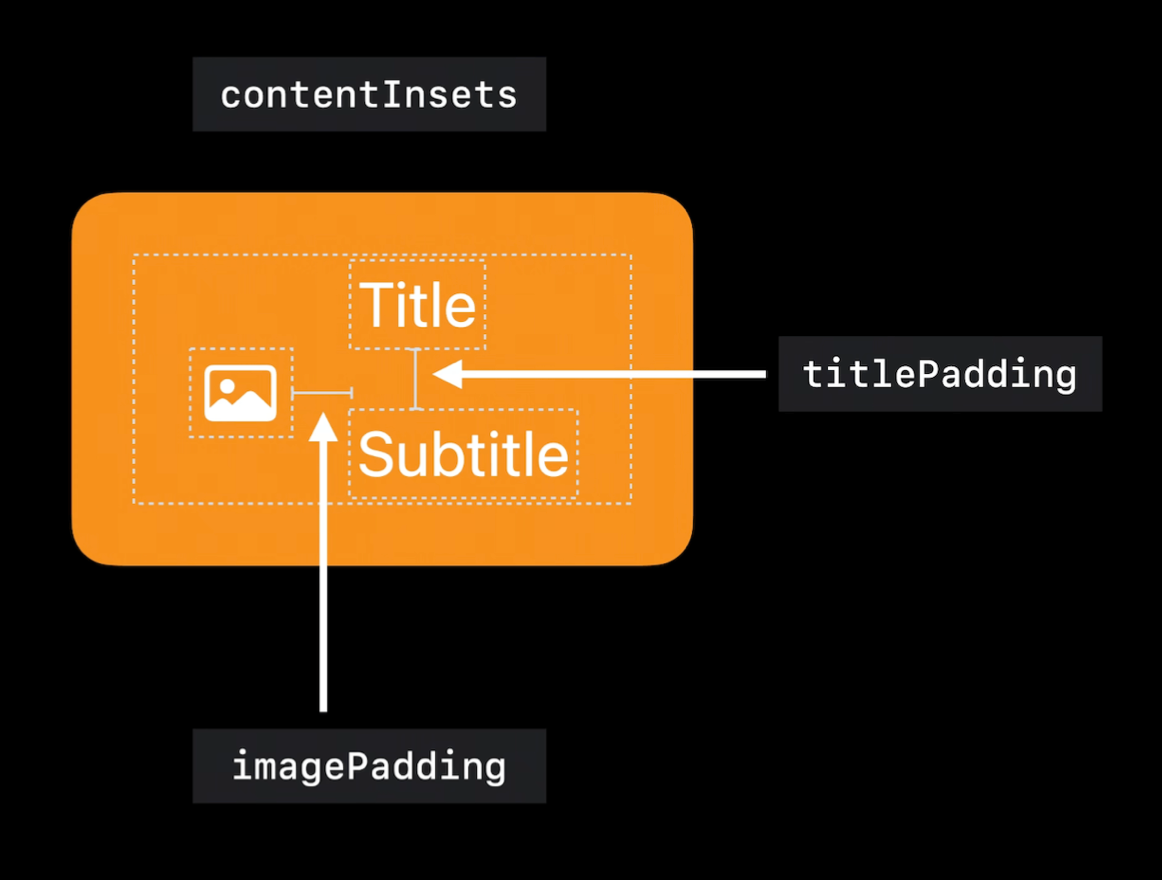
btnConfig.contentInsets内容四边距,目前没搞清楚怎么用
//设置图片与文字的相对位置
_buttonConfig.imagePlacement = NSDirectionalRectEdgeTop;
从上到下分别为
leading,top,trailing,bottom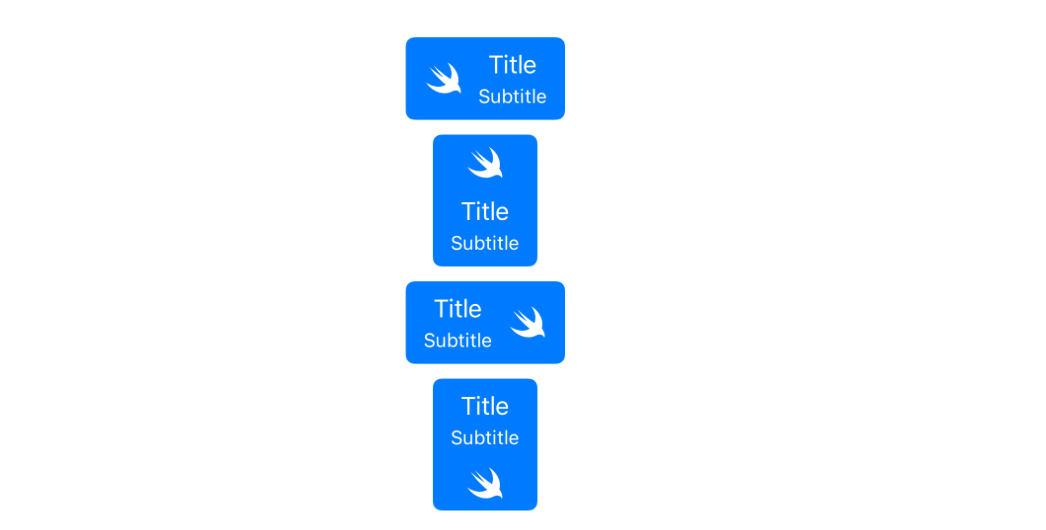
// 图片与标题的间距
_buttonConfig.imagePadding = 15;
// 标题与字幕的间距
_buttonConfig.titlePadding = 0;
现在比较困惑的一点就是,在oc中我并没有找到,任意更改title与subtitle的字体与大小的方法,这些在swift中均有方法可以实现,在oc中并没有找到对应的方法
粘贴一个swift代码做记录,以便后面学习swift时找不到这个方法
var configuration = UIButton.Configuration.filled()
var container = AttributeContainer()
container.font = UIFont.boldSystemFont(ofSize: 20)
// 1
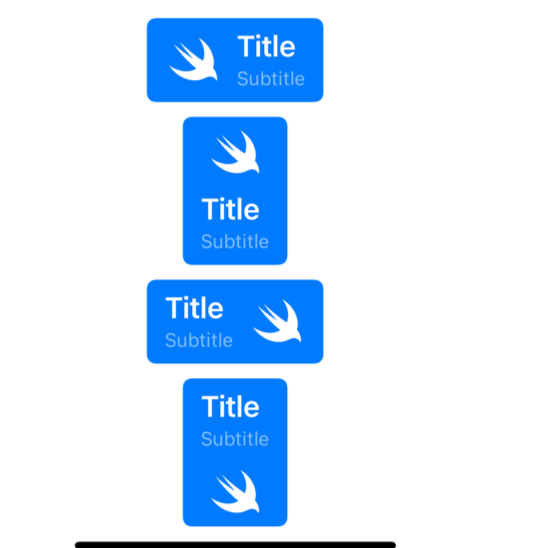
configuration.attributedTitle = AttributedString("Title", attributes: container)
var container2 = AttributeContainer()
container2.foregroundColor = UIColor.white.withAlphaComponent(0.5)
// 2
configuration.attributedSubtitle = AttributedString("Subtitle", attributes: container2)
configuration.image = UIImage(systemName: "swift")
configuration.titleAlignment = .leading
// 3
configuration.preferredSymbolConfigurationForImage = UIImage.SymbolConfiguration(pointSize: 30)
configuration.imagePadding = 10
let button = UIButton(configuration: configuration, primaryAction: nil)
configuration.imagePlacement = .top
let button2 = UIButton(configuration: configuration, primaryAction: nil)
configuration.imagePlacement = .trailing
let button3 = UIButton(configuration: configuration, primaryAction: nil)
configuration.imagePlacement = .bottom
let button4 = UIButton(configuration: configuration, primaryAction: nil)
<1>我们声明一个AttributeContainer,一个用于属性键和值的新容器,并使用该容器创建AttributedString。
<2>我们对副标题也这样做,但具有不同的属性。
<3>我们使用UIImage.SymbolConfiguration(pointSize: 30)调整图像
    //目前不知道优先级高低,不知道有什么作用,且不知道被什么方法覆盖掉了
//    _buttonConfig.preferredSymbolConfigurationForImage = [UIImageSymbolConfiguration configurationWithPointSize:30];
当你使用config的时候,button中的许多属性会被替换掉,导致其设置无效,这点在布局的时候需要注意一下
总结
- 使用装饰模式,让责任区分更加明确。
- 更多内置样式,在某些场景使用更方便。
- API扩展性更强大了,这可能是最重要的一点了。给按钮加自定义背景视图,比如毛玻璃,多彩渐变等。给按钮添加加载指示器。调整按钮的图文布局等,在以前的环境的下,要添加大量代码。而现在变得更加简单了。
- 缺点是版本要求太高,无法兼容低版本。
- 这里推荐一位大佬的文章,对于config的配置有更深的理解
- 大佬试玩UIButtonConfiguration
一点美中不足
当使用了 button.configuration 属性时,button.imageView 就会失效(此时imageView.frame 为 {0, 0, 0, 0} ),也就无法通过 contentMode 来改变图片的显示大小了
这个问题当然可以通过分类来解决,但有没有更好的办法呢?(其实就是不想写分类。。)


 3065
3065

 被折叠的 条评论
为什么被折叠?
被折叠的 条评论
为什么被折叠?
 到【灌水乐园】发言


