


来源:https://harmonyos.51cto.com/user/posts/15053213
关注回复"教程" 获得最新鸿蒙开发者教程
前言
本人之前是Java后端开发,对于前端开发一知半解。但是对于官方资料中的这个贪吃蛇项目十分感兴趣。打算做一遍流程。虽然资料中也含有开发流程,但是不全,而且没有注释。所以决定自己写完之后,把每个步骤总结出来并写上注释。属于二次创作吧!
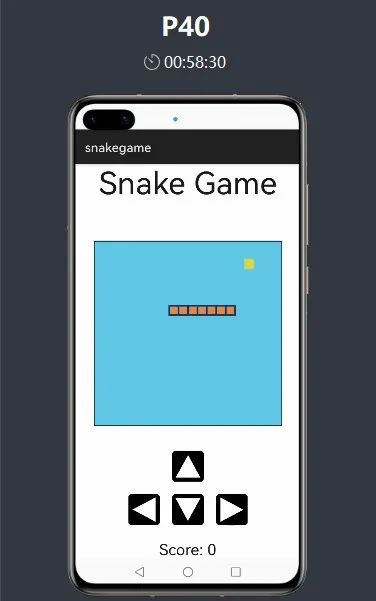
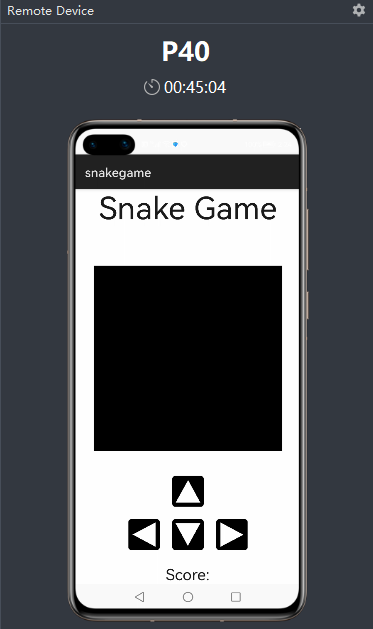
开发完成的程序界面如下所示。抄一遍代码运行,也不会超过2h。适合刚学习鸿蒙的开发者~如果你喜欢,不妨收藏一下(≧∇≦)ノ
正文
一、创建项目
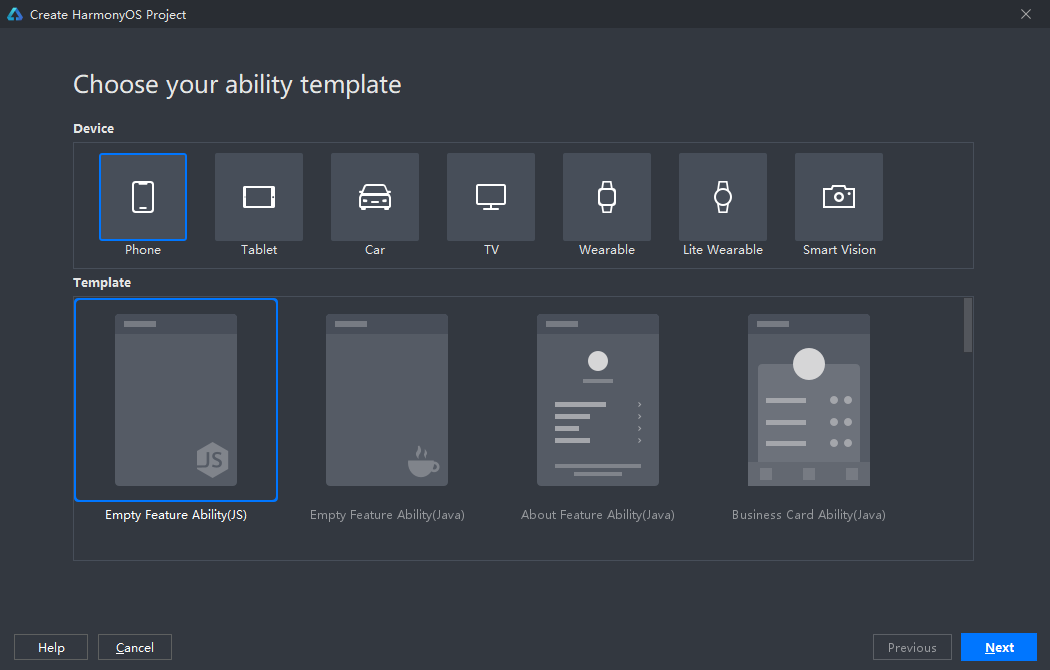
1. 选择JS模板
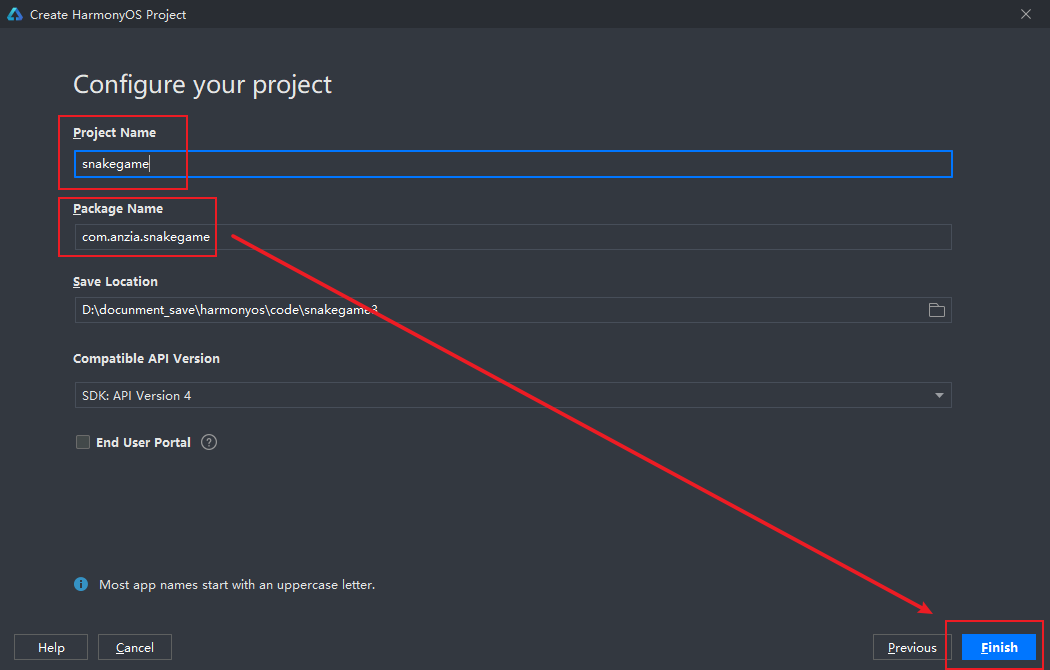
 2. 定义自己的项目名和包名,然后点击finsh
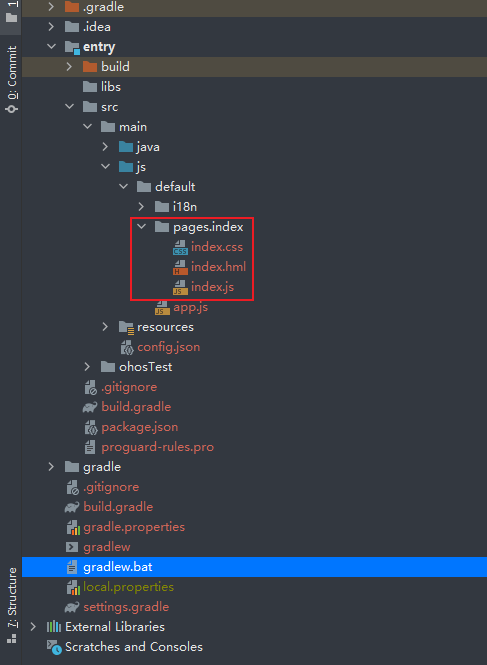
 3. 创建完毕,生成的目录结构如下
由于项目比较简单,所以就只需要在红框中的位置编写代码。这是由项目默认生成的噢!
二、编写代码
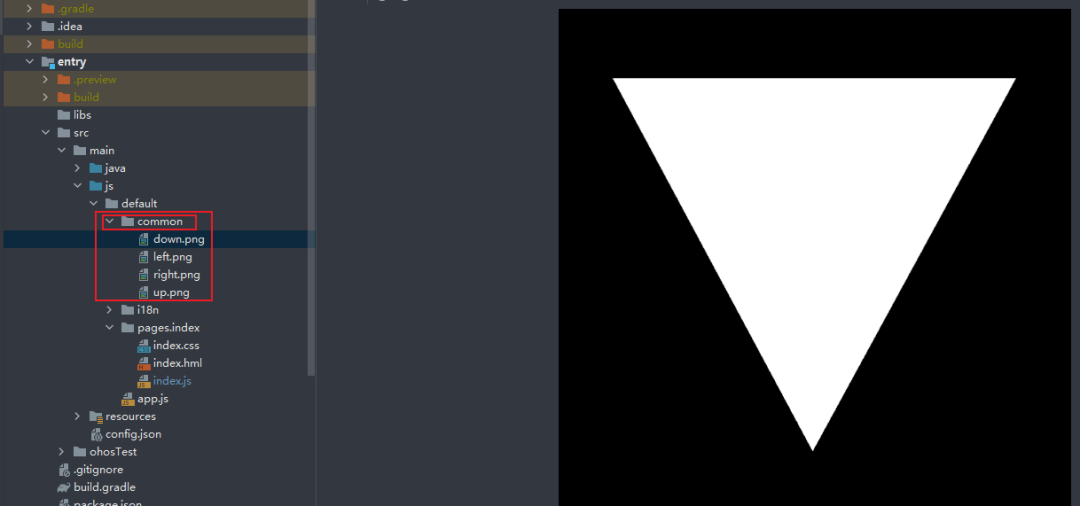
1. 导入图片资源
在我提供的压缩资料里找到图片文件夹,他它们直接copy到项目目录中
2. 编写html页面
先把标签、内容和资源定义好,编写完后运行查看结果
<!--容器-->
<div class="container">


    <!--标题-->
    <text class="title">Snake Game</text>


    <!--画布组件:贪吃蛇的移动区域-->
    <canvas style="width: 600px; height: 600px; background-color: black;"></canvas>


    <!--上按键-->
    <image src="/common/up.png"></image>
    <!--左按键-->
    <image src="/common/left.png"></image>
    <!--下按键-->
    <image src="/common/down.png"></image>
    <!--右按键-->
    <image src="/common/right.png"></image>

    <!--显示得分-->
    <text>
        <span>Score: </span>
    </text>


</div>
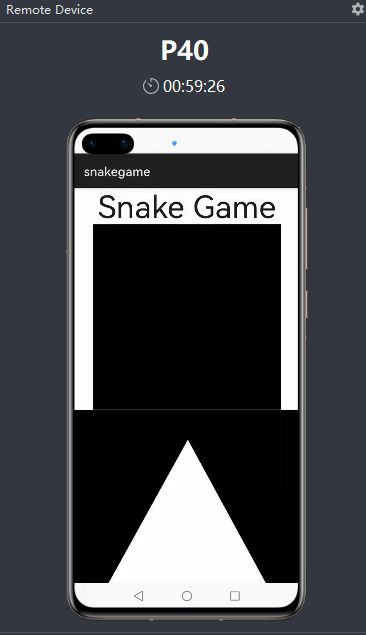
运行后发现样式布局混乱,不过没关系,运行主要是确保样式和资源有没有加载。都加载好之后,再调整样式
 (测试的话,要去最上方导航栏,点击 Tools>HVD Manager>登陆开发者账号>选择P40后面的那个三角形)
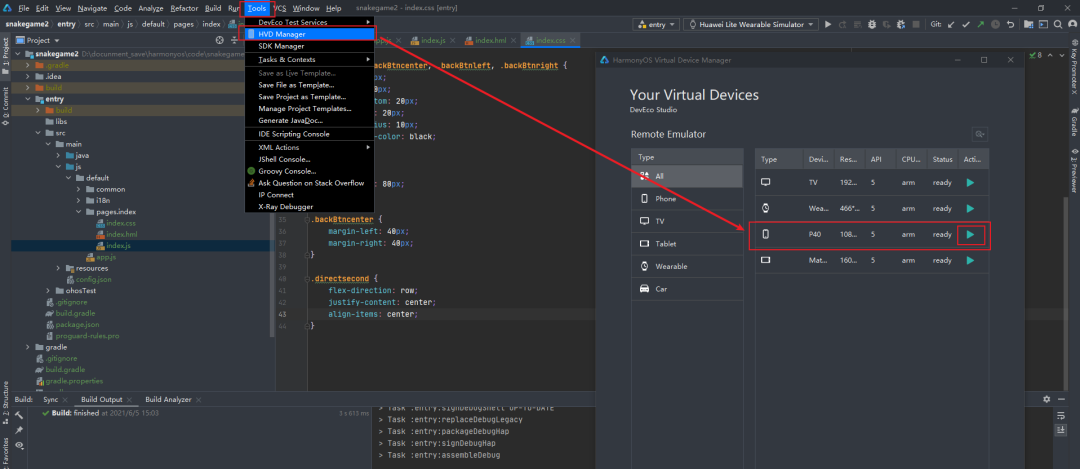 3. 编写css代码
调整样式,在需要调整的样式后面加对应的类名class="",通过这些类名调用css文件的数据
<!--上按键-->
<image class="backBtnup" src="/common/up.png"></image>
<!--左按键-->
<image class="backBtnleft" src="/common/left.png"></image>
<!--下按键-->
<image class="backBtncenter" src="/common/down.png"></image>
<!--右按键-->
<image class="backBtnright" src="/common/right.png"></image>


<!--显示得分-->
<text class="scoretitle">
    <span>Score: </span>
</text>
确认好类名之后,就在index.css文件中根据类名写css
.container {
    flex-direction: column;
    justify-content: center;
    align-items: center;
    background-color: white;
}


.title {
    font-size: 100px;
    margin-bottom: 130px;
}


.scoretitle {
    font-size: 50px;
    margin-top: 30px;
}


/*
  css选择器,逗号代表并列关系
  具体可以百度噢,因为前端博大精深
*/
.backBtnup, .backBtncenter, .backBtnleft, .backBtnright {
    width: 100px;
    height: 100px;
    margin-bottom: 20px;
    margin-top: 20px;
    border-radius: 10px;
    background-color: black;
}


.backBtnup {
    margin-top: 80px;
}


.backBtncenter {
    margin-left: 40px;
    margin-right: 40px;
}
写好上述内容后,再次运行一下。发现有点样子了,只需处理一下按钮即可
 4. 优化按钮
想要的效果是方向键如同键盘方向的布局,所以只需对下面三个按键进行处理。可以用一个div标签把它们包裹起来,再定义一个新属性
<!--上按键-->
<image class="backBtnup" src="/common/up.png"></image>
<!--下面三个按键用同一样式,所以用同一个div包围-->
<div class="directsecond">
    <!--左按键-->
    <image src="/common/left.png" class="backBtnleft"></image>
    <!--下按键-->
    <image src="/common/down.png" class="backBtncenter"></image>
    <!--右按键-->
    <image src="/common/right.png" class="backBtnright"></image>
</div>
css部分的新添加的代码
.directsecond {
    flex-direction: row;
    justify-content: center;
    align-items: center;
}
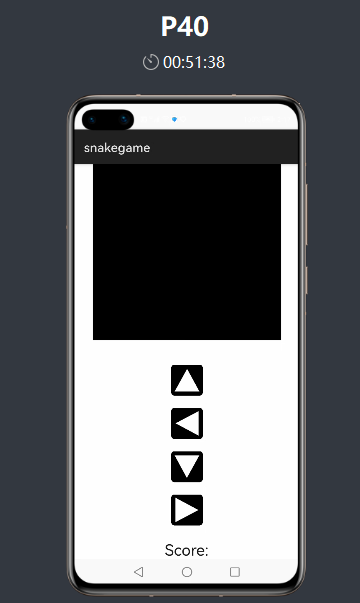
运行测试一下,发现达到了我们想要的效果
三、编写JS代码
我们发现现在只有样式,光点击按钮没有反馈,而且也没有小蛇和食物……
所以我们接下来编写JS代码就是要解决这些事情,但是切忌边写边想。应该先设计再写代码!
1. 设计思想
按钮的触发是通过点击屏幕,所以要有点击事件
鼠标点击事件是有对应的方法
通过方法传不同的参数来区别不同的方向
食物的生成
随机生成
判断食物生成的位置如果出现在蛇身上,则重新生成
蛇身的初始化 (由于案例比较简单,所以没有设定随机生成初始位置)
给定长度并设定一个空数组
通过for循环,把x和y的坐标push进数组,作为蛇身每格的位置
蛇运动
移动是靠每帧重绘位置
吃到水果就头部立刻加长
没吃到水果就去掉尾部,把头部方向指向的下一个位置记录到数组头部,等下次刷新帧
判定游戏结束
碰壁
相对方向移动
形成环路
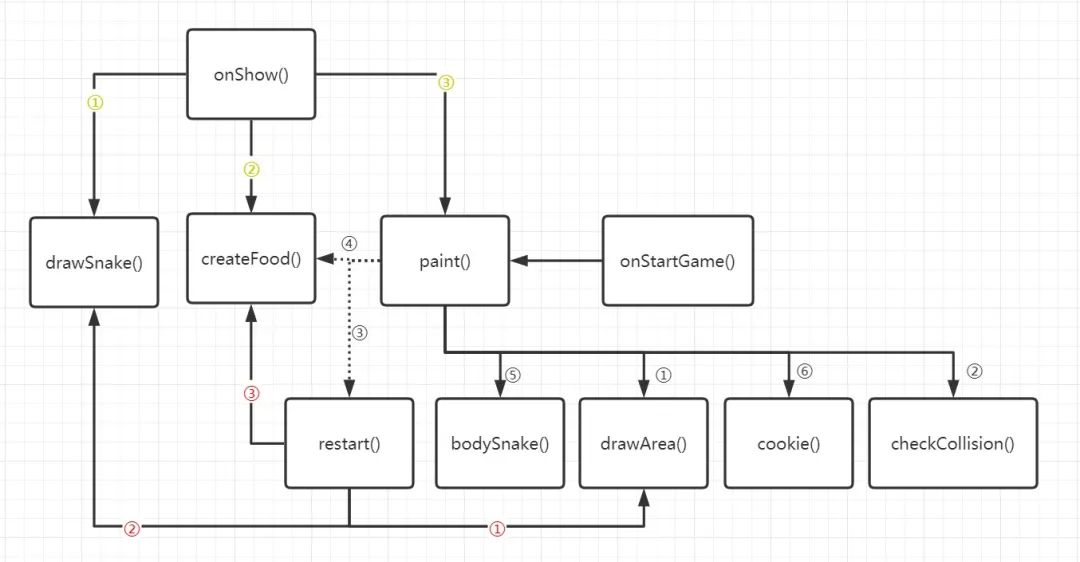
2. 方法调用流程图
虚线代表 if 判断,如果为符合判断条件才会调用该方法
3. 编写代码
在index.html文件中绑定对应的事件(这也是html文件的全部内容)
<!--容器-->
<div class="container">


    <!--标题-->
    <text class="title">Snake Game</text>


    <!--画布组件:贪吃蛇的移动区域-->
    <canvas ref="canvasref" style="width: 600px; height: 600px; background-color: black;"></canvas>


    <!--上按键-->
    <image src="/common/up.png" class="backBtnup" onclick="onStartGame(1)"></image>


    <!--下面三个按键用同一样式,所以用同一个div包围-->
    <div class="directsecond">
        <!--左按键-->
        <image src="/common/left.png" class="backBtnleft" onclick="onStartGame(2)"></image>
        <!--下按键-->
        <image src="/common/down.png" class="backBtncenter" onclick="onStartGame(3)"></image>
        <!--右按键-->
        <image src="/common/right.png" class="backBtnright" onclick="onStartGame(4)"></image>
    </div>


    <!--用if判断,如果游戏结束,则显示该模块-->
    <text if="{{gameOver}}" class="scoretitle">
        <span>Game Over!!!</span>
    </text>
    <!--用if判断,如果游戏没有结束,则显示该模块。显示得分-->
    <text if="{{!gameOver}}" class="scoretitle">
        <span>Score: {{score}}</span>
    </text>
</div>
index.js文件的全部内容
export default {
    data: {
        title: "",
        snakeSize: 30,      // 蛇身格子像素大小
        w: 600,             // 背景的宽度
        h: 600,             // 背景的高度
        score: 0,           // 得分为0
        snake : [],         // 数组用来存蛇每个格子的位置
        ctx: null,          // 用来调用填充颜色的
        food: null,         // 食物位置
        direction: '',      // 按键的状态
        gameOver: false,    // 游戏状态
        tail: {             // 记录更新后蛇头的位置
            x: 0,
            y: 0
        },
        interval : null     // 获得setInterval()的返回值
    },
    onInit() {
        this.title = this.$t('strings.world');
    },
    onShow() {
        // 通过$refs得到组件,进而调用组件的变量和方法
        const canvas = this.$refs.canvasref;
        // 指定了二维绘画
        this.ctx = canvas.getContext("2d");
        // 第一次打开app时,初始化蛇的方向
        this.direction = 'down';
        // 调用初始化蛇体的方法
        this.drawSnake()
        // 创建食物的位置
        this.createFood()
        // 渲染帧画面
        this.paint()
    },
    // 画背景
    drawArea() {
        var ctx = this.ctx
        // 设置填充颜色的
        ctx.fillStyle = '#61c7e6';
        // 填充
        ctx.fillRect(0, 0, this.w, this.h);
        // 设置矩阵颜色的
        ctx.strokeStyle = '#00000';
        // 矩阵的线宽
        ctx.lineWidth = 5;
        // 绘制矩阵(不填色的)
        ctx.strokeRect(0, 0, this.w, this.h);
        this.ctx = ctx
    },
    // 创建蛇体
    drawSnake() {
        var len = 7;
        var snake = [];
        // 默认蛇的长度为7
        for (var i = len - 1; i >= 0; i--) {
            // 将x轴和y轴的坐标数据存到数组中,这些数据就是每个蛇格子的位置
            snake.push({
                x: 0,
                y: i
            });
        }
        // 更新蛇的长度
        this.snake = snake;
    },
    // 设计蛇身的颜色的
    bodySnake(x, y) {
        //single square of snake
        var ctx = this.ctx;
        // 蛇的颜色及填充的位置和大小
        ctx.fillStyle = '#e28743';
        // fillRect()指的是要填充的位置及大小 参数说明:fillRect(X轴位置, Y轴位置, 宽度, 高度)
        ctx.fillRect(x * this.snakeSize, y * this.snakeSize, this.snakeSize, this.snakeSize);
        // 蛇的内部格子边框颜色,加了才会分割
        ctx.strokeStyle = '#063970';
        ctx.strokeRect(x * this.snakeSize, y * this.snakeSize, this.snakeSize, this.snakeSize);
        this.ctx = ctx;
    },
    // 设计食物的颜色的
    cookie(x, y) {
        var ctx = this.ctx;
        // 食物的颜色及填充位置和大小
        ctx.fillStyle = '#e2d743';
        ctx.fillRect(x * this.snakeSize, y * this.snakeSize, this.snakeSize, this.snakeSize);
        this.ctx = ctx;
    },
    // 创建食物的位置
    createFood() {
        // 随机生成食物的位置
        // 这里的20是背景高度(宽度)/ 格子高度(宽度),即 600 / 30 = 20
        this.food = {
            x: Math.floor((Math.random() * 20) + 1),
            y: Math.floor((Math.random() * 20) + 1)
        }
        for (var i = 0; i > this.snake.length; i++) {
            // 获取刚创建蛇的时候,蛇上每个点的位置,再和食物的位置进行比较
            var snakeX = this.snake[i].x;
            var snakeY = this.snake[i].y;
            // 如果食物的位置出现在蛇的身上,则重新生成
            if (this.food.x === snakeX && this.food.y === snakeY || this.food.y === snakeY && this.food.x === snakeX) {
                this.food.x = Math.floor((Math.random() * 20) + 1);
                this.food.y = Math.floor((Math.random() * 20) + 1);
            }
        }
    },
    // 检查是否碰壁
    checkCollision(x, y, array) {
        for(var i = 0; i < array.length; i++) {
            if(array[i].x === x && array[i].y === y)
            return true;
        }
        return false;
    },
    // 鼠标点击绑定的事件
    onStartGame(direct){
        // 设置游戏初始状态,控制text标签的显示
        this.gameOver = false
        // 通过对应的参数,获取对应direct的字段
        if (direct == 1) {
            this.direction = 'up'
        } else if (direct == 2) {
            this.direction = 'left'
        } else if (direct == 3) {
            this.direction = 'down'
        } else if (direct == 4) {
            this.direction = 'right'
        }
        // 调用绘图方法
        this.paint()
        // 设置蛇的移动间隔时间,也可以理解为绘图的时间间隔
        if (this.interval == null) {
            // setInterval() 方法可按照指定的周期(以毫秒计)来调用函数或计算表达式
            this.interval = setInterval(this.paint, 250);
        }
    },
    // 每次移动刷新的操作,即帧画面创建和渲染的流程
    paint() {
        // 调用画背景
        this.drawArea()
        // 获得蛇头的位置的初始坐标
        var snakeX = this.snake[0].x;
        var snakeY = this.snake[0].y;
        // 移动操作,更新数据
        if (this.direction == 'right') {
            snakeX++;
        }
        else if (this.direction == 'left') {
            snakeX--;
        }
        else if (this.direction == 'up') {
            snakeY--;
        } else if (this.direction == 'down') {
            snakeY++;
        }
        // 反向移动或碰撞壁的时候,游戏失败,重启游戏
        if (snakeX == -1 || snakeX == this.w / this.snakeSize || snakeY == -1 || snakeY == this.h / this.snakeSize || this.checkCollision(snakeX, snakeY, this.snake)) {
            //ctx.clearRect(0,0,this.w,this.h); //clean up the canvas
            clearInterval(this.interval);
            this.interval = null
            this.restart()
            return;
        }
        //  判断是否吃到食物
        if(snakeX == this.food.x && snakeY == this.food.y) {
            // 吃到食物
            // 将食物的位置记录下来
            this.tail = {x: snakeX, y: snakeY};
            // 分数加5
            this.score = this.score+5;
            // 再创建食物
            this.createFood();
        } else {
            // 没吃到食物
            // 去掉数组最后的元素并返回,相当于删除蛇尾
            this.tail = this.snake.pop();
            // 将移动更新后蛇头的位置加到tail中
            this.tail.x = snakeX;
            this.tail.y = snakeY;
        }
        // unshift()方法可向数组的开头添加一个或多个元素
        // 将更新后的节点添加蛇头
        this.snake.unshift(this.tail);
        // 渲染每个蛇身格子的位置
        for(var i = 0; i < this.snake.length; i++) {
            this.bodySnake(this.snake[i].x, this.snake[i].y);
        }
        // 渲染食物的位置
        this.cookie(this.food.x, this.food.y);
    },
    // 重启操作
    restart() {
        this.drawArea()
        this.drawSnake()
        this.createFood()
        this.gameOver = true
        this.score = 0
    },
}
运行测试ok
 总结
总结
写贴方式有点虎头蛇尾,在比较重要的JS代码部分没有细致说清步骤。不过这也是没办法的,因为这里面太多嵌套调用了,只有文字无法说清,唯有视频讲解才能把逻辑理清。所以考虑到这样的缺点,我也做出了程序调用流程图来方便大家理解。就好像很难用语言去描述递归的调用流程一样,因为这是套娃……
在我看来这个小项目还是有比较多改进的地方
比如:
蛇的位置随机生成;
优化按下相对按键的操作:即蛇向右走的时候,按左方向是不会影响蛇的方向,就不会被程序判定失败了;
定制专门的重启游戏按键
等等
--完--
关注「HarmonyOS应用开发者」,一起学习成长
后台回复"教程" 获得最新鸿蒙开发者教程,助你快速上手鸿蒙开发!


 3683
3683


 被折叠的 条评论
为什么被折叠?
被折叠的 条评论
为什么被折叠?
 到【灌水乐园】发言


