


使用编辑框的方式实现"hello wordl"
使用编辑框实现"hello world"的方式有俩种:
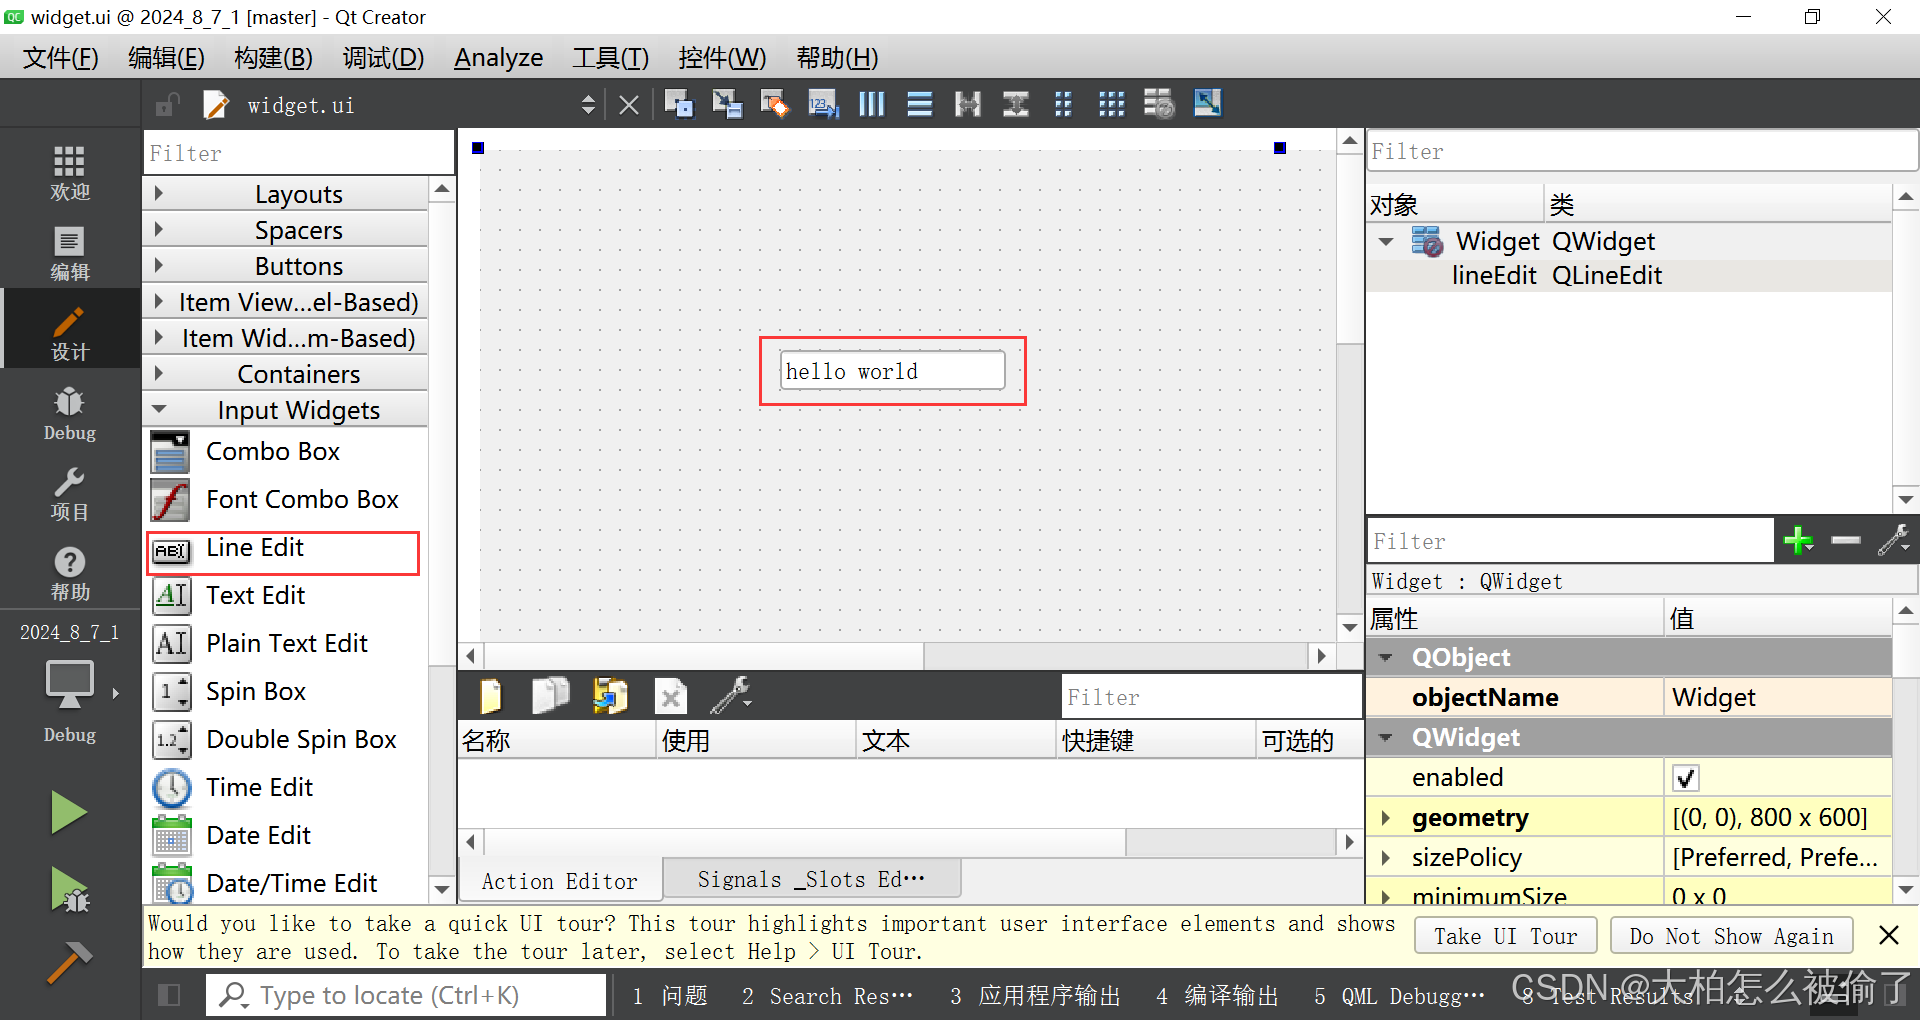
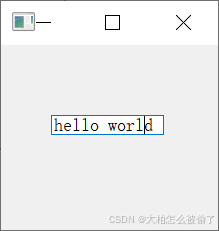
- 单行编辑框:LineEdit
- 多行编辑框:TextEdit
图形化界面
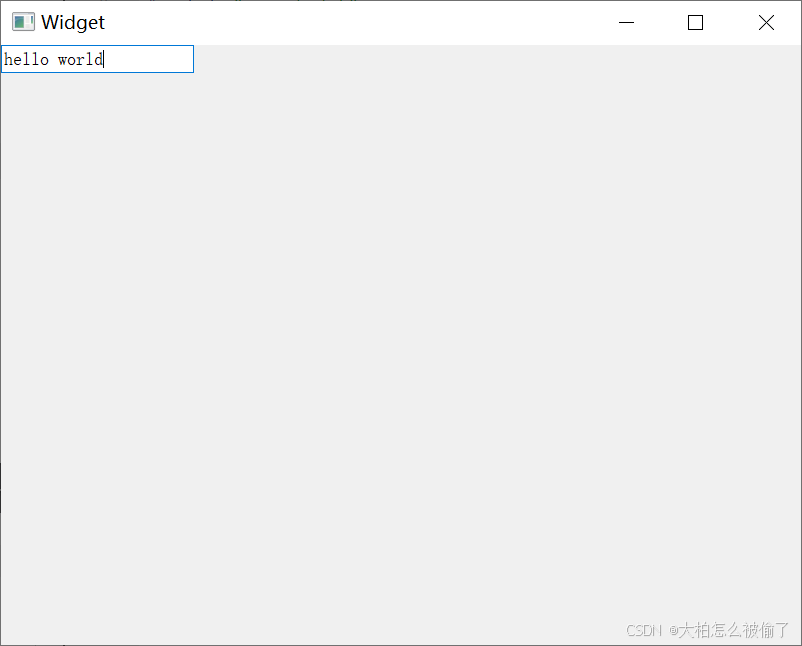
纯代码方式
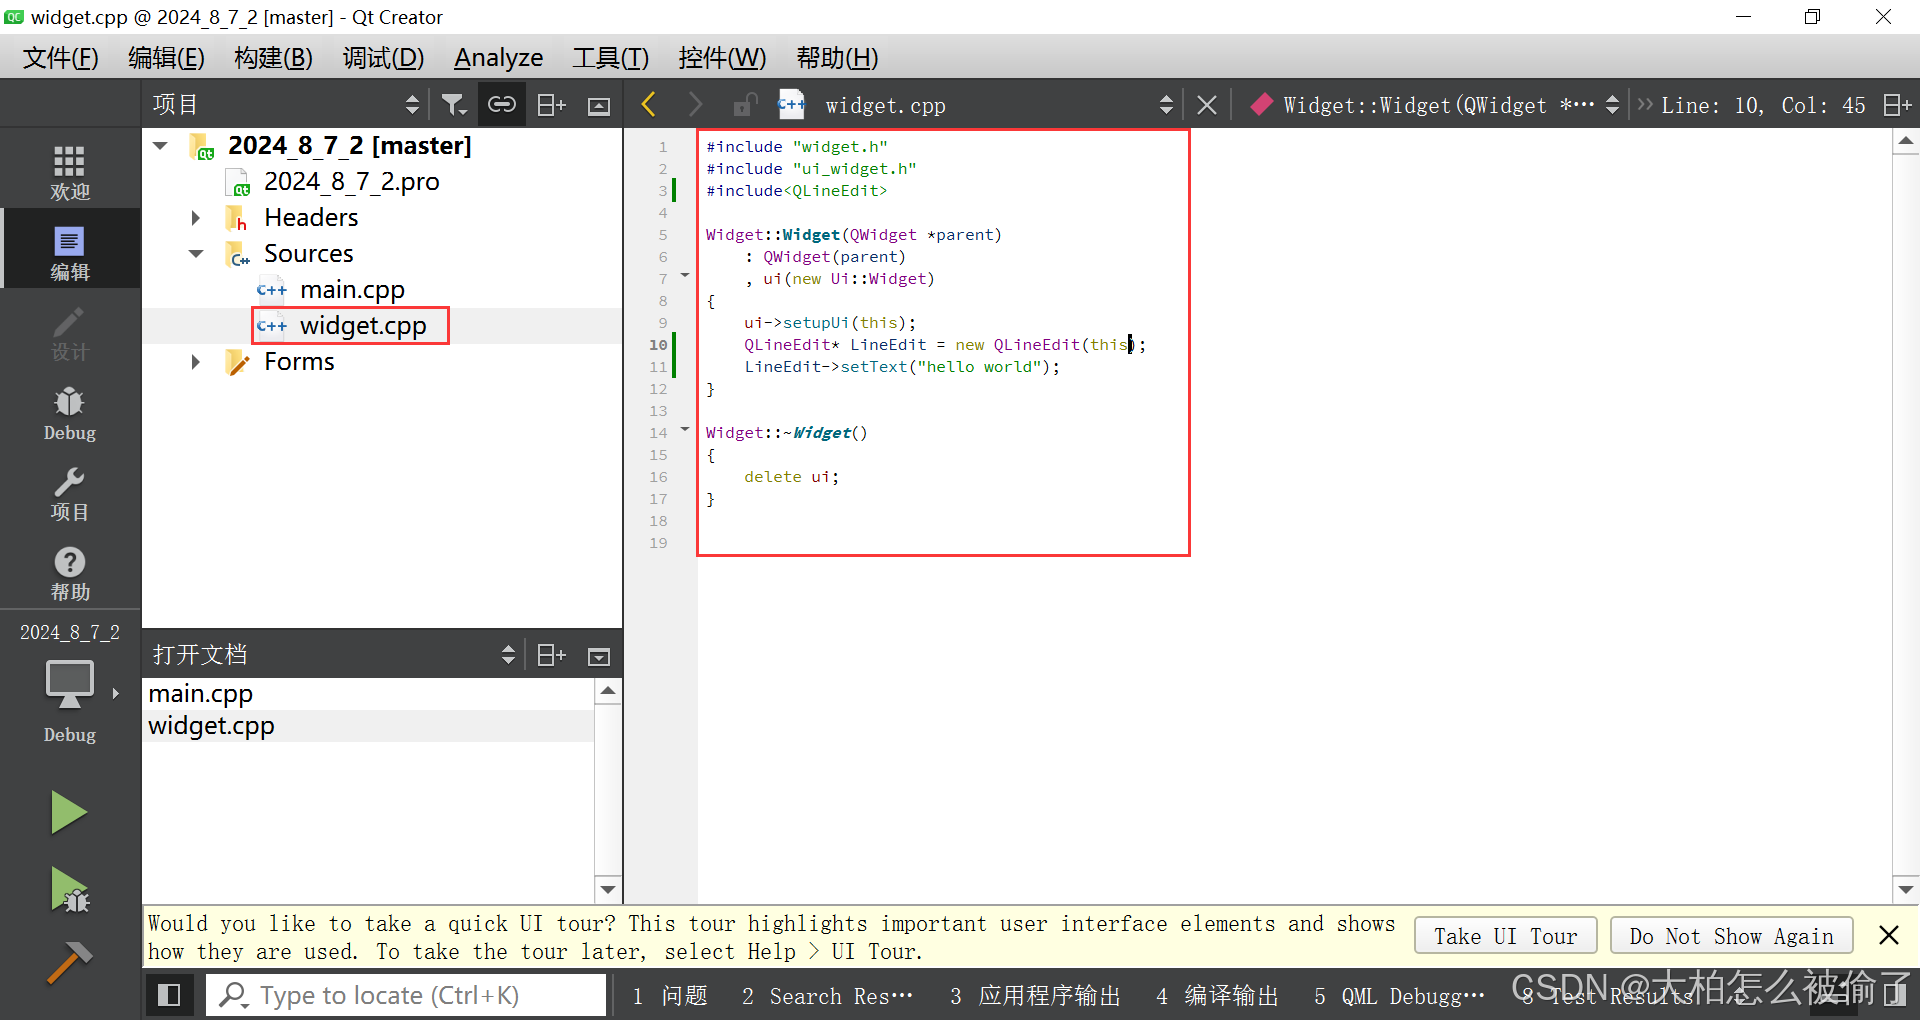
代码展示:
#include "widget.h"
#include "ui_widget.h"
#include<QLineEdit>

Widget::Widget(QWidget *parent)
    : QWidget(parent)
    , ui(new Ui::Widget)
{
    ui->setupUi(this);
    QLineEdit* LineEdit = new QLineEdit(this);
    LineEdit->setText("hello world");
}

Widget::~Widget()
{
    delete ui;
}
使用按钮的方式实现"hello world"
图形化界面
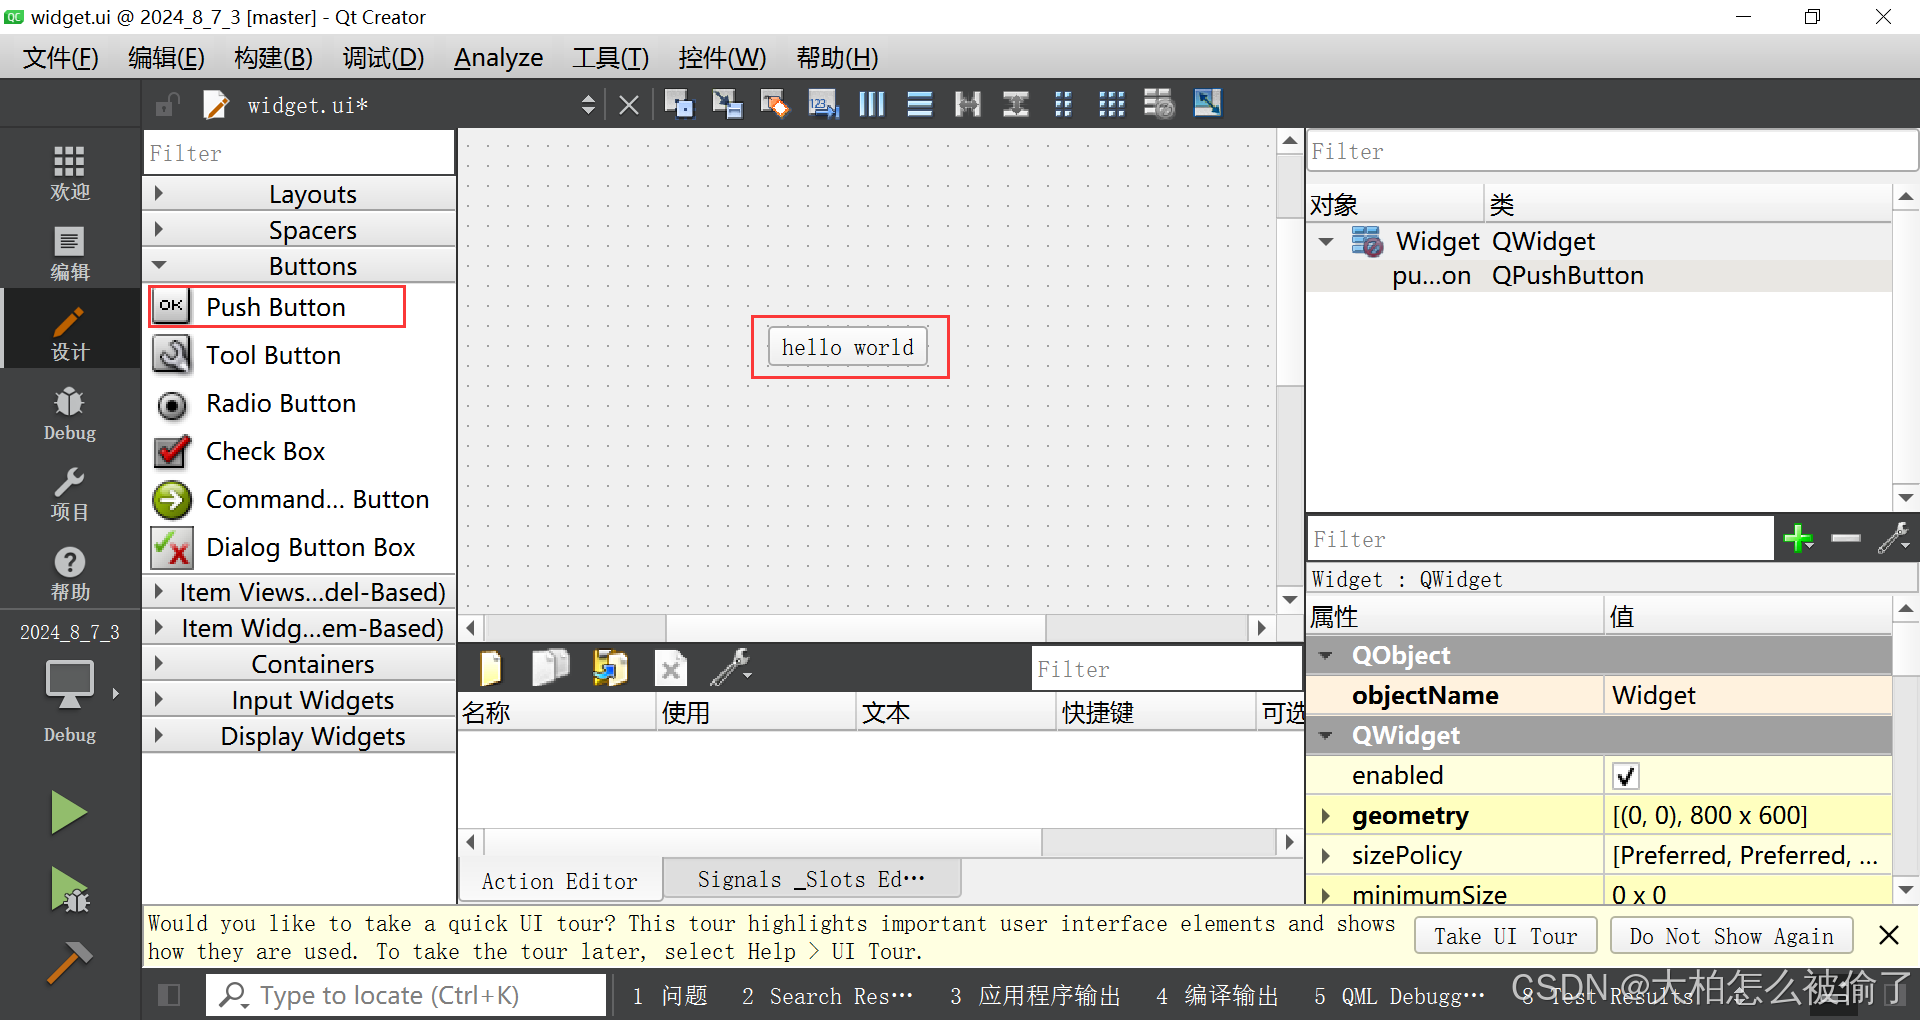
- PushButton是普通按钮
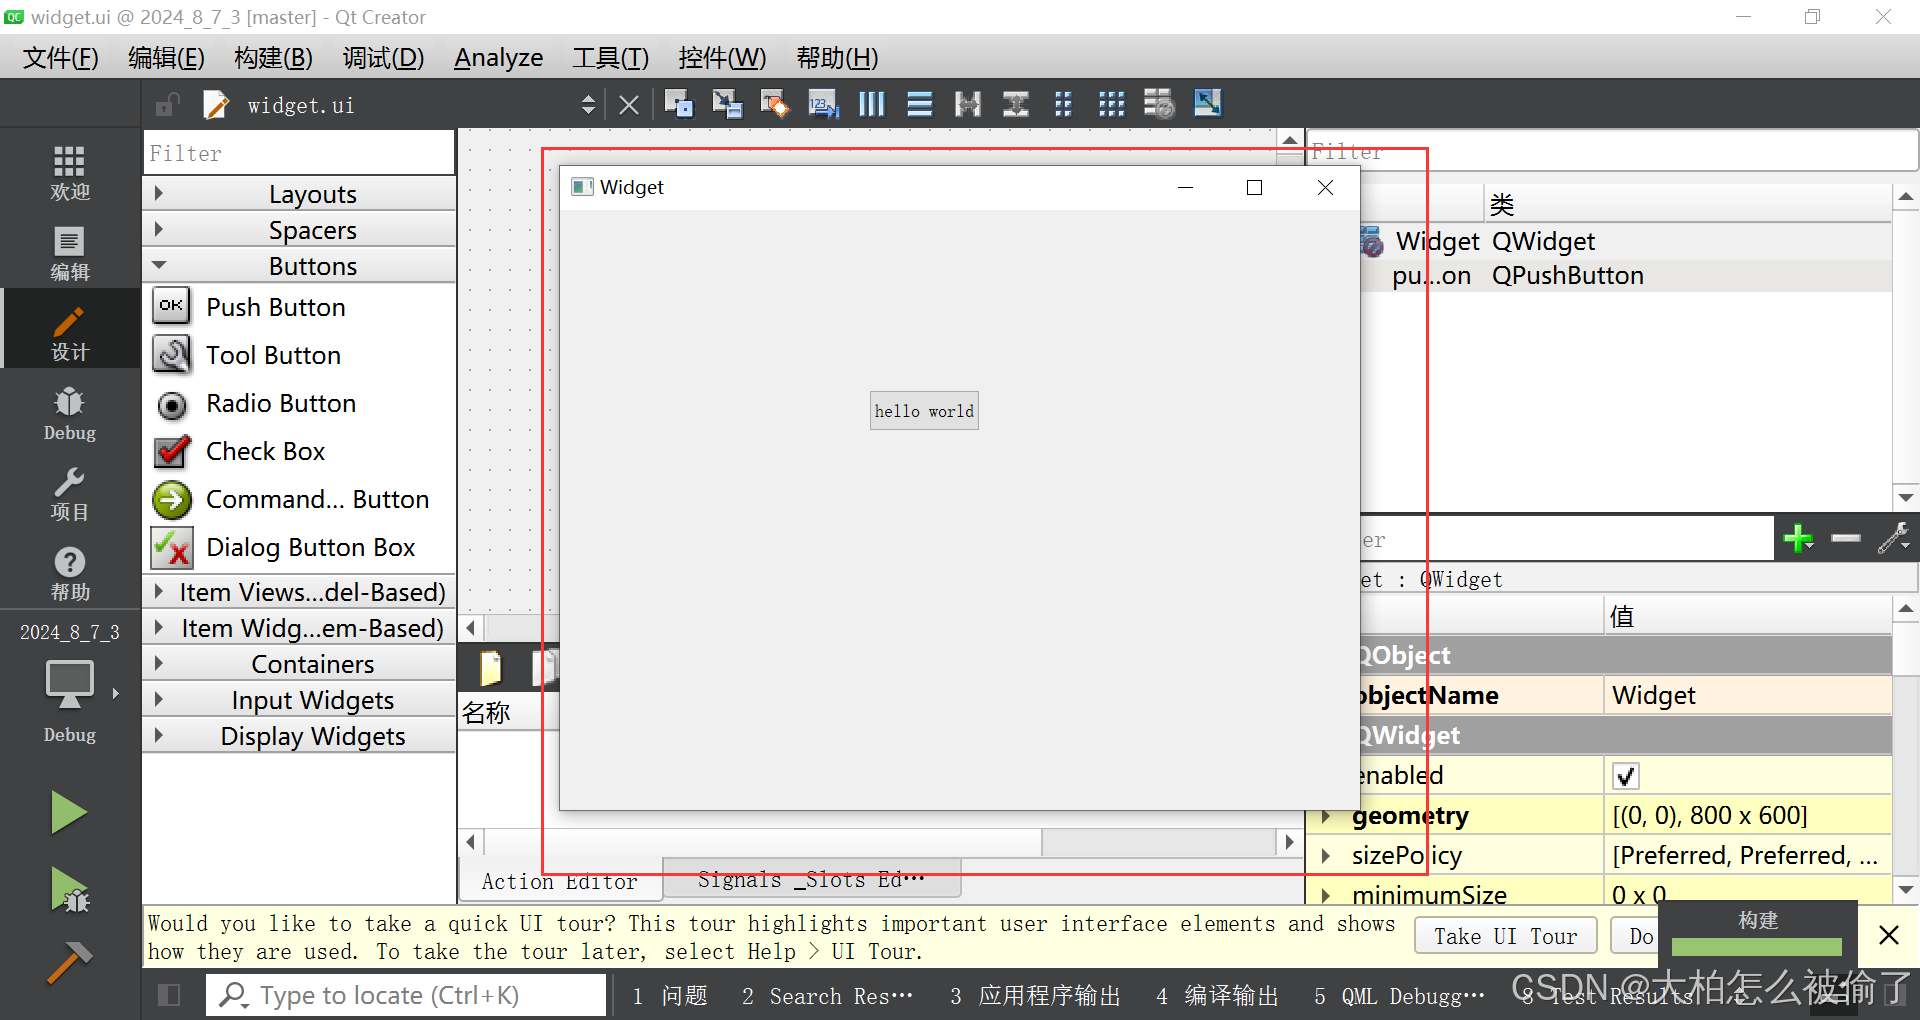
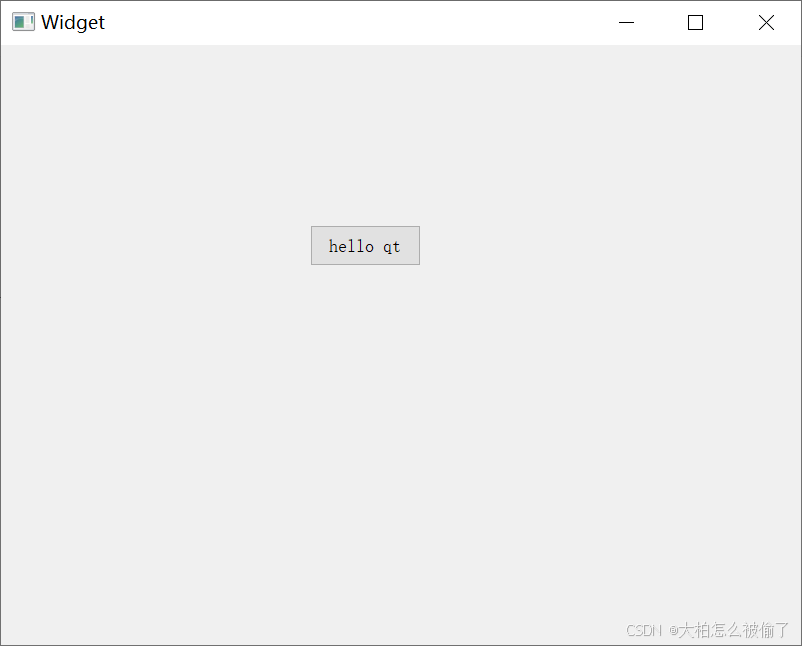
运行之后,出现一个"hello world"的按钮。
但是这个点击之后是没有反应的,这里就需要联系到Qt中的信号槽机制。
信号槽机制的本质是:给按钮的点击操作,关联上一个处理函数,当用户点击的时候就会执行这个处理函数。
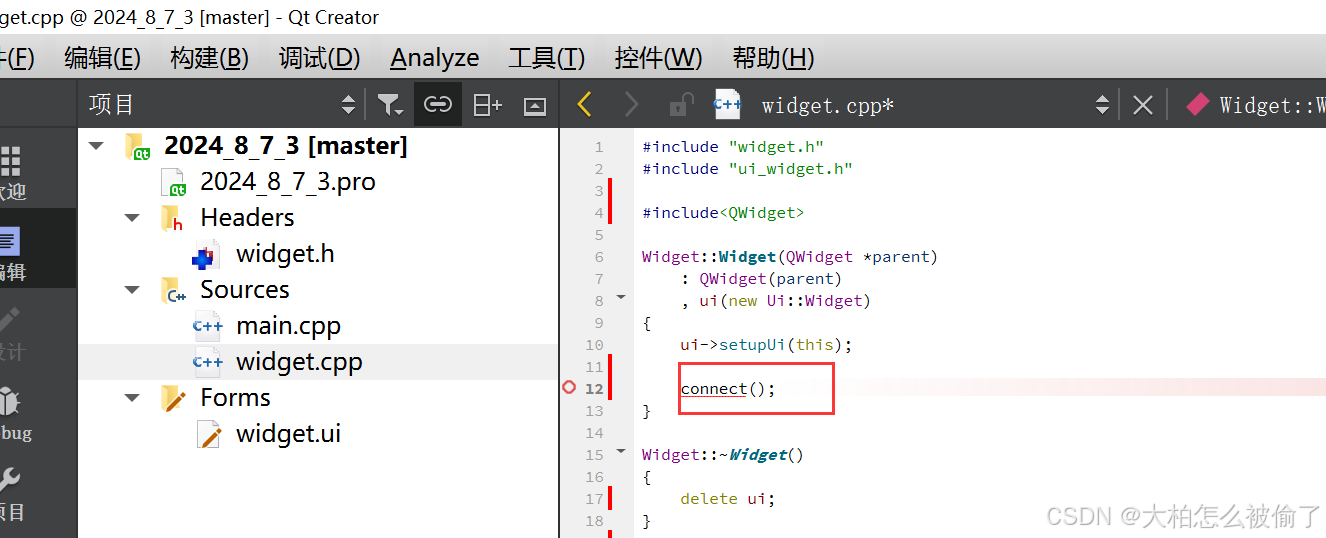
这里需要借助connect()这个函数。
【注意】在Linux网络编程中,也有一个connect函数,这个函数用来给TCP socket建立连接的,在写TCP的时候,需要先建立连接,然后才能读写数据。
而Qt中的connect和TCP的建立连接没有任何关系,Qt中的connet是Qobject这个类提供的静态函数,这个函数的作用就是“连接信号”和“槽”。
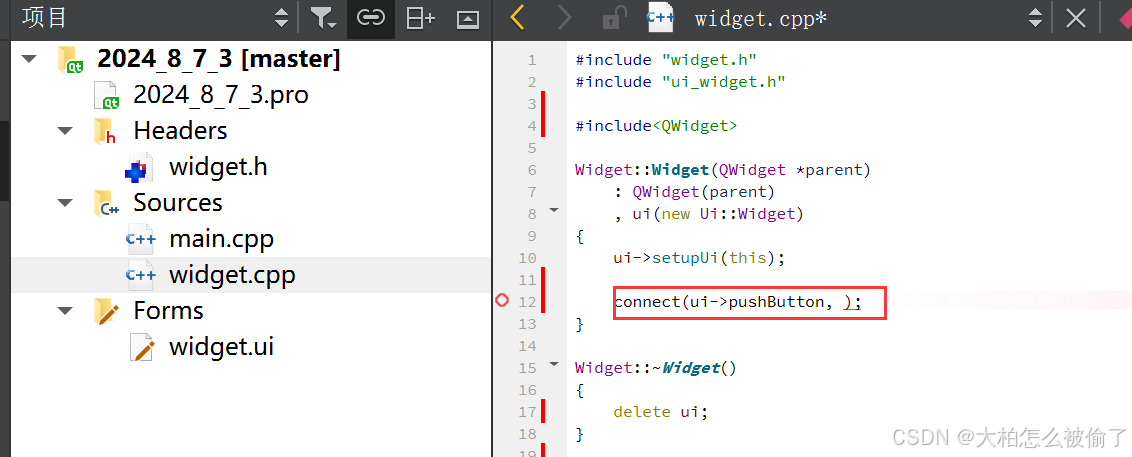
connect函数中有4个参数。
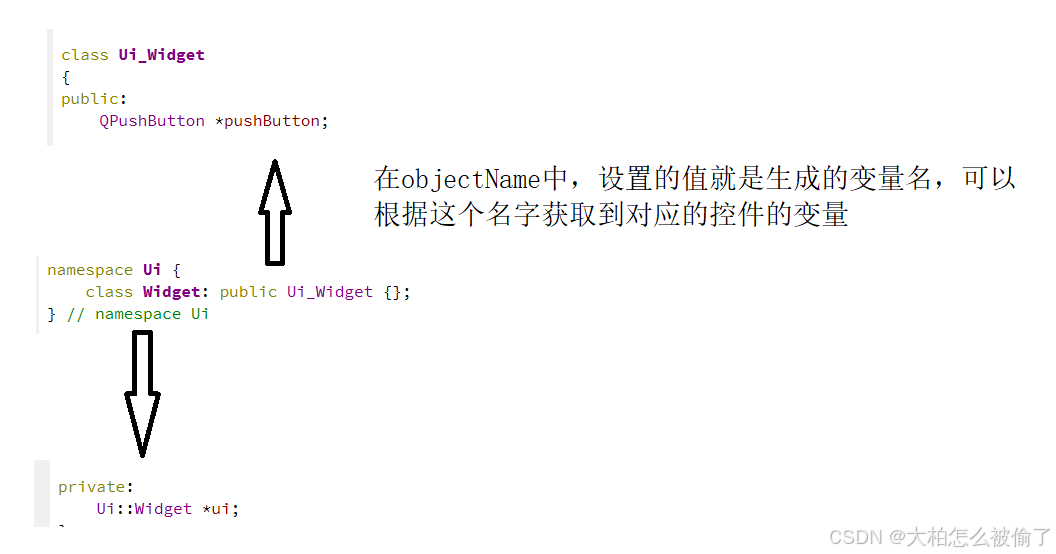
第一个函数是访问到form file(ui文件)中的创建的控件,在Qt Designer中创建一个控件的时候,此时就会给这个控件分配一个objectName属性,这个属性的值,再界面中是唯一的,不能重复。
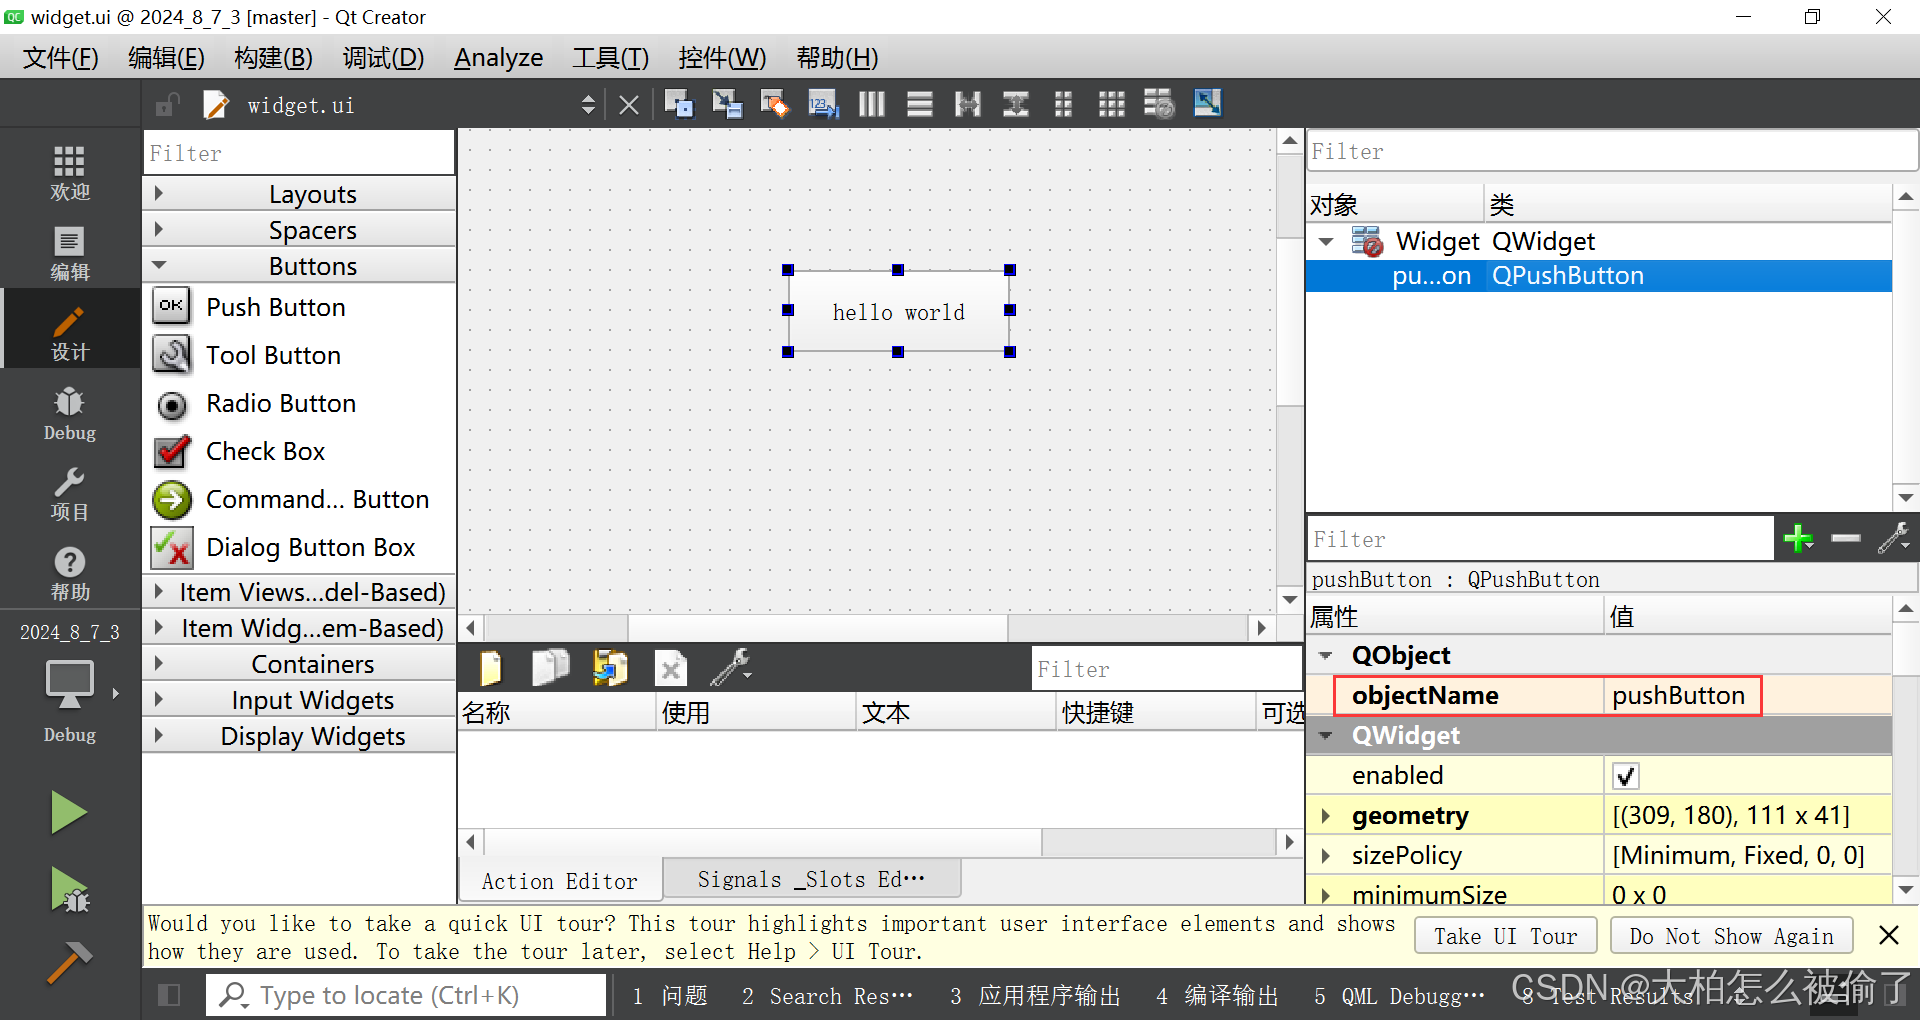
这里会自动生成这个变量,也可以手动修改。
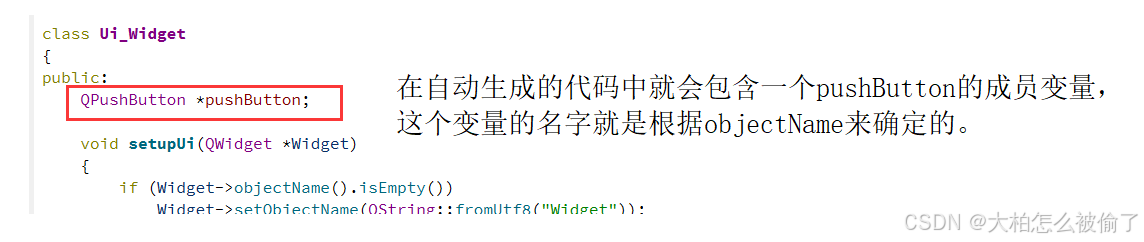
qmake在预处理.ui文件的时候,会根据objectName生成对应的C++文件,C++代码中QpushButon对象的变量名字就是这里的objectName,这个变量就是ui属性中的成员变量。
widget.h文件代码
#ifndef WIDGET_H
#define WIDGET_H

#include <QWidget>

QT_BEGIN_NAMESPACE
namespace Ui { class Widget; }
QT_END_NAMESPACE

class Widget : public QWidget
{
    Q_OBJECT

public:
    Widget(QWidget *parent = nullptr);
    ~Widget();

    void handleClick();

private:
    Ui::Widget *ui;
};
#endif // WIDGET_H
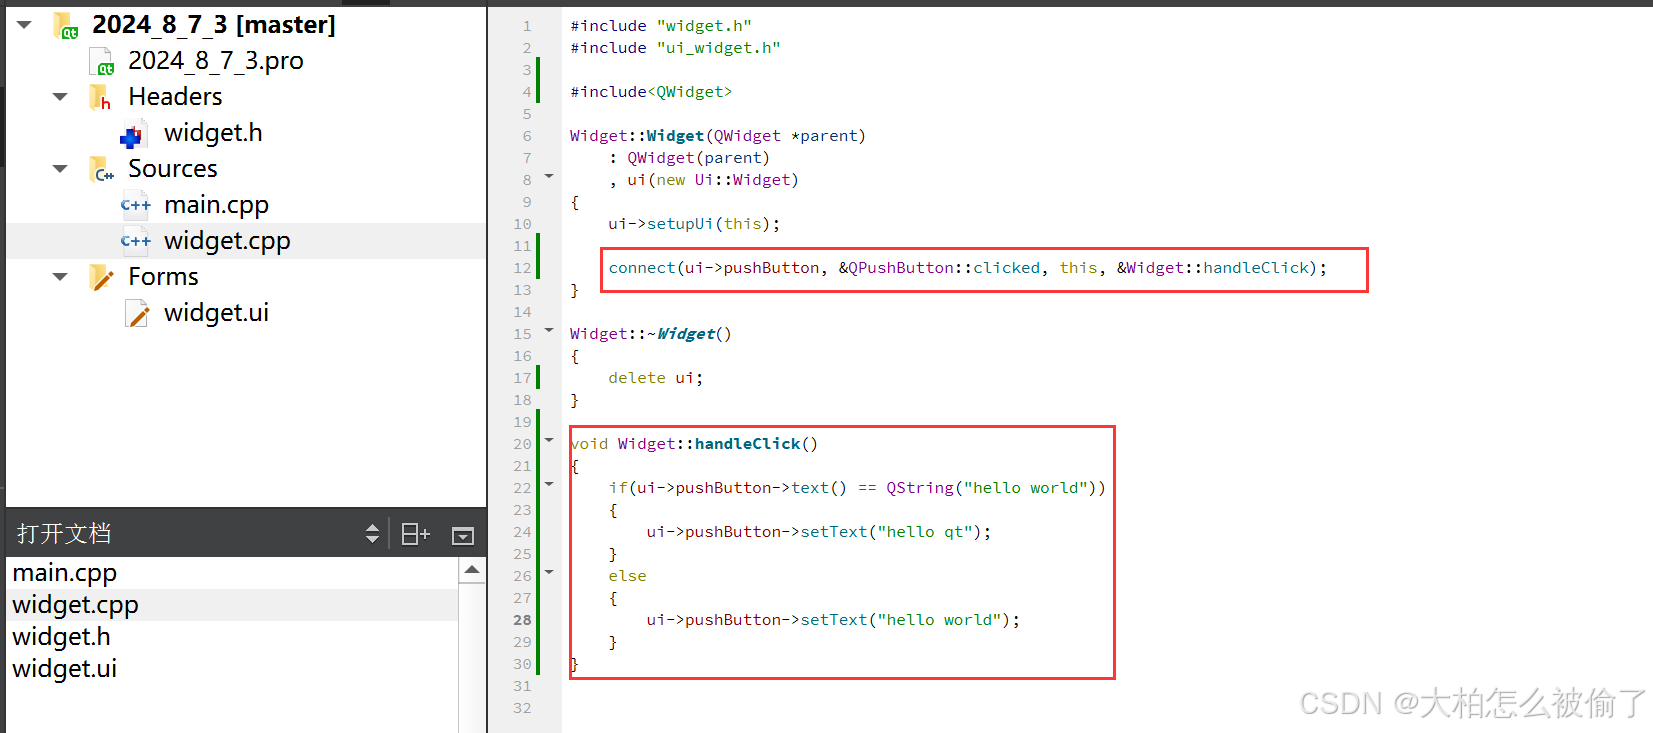
widget.cpp文件代码
#include "widget.h"
#include "ui_widget.h"

#include<QWidget>

Widget::Widget(QWidget *parent)
    : QWidget(parent)
    , ui(new Ui::Widget)
{
    ui->setupUi(this);

    connect(ui->pushButton, &QPushButton::clicked, this, &Widget::handleClick);
}

Widget::~Widget()
{
    delete ui;
}

void Widget::handleClick()
{
    if(ui->pushButton->text() == QString("hello world"))
    {
        ui->pushButton->setText("hello qt");
    }
    else
    {
        ui->pushButton->setText("hello world");
    }
}
connect函数的四个参数的含义分别是
这里&QPushButton::clicked的意思是点击按钮的时候就会自动触发信号。
- 此时当按钮被点击的时候,就会将按钮中的文本进行切换

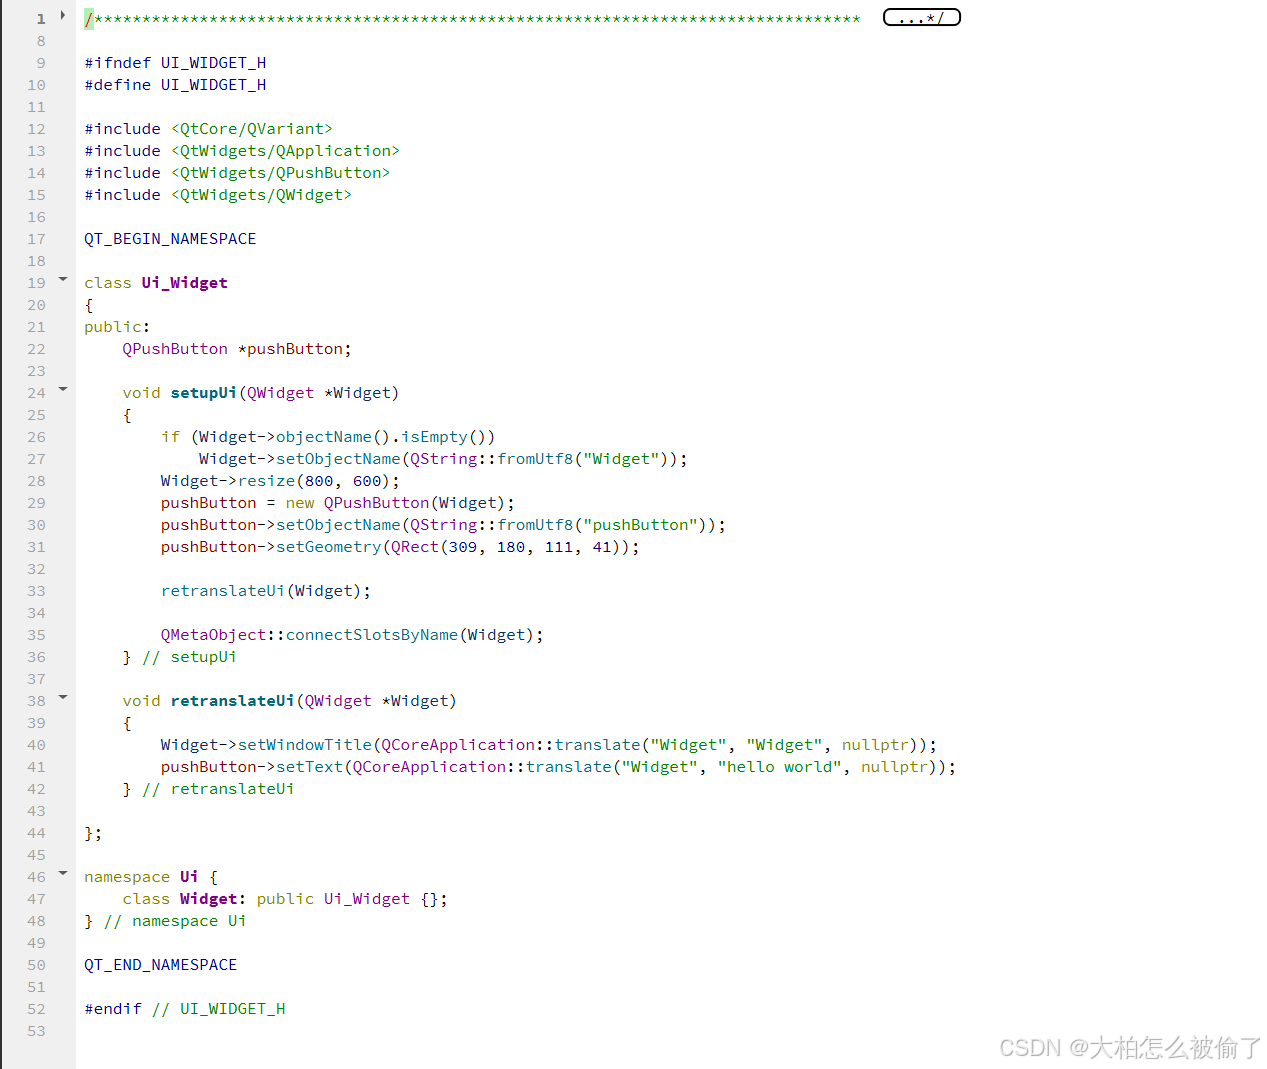
我们通过打开ui_widget.h文件,可以看到图形化界面生成的C++代码。
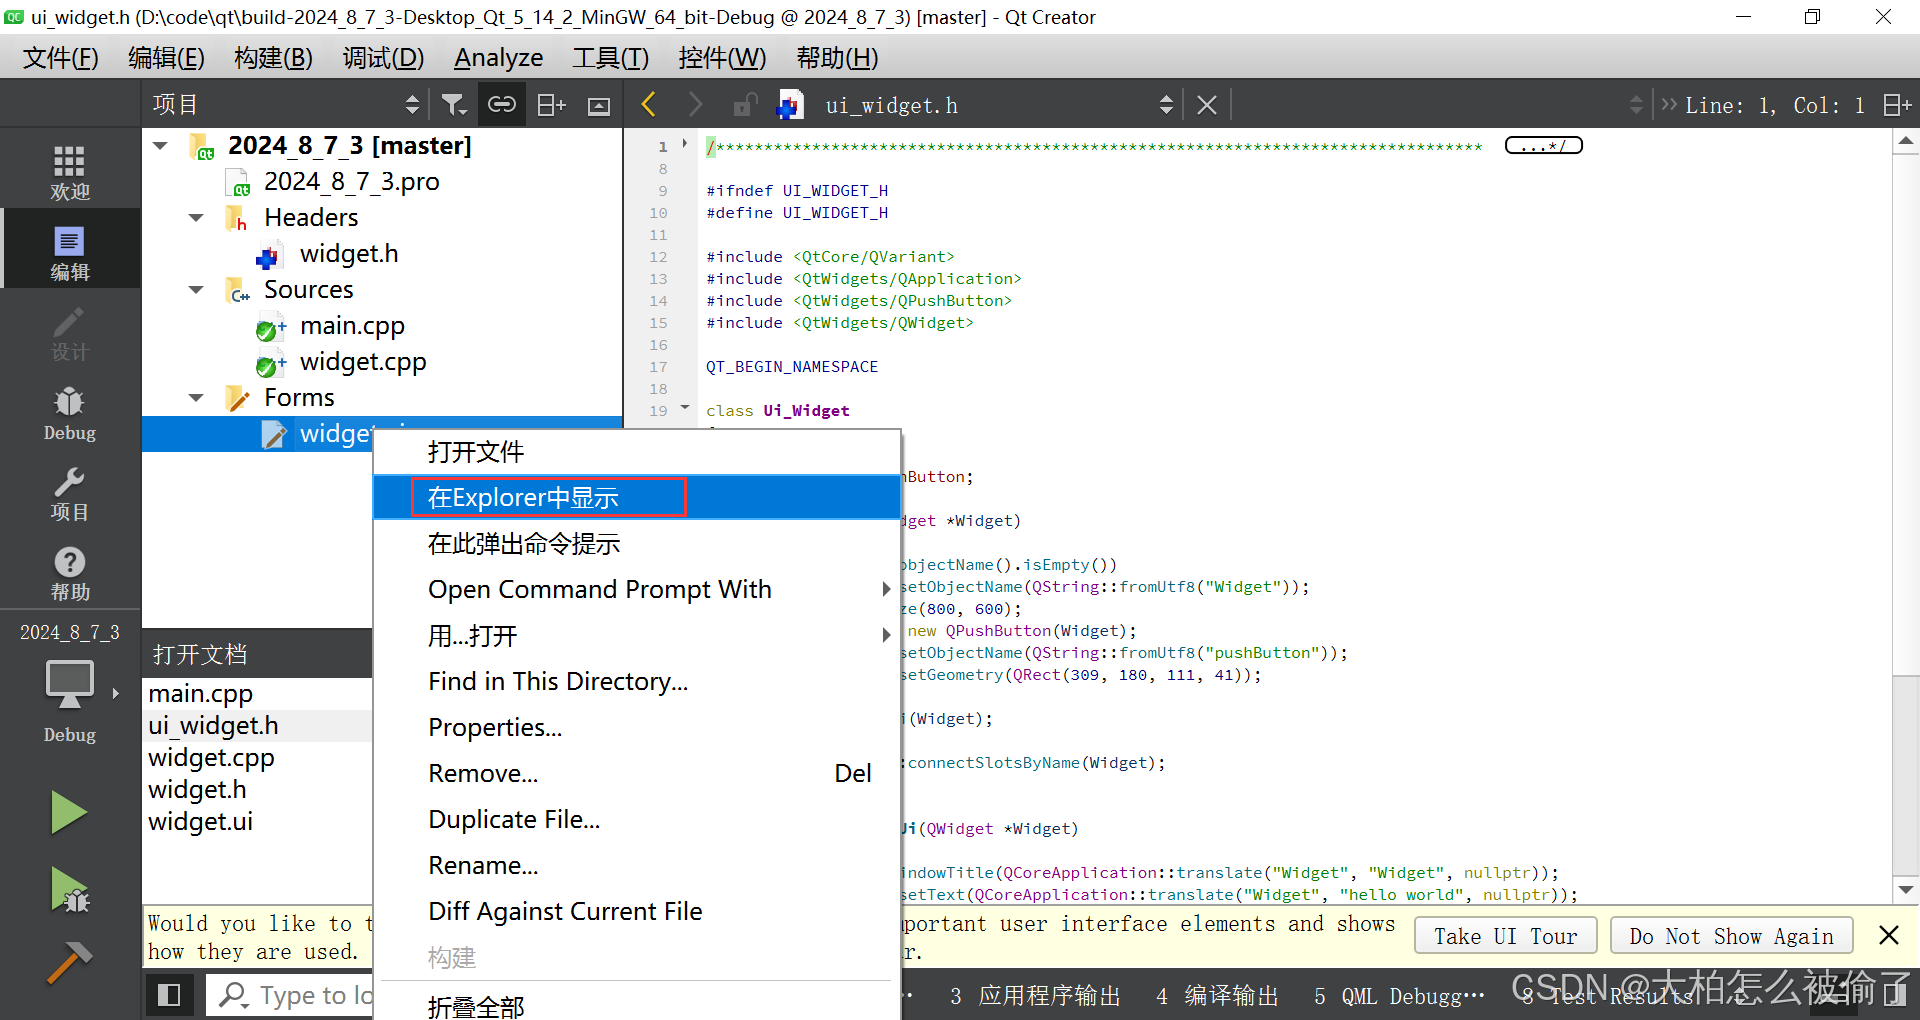
将上一级文件中的ui_widget文件拖入到Qt中。
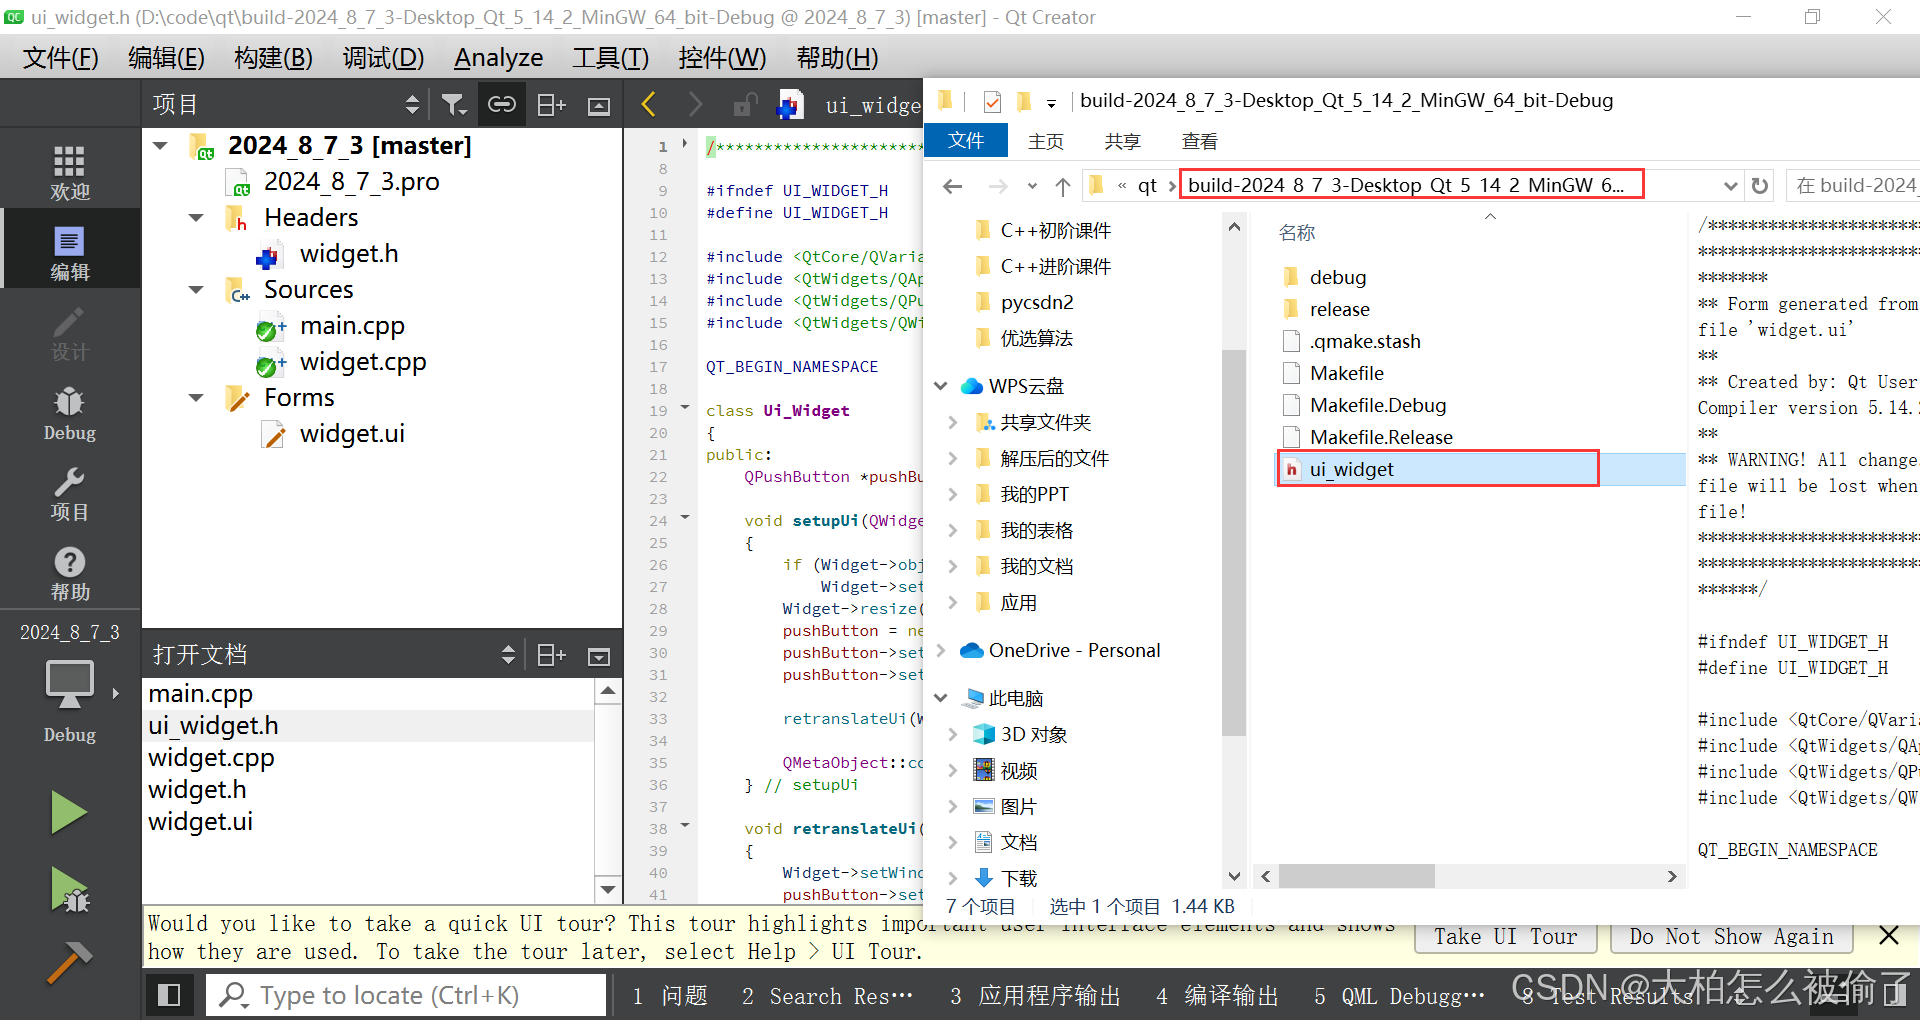
下面可以看到Qt自动生成的代码:
纯代码方式
widget.h文件代码
#ifndef WIDGET_H
#define WIDGET_H
#include<QPushButton>
#include <QWidget>

QT_BEGIN_NAMESPACE
namespace Ui { class Widget; }
QT_END_NAMESPACE

class Widget : public QWidget
{
    Q_OBJECT

public:
    Widget(QWidget *parent = nullptr);
    ~Widget();

    void handClick();
private:
    Ui::Widget *ui;
    QPushButton* myButton;
};
#endif // WIDGET_H
widget.cpp文件代码
#include "widget.h"
#include "ui_widget.h"


Widget::Widget(QWidget *parent)
    : QWidget(parent)
    , ui(new Ui::Widget)
{
    ui->setupUi(this);

    myButton = new QPushButton(this);
    myButton->setText("hello world");
    connect(myButton, &QPushButton::clicked, this, &Widget::handClick);
}

Widget::~Widget()
{
    delete ui;
}

void Widget::handClick()
{
    if(myButton->text() == QString("hello world"))
    {
        myButton->setText("hello qt");
    }
    else
    {
        myButton->setText("hello world");
    }
}
对于纯代码的版本,按钮对象是咱们自己new的,为了保证其他函数中能访问到这个变量,需要把按钮对象设定为Widget类的成员变量。
对于图形化界面的方式,此时按钮对象不需要自己new。new对象的操作已经被Qt自动生成了,而且这个按钮对象,已经作为ui对象里的一个成员变量,无需作为widget的成员。
在实际开发过程中,图形化界面构造方式和纯代码构造方式都是非常重要的。
如果当前程序界面的界面内容是比较固定的,就会以图形化界面的方式来构造界面;但是如果程序界面经常会发生动态变化,此时就会以代码的方式来构造界面。


 594
594

 被折叠的 条评论
为什么被折叠?
被折叠的 条评论
为什么被折叠?
 到【灌水乐园】发言


