


接项目搭建与初始化之后继续对项目进行部署工作
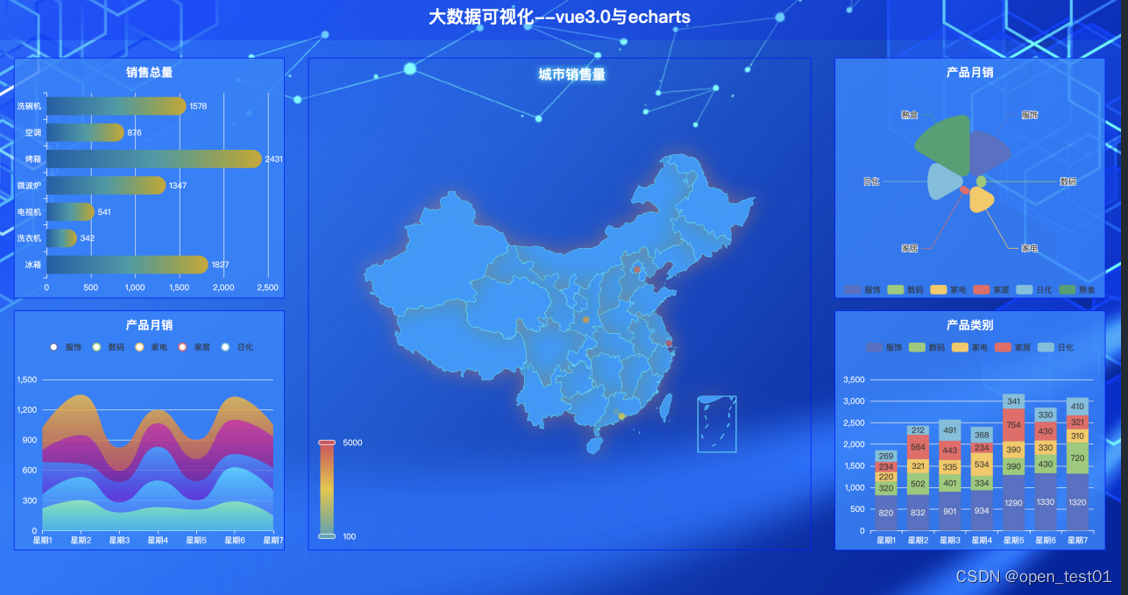
项目展示:
技术栈:
1. vue3.0+vue-router4.0+axios2. flex 布局3. LESS4. rem 屏幕适配5. echarts5.0
项目分辨率响应式创建
对插件进行下载
npm i -S lib-flexible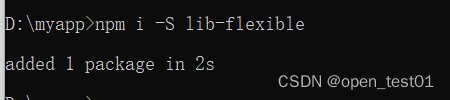
到main.js中引用插件
import 'lib-flexible/flexible.js'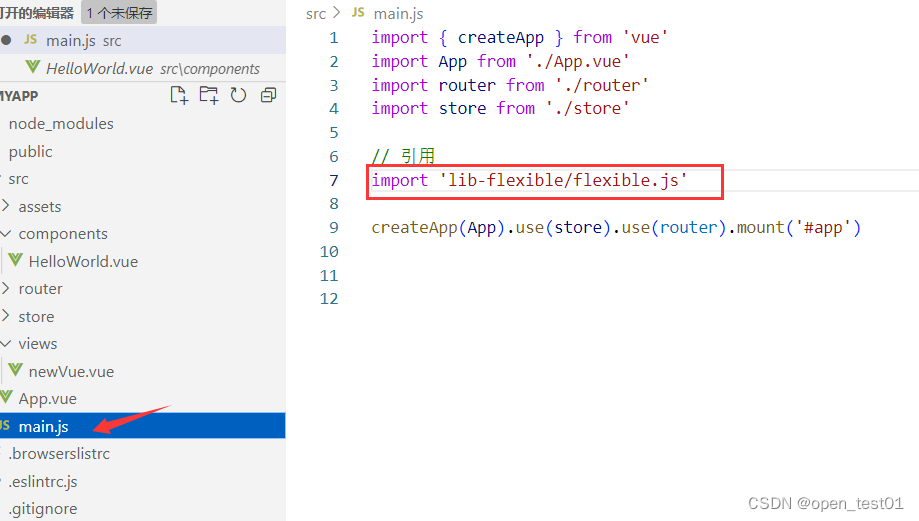
修改flexible配置
找到71行到74行并修改默认的分辨率配置
// 修改成为
// 最小400px,最大适配2560px
if (width / dpr < 400) {
width = 400 * dpr;
} else if (width / dpr > 2560) {
width = 2560 * dpr;
}
// 设置成24等份,设计稿时1920px的,这样1rem就是80px (1920/24=80)方便使用
var rem = width / 24;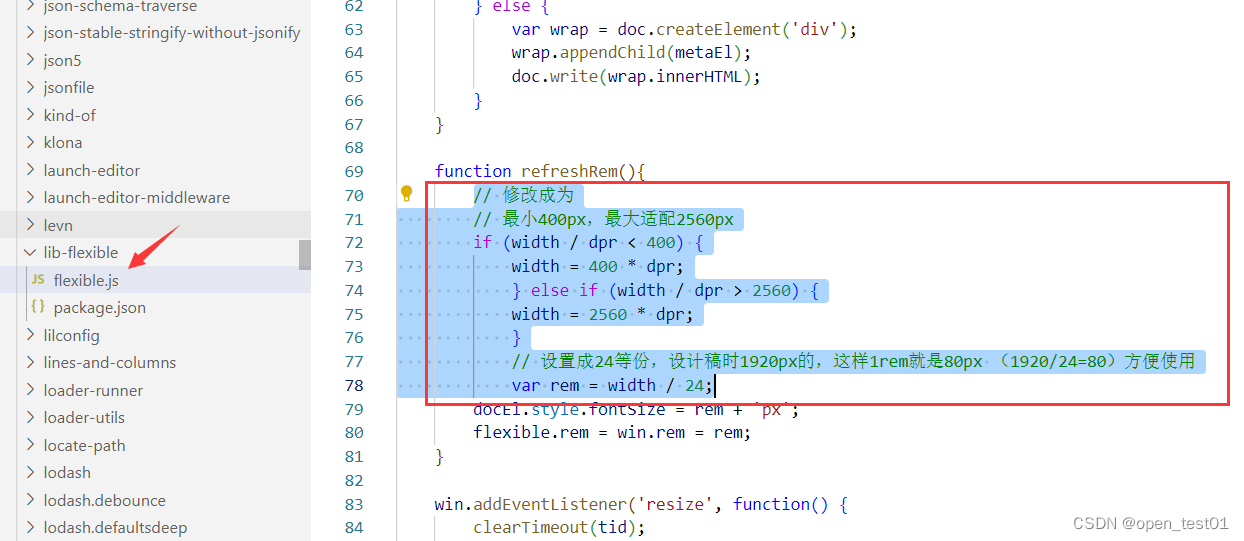
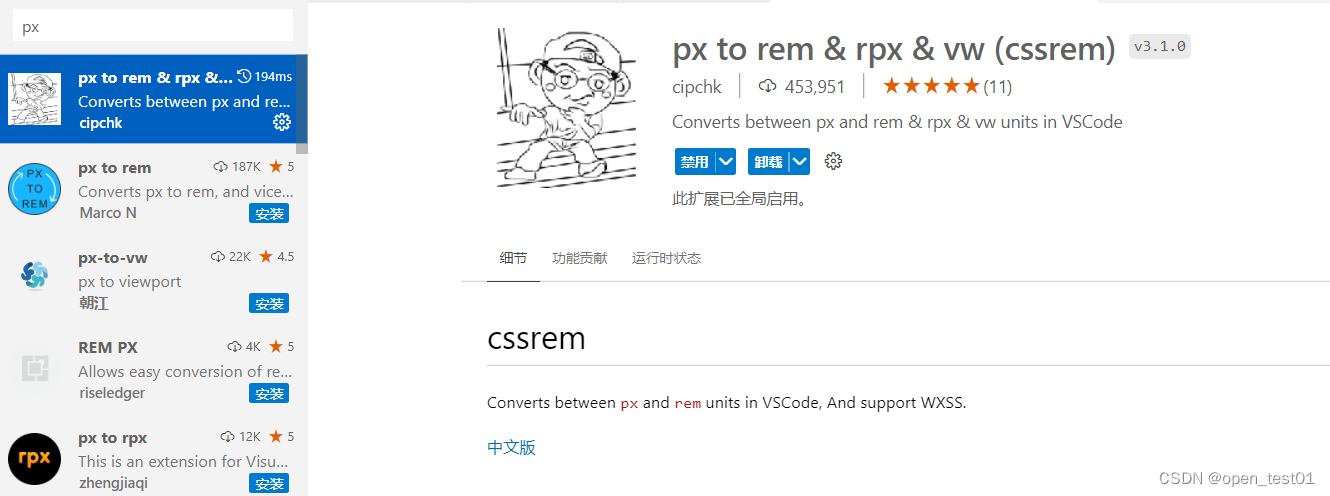
Visual Studio Code中下载rem工具
我们在写代码的时候发现如果我们都根据80px
为
1rem
在编写代码的时候转换非常的麻烦 所以我们可以
在
vscode
中安装一个
cssrem
的插件帮助我们进行转换
这样一来开发过程中会更加的方便
项目顶部信息条创建
将准备好的背景图放到目录下
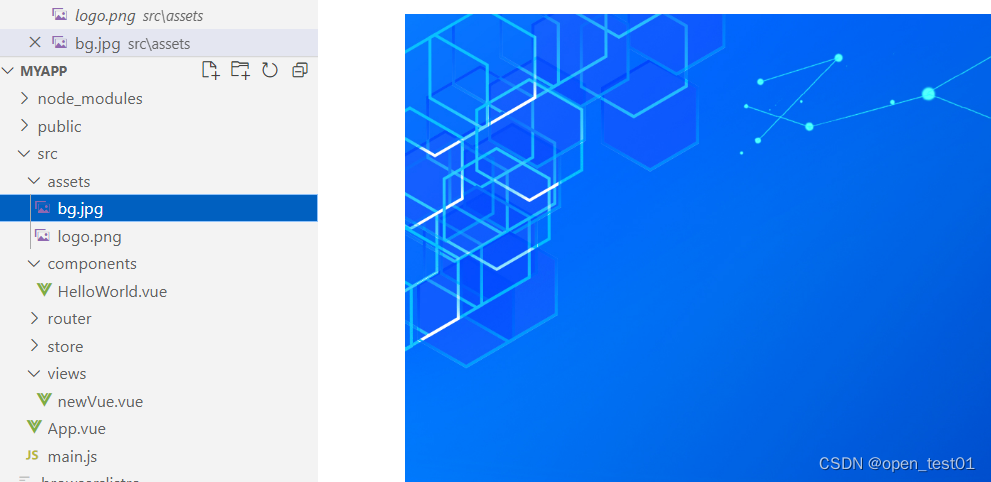
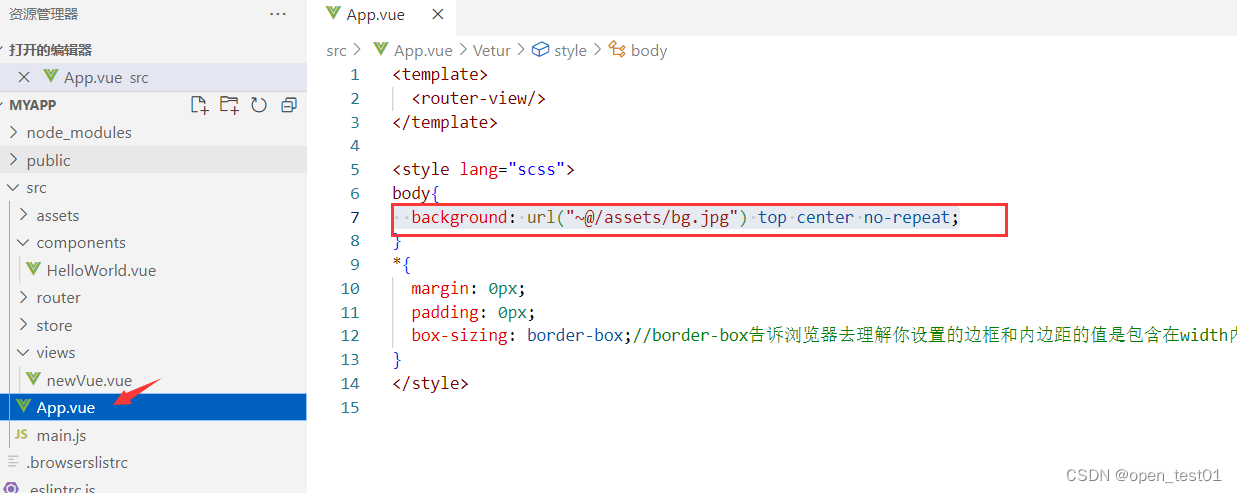
把图片方法assets文件夹中 在app.vue中设置背景图
body{
background: url('~@/assets/bg.jpg') top center no-repeat;
}
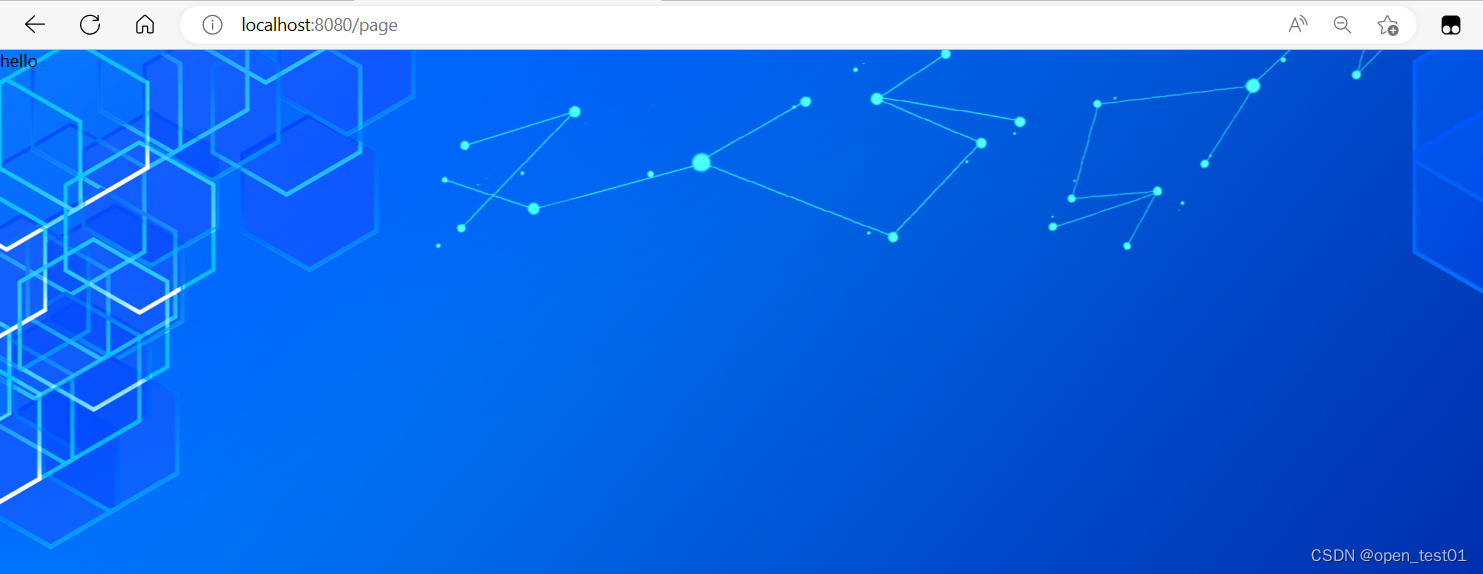
查看页面背景图的效果
安装 less 和 less-loader 两个包
npm install less less-loader --save-dev

设置标题文字样式
<template>
<div>
<header>
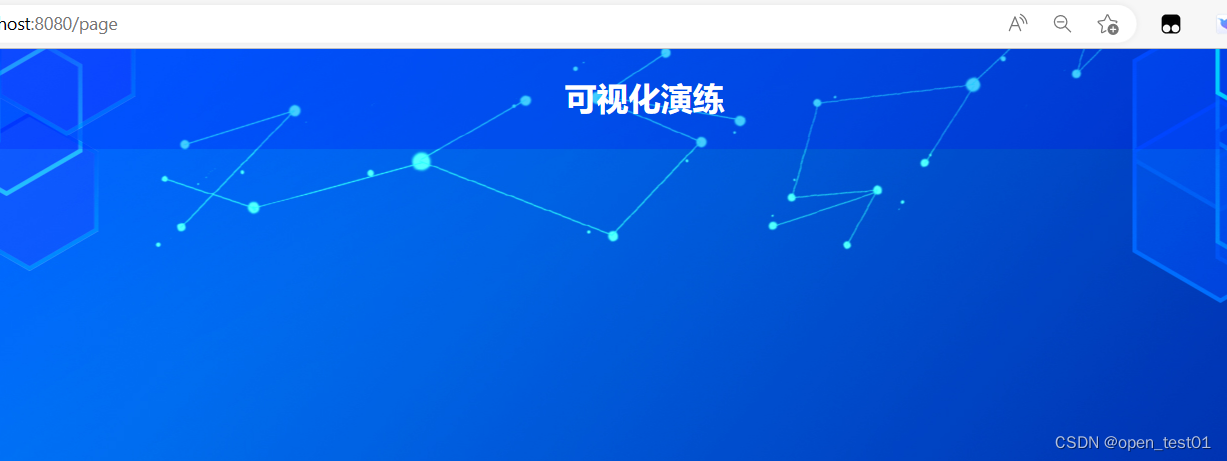
<h1>可视化演练</h1>
</header>
</div>
</template>
<style lang="less">
header{
height: 100px;
width: 100%;
background-color: rgba(0,0,255,0.2);
}
h1{
font-size: 2rem;
text-align: center;
color: white;
line-height: 6rem;
}
</style>页面中查看效果
页面主体创建
创建大容器
<template>
  <div>
  <header>
  <h1>可视化项目</h1>
  </header>
  <!--大容器-->
  <section class="cot">

  </section>
  </div>
  </template>


<style lang="less">
header{
height: 1rem;
width: 100%;
/* 设置一个半透明淡蓝色 */
background-color: rgba(0, 0, 255, .2);
/* 把标题文字样式设置 */
h1{
font-size: .375rem;
color:#fff;
text-align: center;
line-height: 1rem;
}
}
// 主体容器样式
.cot{
// 这里就不需要设置使用rem了 使用rem那么页面就会根据html根结点大小改变而改变了
min-width: 1200px;
max-width: 2048px;
margin: 0 auto;
// 盒子上10px 左右10px 下0的外边距
padding: .125rem .125rem 0;
// 测试完成看到样式就删除掉
height: 500px;
background-color: gray;
}
</style>
左中右容器
接下来我们可以创建左中右这三个部分。那么他们的占比分别是3 5 3 这个时候我们可以使用flex布局来 分割他们所占的区块大小
  <!--大容器-->
    <section class="cot">
    <!-- 左容器 -->
    <section class='itemLeft'>1</section>
    <!-- 中容器 -->
    <section class='itemCenter'>2</section>
    <!-- 右容器 -->
    <section class='itemRight'>3</section>
  </section>
容器样式设置
.itemLeft,.itemRight{
  flex: 3;
}
.itemCenter{
  flex: 5;
}
创建容器组件
·在组件目录下自定义新建一个组件文件

设置样式与插槽
<template>
    <div class='itemPage'>
    <!-- 设置插槽 -->
    <slot>

    </slot>
    </div>
    </template>

<script>
export default {

}
</script>

<style>

.itemPage{
    /* 高度410px */
    height: 5.125rem;
    border: 1px solid blue;
    /* 外边距20px */
    margin: .25rem;
    background-color: rgba(13, 130, 255, 0.851);
}
</style>
在主页面组件的引用
<template>
  <div>
  <header>
  <h1>可视化项目</h1>
  </header>
  <!--大容器-->
  <section class="cot">
    <!-- 左容器 -->
    <section class='itemLeft'>
      <ItemPage />
      <ItemPage />
    </section>
    <!-- 中容器 -->
    <section class='itemCenter'></section>
    <!-- 右容器 -->
    <section class='itemRight'>
      <ItemPage />
      <ItemPage />
    </section>
  </section>
  </div>
  </template>

<script>
import ItemPage from "@/components/itemPage.vue"
export default {
  //调用组件
  components:{
    ItemPage
  }
}
</script>
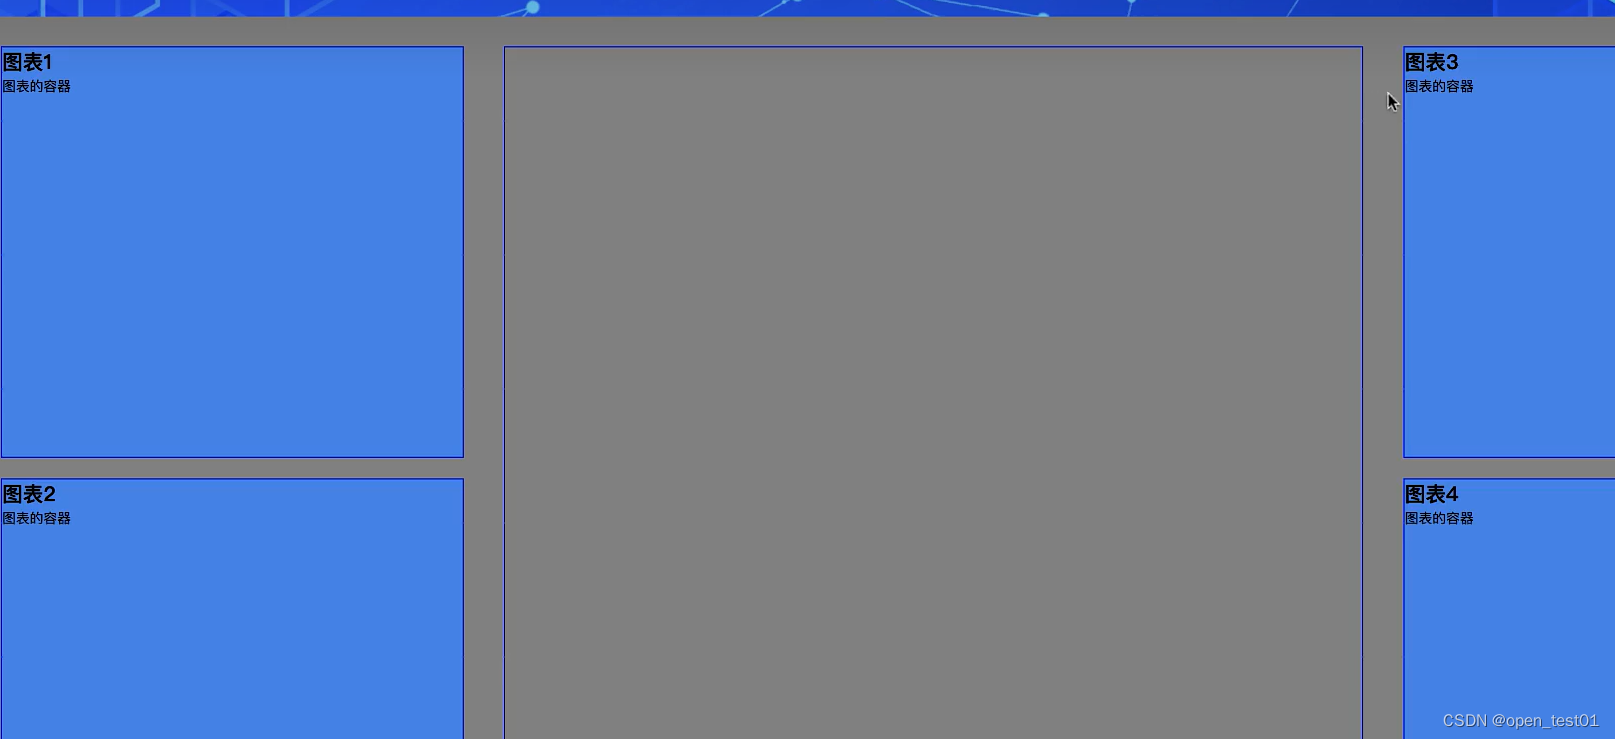
每个区块内容插入容器槽口
一共4个图标 使用一个公共的组件容器 所以我们编写这4个不同图表的组件并且 分别显示

对四个槽口写入内容
<template>
    <div>
    <h2>A</h2>
    <div class="chart">
    容纳后期的图表
    </div>
    </div>
    </template>

    <script>
    export default {
    }
    </script>

    <style scoped>
        h2{
        /* 48像素 */
        height: 0.6rem;
        color: #fff;
        line-height: 0.6rem;
        text-align: center;
        font-size: 0.25rem;
        }
        .chart{
        /* 高度360 */
        height: 4.5rem;
        background-color: gray;
        }
</style>在homePage.vue中引用调用使用这4个组件
<template>
  <div>
  <header>
  <h1>可视化项目</h1>
  </header>
  <!--大容器-->
  <section class="cot">
    <!-- 左容器 -->
    <section class='itemLeft'>
      <ItemPage>
        <itmeA/>
      </ItemPage>

      <ItemPage>
        <itmeB/>
      </ItemPage>
    </section>
    <!-- 中容器 -->
    <section class='itemCenter'></section>
    <!-- 右容器 -->
    <section class='itemRight'>
      <ItemPage>
        <itmeC/>
      </ItemPage>

      <ItemPage>
        <itmeD/>
      </ItemPage>
    </section>
  </section>
  </div>
  </template>

<script>
import ItemPage from "@/components/itemPage.vue"

import itmeA from "@/components/itmeA.vue"
import itmeB from "@/components/itmeB.vue"
import itmeC from "@/components/itmeC.vue"
import itmeD from "@/components/itmeD.vue"

export default {
  //调用组件
  components:{
    ItemPage,
    itmeA,
    itmeB,
    itmeC,
    itmeD
  }
}
</script>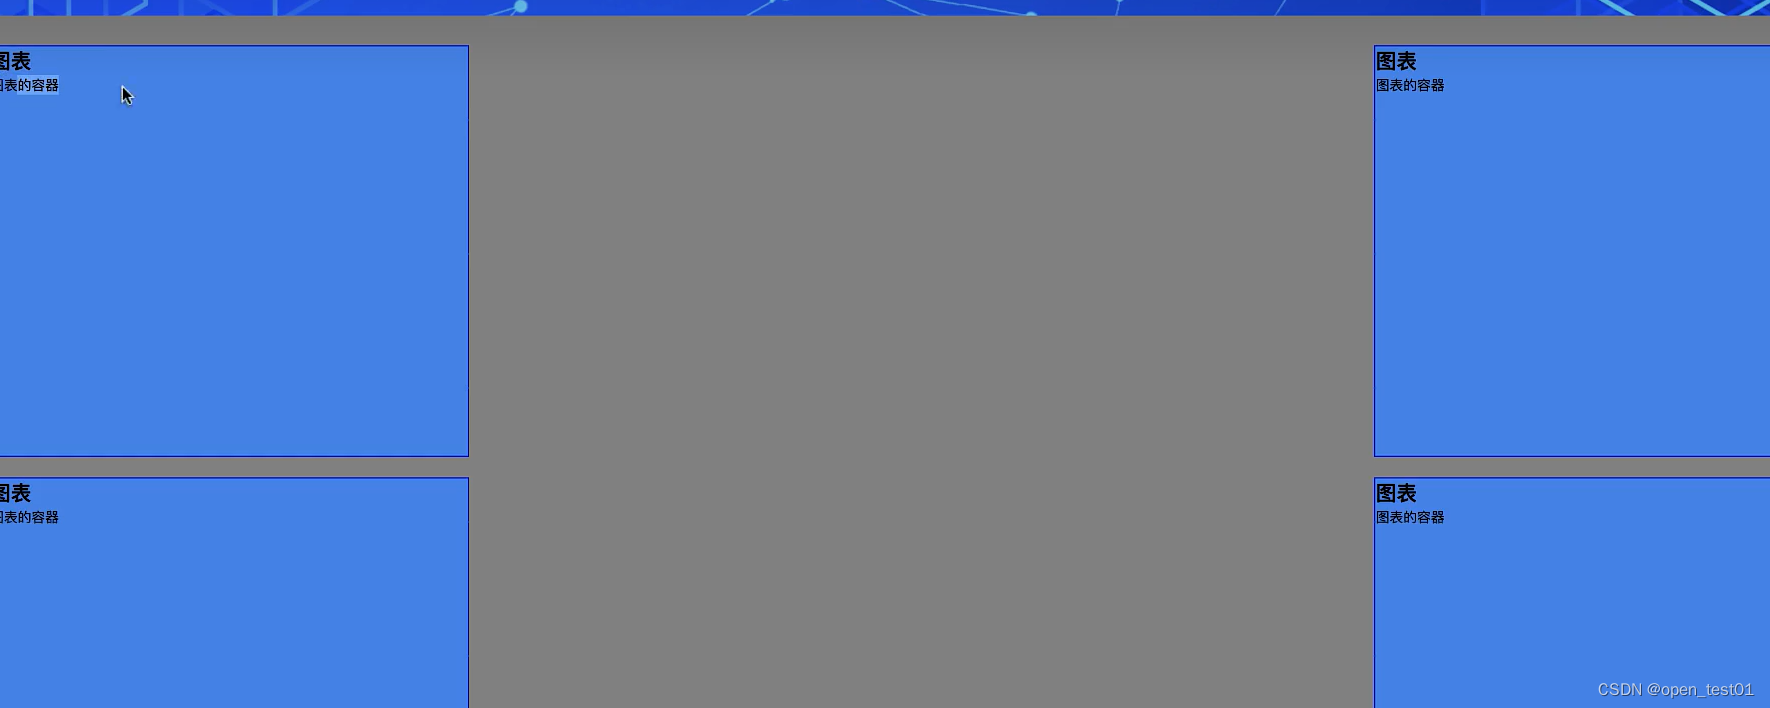
中间地图区域容器样式
在views
文件夹下的
homePage
。
vue
中设置中间区域容器样式
.itemCenter{
  // 高度840px
  height: 10.5rem;
  border: 1px solid blue;
  // 内边距10px
  padding: 0.125rem;
  // 外边距20px
  margin: 0.25rem;
}


 553
553


 被折叠的 条评论
为什么被折叠?
被折叠的 条评论
为什么被折叠?
 到【灌水乐园】发言


