


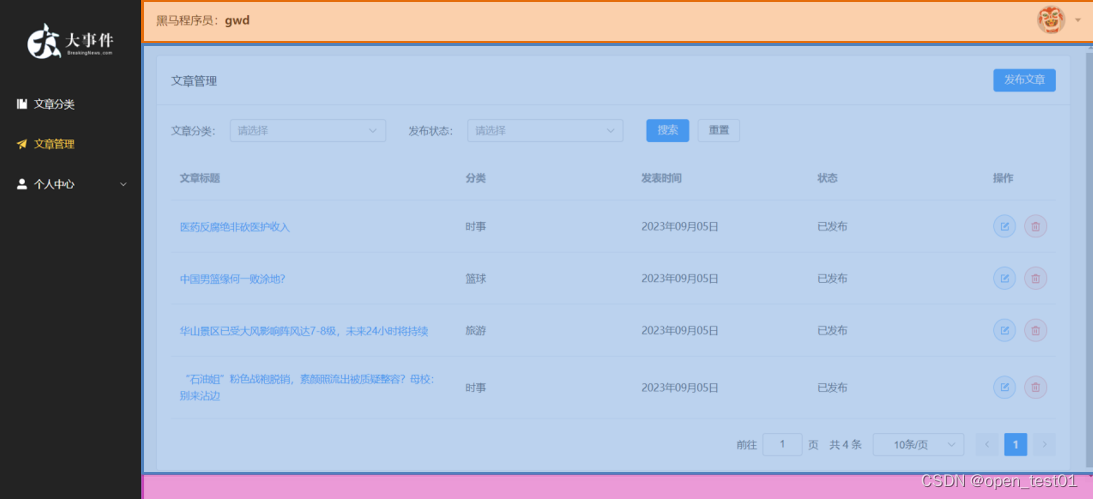
主页面搭建
页面主体结构
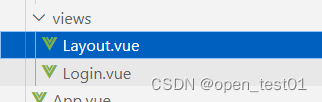
在vuews目录下新建Layout.vue文件
主页面内容主体代码
<script setup>
import {
Management,
Promotion,
UserFilled,
User,
Crop,
EditPen,
SwitchButton,
CaretBottom
} from '@element-plus/icons-vue'
import avatar from '@/assets/default.png'
</script>
<template>
<el-container class="layout-container">
<!-- 左侧菜单 -->
<el-aside width="200px">
<div class="el-aside__logo"></div>
<el-menu active-text-color="#ffd04b" background-color="#232323" text-color="#fff"
router>
<el-menu-item >
<el-icon>
<Management />
</el-icon>
<span>文章分类</span>
</el-menu-item>
<el-menu-item >
<el-icon>
<Promotion />
</el-icon>
<span>文章管理</span>
</el-menu-item>
<el-sub-menu >
<template #title>
<el-icon>
<UserFilled />
</el-icon>
<span>个人中心</span>
</template>
<el-menu-item >
<el-icon>
<User />
</el-icon>
<span>基本资料</span>
</el-menu-item>
<el-menu-item >
<el-icon>
<Crop />
</el-icon>
<span>更换头像</span>
</el-menu-item>
<el-menu-item >
<el-icon>
<EditPen />
</el-icon>
<span>重置密码</span>
</el-menu-item>
</el-sub-menu>
</el-menu>
</el-aside>
<!-- 右侧主区域 -->
<el-container>
<!-- 头部区域 -->
<el-header>
<div>用户:<strong>acc</strong></div>
<el-dropdown placement="bottom-end">
<span class="el-dropdown__box">
<el-avatar :src="avatar" />
<el-icon>
<CaretBottom />
</el-icon>
</span>
<template #dropdown>
<el-dropdown-menu>
<el-dropdown-item command="profile" :icon="User">基本资料</el-dropdown-item>
<el-dropdown-item command="avatar" :icon="Crop">更换头像</el-dropdown-item>
<el-dropdown-item command="password" :icon="EditPen">重置密码</el-dropdown-item>
<el-dropdown-item command="logout" :icon="SwitchButton">退出登录</el-dropdown-item>
</el-dropdown-menu>
</template>
</el-dropdown>
</el-header>
<!-- 中间区域 -->
<el-main>
<div style="width: 1290px; height: 570px;border: 1px solid red;">
内容展示区
</div>
</el-main>
<!-- 底部区域 -->
<el-footer>大事件 ©2024</el-footer>
</el-container>
</el-container>
</template>
<style lang="scss" scoped>
.layout-container {
height: 100vh;
.el-aside {
background-color: #232323;
&__logo {
height: 120px;
background: url('@/assets/logo.png') no-repeat center / 120px auto;
}
.el-menu {
border-right: none;
}
}
.el-header {
background-color: #fff;
display: flex;
align-items: center;
justify-content: space-between;
.el-dropdown__box {
display: flex;
align-items: center;
.el-icon {
color: #999;
margin-left: 10px;
}
&:active,
&:focus {
outline: none;
}
}
}
.el-footer {
display: flex;
align-items: center;
justify-content: center;
font-size: 14px;
color: #666;
}
}
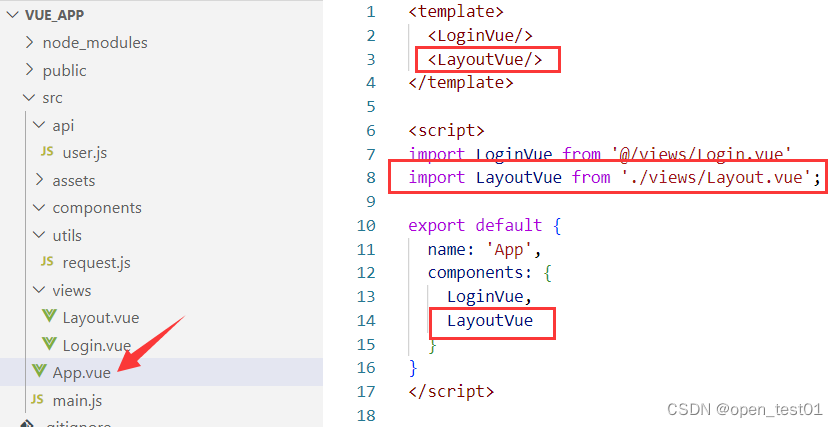
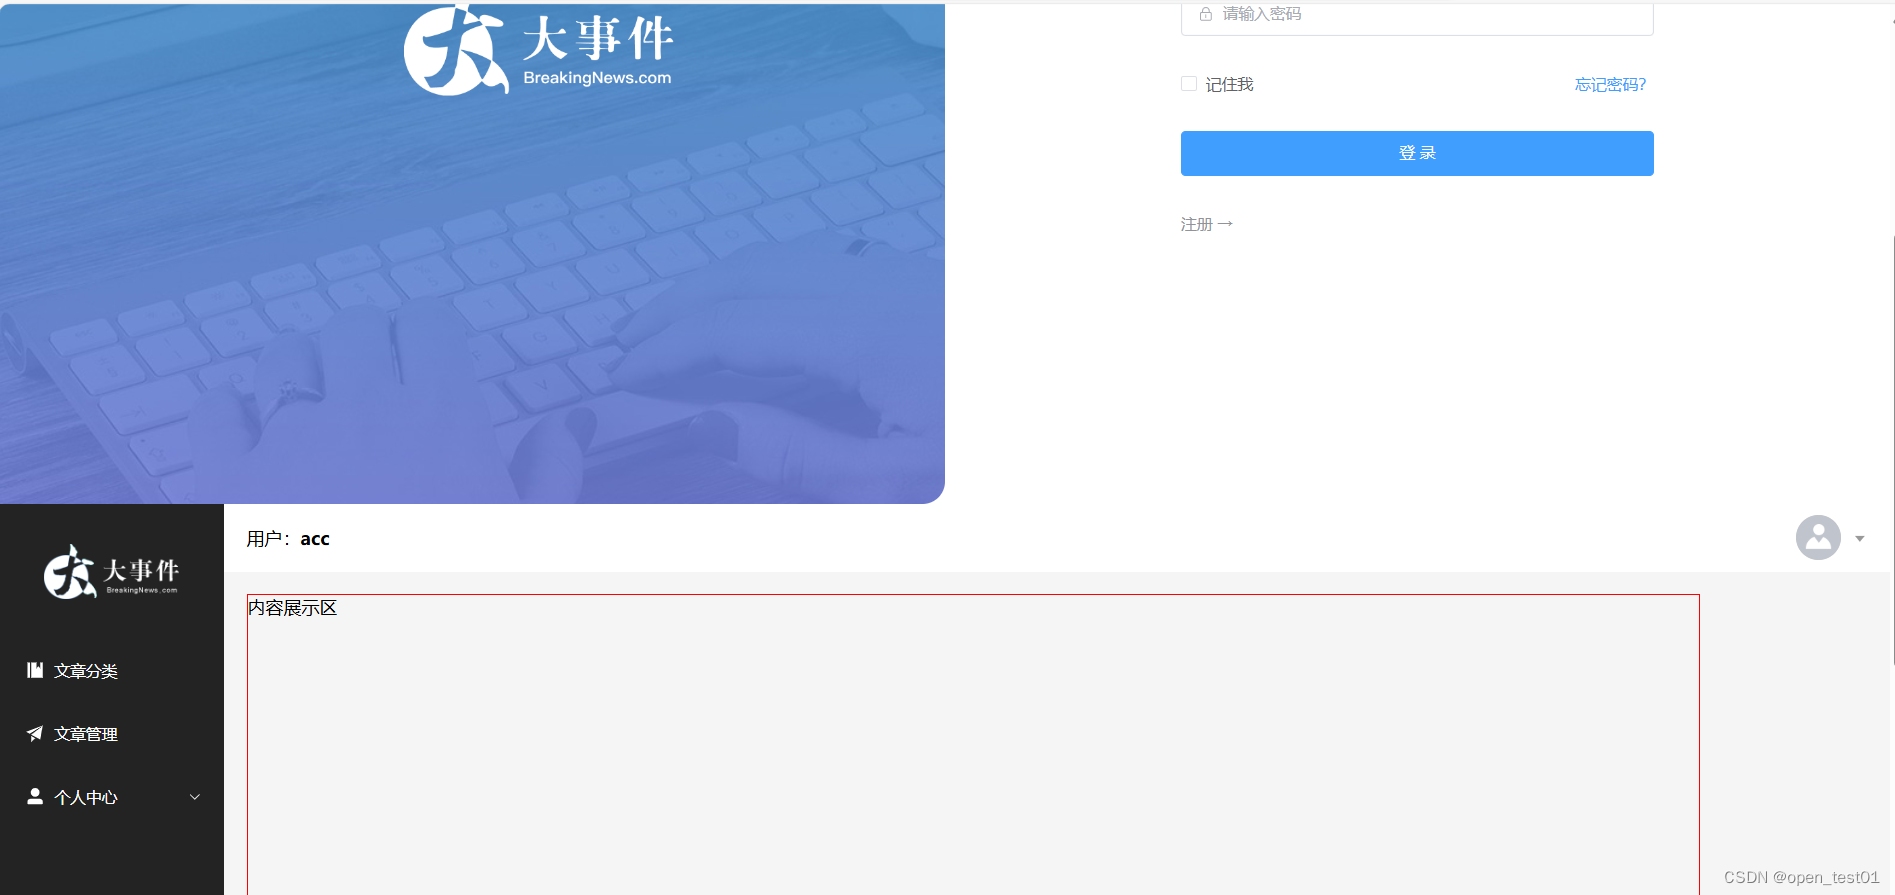
</style>在App.vue中引入主页面文件
但是发现都在一个页面里面
路由
- 路由,决定从起点到终点的路径的进程
- 在前端工程中,路由指的是根据不同的访问路径,展示不同组件的内容
- Vue Router是Vue.js的官方路由
在项目目录下安装路由
npm install vue-router@4
在src目录下创建 router,再在router目录下创建router.js文件
创建路由器,并导出
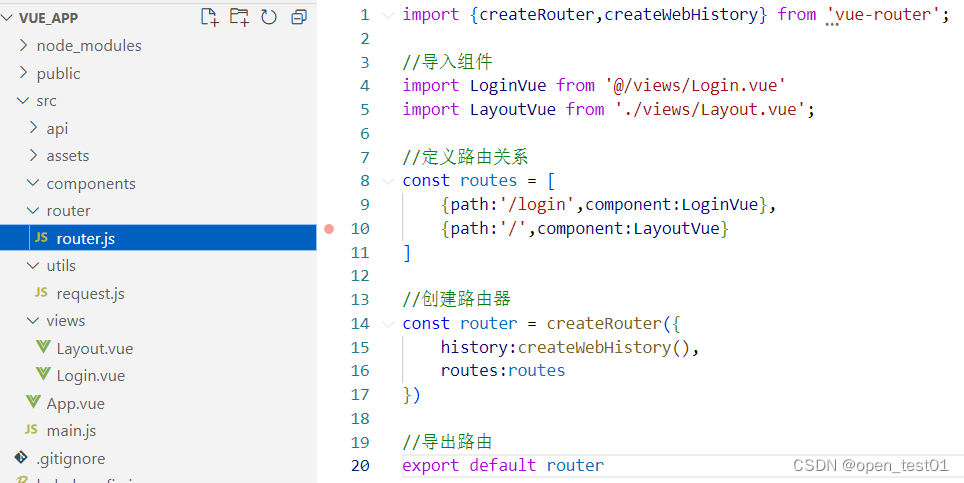
import {createRouter,createWebHistory} from 'vue-router';
//导入组件
import LoginVue from '@/views/Login.vue'
import LayoutVue from './views/Layout.vue';
//定义路由关系
const routes = [
{path:'/login',component:LoginVue},
{path:'/',component:LayoutVue}
]
//创建路由器
const router = createRouter({
history:createWebHistory(),
routes:routes
})
//导出路由
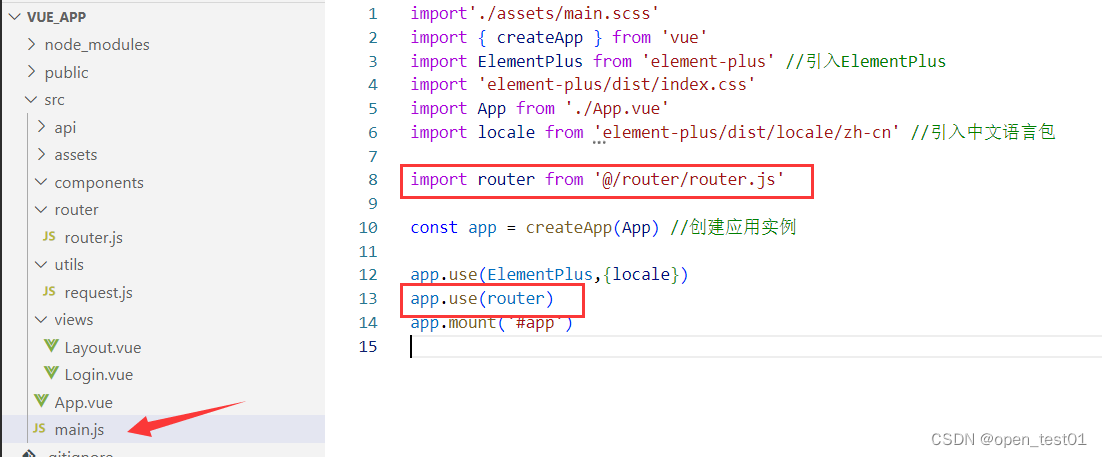
export default router在main.js文件中应用实例中使用vue-router
修改App.vue文件声明router-view标签,展示组件内容
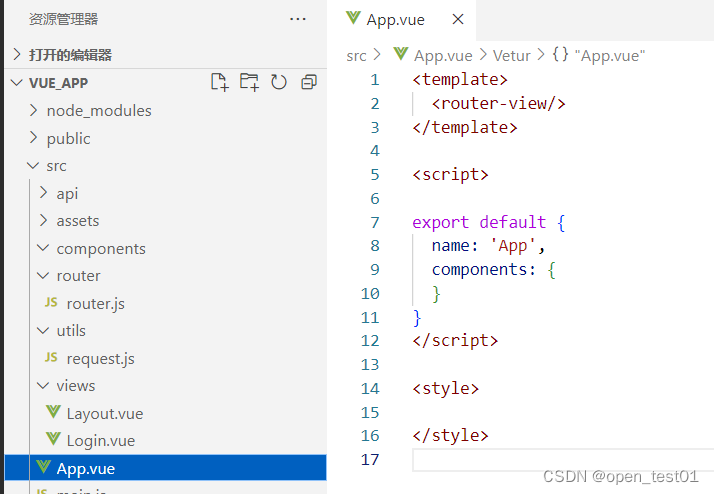
<template>
<router-view/>
</template>
<script>
export default {
name: 'App',
components: {
}
}
</script>
<style>
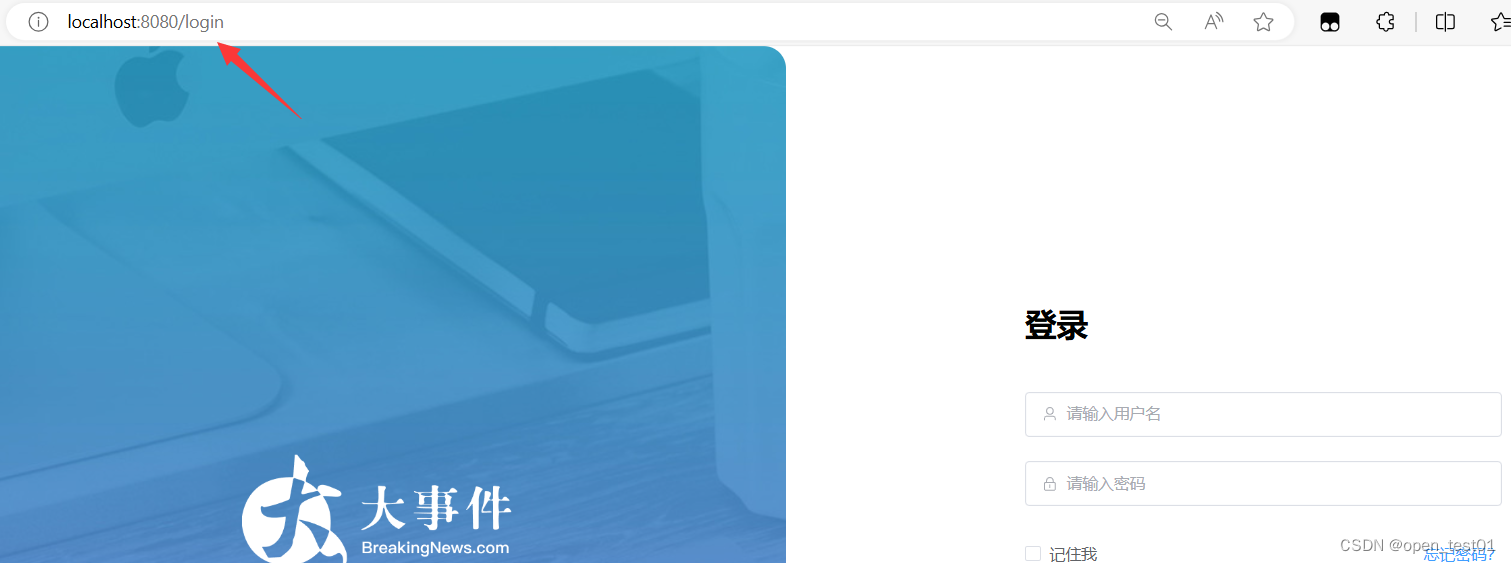
</style>浏览器访问查看路由
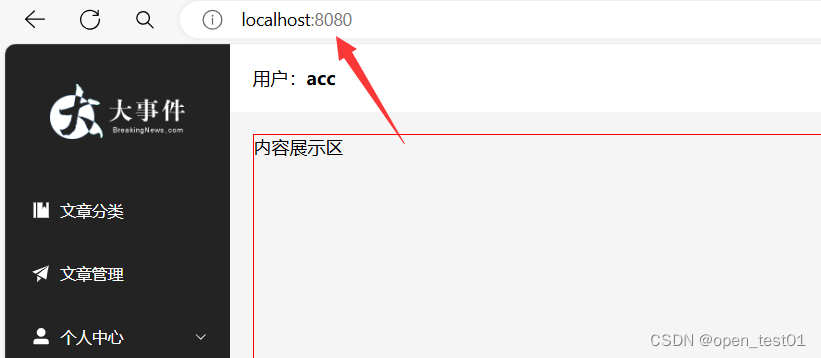
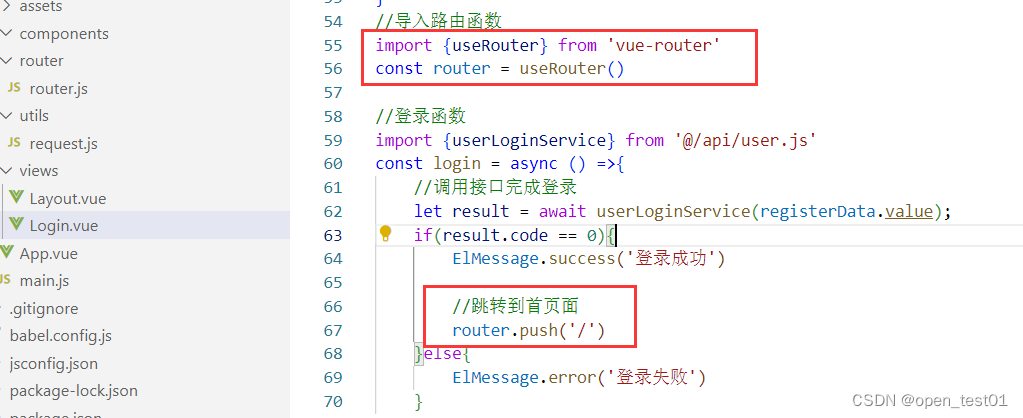
在登录页面Login.vue文件中设置登录成功时从登录页跳转切换到主页面
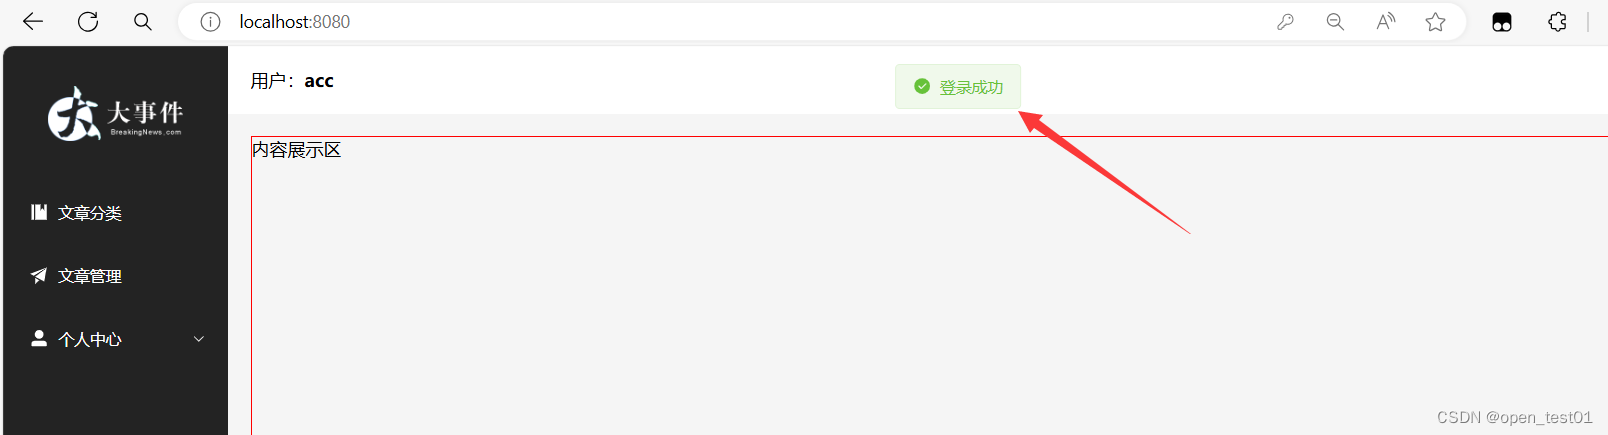
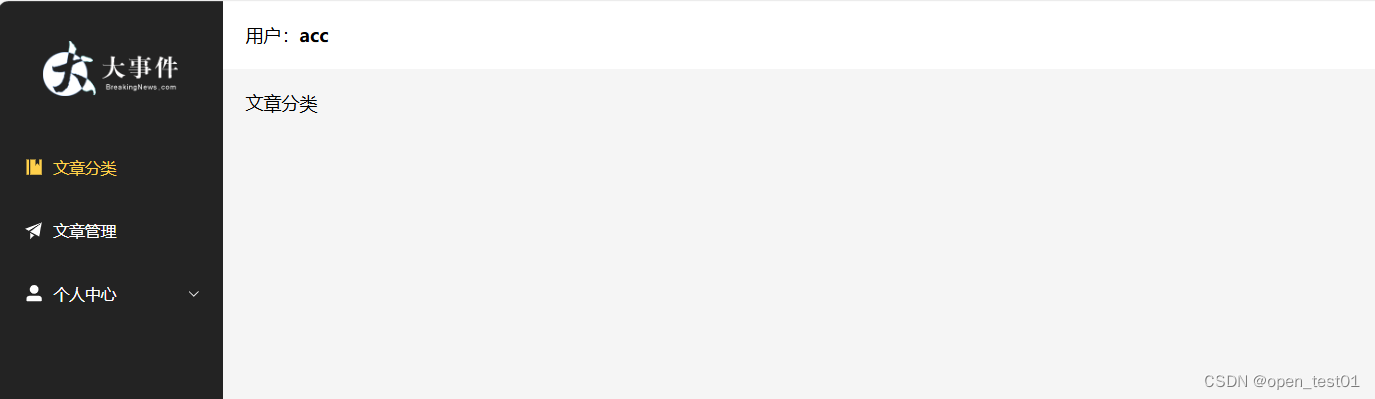
保存查看效果
子路由
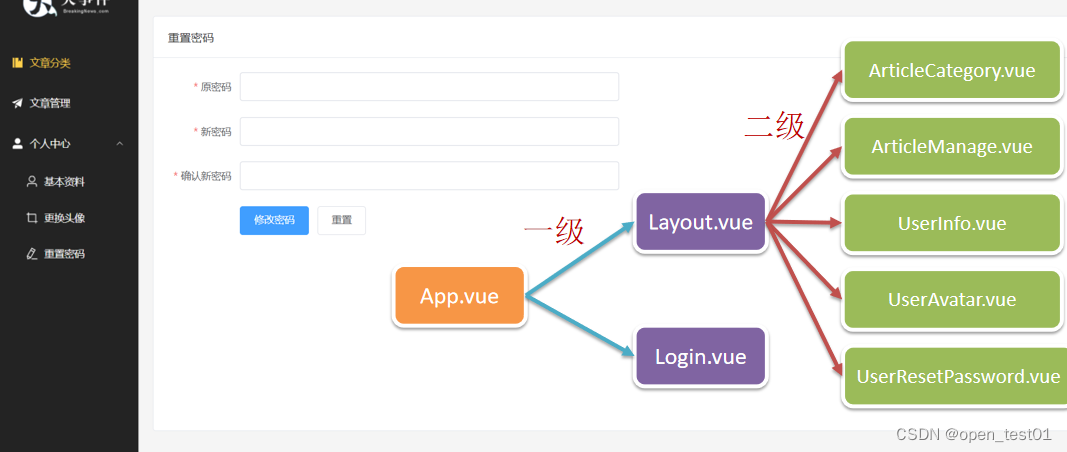
在views目录下创建五个组件
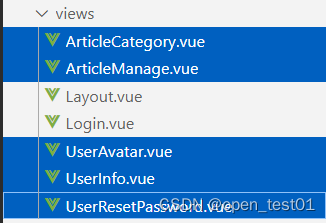
ArticleCategory.vue
<template>
    文章分类
</template>
ArticleManage.vue
<template>
    文章管理
</template>
UserAvatar.vue
<template>
    更换头像
</template>
UserInfo.vue
<template>
    基本资料
</template>
UserResetPassword.vue
<template>
    重置密码
</template>
在router.js文件中配置子路由

//导入子路由组件
import ArticleCategoryVue from '@/views/ArticleCategory.vue'
import ArticleManageVue from '@/views/ArticleManage.vue'
import UserAvatarVue from '@/views/UserAvatar.vue'
import UserInfoVue from '@/views/UserInfo.vue'
import UserResetPasswordVue from '@/views/UserResetPassword.vue'
//定义路由关系
const routes = [
{path:'/login',component:LoginVue},
{path:'/',component:LayoutVue,
//重定向 为首页页面默认展示的子路由页面
redirect: '/article/manage',
//子路由
children: [
{ path: '/article/category', component: ArticleCategoryVue },
{ path: '/article/manage', component: ArticleManageVue },
{ path: '/user/info', component: UserInfoVue },
{ path: '/user/avatar', component: UserAvatarVue },
{ path: '/user/password', component: UserResetPasswordVue }
]
}
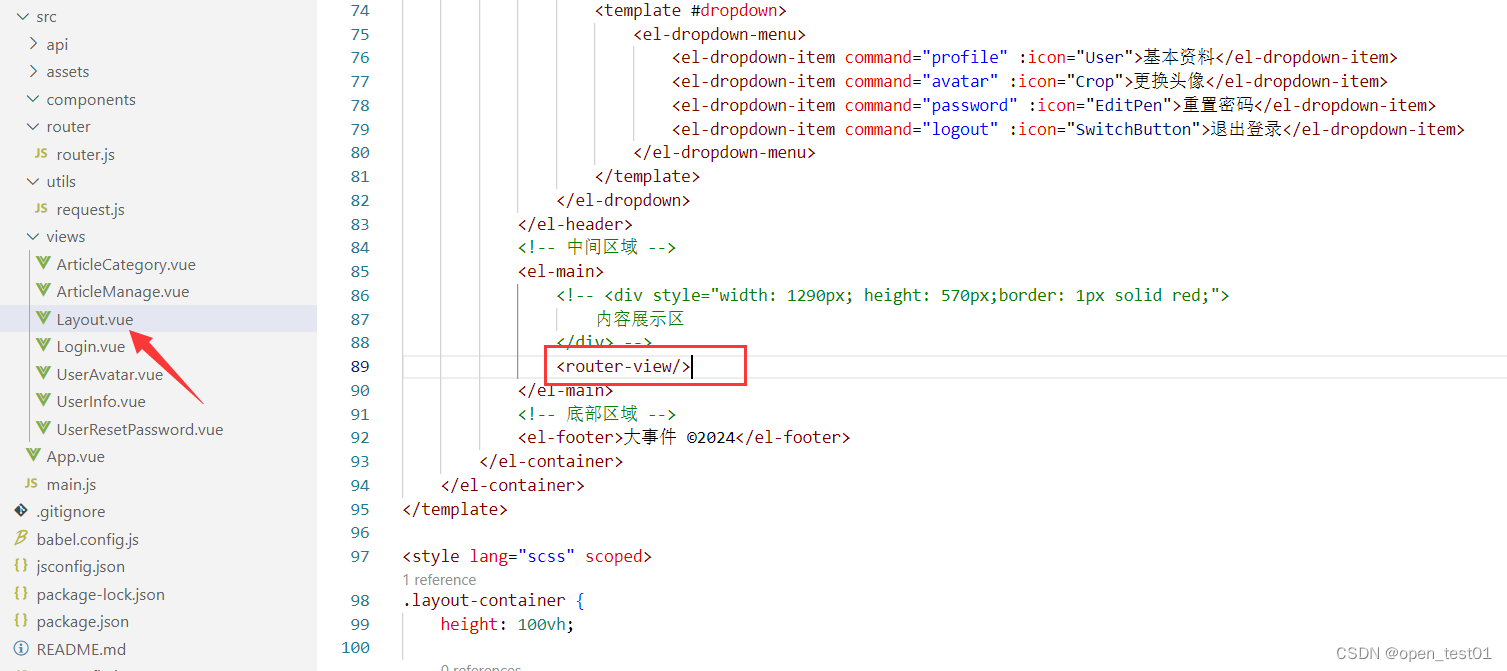
]在Layout.vue文件中的中区区域代码部分 声明router-view标签
在Layout.vue主页面文件中为菜单项 el-menu-item 设置index属性(为router子路由的路径一致),设置点击后的路由路径 。
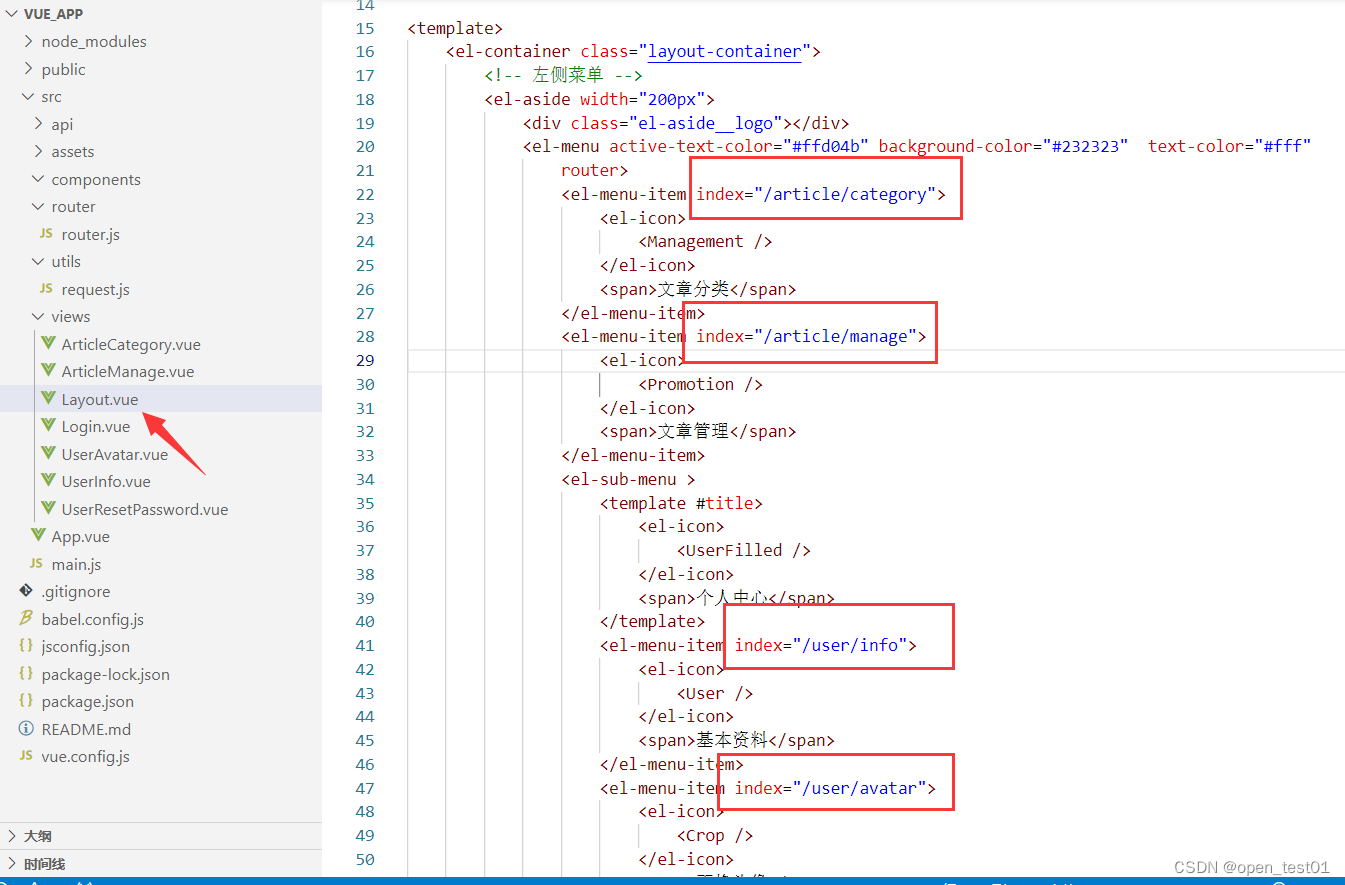
设置完成后即可完成点击菜单子路由页面跳转


 558
558

 被折叠的 条评论
为什么被折叠?
被折叠的 条评论
为什么被折叠?
 到【灌水乐园】发言


