


一、问题描述
为了方便利用机器视觉算法,使用React+Flask前后端分离的办法实现实时相机的调用。由前端向后端请求视频流,后端接受请求后向前端发送视频流数据,方便在后端使用各种算法对视频流数据进行处理。
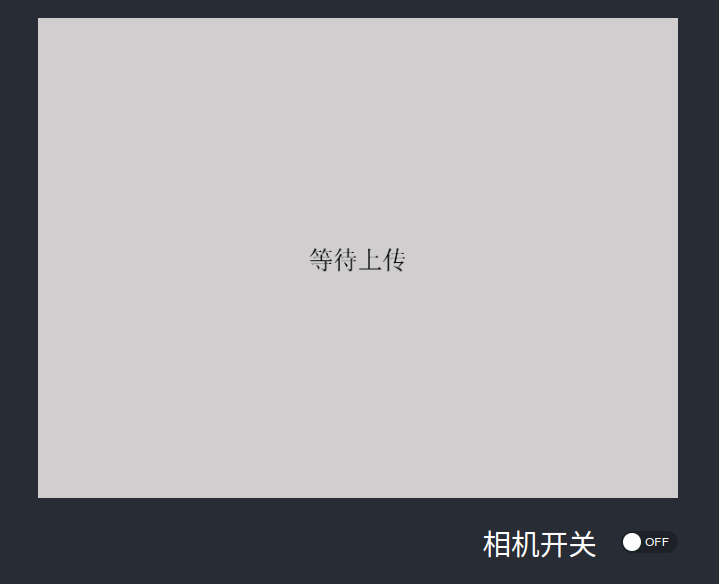
成功实现后,打开相机开关,即可在前端调用相机。
二、解决方法
项目采用前后端分离架构,前端React+TypeScript,使用TSX编程,创建方法见我前面的一篇博文。Web开发:React+Flask前后端分离简介与初步实现;后端就是普遍使用的Flask框架。
文件夹结构:
- camera-switch
- frontend
- backend
2.1 frontend 前端
前端使用AntD提供的组件展示相机拍摄的视频,并使用axios库来与后端进行交互,向后端传递请求,获取视频流。
定义自己的相机展示组件CameraDisplay
import React, { useState } from 'react';
import { Image, Space, Switch } from 'antd';
import axios from "axios";
import LoadPNG from './loading01.png';

interface CameraDisplayProps {
    cameraSwitchUrl: string;
}


const CameraDisplay: React.FC<CameraDisplayProps> = (props) => {
    const [cameraStatus, setCameraStatus] = useState(false);
    const [videoStream, setVideoStream] = useState(LoadPNG);

    const { cameraSwitchUrl } = props;

    const handleSwitchChange = async (checked: boolean) => {
        setCameraStatus(checked);
        axios.post(cameraSwitchUrl, {
            status: checked
        }).then(response => {

            if (checked) {
                if (response.data.result === 'success') {
                    console.log('后端响应:', response.data.message);
                    setVideoStream('http://127.0.0.1:5000/video');
                } else {
                    console.log('后端响应:', response.data.message);
                }
            } else {
                console.log('后端响应:', response.data.message);
                setVideoStream(LoadPNG);
            }

        }).catch(error => {
            console.error('发送数据到后端时出错:', error);
        })
    };

    return (
        <div style={{ display: 'flex', alignItems: 'center', justifyContent: 'center' }}>
            <Space direction='vertical' size='large'>
                <div>
                    <Image key={cameraStatus.toString()} src={ videoStream } preview={ false } height={ '480px' } width={ '640px' } />
                </div>

                <div style={{ display: 'flex', alignItems: 'center', float: 'right' }}>
                    <span style={{ marginRight: '24px' }}>相机开关</span>

                    <Switch checkedChildren='ON' unCheckedChildren='OFF' onChange={ handleSwitchChange } />
                </div>
            </Space>
        </div>
    )
};

export default CameraDisplay;
注意,当组件 Switch 状态为 true 时,前端向后端获取的路由为
'http://127.0.0.1:5000/video'
实际上可以设置 axios 的默认基础路由defaults.baseURL为
"http://127.0.0.1:5000"
这样就可以将原来的路由简化为
'/video'
将创建的自己的组件导入到主文件App.tsx中。
import React from 'react';
import './App.css';
import CameraDisplay from "./components/CameraDisplay";

function App() {
  return (
    <div className="App">
      <header className="App-header">
        <CameraDisplay cameraSwitchUrl={'/camera_switch'} />
      </header>
    </div>
  );
}

export default App;
最后不要忘了在src目录下的index.tsx文件中设置默认路由
import axios from "axios";

axios.defaults.baseURL = "http://127.0.0.1:5000";
2.2 backend 后端
后端主要使用Flask-RESTful库来进行与前端的交互。后端相机稳定地输出到前端使用了threading.Lock()如果不使用的话,相机打开会卡顿,一段时间后就会自动关闭,如果有明白原理的大佬麻烦在评论区帮忙解答一下~
首先是app.py文件
from flask import Flask
from flask_cors import CORS
from flask_restful import Api

from CameraSwitch import *

app = Flask(__name__)
CORS(app)
api = Api(app)

api.add_resource(CameraSwitch, '/camera_switch')
api.add_resource(Video, '/video')


if __name__ == '__main__':
    app.run()
由于前端和后端使用的不是一个网络,所以跨域传输数据时,需要导入CORS允许跨域传输。
接着定义Flask-RESTful的Resource
import cv2
import threading
from flask import Response
from flask_restful import Resource, reqparse

from camera import USBCamera


lock = threading.Lock()
webcam = USBCamera()


def gen():
    global lock, webcam
    while True:
        with lock:
            frame = webcam.frame
            if frame is None:
                continue

            # encode the frame in JPEG format
            (flag, encodedImage) = cv2.imencode(".jpg", frame)

            # ensure the frame was successfully encoded
            if not flag:
                continue

        # yield the output frame in the byte format
        yield (b'--frame\r\n'
               b'Content-Type: image/jpeg\r\n\r\n' + bytearray(encodedImage) + b'\r\n')


class CameraSwitch(Resource):
    def __init__(self):
        self.parser = reqparse.RequestParser()
        self.parser.add_argument(
            'status', dest='status', type=bool, required=True, help='The order to switch the camera'
        )

    def post(self):
        global webcam
        args = self.parser.parse_args()
        status = args.status
        if status:
            try:
                webcam.camera_open()
                return {
                    'message': 'Open the camera successfully!',
                    'result': 'success'
                }
            except Exception as e:
                print('打开摄像头失败:', e)
                return {
                    'result': 'fail'
                }
        else:
            webcam.camera_close()
            return {
                'message': 'Close the camera'
            }


class Video(Resource):
    def get(self):
        print('Video has been loaded.')
        return Response(gen(), mimetype='multipart/x-mixed-replace; boundary=frame')
最后需要相机的SDK文件camera.py来调用相机。
import cv2
import time
import threading


class USBCamera:
    def __init__(self, device=-1, resolution=(640, 480)):

        self.device = device
        self.width = resolution[0]
        self.height = resolution[1]

        self.cap = None
        self.frame = None
        self.opened = False

        self.th = None
        self.th = threading.Thread(target=self.camera_task, args=(), daemon=True)
        self.th.start()

    def camera_open(self):
        try:
            self.cap = cv2.VideoCapture(self.device)
            # self.cap.set(cv2.CAP_PROP_FOURCC, cv2.VideoWriter_fourcc('Y', 'U', 'Y', 'V'))
            # self.cap.set(cv2.CAP_PROP_FPS, 30)
            # self.cap.set(cv2.CAP_PROP_SATURATION, 40)
            self.opened = True
        except Exception as e:
            print('打开摄像头失败:', e)

    def camera_close(self):
        try:
            self.opened = False
            time.sleep(0.2)
            if self.cap is not None:
                self.cap.release()
                time.sleep(0.05)
            self.cap = None
        except Exception as e:
            print('关闭摄像头失败:', e)

    def camera_task(self):
        while True:
            try:
                if self.opened and self.cap.isOpened():
                    ret, frame_tmp = self.cap.read()
                    if ret:
                        frame_resize = cv2.resize(frame_tmp, (self.width, self.height), interpolation=cv2.INTER_NEAREST)
                        self.frame = frame_resize
                    else:
                        print(1)
                        self.frame = None
                        cap = cv2.VideoCapture(self.device)
                        ret, _ = cap.read()
                        if ret:
                            self.cap = cap
                elif self.opened:
                    print(2)
                    cap = cv2.VideoCapture(self.device)
                    ret, _ = cap.read()
                    if ret:
                        self.cap = cap
                else:
                    time.sleep(0.01)
            except Exception as e:
                print('获取摄像头画面出错:', e)
                time.sleep(0.01)


if __name__ == '__main__':
    camera = USBCamera()
    camera.camera_open()
    while True:
        img1 = camera.frame
        if img1 is not None:
            cv2.imshow('img', img1)
            key1 = cv2.waitKey(1)
            if key1 == 27:
                break
    camera.camera_close()
    cv2.destroyAllWindows()
三、代码汇总
完整的项目已经上传到本人的Github上,需要的朋友可以自取。
https://github.com/piggy-wanger/camera-switch


 1509
1509


 被折叠的 条评论
为什么被折叠?
被折叠的 条评论
为什么被折叠?
 到【灌水乐园】发言


