


 本文记录了使用Node.js加载libtorch库过程中遇到的各种问题及解决办法,包括node-gyp编译、直接用cmake编译和cmake-js编译的尝试,最终实现将Pytorch模型在Electron App中执行。
从简单的需求说起
最近用Electron做一个App,碰到了一个很简单的需求,就是将Python环境下训练的Pytorch深度学习模型加载到Electron中去执行。
开始想的也比较简单,本身Pytorch官方提供了libtorch库,Pytorch的C++端,所以可以将Pytorch模型保存为.pt,然后用libtorch加载。然后再利用node-gyp将其编译成动态链接文件.node,让Nodejs加载。
libtorch介绍
官网地址:https://pytorch.org/cppdocs/frontend.html
Libtorch是Pytorch的C++前端,用于CPU和GPU张量计算的C++14库,为机器学习和神经网络提供自动微分和各种更高级别的抽象。换成人话就是C++版的Pytorch,API也和Python版的Pytorch类似。在某些情况下,由于性能和可移植性要求,可能并不能使用Python解释器,比如低延迟、高性能或者多线程环境或者在模型部署上,这个时候就可以使用C++前端去做了。
libtorch提供的C++API和Python端的类似,熟悉Python版的Pytroch的话其实还是比较简单,主要还是下面这些组件
| Component | Description |
|---|---|
| torch::Tensor | 可自动微分、高效的CPU/GPU张量模块 |
| torch::nn | 用于神经网络建模的可组合模块集合 |
| torch::optim | 优化器模块,即使用SGD、Adam等优化算法来训练模型 |
| torch::data | 数据集、数据管道和多线程、异步加载器 |
| torch::serialize | 用于存储和加载模型检查点和序列化API |
| torch::python | C++模型绑定到Python中 |
| torch::jit | 对TorchScript JIT编译器的纯C++访问 |
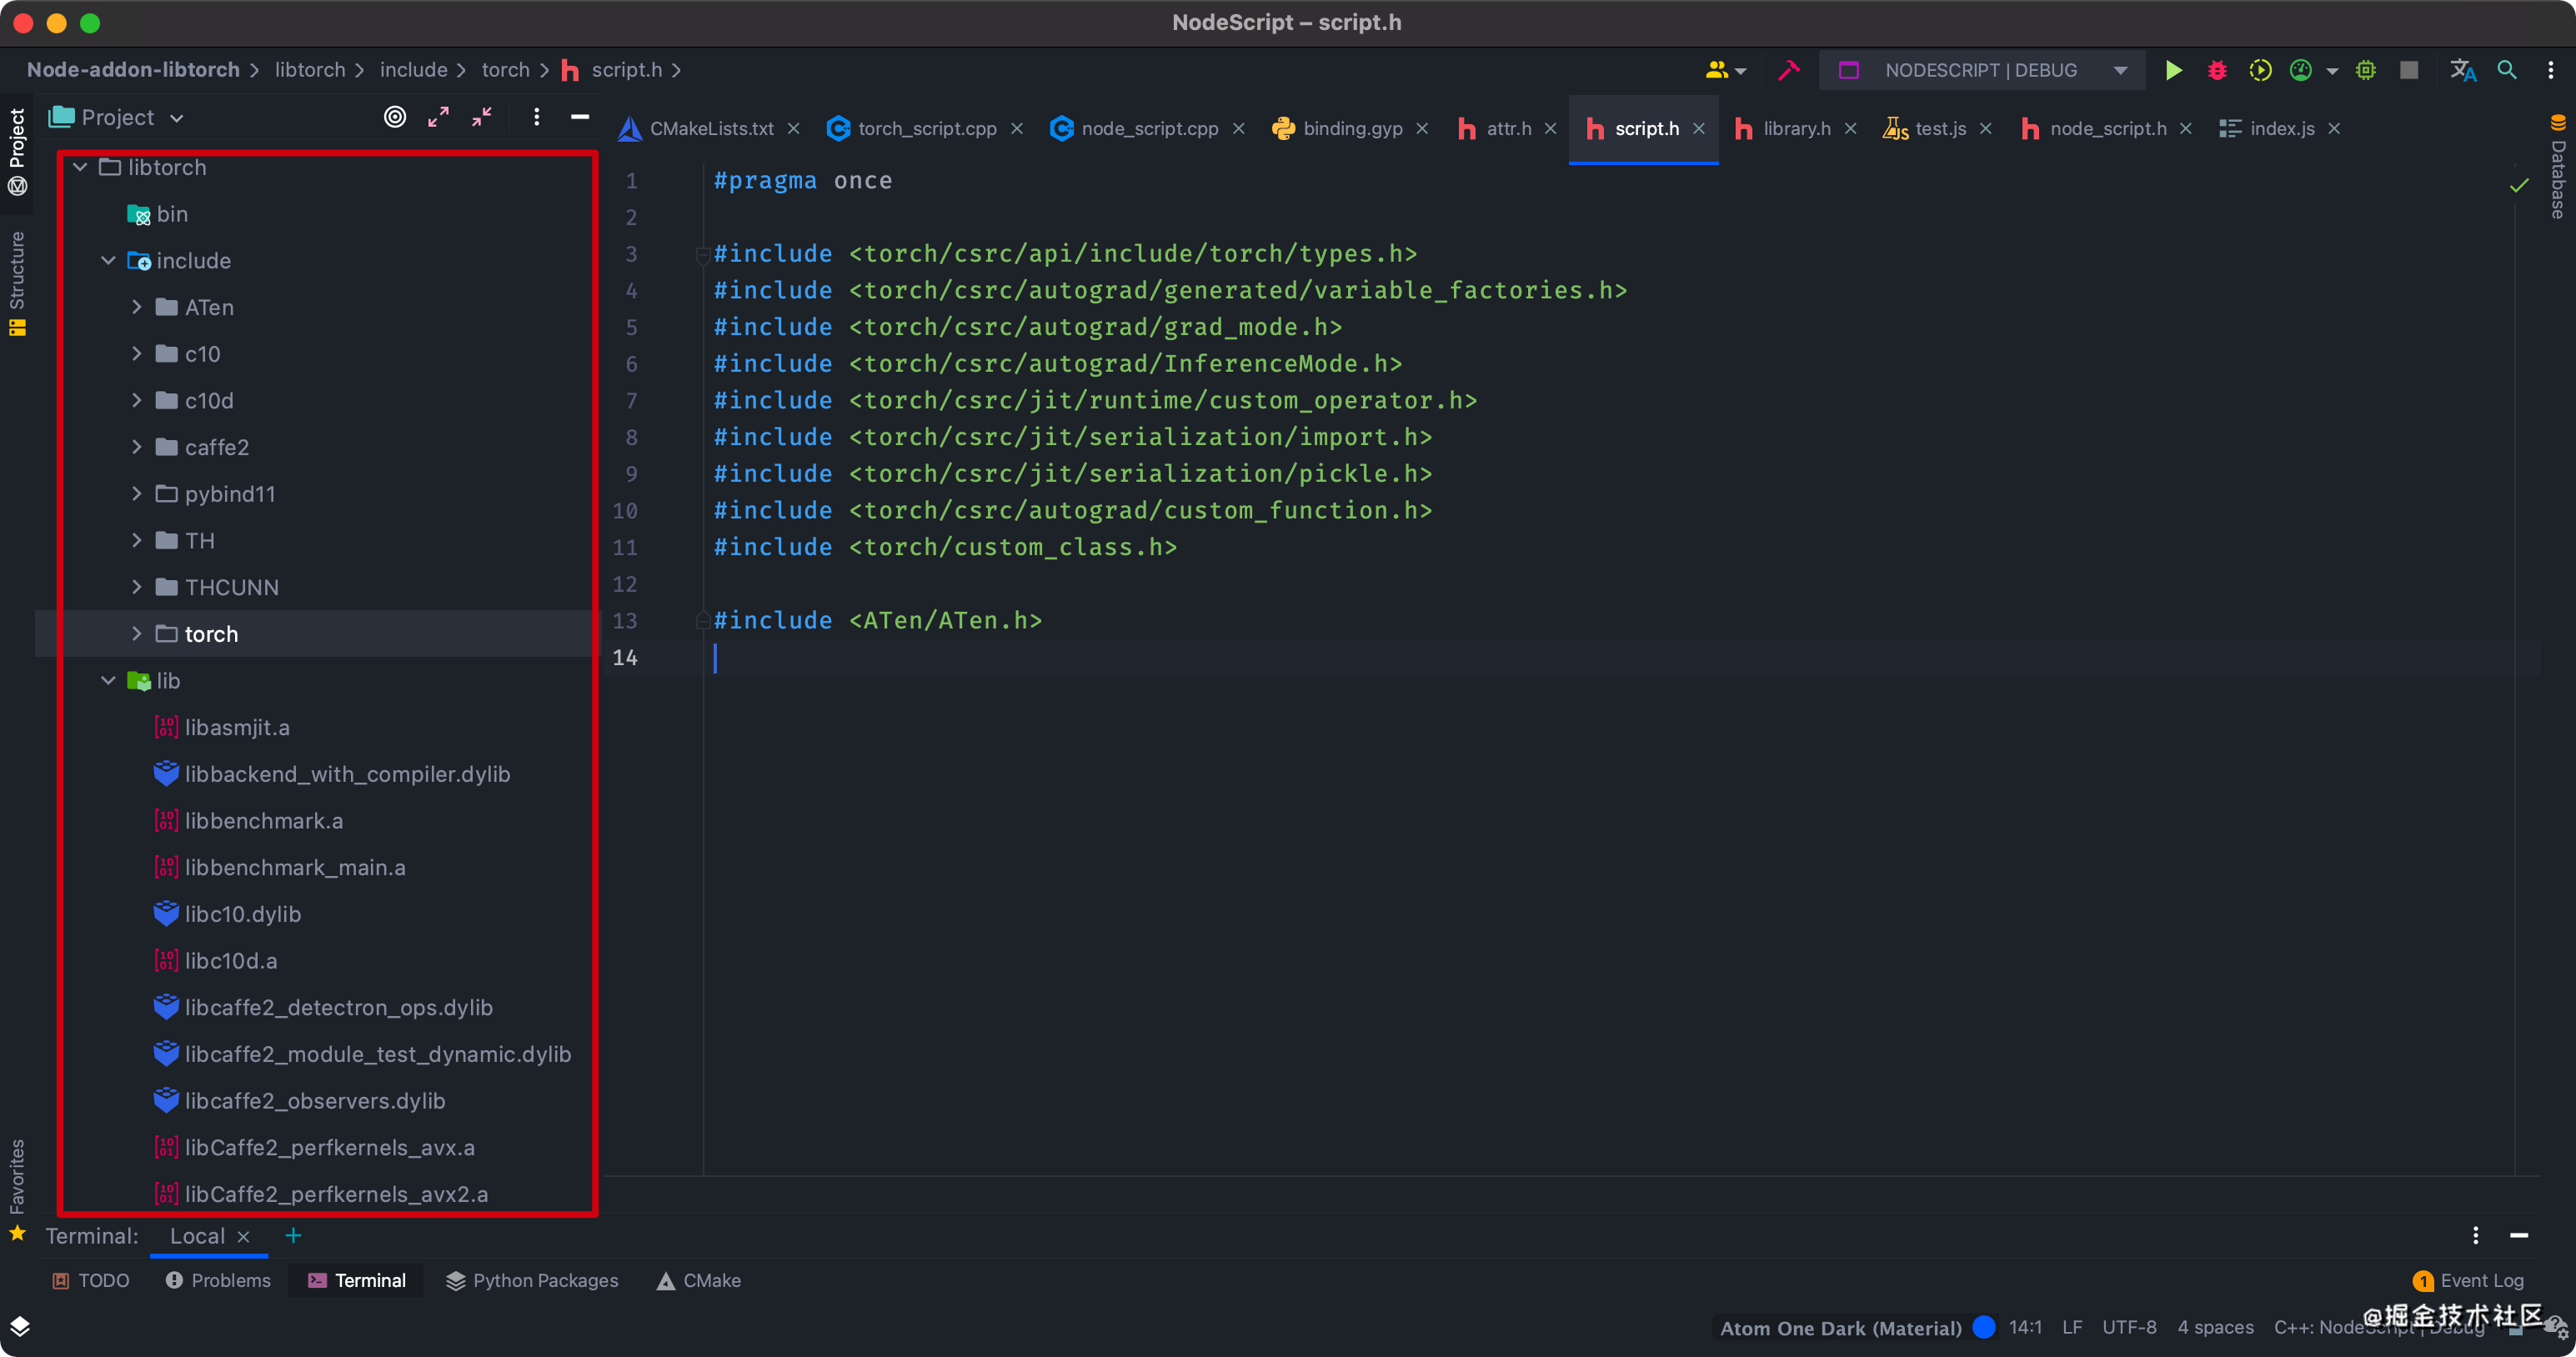
把libtorch下载下来后,可以看到结构,主要就是include目录(包含各种头文件)和lib目录(动/静态链接库),还一个share目录,放的是cmake文件。
简单的代码
按照上面的思路,代码其实很简单,首先用libtorch写个加载.pt模型并执行的函数
// torch_script.cpp
#include "torch/script.h"
#include "torch_script.h"

vector<float> module_forward(const char *pathname, const vector<float> &input) {
    try {
     // 加载模型
     torch::jit::Module module =  torch::jit::load(pathname);
        vector<torch::jit::IValue> in_batch;
        at::Tensor in = torch::tensor(input);
        in_batch.emplace_back(torch::reshape(in, {1, int64_t(input.size())}));
        at::Tensor output = module.forward(in_batch).toTensor(); // run model

        auto float_out = output.data_ptr<float>();
        return vector<float>(float_out, float_out + output.size(1));

    } catch (const c10::Error &e) {
        cerr << e.msg() << endl;
    }

    return vector<float>();
}
然后用node-api-addon库将其转化为V8类型,并暴露moduleForward函数让Nodejs端调用
// node_script.cpp
#include "node_script.h"

Napi::Array ModuleForward(const Napi::CallbackInfo& info) {
    Napi::Env env = info.Env();
    Napi::Array result = Napi::Array::New(env);
    Napi::String pathname = info[0].ToString();
    Napi::Array input = info[1].As<Napi::Array>();

    vector<float> in;
    for (size_t i = 0; i < input.Length(); i++)
        in.push_back(input.Get(i).ToNumber());
    vector<float> r = module_forward(pathname.Utf8Value().c_str(), in);

    for (size_t i = 0; i < r.size(); i++)
        result.Set(i, Napi::Number::New(env, r[i]));
    return result;
}

Napi::Object Init(Napi::Env env, Napi::Object exports) {
    exports.Set("moduleForward", Napi::Function::New(env, ModuleForward));
    return exports;
}

NODE_API_MODULE(torch_script, Init)
开始踩各种坑
node-gyp编译
node-gyp:https://github.com/nodejs/node-gyp
按照最开始的想法,直接用node-gyp编译成.node文件,因此对应的binding.gyp也很容易
{

	"targets": [
		{

			"target_name": "torch_script",
      "include_dirs": [
       	"<!@(node -p \"require('node-addon-api').include\")",
        "libtorch/include"
       ],
       # 添加下面的依赖库,根据当前Node.js版本判断
       "dependencies": [
         "<!(node -p \"require('node-addon-api').gyp\")"
       ],
       "cflags!": ["-fno-exceptions"],
       "cflags_cc!": ["-fno-exceptions"],
       "defines": [
         "NAPI_DISABLE_CPP_EXCEPTIONS" # 记得加这个宏
       ],
       "sources": [
         "torch_script.cpp",
         "node_script.cpp",
       ]
     }
   ]
}
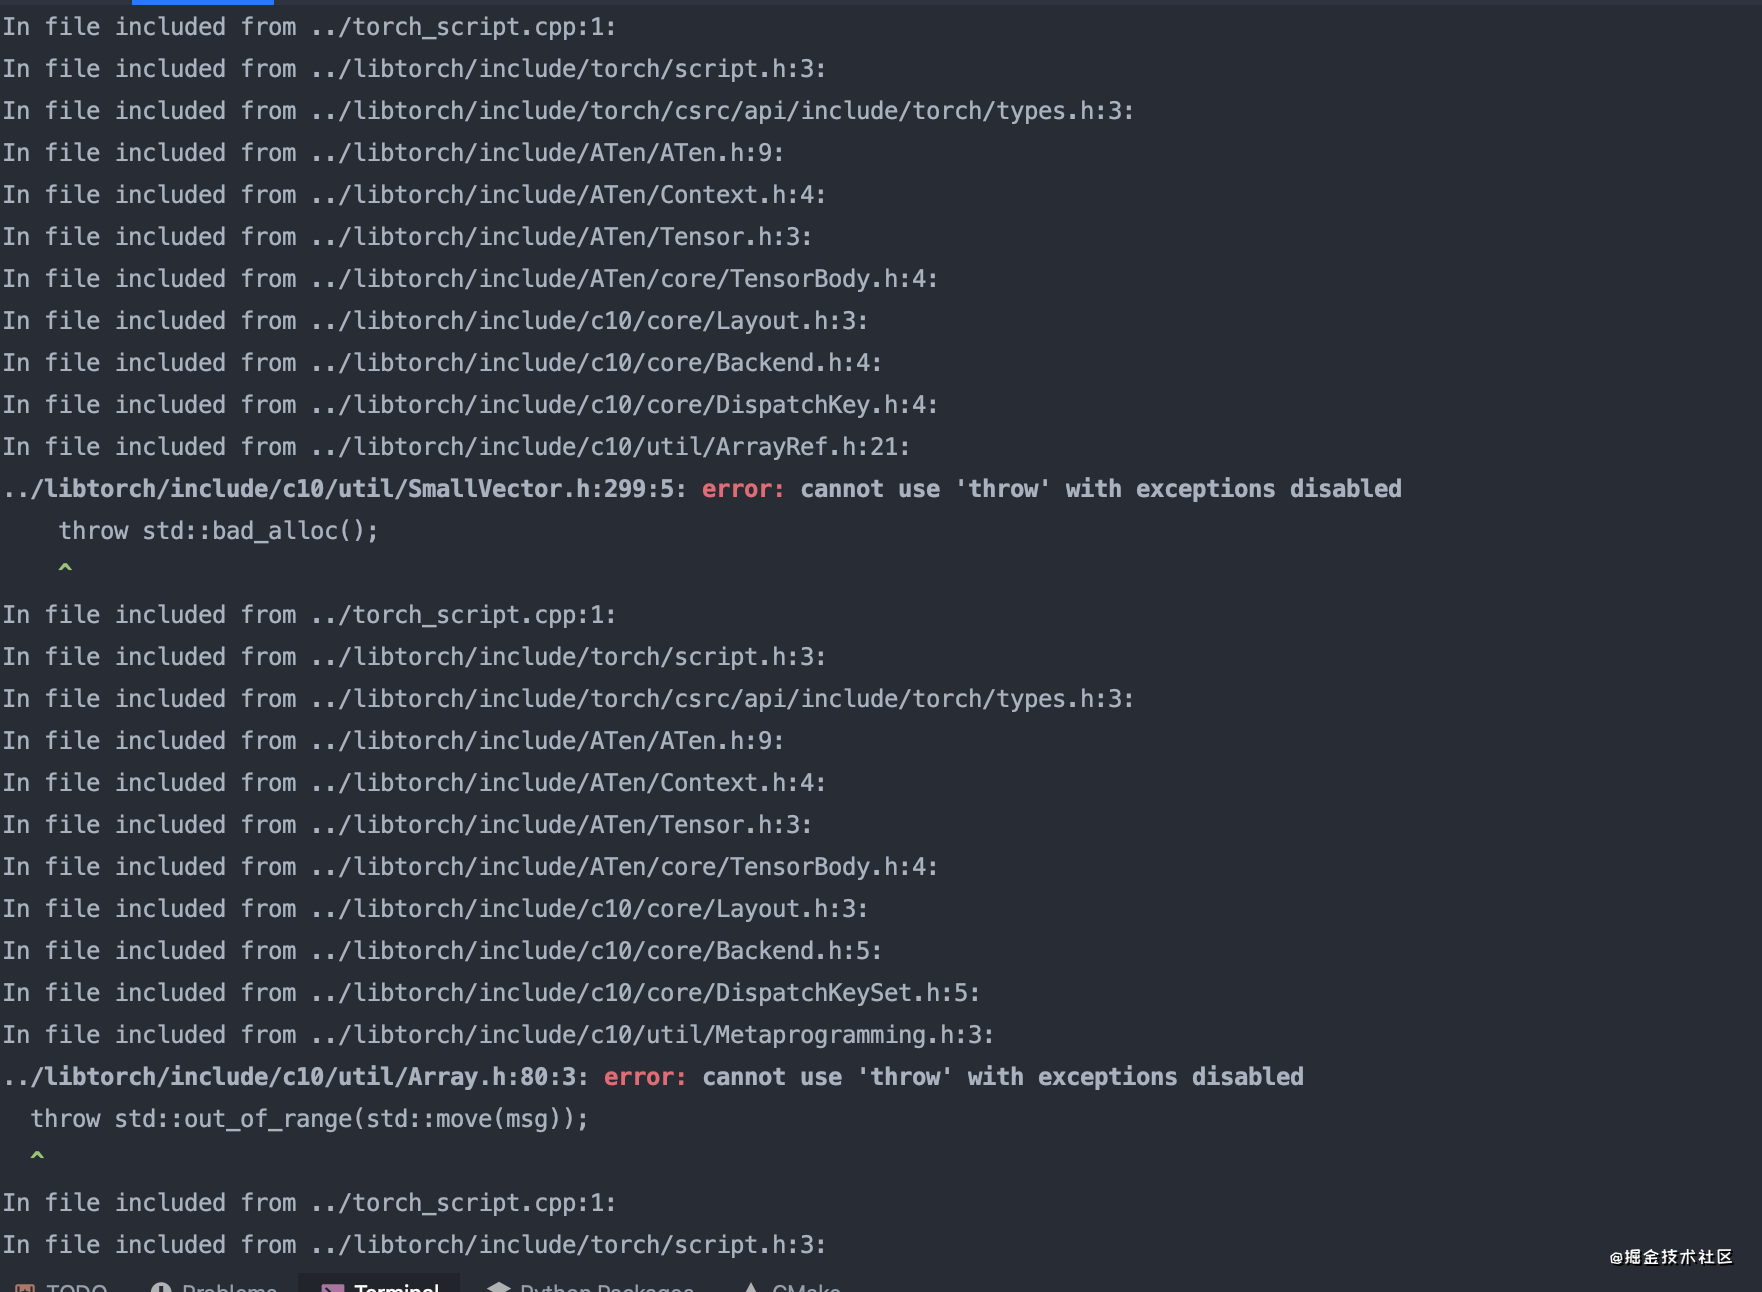
然后执行node-gyp configure && node-gyp build,开始第一类错误,这个原因能分析得到,libtorch库里面是用了C++的异常机制的,而node-gyp默认是把异常机制关掉的,另外细心的人可能会发现上面binding.gyp不是写了"cflags!: ["-fno-exceptions"]"命令,把无异常的排除掉了嘛,然而事实上这还跟电脑上的C++编译器有关,因此需要在binding.gyp里把各种异常机制打开
修改binding.gyp,添加conditions字段,为OS == "mac"时直接修改xcode_setting,启用GCC_ENABLE_CPP_EXCEPTIONS
{
    "targets": [
        {
          ... ,
+         "cflags": ["-fexceptions"],
+         "cflags_cc": ["-fexceptions"],
+         "conditions": [
+     	    ['OS=="mac"', {    # 直接在xcode上打开异常捕获功能
+      	    	'xcode_settings': {
+         	'GCC_ENABLE_CPP_EXCEPTIONS': 'YES'
+               }
+           }]
+         ],
          "defines": [
-            "NAPI_DISABLE_CPP_EXCEPTIONS"
          ],
	...,
    }
  ]
}
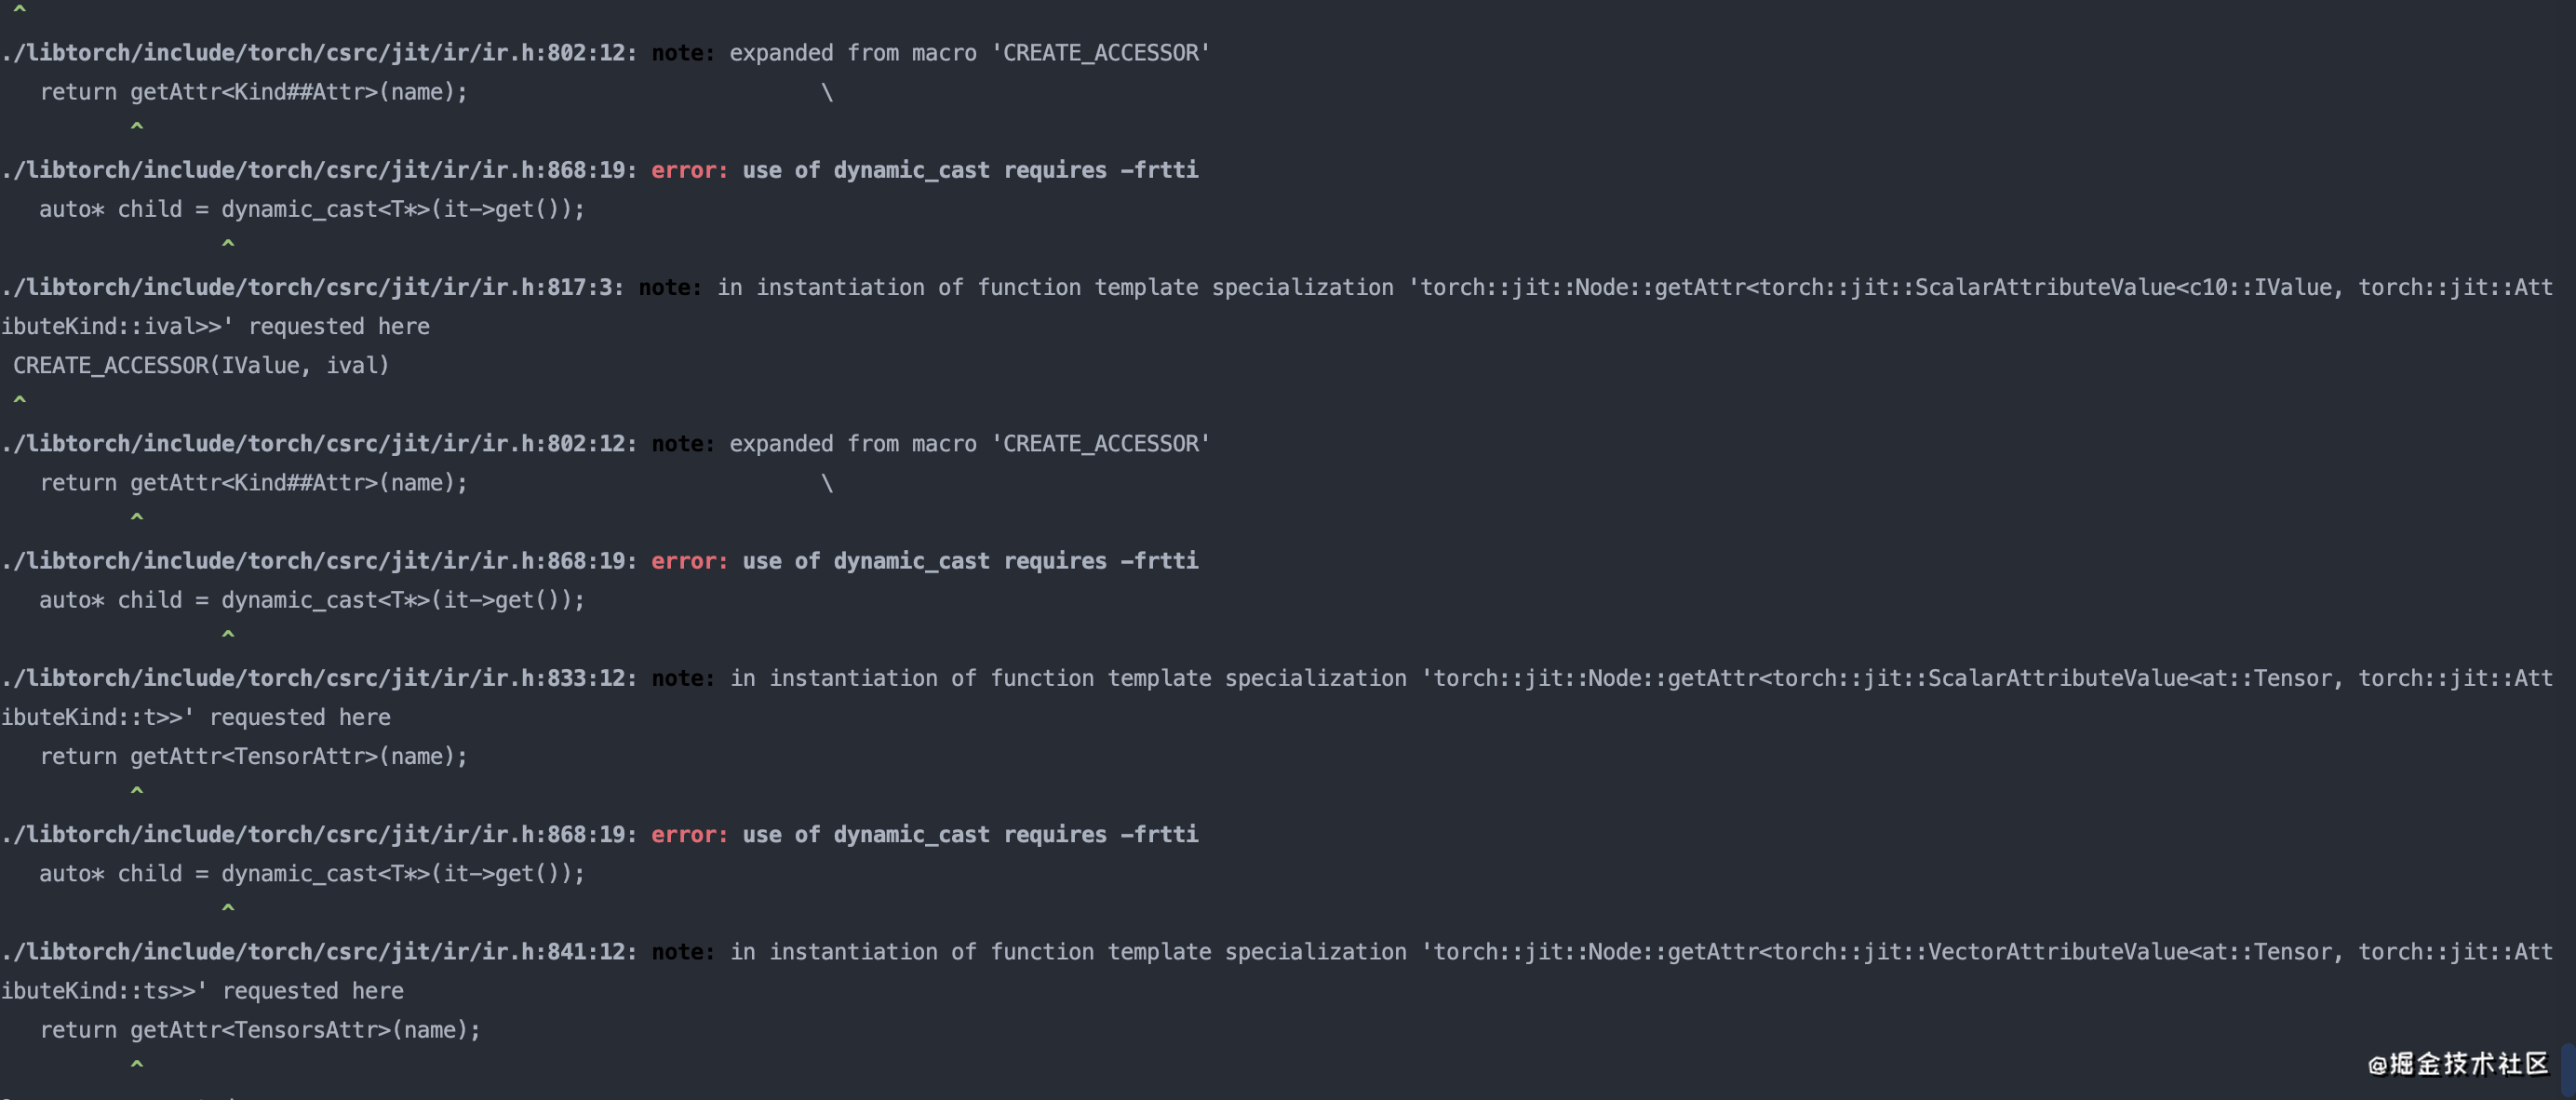
接着报错,不过这个错误和第一类一样,libtorch里用到了dynamic_cast/typeid等语法,这个需要在C++编译器里添加-frtti选项
修改binding.gyp,在编译时添加-frtti选项,同时xcode_settings里启用GCC_ENABLE_CPP_RTTI
{
  "targets": [
    ...,

+   "cflags!": ["-fno-exceptions", "-fno-rtti"],
+   "cflags_cc!": ["-fno-exceptions", "-fno-rtti"],
+   "cflags": ["-fexceptions", "-frtti"],
+   "cflags_cc": ["-fexceptions", "-frtti"],
    "conditions": [
      ['OS=="mac"', {    # 直接在xcode上打开异常捕获功能
        'xcode_settings': {
          'GCC_ENABLE_CPP_EXCEPTIONS': 'YES',
+          'GCC_ENABLE_CPP_RTTI': 'YES'
        }
      }]
    ],

    ···,
  ]
}
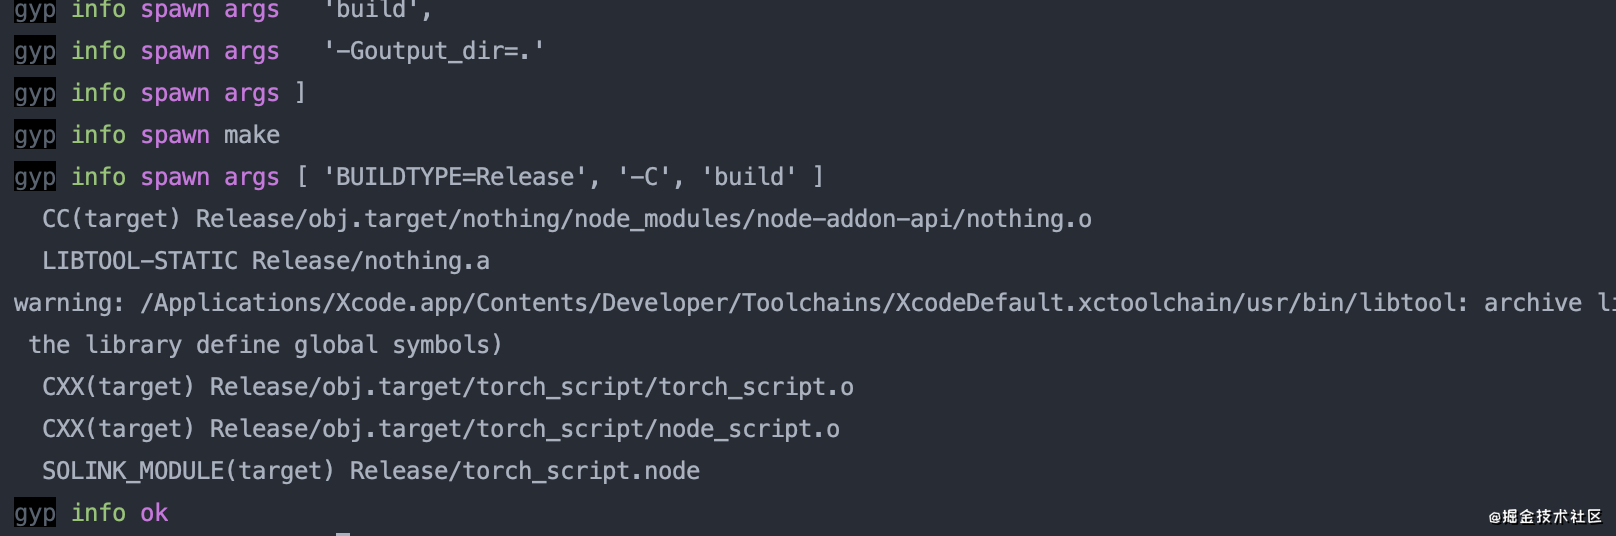
然后就能编译通过了
 最低0.47元/天 解锁文章


 1021
1021

 被折叠的 条评论
为什么被折叠?
被折叠的 条评论
为什么被折叠?
 到【灌水乐园】发言


