


1.@ComponentScan使用
1.新建一个类ConfigComponentScan,类上加@ComponentScan(value ="springanntition.configbean");表明要扫描springanntition.configbean包下的类
@Configuration
@ComponentScan(value ="springanntition.configbean")
public class ConfigComponentScan {
// @Bean含义:给容器中注册一个Bean;类型为返回值类型,id默认是用方法名作为id,也可以起别名称
@Bean
public Person personDy() {
return new Person("ddf", 25);
}
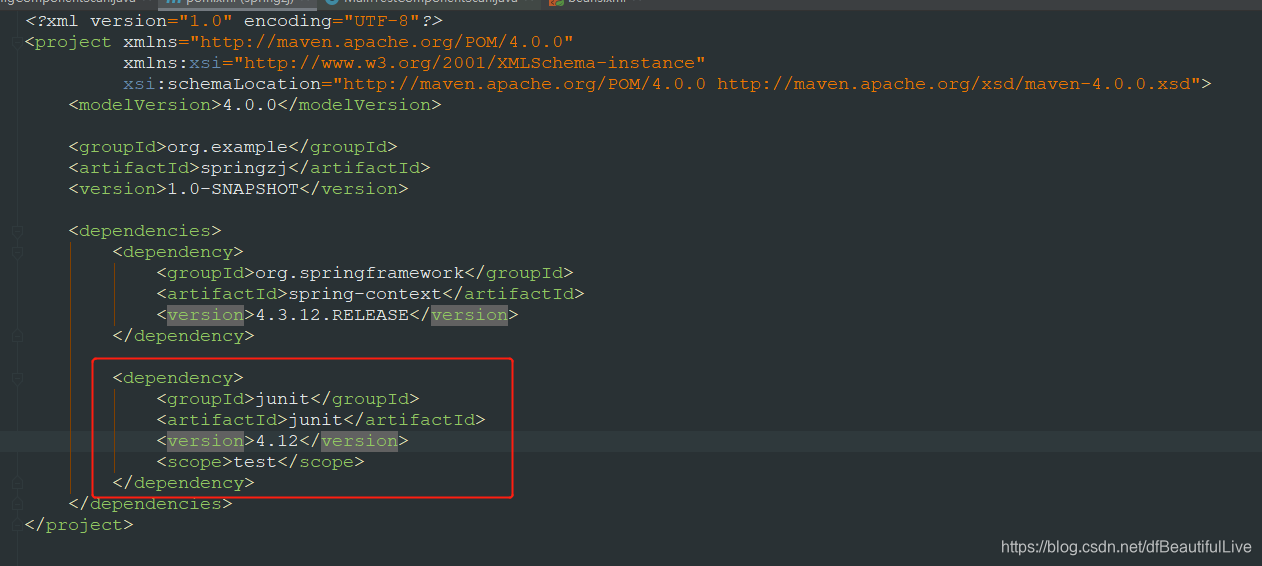
}就相当于扫描此路径下,然后test包下再建立同路径名下的测试类,pom.xml要添加junit包哦
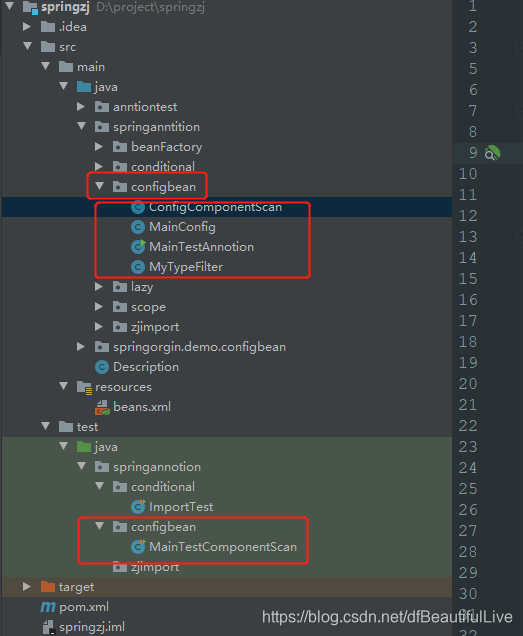
添加测试类MainTestComponentScan如下
package springannotion.configbean;
import org.junit.Test;
import org.springframework.context.annotation.AnnotationConfigApplicationContext;
import springanntition.configbean.ConfigComponentScan;
public class MainTestComponentScan {
@Test
public void getIOCBean(){
// 需要写上你需要的配置类哦!
AnnotationConfigApplicationContext context = new AnnotationConfigApplicationContext(ConfigComponentScan.class);
// 获取bean的名字
String[] beannames = context.getBeanDefinitionNames();
for (String name : beannames) {
System.out.println(name);
}
}
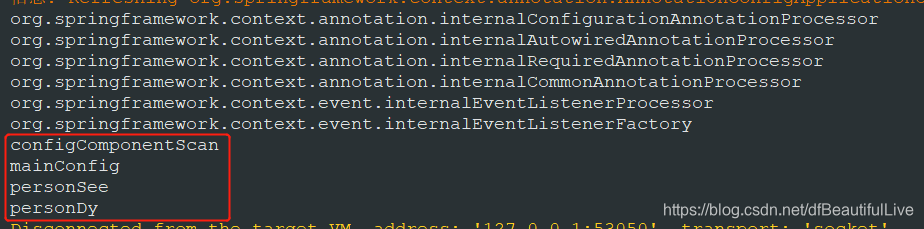
}咱们运行一下,除了默认的容器外,标红的就是我们获取到的,configComponentScan是配置类本身的名字,mainConfig是上一篇讲解建立的配置类,以及@Bean的配置全部都获取到了。
我们再建立一个controller类和service类来测试@ComponentScan数组的方式
package anntiontest;

import org.springframework.stereotype.Controller;

@Controller
public class TeseController {
最低0.47元/天 解锁文章


 665
665

 被折叠的 条评论
为什么被折叠?
被折叠的 条评论
为什么被折叠?
 到【灌水乐园】发言


