


1、练习网站案例
1、建好相应的java类
package spring;

public class Player {
    public int getId() {
        return id;
    }

    public void setId(int id) {
        this.id = id;
    }

    public String getName() {
        return name;
    }

    public void setName(String name) {
        this.name = name;
    }

    public String getPosition() {
        return position;
    }

    public void setPosition(String position) {
        this.position = position;
    }

    private int id;
    private String name;
    private String position;
}
2、准备好xml文件配置
<?xml version="1.0" encoding="UTF-8"?>
<beans xmlns="http://www.springframework.org/schema/beans"
    xmlns:xsi="http://www.w3.org/2001/XMLSchema-instance"
    xmlns:aop="http://www.springframework.org/schema/aop"
    xmlns:tx="http://www.springframework.org/schema/tx"
    xmlns:context="http://www.springframework.org/schema/context"
    xsi:schemaLocation="
   http://www.springframework.org/schema/beans
   http://www.springframework.org/schema/beans/spring-beans-3.0.xsd
   http://www.springframework.org/schema/aop
   http://www.springframework.org/schema/aop/spring-aop-3.0.xsd
   http://www.springframework.org/schema/tx
   http://www.springframework.org/schema/tx/spring-tx-3.0.xsd
   http://www.springframework.org/schema/context
   http://www.springframework.org/schema/context/spring-context-3.0.xsd">

    <bean name="" class="spring.Player">
        <property name="name" value="niko" />
        <property name="position" value="步枪手" />
    </bean>

</beans>
3、准备好测试类
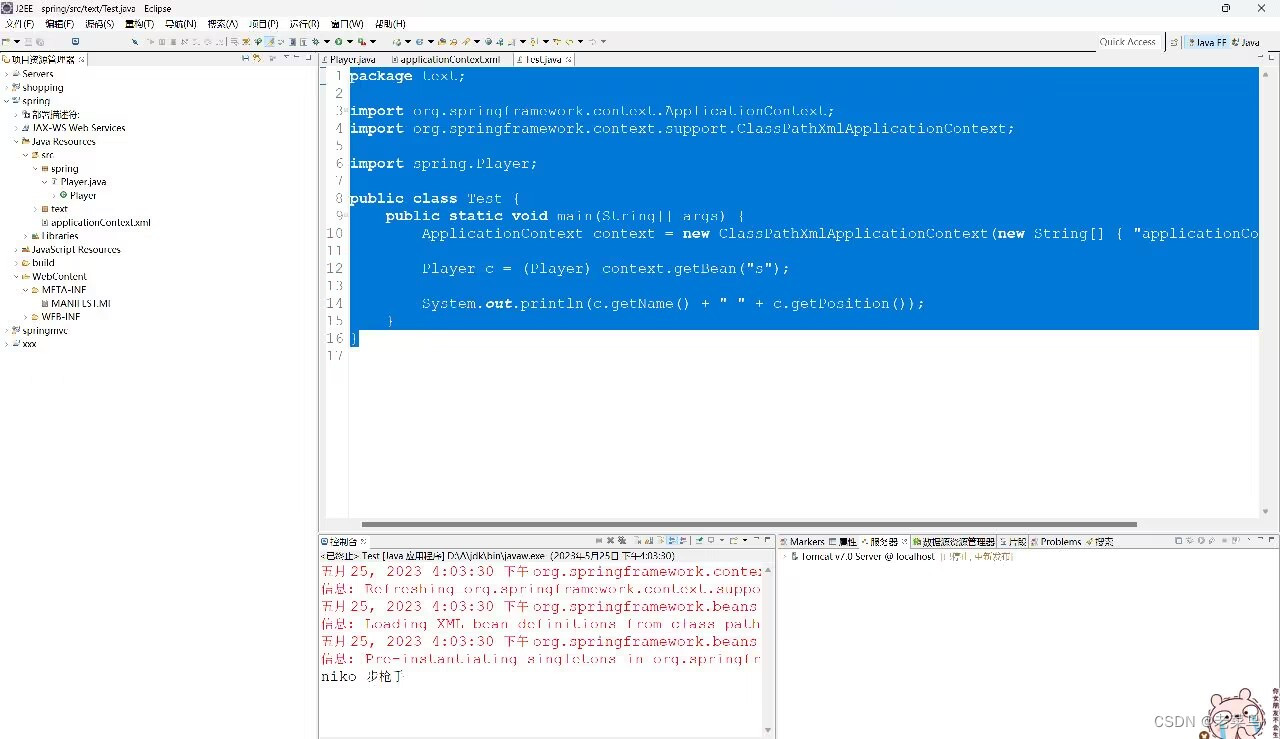
package text;

import org.springframework.context.ApplicationContext;
import org.springframework.context.support.ClassPathXmlApplicationContext;

import spring.Player;

public class Test {
	public static void main(String[] args) {
        ApplicationContext context = new ClassPathXmlApplicationContext(new String[] { "applicationContext.xml" });

        Player c = (Player) context.getBean("s");

        System.out.println(c.getName() + " " + c.getPosition());
    }
}
没问题:
1、来个队伍类
public class Team {
    private String teamname;
    private String game;

    public String getTeamname() {
        return teamname;
    }

    public void setTeamname(String teamname) {
        this.teamname = teamname;
    }

    public String getGame() {
        return game;
    }

    public void setGame(String game) {
        this.game = game;
    }
}
2、配置文件作出相应修改,写一个能创建Team类的bean并在创建Player类的bean中调动他
<?xml version="1.0" encoding="UTF-8"?>
<beans xmlns="http://www.springframework.org/schema/beans"
xmlns:xsi="http://www.w3.org/2001/XMLSchema-instance"
xmlns:aop="http://www.springframework.org/schema/aop"
xmlns:tx="http://www.springframework.org/schema/tx"
xmlns:context="http://www.springframework.org/schema/context"
xsi:schemaLocation="
http://www.springframework.org/schema/beans
http://www.springframework.org/schema/beans/spring-beans-3.0.xsd
http://www.springframework.org/schema/aop
http://www.springframework.org/schema/aop/spring-aop-3.0.xsd
http://www.springframework.org/schema/tx
http://www.springframework.org/schema/tx/spring-tx-3.0.xsd
http://www.springframework.org/schema/context
http://www.springframework.org/schema/context/spring-context-3.0.xsd">
<bean name="s" class="spring.Player">
<property name="name" value="niko" />
<property name="position" value="步枪手" />
<property name="team" ref="t" />
</bean>
<bean name="t" class="spring.Team">
<property name="teamname" value="G2" />
<property name="game" value="csgo" />
</bean>
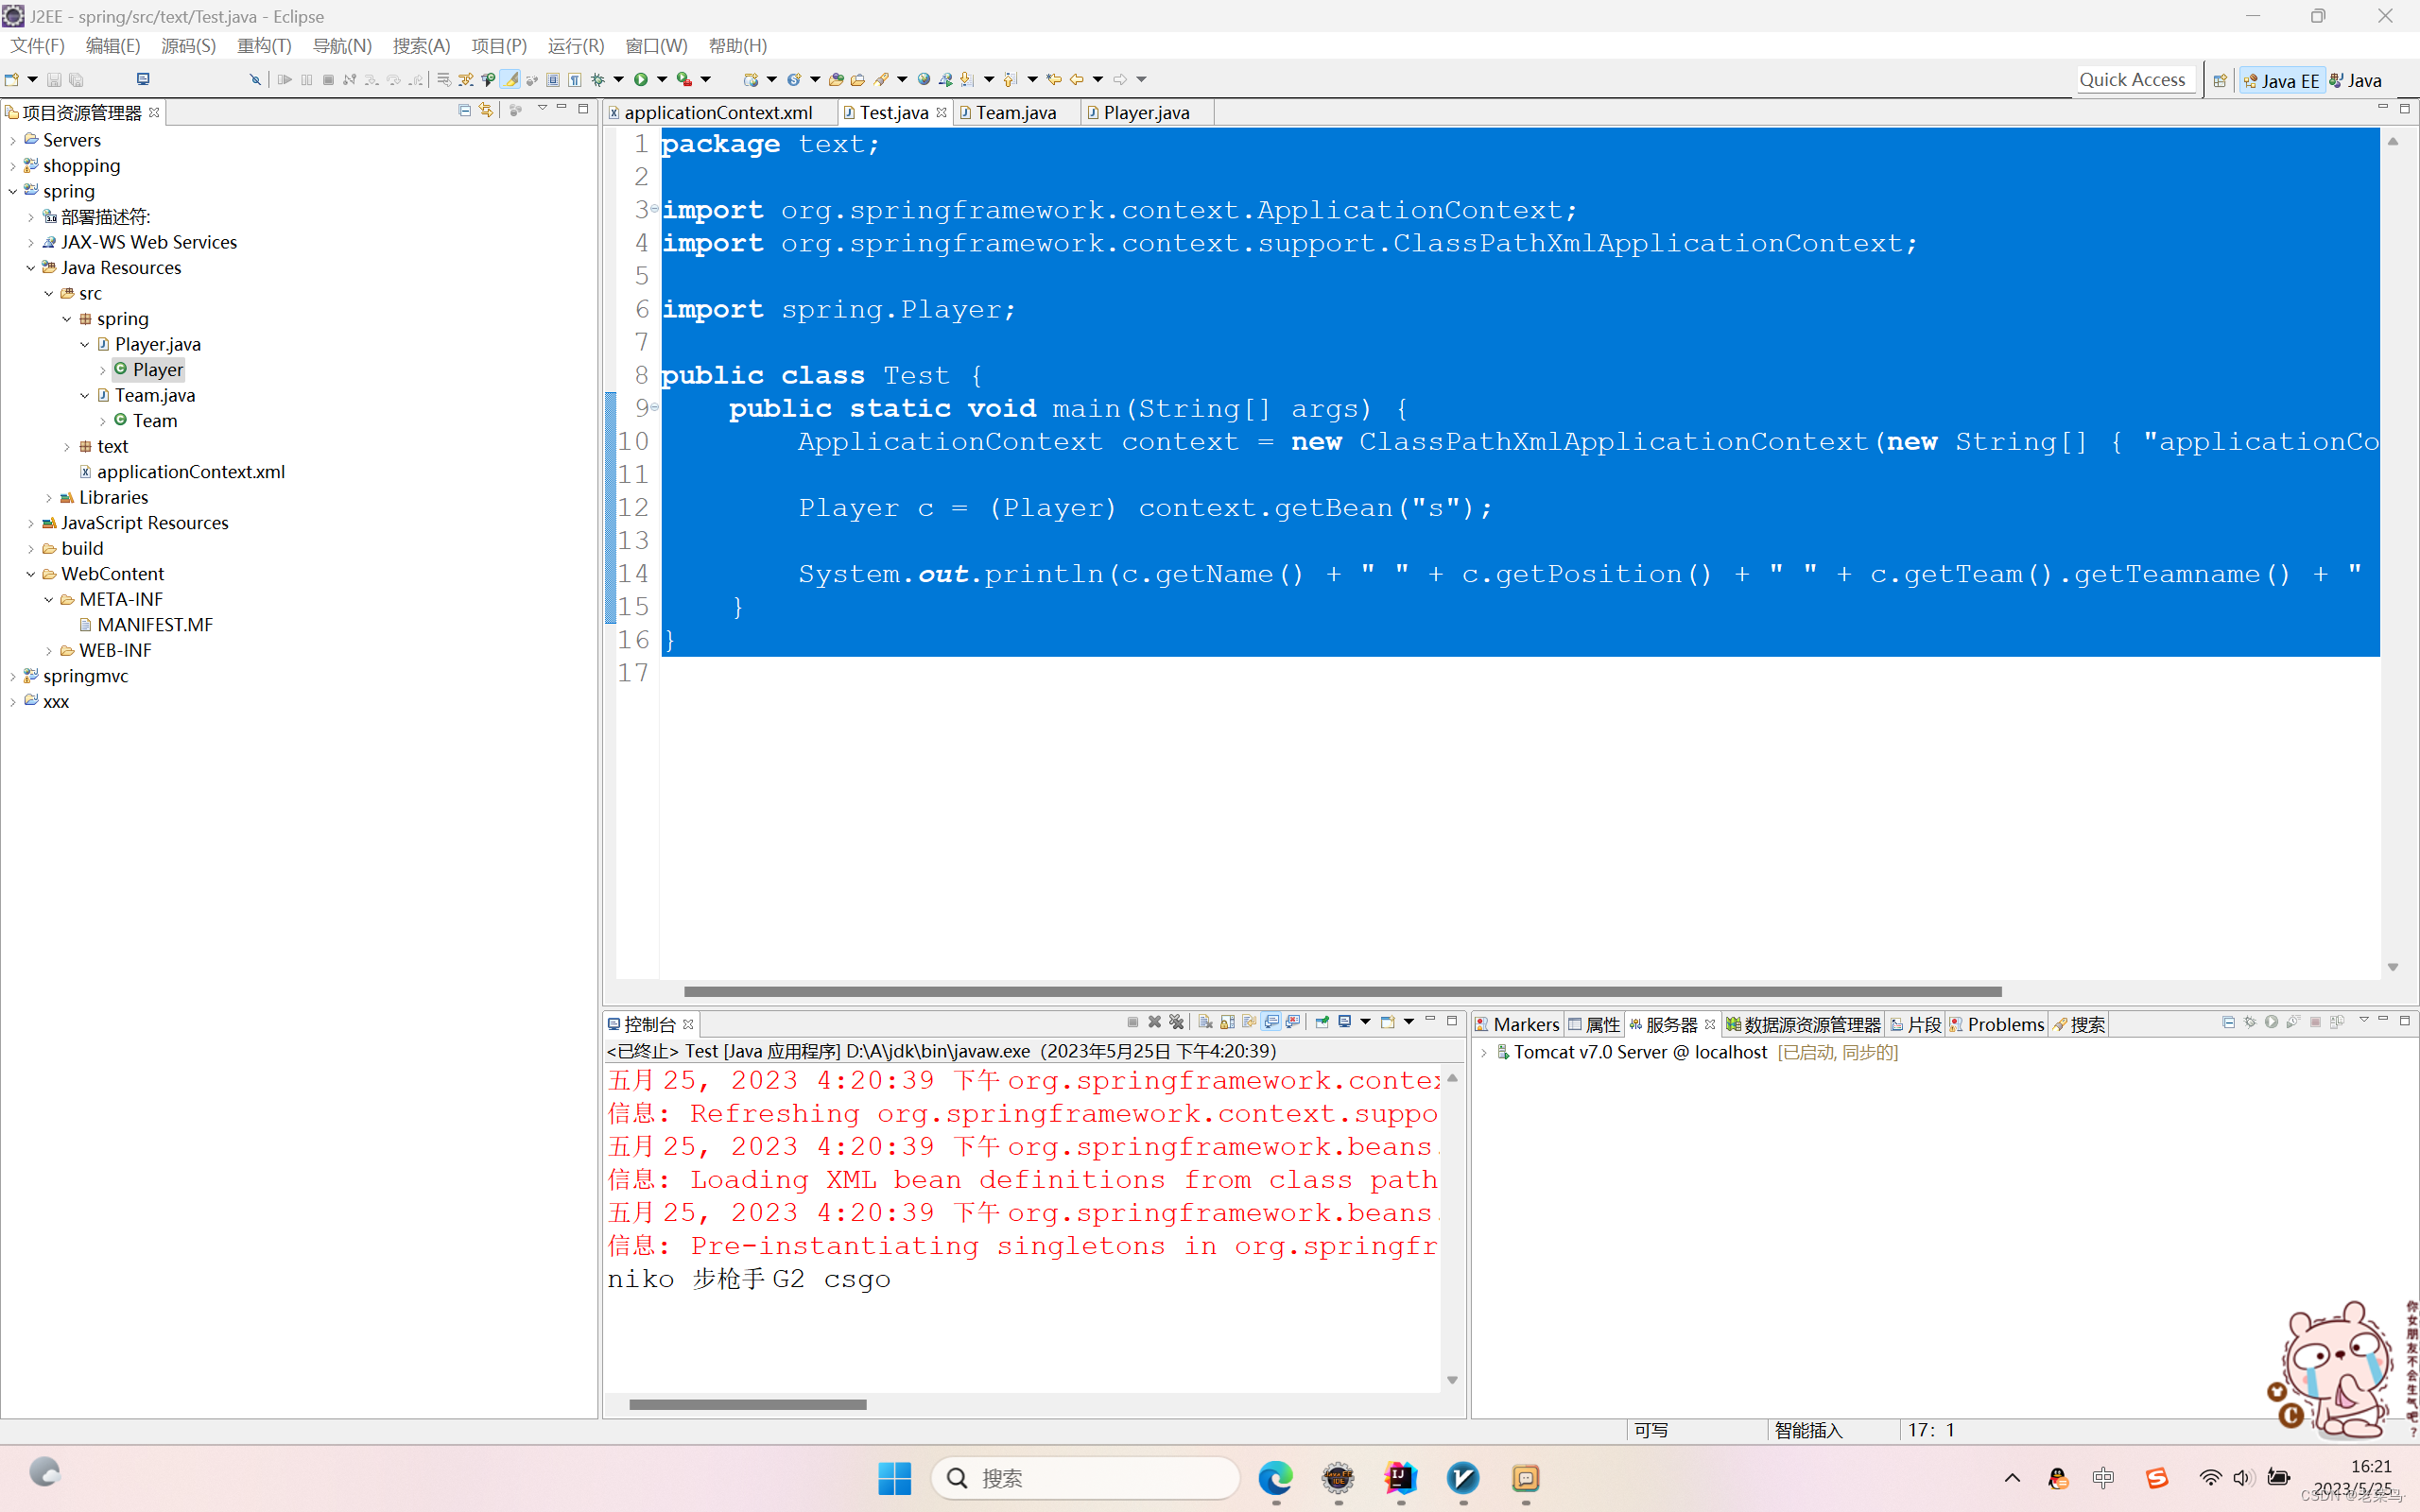
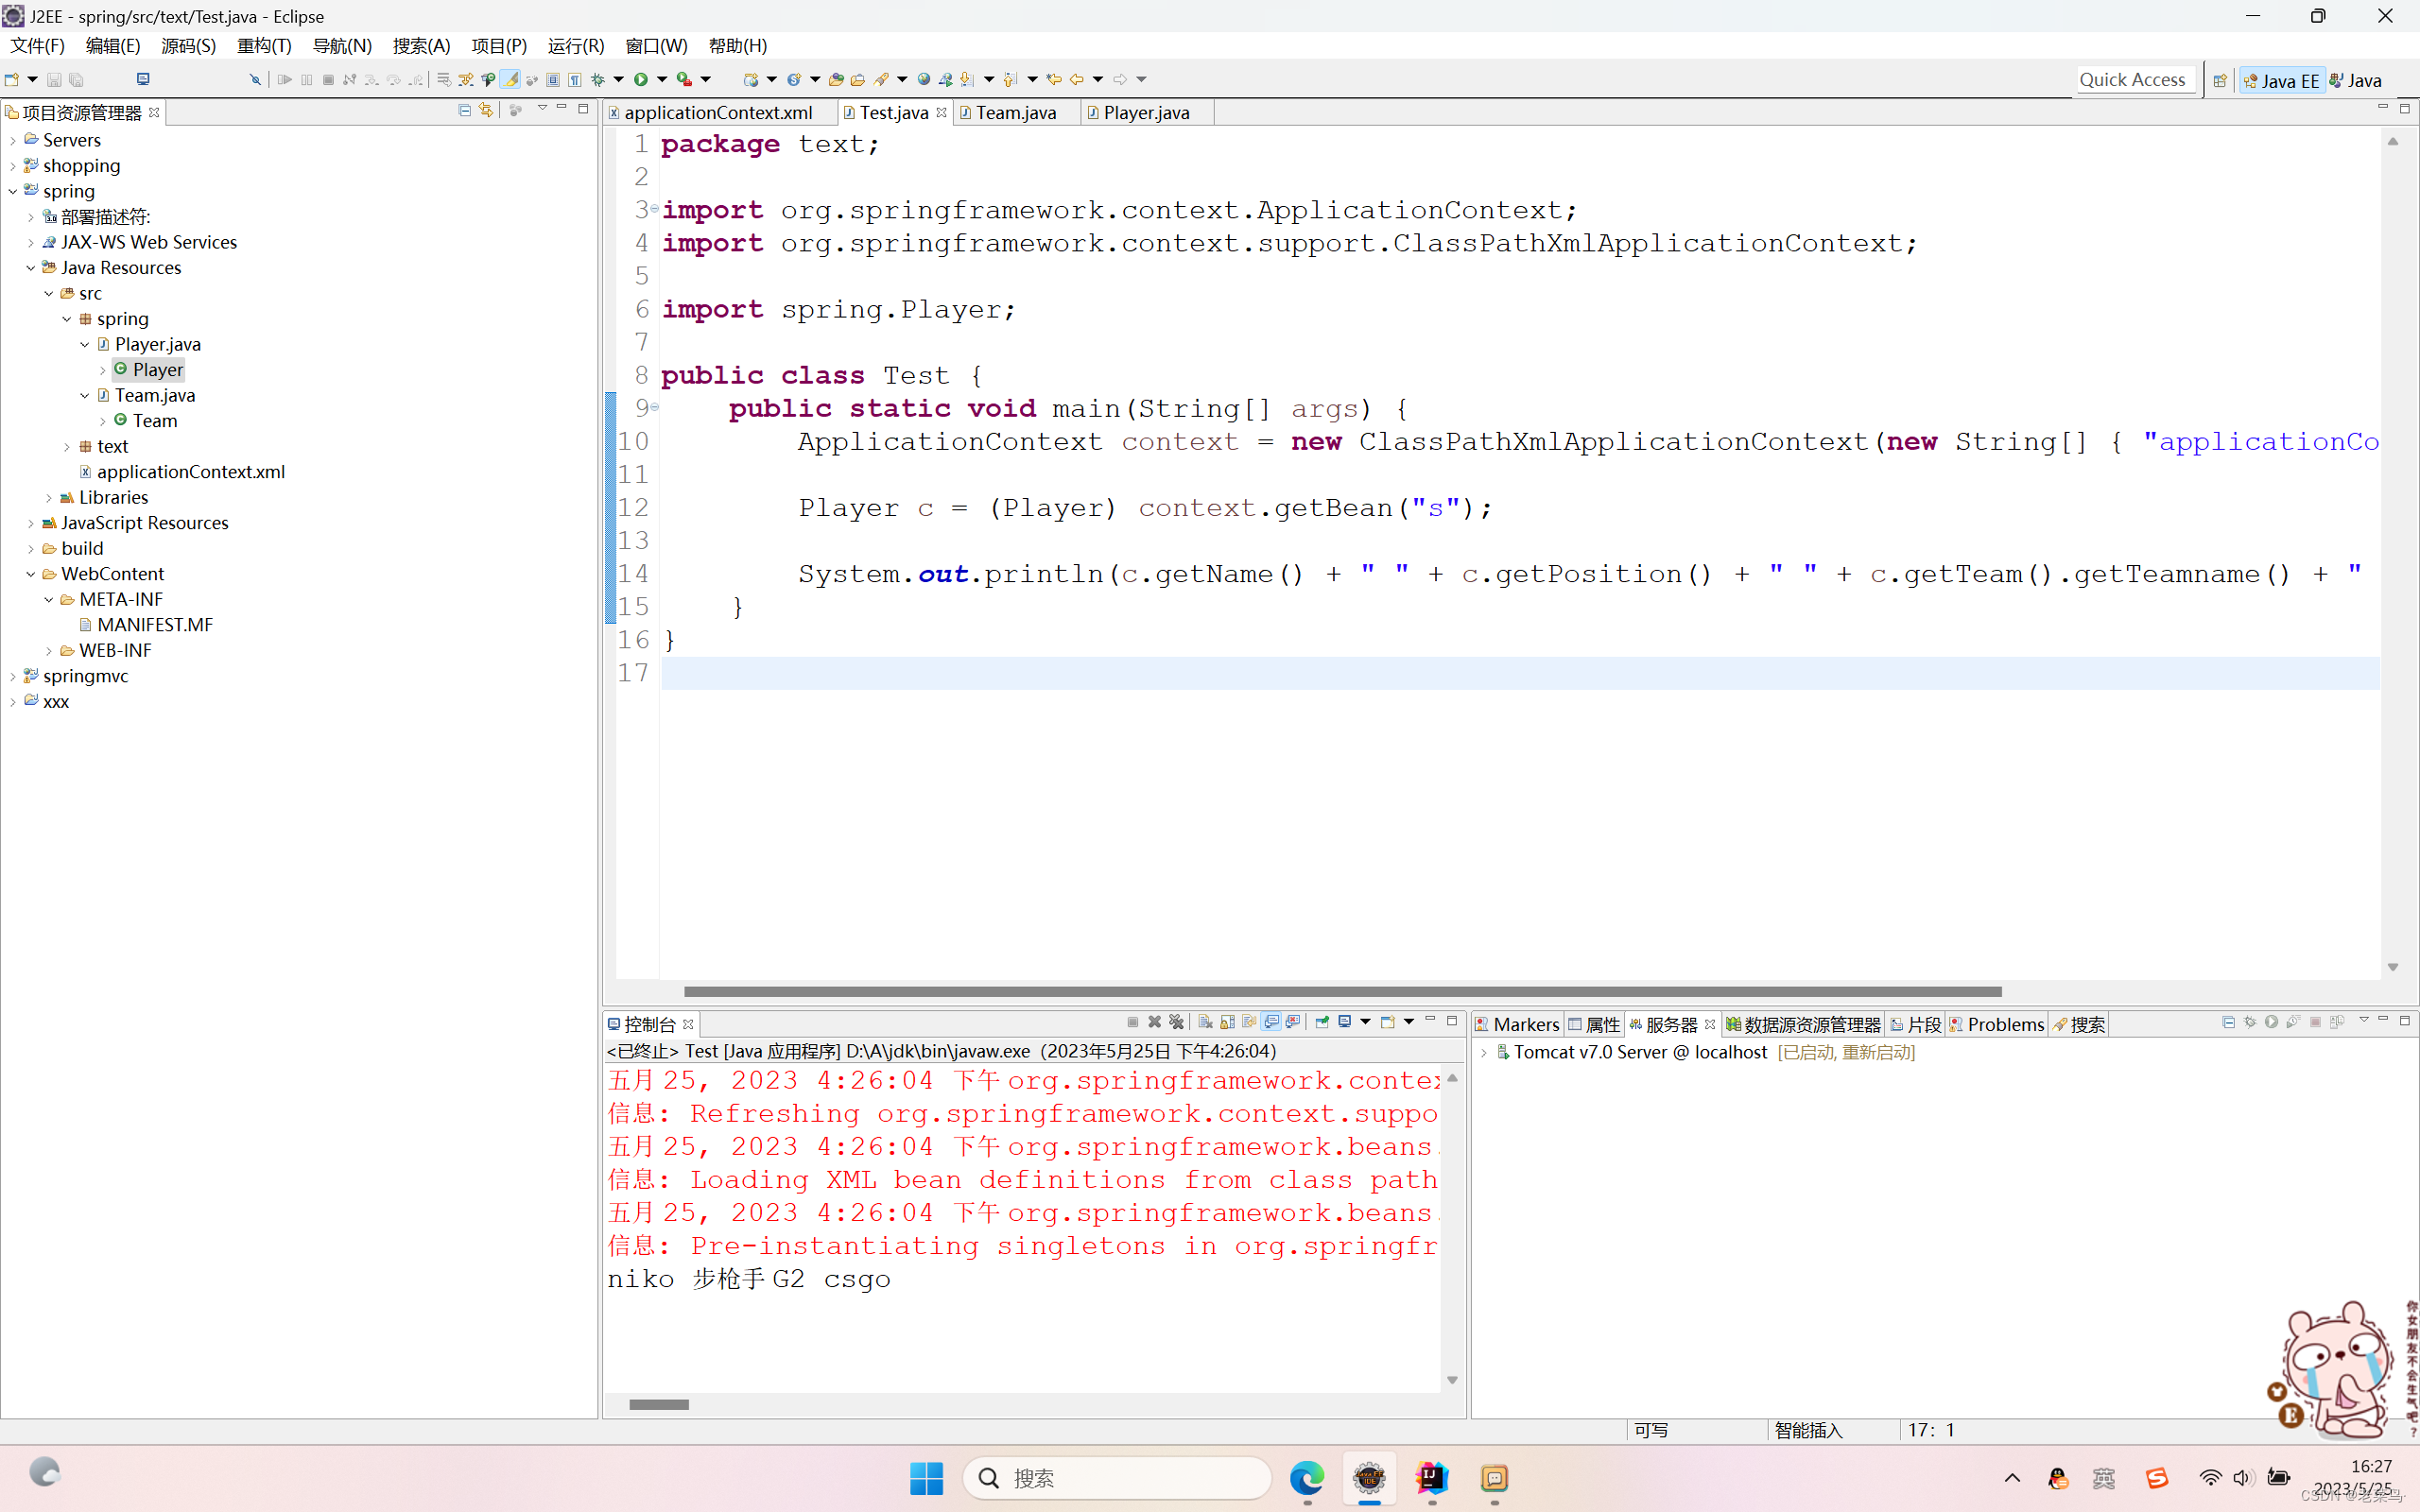
</beans>3、测试类
package text;

import org.springframework.context.ApplicationContext;
import org.springframework.context.support.ClassPathXmlApplicationContext;

import spring.Player;

public class Test {
	public static void main(String[] args) {
        ApplicationContext context = new ClassPathXmlApplicationContext(new String[] { "applicationContext.xml" });

        Player c = (Player) context.getBean("s");

        System.out.println(c.getName() + " " + c.getPosition() + " " + c.getTeam().getTeamname() + " " + c.getTeam().getGame());
    }
}
没问题
1、修改配置文件
<?xml version="1.0" encoding="UTF-8"?>
<beans xmlns="http://www.springframework.org/schema/beans"
    xmlns:xsi="http://www.w3.org/2001/XMLSchema-instance"
    xmlns:aop="http://www.springframework.org/schema/aop"
    xmlns:tx="http://www.springframework.org/schema/tx"
    xmlns:context="http://www.springframework.org/schema/context"
    xsi:schemaLocation="
   http://www.springframework.org/schema/beans
   http://www.springframework.org/schema/beans/spring-beans-3.0.xsd
   http://www.springframework.org/schema/aop
   http://www.springframework.org/schema/aop/spring-aop-3.0.xsd
   http://www.springframework.org/schema/tx
   http://www.springframework.org/schema/tx/spring-tx-3.0.xsd
   http://www.springframework.org/schema/context
   http://www.springframework.org/schema/context/spring-context-3.0.xsd">

  	<context:annotation-config/>
	<bean name="s" class="spring.Player">
	   <property name="name" value="niko" />
	   <property name="position" value="步枪手" />
	</bean>
	<bean name="t" class="spring.Team">
	   <property name="teamname" value="G2" />
	   <property name="game" value="csgo" />
	</bean>


</beans>
2、为player加上注解
package spring;

import org.springframework.beans.factory.annotation.Autowired;

public class Player {
    public int getId() {
        return id;
    }

    public void setId(int id) {
        this.id = id;
    }

    public String getName() {
        return name;
    }

    public void setName(String name) {
        this.name = name;
    }

    public String getPosition() {
        return position;
    }

    public void setPosition(String position) {
        this.position = position;
    }

    private int id;
    private String name;
    private String position;

    public Team getTeam() {
        return team;
    }

    public void setTeam(Team team) {
        this.team = team;
    }
    @Autowired
    private Team team;
}
没问题
试试对bean的注解:
1、修改xml,注意这里指个包名就可以了,不要指明类名
<?xml version="1.0" encoding="UTF-8"?>
<beans xmlns="http://www.springframework.org/schema/beans"
xmlns:xsi="http://www.w3.org/2001/XMLSchema-instance"
xmlns:aop="http://www.springframework.org/schema/aop"
xmlns:tx="http://www.springframework.org/schema/tx"
xmlns:context="http://www.springframework.org/schema/context"
xsi:schemaLocation="
http://www.springframework.org/schema/beans
http://www.springframework.org/schema/beans/spring-beans-3.0.xsd
http://www.springframework.org/schema/aop
http://www.springframework.org/schema/aop/spring-aop-3.0.xsd
http://www.springframework.org/schema/tx
http://www.springframework.org/schema/tx/spring-tx-3.0.xsd
http://www.springframework.org/schema/context
http://www.springframework.org/schema/context/spring-context-3.0.xsd">
<context:component-scan base-package="spring"/>
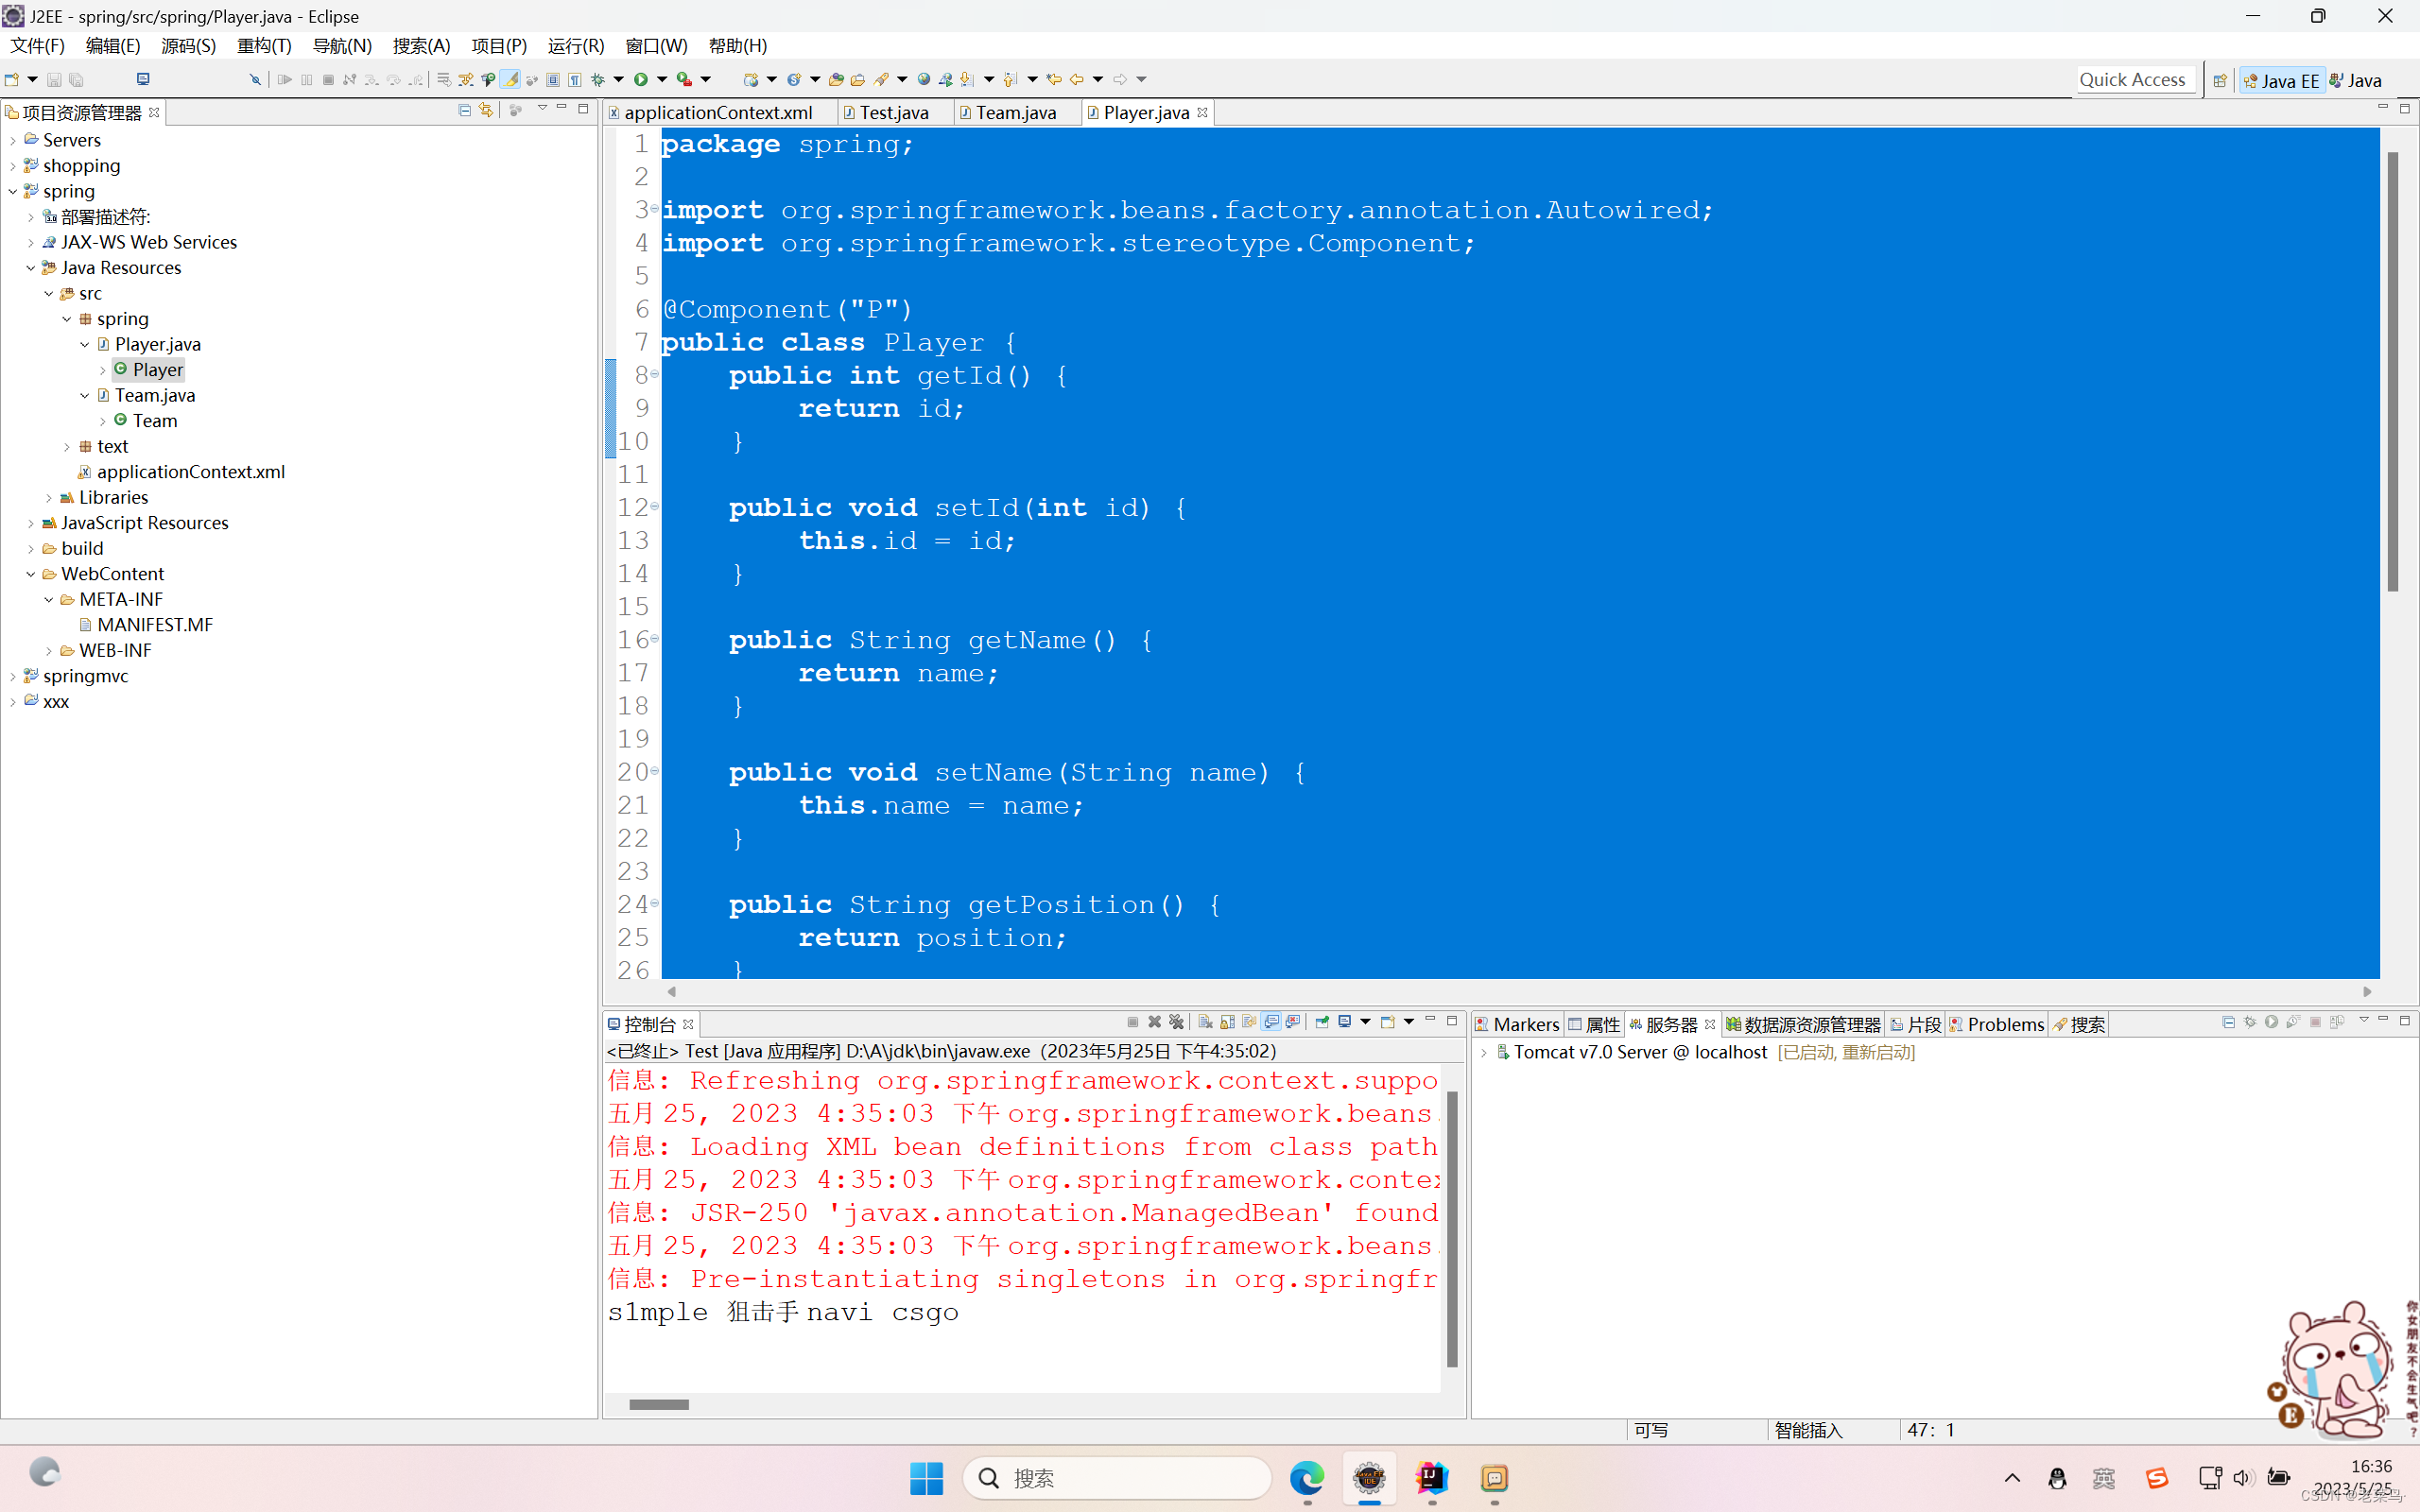
</beans>2、添加相关注释
package spring;

import org.springframework.stereotype.Component;

@Component("T")
public class Team {
    private String teamname = "navi";
    private String game = "csgo";

    public String getTeamname() {
        return teamname;
    }

    public void setTeamname(String teamname) {
        this.teamname = teamname;
    }

    public String getGame() {
        return game;
    }

    public void setGame(String game) {
        this.game = game;
    }
}
package spring;

import org.springframework.beans.factory.annotation.Autowired;
import org.springframework.stereotype.Component;

@Component("P")
public class Player {
    public int getId() {
        return id;
    }

    public void setId(int id) {
        this.id = id;
    }

    public String getName() {
        return name;
    }

    public void setName(String name) {
        this.name = name;
    }

    public String getPosition() {
        return position;
    }

    public void setPosition(String position) {
        this.position = position;
    }

    private int id;
    private String name = "s1mple";
    private String position = "狙击手";

    public Team getTeam() {
        return team;
    }

    public void setTeam(Team team) {
        this.team = team;
    }
    @Autowired
    private Team team;
}
没毛病:
2、教材练习
setter注入之前已经用过,现在试试构造器注入
1、给team类加个带参构造方法
package spring;

import org.springframework.stereotype.Component;

public class Team {
    private String teamname;
    private String game;

    public Team(String teamname ,String game){
    	this.teamname = teamname;
    	this.game = game;
    }

    public String getTeamname() {
        return teamname;
    }

    public void setTeamname(String teamname) {
        this.teamname = teamname;
    }

    public String getGame() {
        return game;
    }

    public void setGame(String game) {
        this.game = game;
    }
}
2、创建相应xml
<?xml version="1.0" encoding="UTF-8"?>
<beans xmlns="http://www.springframework.org/schema/beans"
xmlns:xsi="http://www.w3.org/2001/XMLSchema-instance"
xmlns:aop="http://www.springframework.org/schema/aop"
xmlns:tx="http://www.springframework.org/schema/tx"
xmlns:context="http://www.springframework.org/schema/context"
xsi:schemaLocation="
http://www.springframework.org/schema/beans
http://www.springframework.org/schema/beans/spring-beans-3.0.xsd
http://www.springframework.org/schema/aop
http://www.springframework.org/schema/aop/spring-aop-3.0.xsd
http://www.springframework.org/schema/tx
http://www.springframework.org/schema/tx/spring-tx-3.0.xsd
http://www.springframework.org/schema/context
http://www.springframework.org/schema/context/spring-context-3.0.xsd">
<bean name="t" class="spring.Team">
<constructor-arg>
<value>faze</value>
</constructor-arg>
<constructor-arg>
<value>csgo</value>
</constructor-arg>
</bean>
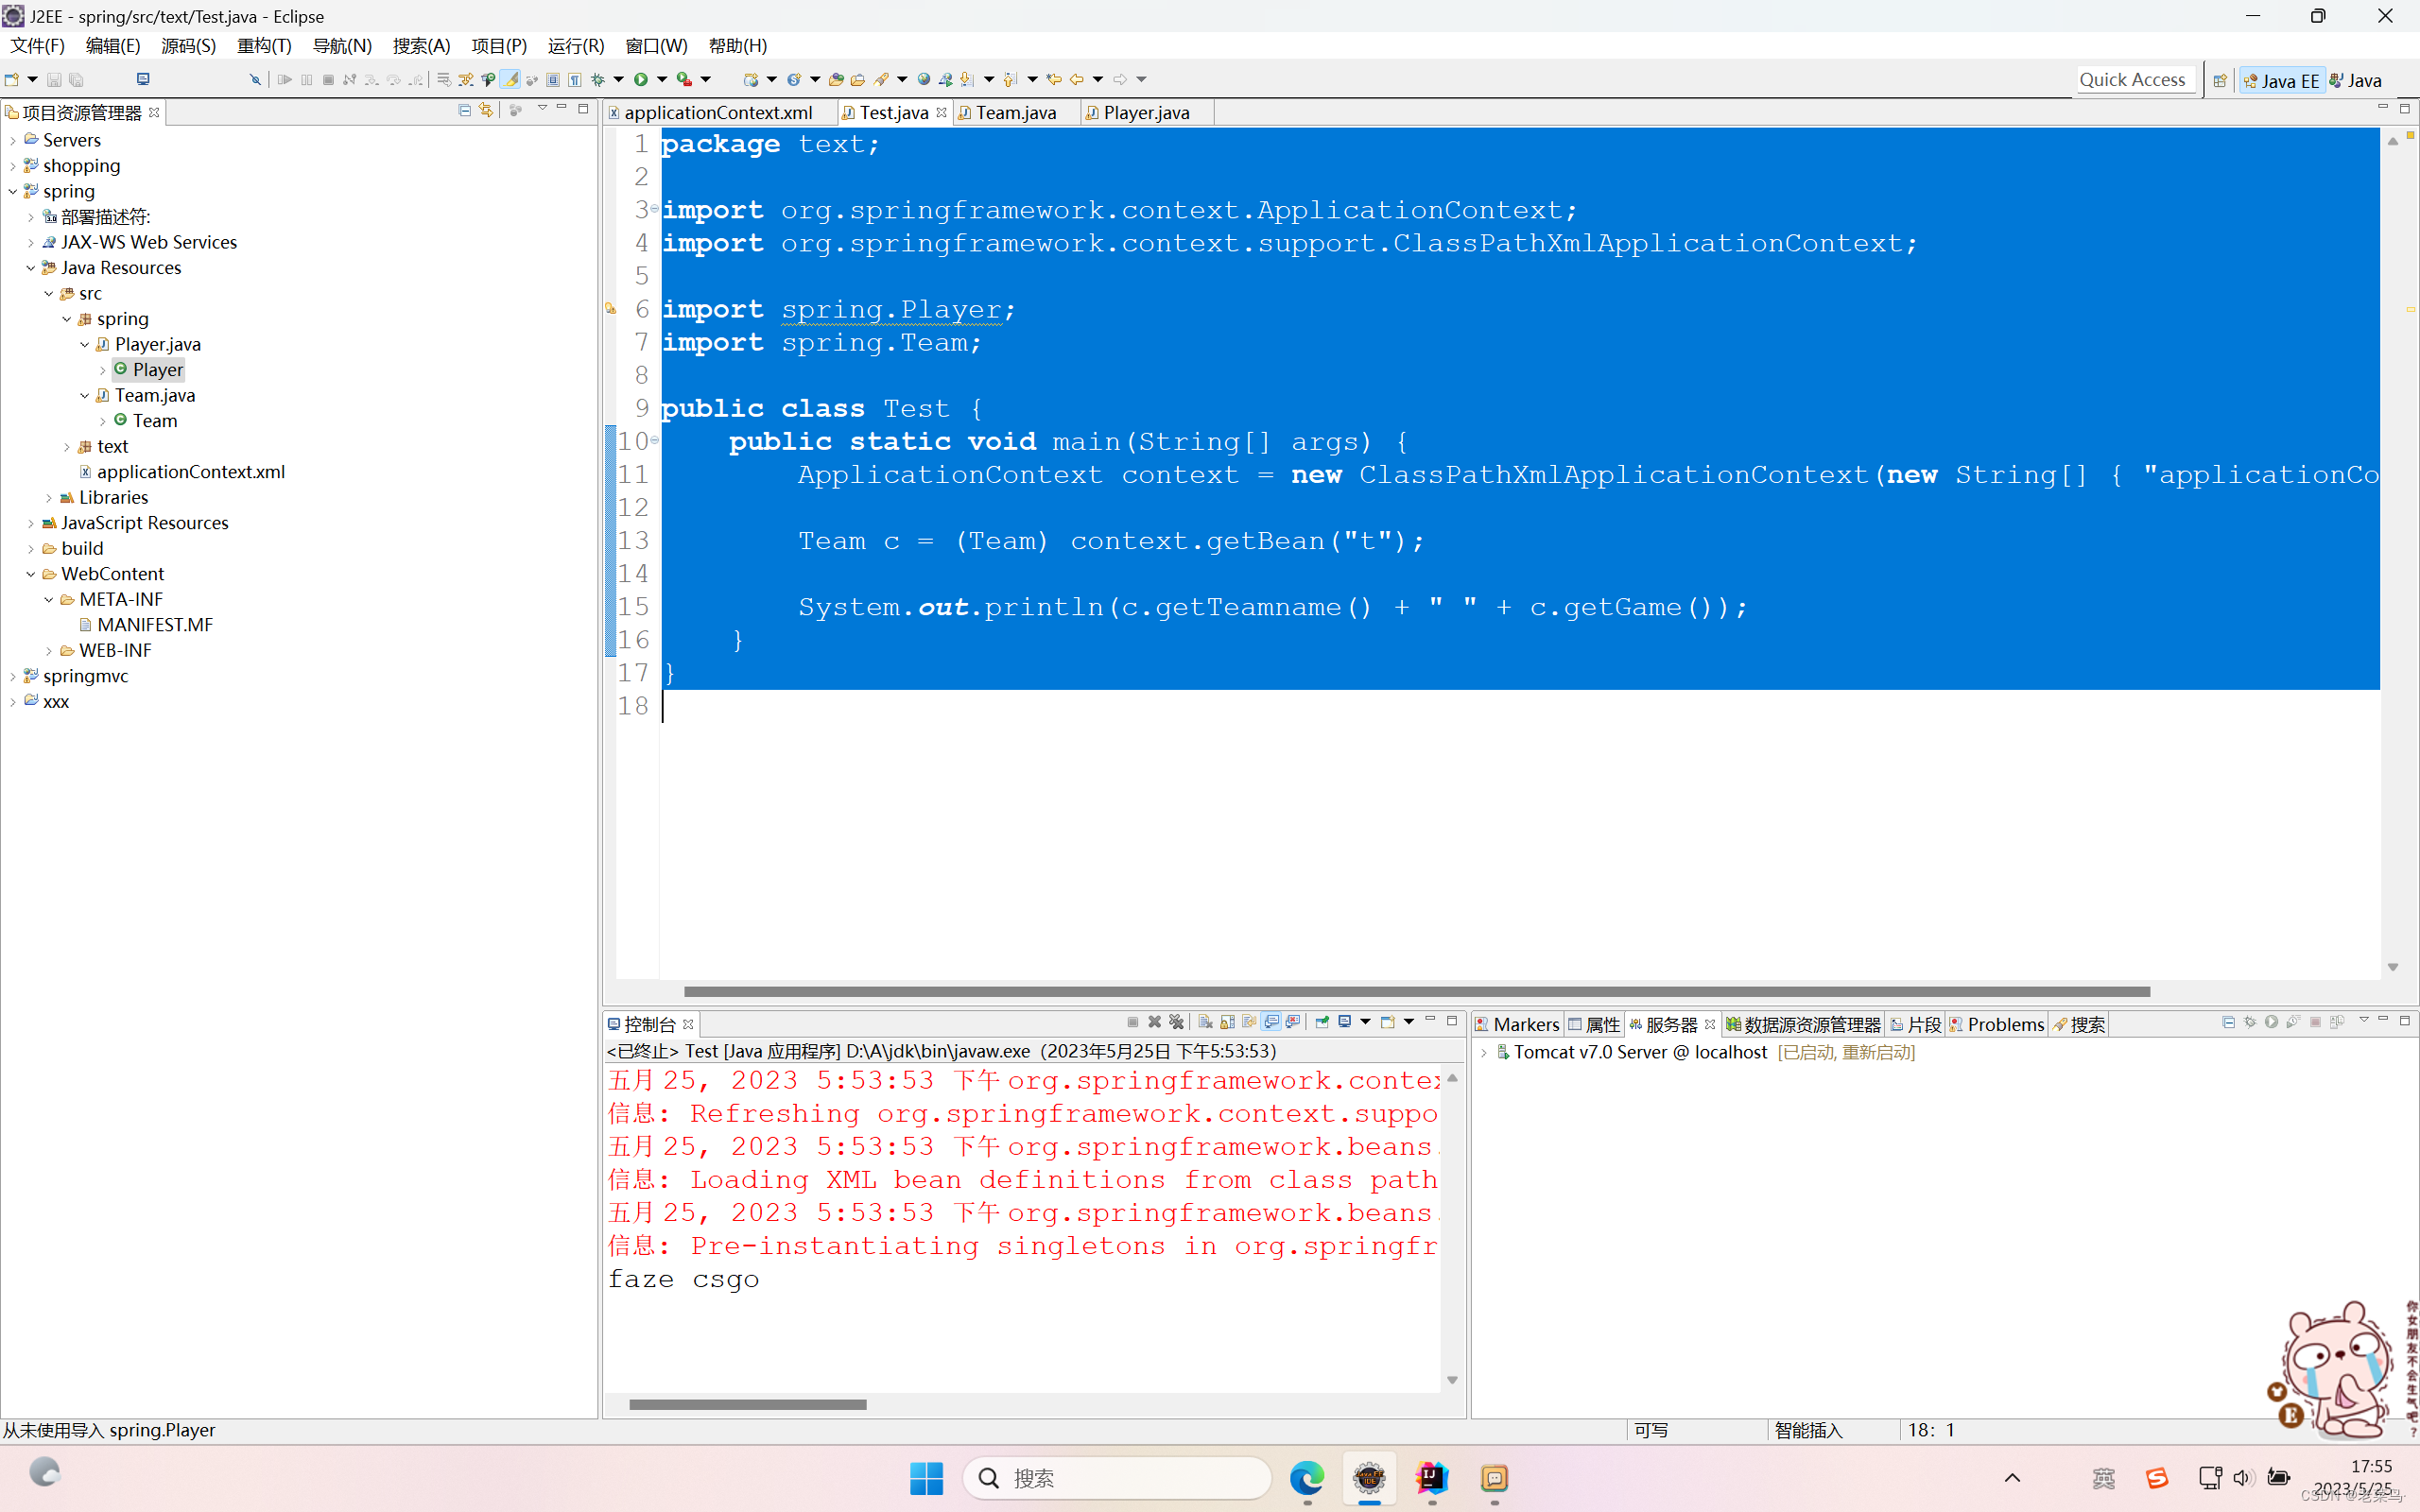
</beans>3、测试类
package text;

import org.springframework.context.ApplicationContext;
import org.springframework.context.support.ClassPathXmlApplicationContext;

import spring.Player;
import spring.Team;

public class Test {
	public static void main(String[] args) {
        ApplicationContext context = new ClassPathXmlApplicationContext(new String[] { "applicationContext.xml" });

        Team c = (Team) context.getBean("t");

        System.out.println(c.getTeamname() + " " + c.getGame());
    }
}
没毛病
接下来我们试试教材dao模式操作
1、类还是用我们之前的Player类
package spring;

import org.springframework.beans.factory.annotation.Autowired;
import org.springframework.stereotype.Component;

public class Player {
    public int getId() {
        return id;
    }

    public void setId(int id) {
        this.id = id;
    }

    public String getName() {
        return name;
    }

    public void setName(String name) {
        this.name = name;
    }

    public String getPosition() {
        return position;
    }

    public void setPosition(String position) {
        this.position = position;
    }

    private int id;
    private String name;
    private String position;

}
2、来一个接口,这个接口可以不止抽象定义一种方法,后面可以按照需求定义多个方法,在这里只是尝试一个方法。
package impl;

import spring.Player;

public interface Playerdaoimpl {
	public void inserplayer(Player p);
}
3、定义一个dao类。这里用到了try。。。finally异常处理方法,这种方式简单来说就是尝试try中的代码,不管是否成功,最终都要执行finally中的代码
package dao;

import java.sql.Connection;
import java.sql.SQLException;
import java.sql.Statement;

import javax.sql.DataSource;

import impl.Playerdaoimpl;
import spring.Player;

public class Playerdao implements Playerdaoimpl{
	private DataSource dataSource;//注入DataSource
    public DataSource getDataSource() {
        return dataSource;
    }
    public void setDataSource(DataSource dataSource) {
        this.dataSource = dataSource;
    }
    public void inserplayer(Player p){
    	String name = p.getName();
    	String position = p.getPosition();
    	Connection conn = null;
        Statement stmt = null;
        try {
            conn = dataSource.getConnection();//获取数据库连接
            stmt = conn.createStatement();
            stmt.execute("insert into player (name,position) "
                 + "values('"+name+"','" + position + "')");
        } catch (SQLException e) {
            e.printStackTrace();
        }
        finally {
            if(stmt != null) {
                try {
                    stmt.close();//关闭Statement对象
                }
                catch(SQLException e) {
                    e.printStackTrace();
                }
            }
            if(conn != null) {
                try {
                    conn.close();//关闭数据库连接
                }
                catch(SQLException e) {
                    e.printStackTrace();
                }
            }
        }
    }
}
4、配置文件,注意对应好自己的数据库相关信息
<?xml version="1.0" encoding="UTF-8"?>
<beans
	xmlns="http://www.springframework.org/schema/beans"
	xmlns:xsi="http://www.w3.org/2001/XMLSchema-instance"
	xsi:schemaLocation="http://www.springframework.org/schema/beans http://www.springframework.org/schema/beans/spring-beans-2.5.xsd">
	<!-- 配置数据源 -->
	<bean id="dataSource"
		class="org.springframework.jdbc.datasource.DriverManagerDataSource">
		<property name="driverClassName">
			<value>com.mysql.jdbc.Driver</value>
		</property>
		<property name="url">
			<value>jdbc:mysql://localhost:3306/test
			</value>
		</property>
		<property name="username">
			<value>root</value>
		</property>
		<property name="password">
			<value>123456</value>
		</property>
	</bean>
	<bean id="userDAO" class="com.mr.dao.UserDAO">
		<property name="dataSource">
			<ref local="dataSource"/>
		</property>
	</bean>
</beans>
5、创建好相应的数据库
CREATE TABLE player (
id INT NOT NULL AUTO_INCREMENT,
name VARCHAR(50) NOT NULL,
position VARCHAR(50),
PRIMARY KEY (id)
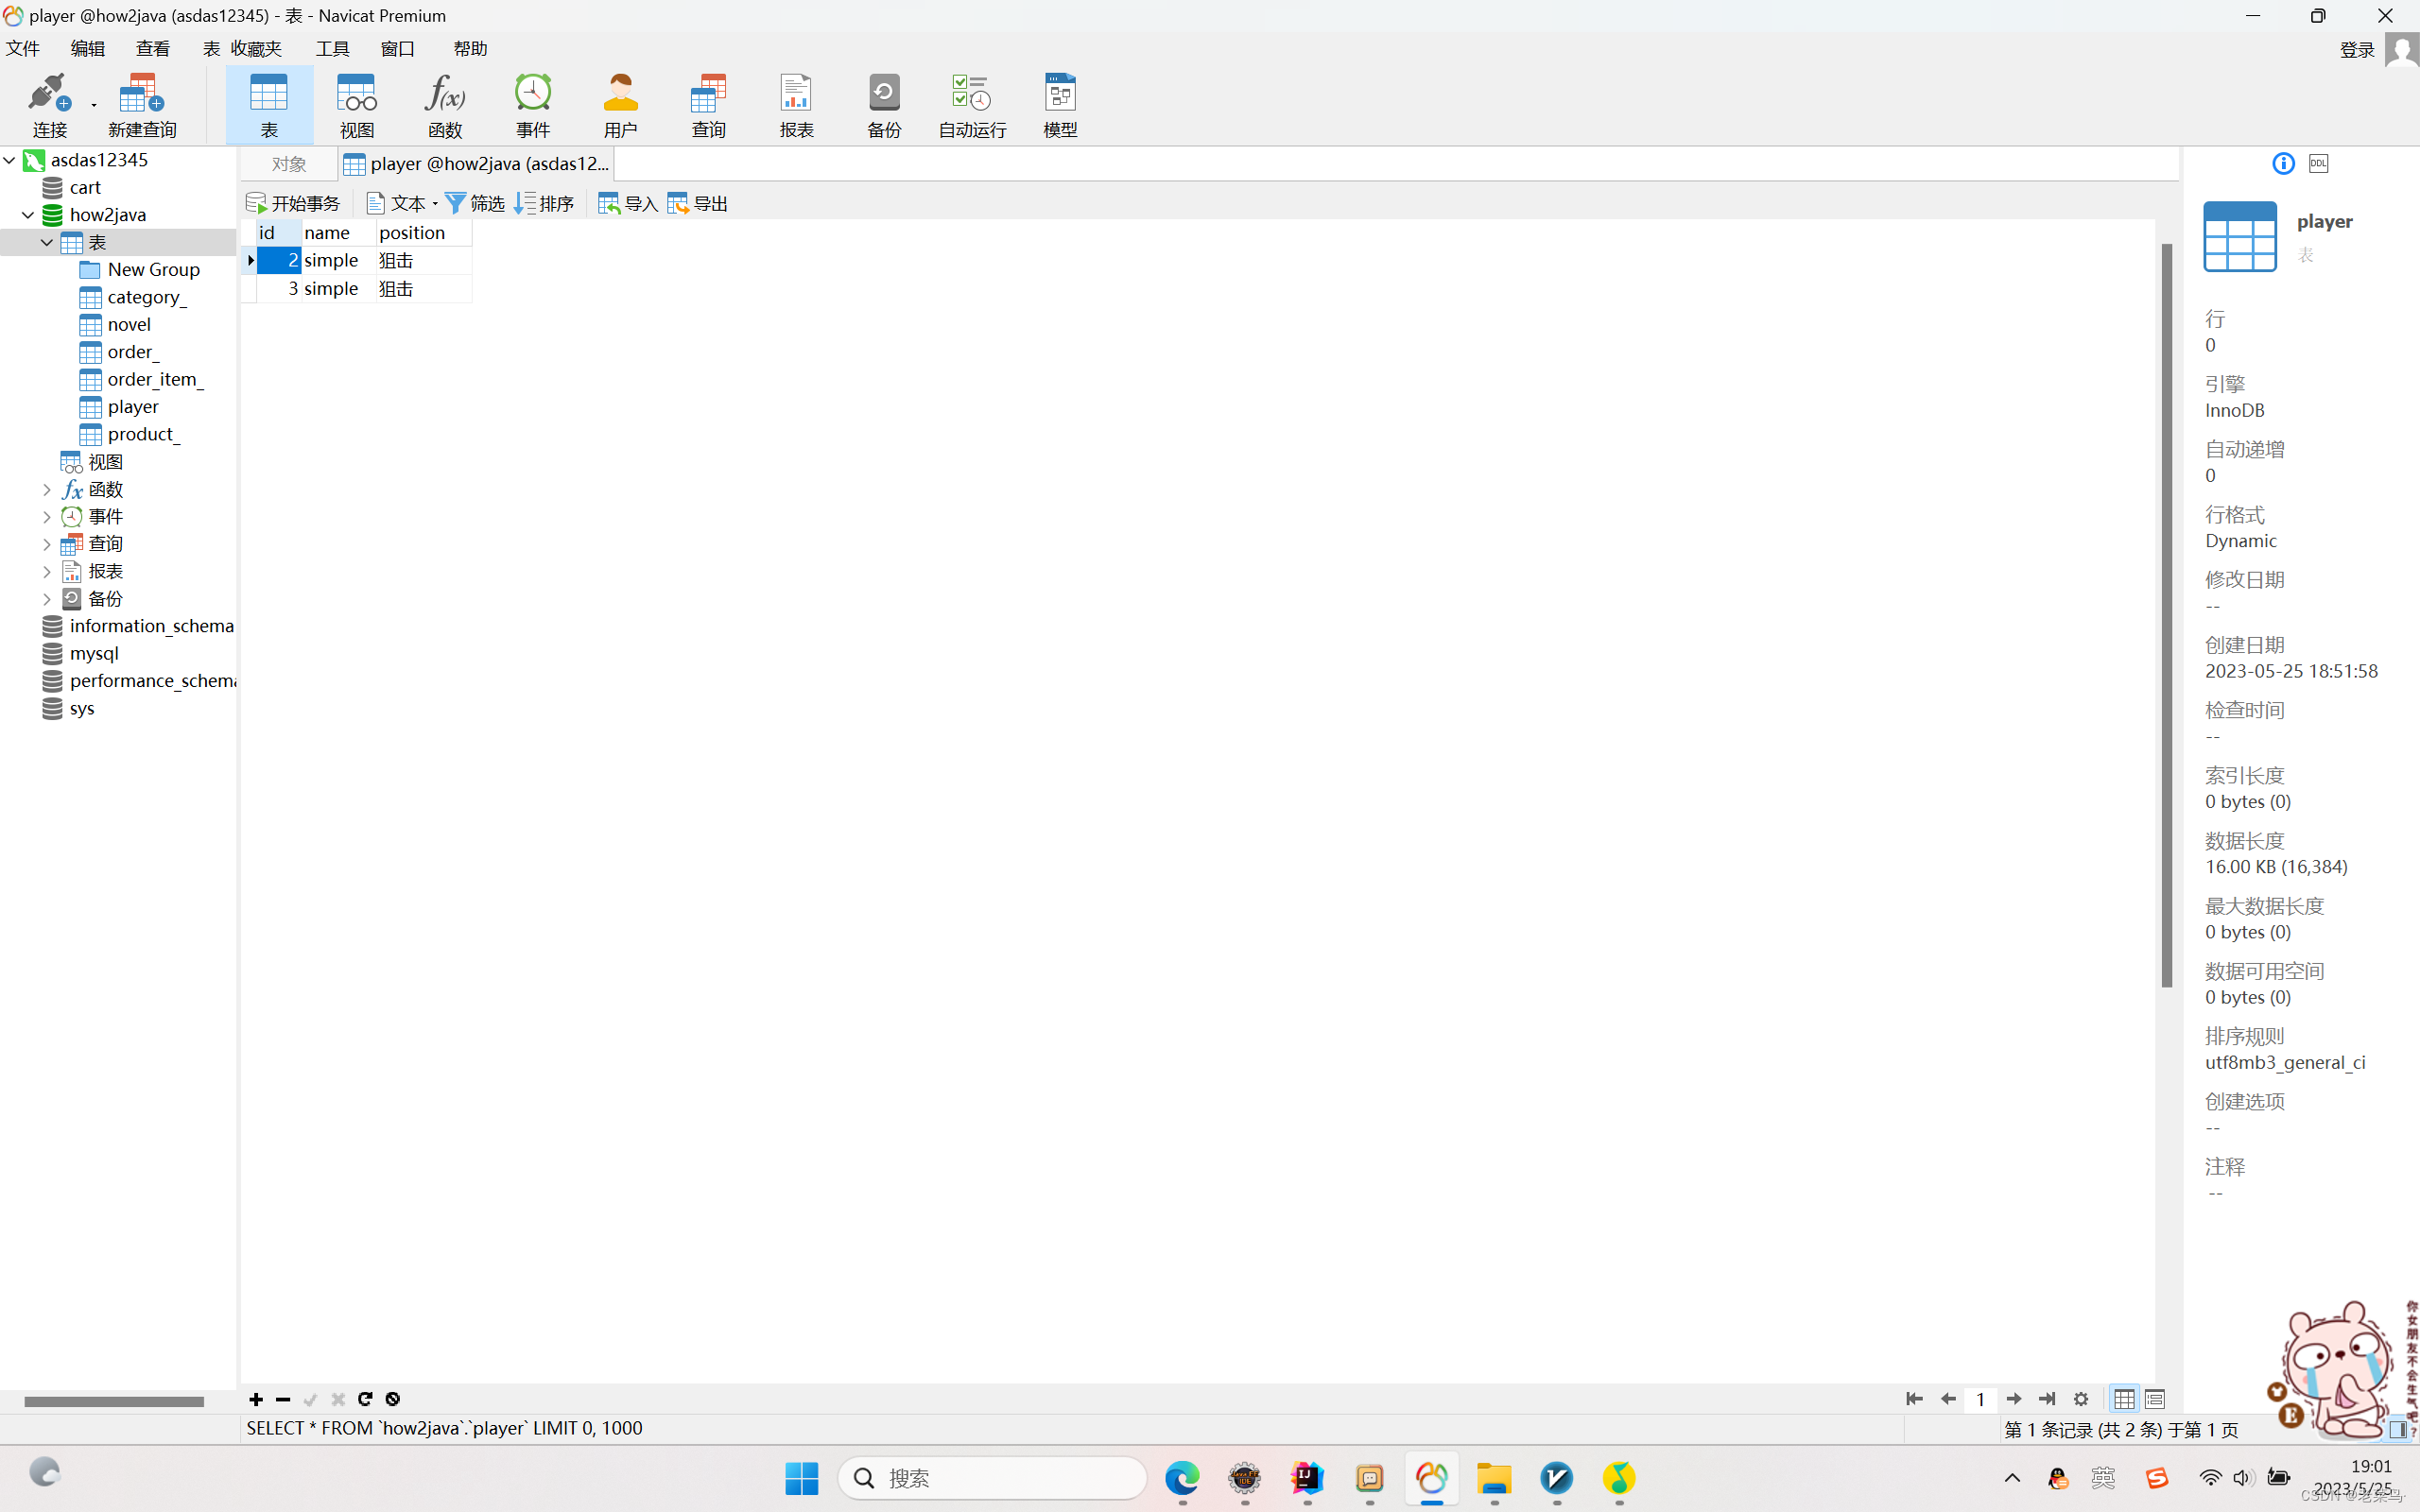
) ENGINE=InnoDB DEFAULT CHARSET=utf8;6、创建测试类
package text;

import org.springframework.context.ApplicationContext;
import org.springframework.context.support.ClassPathXmlApplicationContext;

import dao.Playerdao;
import spring.Player;

public class Test {
	public static void main(String[] args) {
        ApplicationContext context = new ClassPathXmlApplicationContext(new String[] { "applicationContext.xml" });

        Player p = new Player("simple" ,"狙击手");
        Playerdao dao = (Playerdao) context.getBean("playerdao");
        dao.inserplayer(p);
        System.out.println("成功");
    }
}
报了个错,是字符编码问题
java.sql.SQLException: Unknown initial character set index '255' received from server. Initial client character set can be forced via the 'characterEncoding' property.
	at com.mysql.jdbc.SQLError.createSQLException(SQLError.java:910)
	at com.mysql.jdbc.Connection.configureClientCharacterSet(Connection.java:2412)
	at com.mysql.jdbc.Connection.initializePropsFromServer(Connection.java:4139)
	at com.mysql.jdbc.Connection.createNewIO(Connection.java:2789)
	at com.mysql.jdbc.Connection.<init>(Connection.java:1555)
	at com.mysql.jdbc.NonRegisteringDriver.connect(NonRegisteringDriver.java:285)
	at java.sql.DriverManager.getConnection(DriverManager.java:664)
	at java.sql.DriverManager.getConnection(DriverManager.java:208)
	at org.springframework.jdbc.datasource.DriverManagerDataSource.getConnectionFromDriverManager(DriverManagerDataSource.java:173)
	at org.springframework.jdbc.datasource.DriverManagerDataSource.getConnectionFromDriver(DriverManagerDataSource.java:164)
	at org.springframework.jdbc.datasource.AbstractDriverBasedDataSource.getConnectionFromDriver(AbstractDriverBasedDataSource.java:149)
	at org.springframework.jdbc.datasource.AbstractDriverBasedDataSource.getConnection(AbstractDriverBasedDataSource.java:119)
	at dao.Playerdao.inserplayer(Playerdao.java:26)
	at text.Test.main(Test.java:15)
我们修改xml文件中url为
<property name="url">
<value>jdbc:mysql://localhost:3306/how2java?useUnicode=true&characterEncoding=UTF-8</value>
</property>再次运行,没问题
最后用用JdbcTemple:
1、配置xml
<?xml version="1.0" encoding="UTF-8"?>
<beans
xmlns="http://www.springframework.org/schema/beans"
xmlns:xsi="http://www.w3.org/2001/XMLSchema-instance"
xsi:schemaLocation="http://www.springframework.org/schema/beans http://www.springframework.org/schema/beans/spring-beans-2.5.xsd">
<!-- 配置数据源 -->
<bean id="dataSource"
class="org.springframework.jdbc.datasource.DriverManagerDataSource">
<property name="url">
<value>jdbc:mysql://localhost:3306/how2java?useUnicode=true&characterEncoding=UTF-8</value>
</property>
<property name="username">
<value>root</value>
</property>
<property name="password">
<value>123456</value>
</property>
</bean>
<bean id="jdbcTemplate" class="org.springframework.jdbc.core.JdbcTemplate">
<property name="dataSource">
<ref local="dataSource"/>
</property>
</bean>
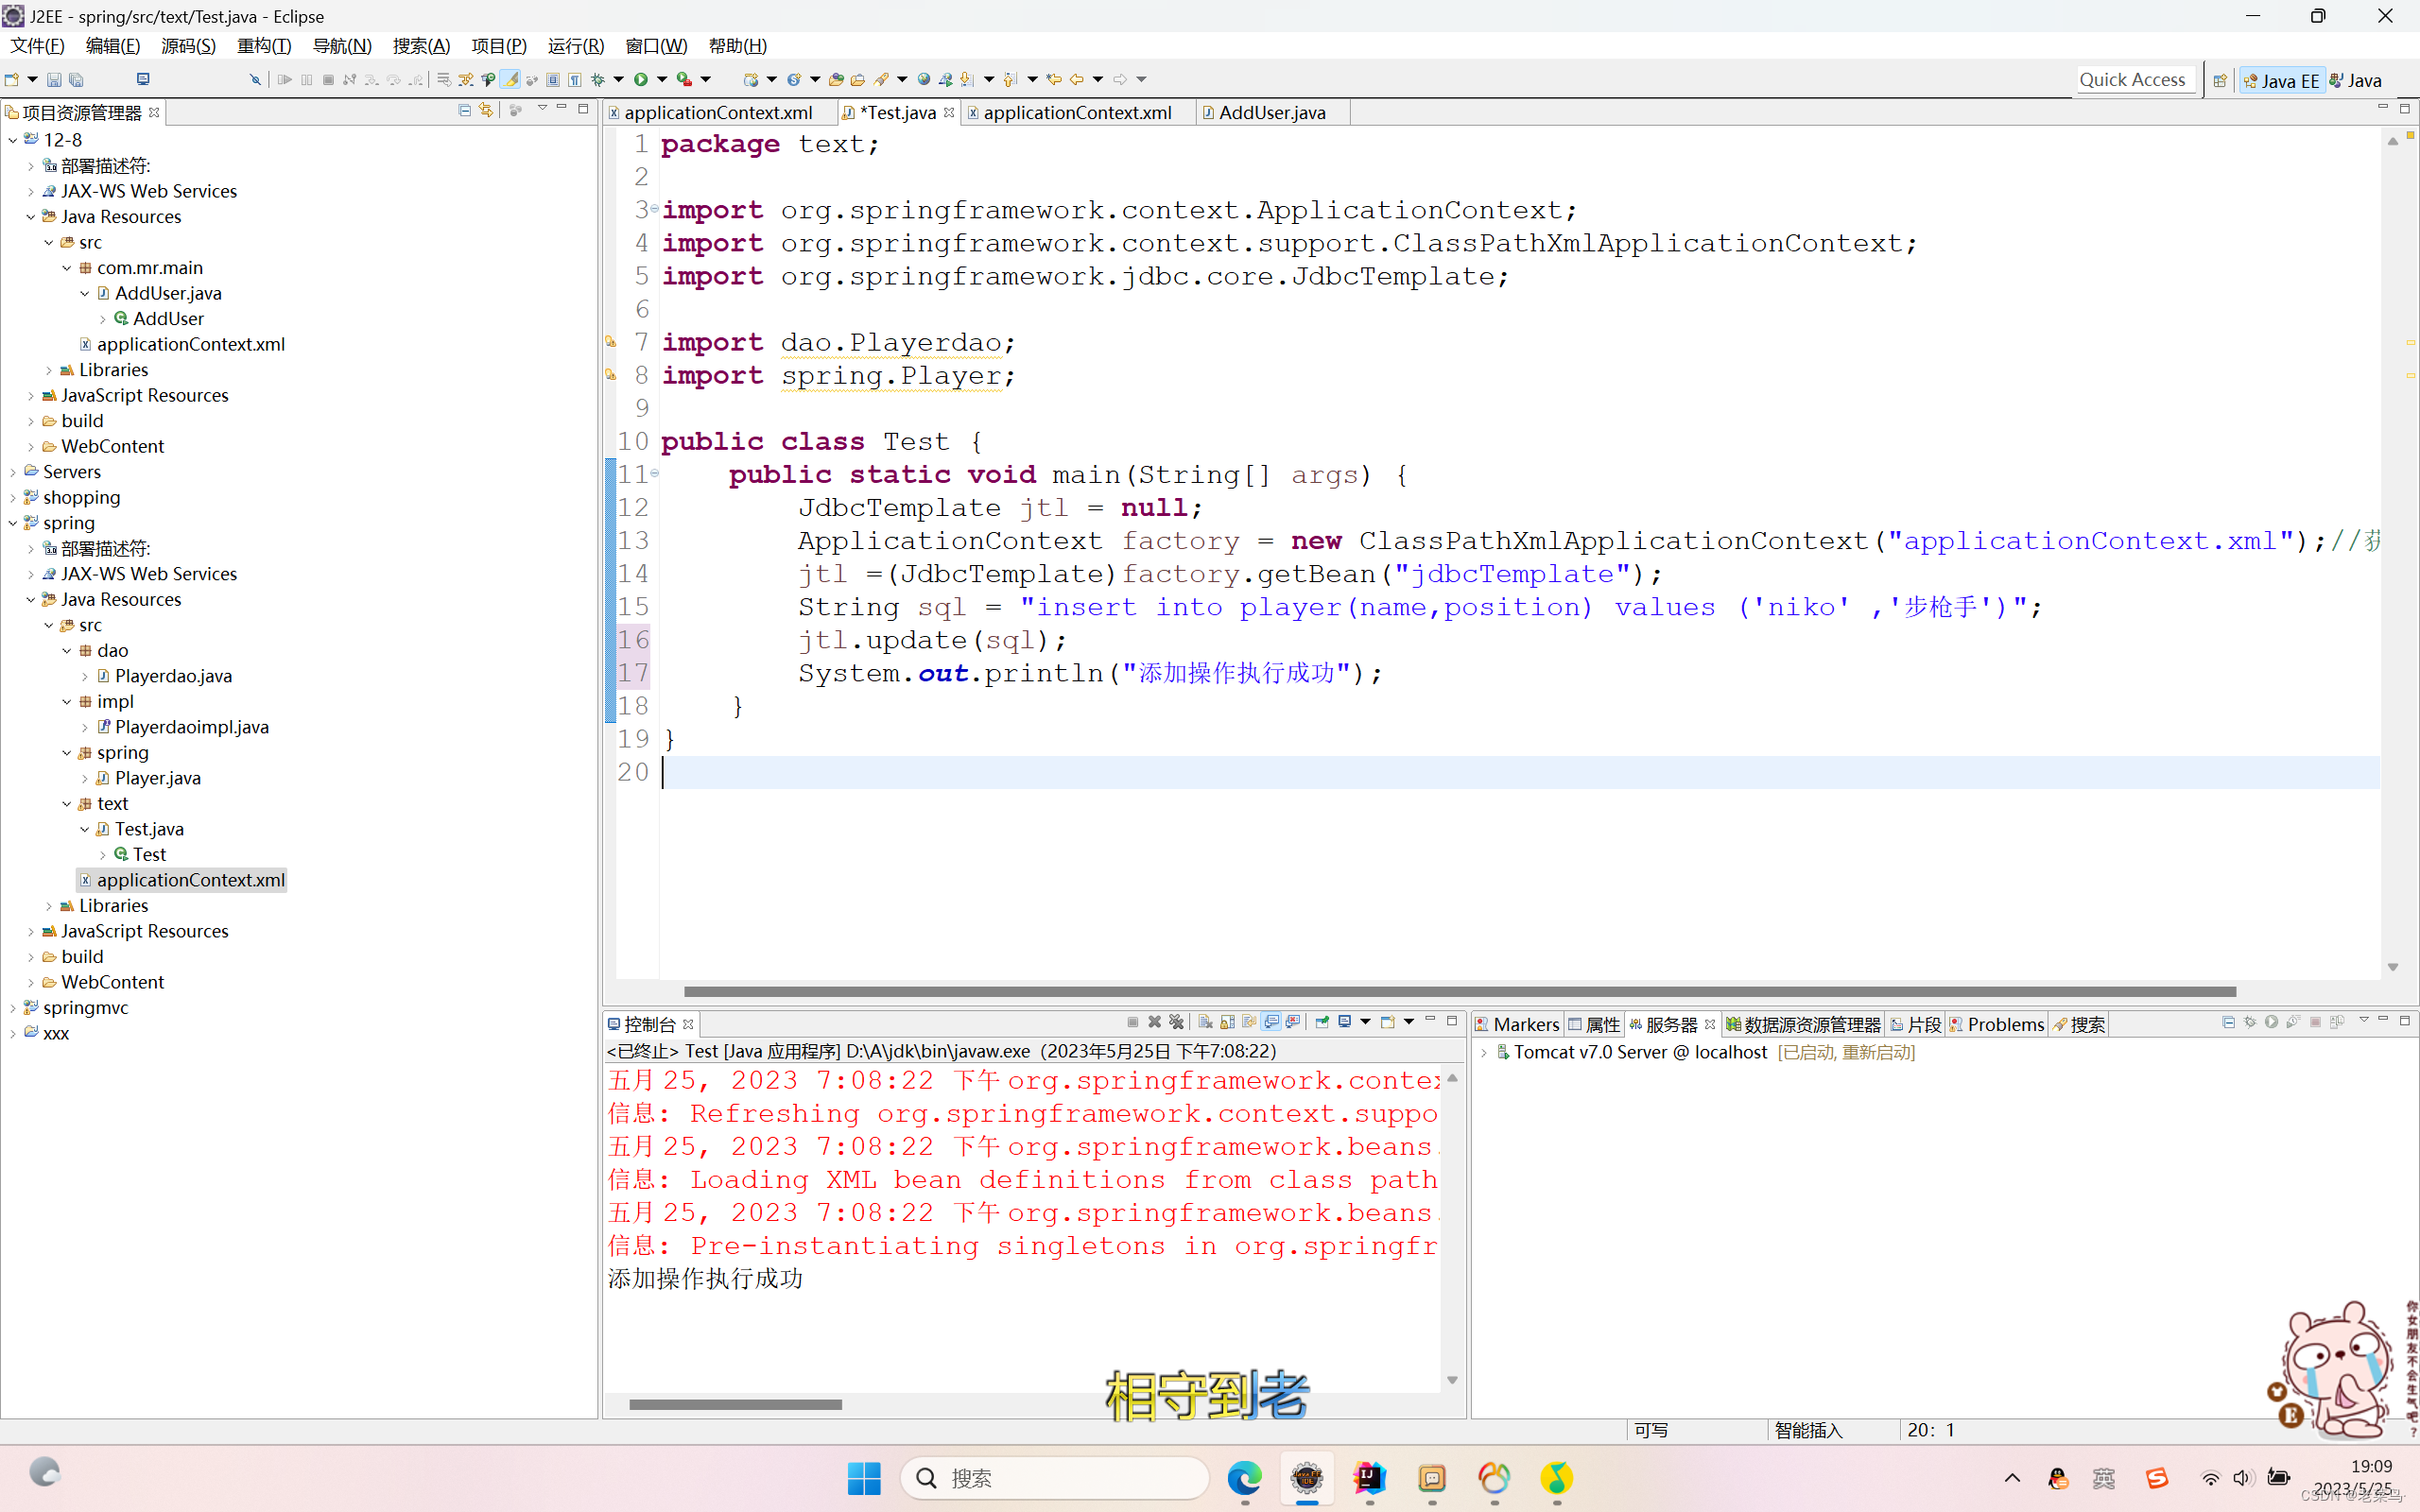
</beans>package text;
import org.springframework.context.ApplicationContext;
import org.springframework.context.support.ClassPathXmlApplicationContext;
import org.springframework.jdbc.core.JdbcTemplate;
import dao.Playerdao;
import spring.Player;
public class Test {
public static void main(String[] args) {
JdbcTemplate jtl = null;
ApplicationContext factory = new ClassPathXmlApplicationContext("applicationContext.xml");//获取配置文件
jtl =(JdbcTemplate)factory.getBean("jdbcTemplate");
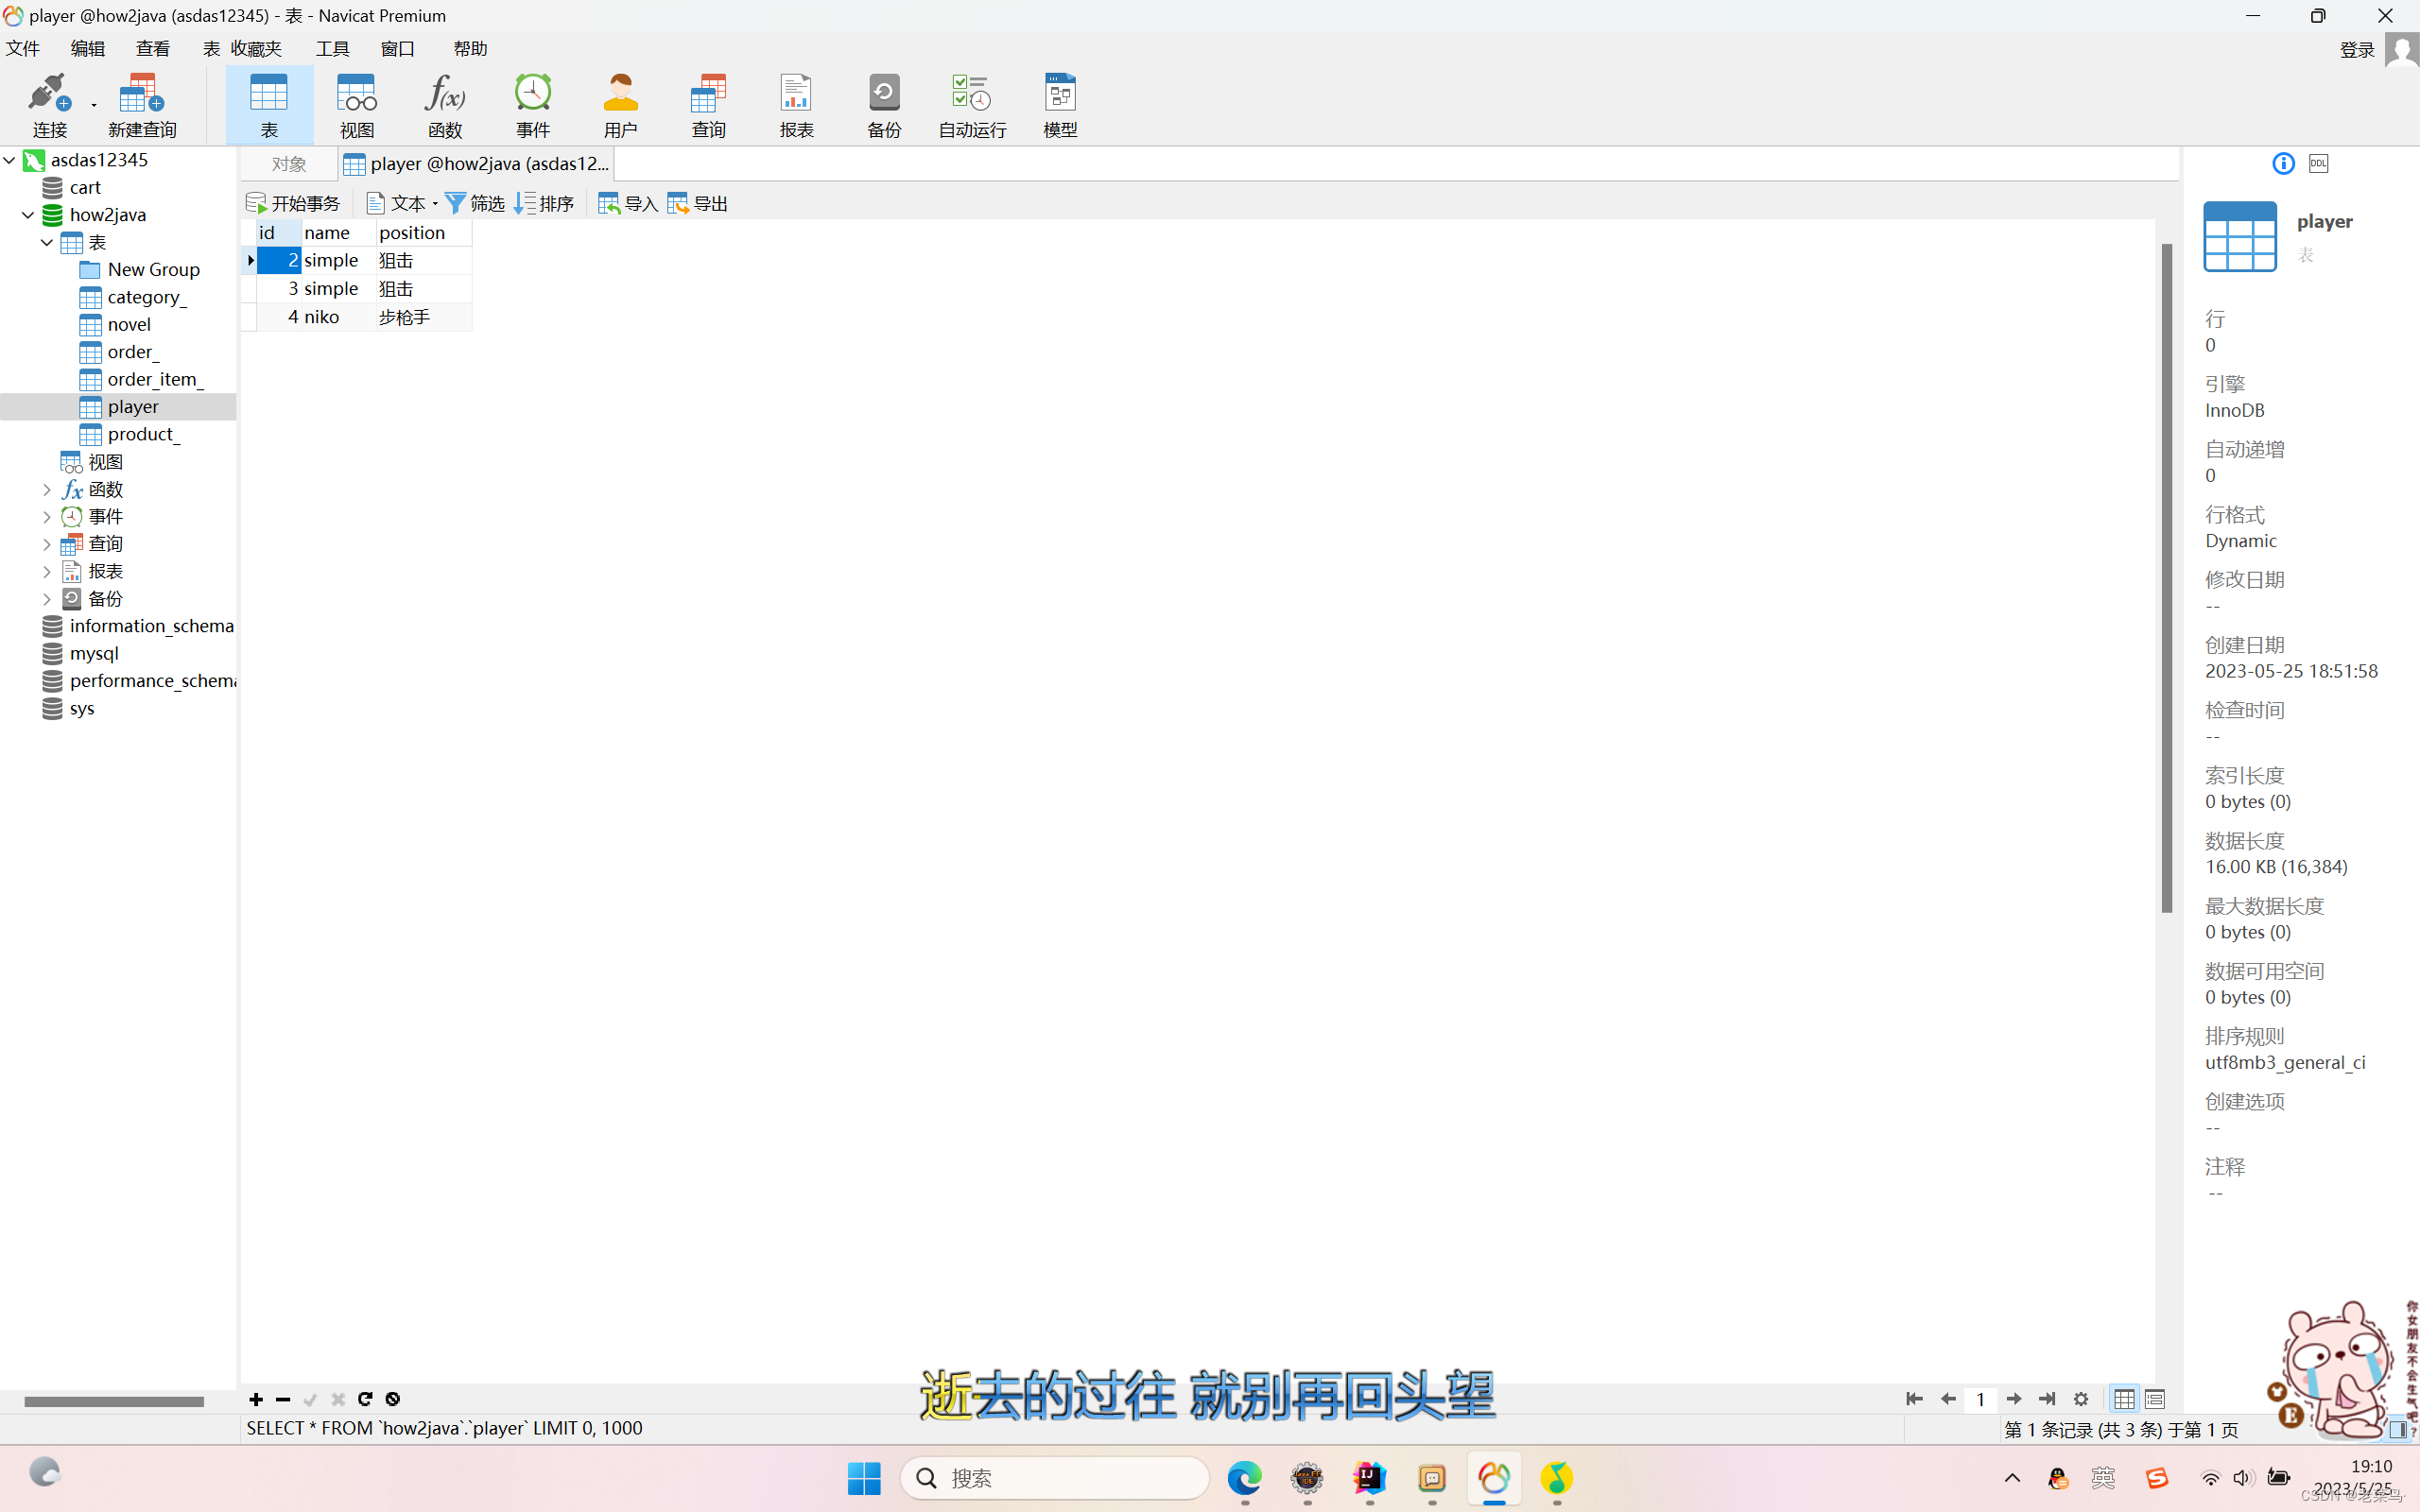
String sql = "insert into player(name,position) values ('niko' ,'步枪手')";
jtl.update(sql);
System.out.println("添加操作执行成功");
}
}
没问题


 400
400


 被折叠的 条评论
为什么被折叠?
被折叠的 条评论
为什么被折叠?
 到【灌水乐园】发言


