


介绍
最近项目中要用的文件上传的组件与富文本编辑器的使用。一直用的富文本编辑器是金山的KindEditor和百度的Ueditor。之前没有负责处理上传的业务逻辑,只是用的kindEditor的默认uploadjson.jsp.由于业务的变动。需要自己手动处理一下上传的服务端。废话不多说,今天先来介绍一下KindEditor的使用。之后会把Ueditor使用补上。
使用kindEditor的好处
srping-mvc给我们提供了文件上传的api,如果一个项目中只有一个文件上传的模块,参考spring-mvc 官方文档,可以在原始的from 标签中完成文档上传。但如果多个模块中都有文件上传的需要的话,每次都要负责处理文件上传的业务。程序显得臃肿,并且代码得不到重用。使用editor的思路是:使用前端js完成异步文件上传。等到文件上传结束后,将文件的保存路径利用json的格式输出到前端页面。前端将表单提交即可。
程序演示
首先访问文件上传的页面:http://localhost:8080/upload/uploadFile.jsp
界面如下:

点击文件上传按钮,弹出文件选择框。
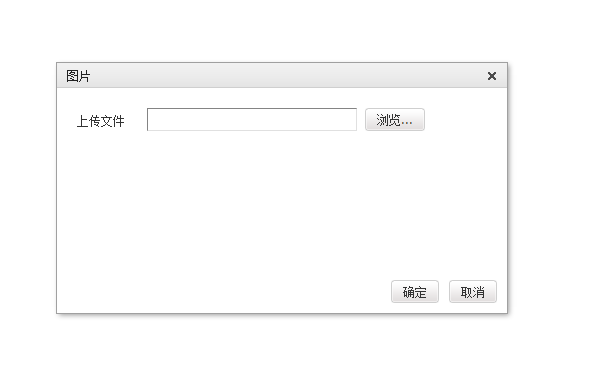
点击上传后,开始上传文件。当文件上传完成后,会将文件的保存路径显示到文本框中。效果如下:

最后将该表单提交即可。如此便完成了表单提交与文件上传业务的代码隔离。
环境介绍
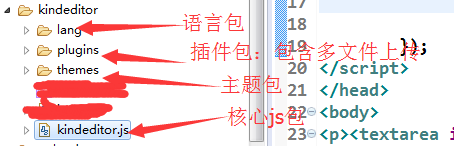
首先用kindeditor的官网中下载最新版的kindeditor版本,解压,导出到项目中去。在这里我将kindeditor进行了精简。如下图:
jsp界面代码如下:
<head>
<meta http-equiv="Content-Type" content="text/html; charset=UTF-8">
<!-- 导入css -->
<link rel="stylesheet"
    href="/upload/kindeditor/themes/default/default.css" />
<!-- 导入核心js -->
<script src="/upload/kindeditor/kindeditor.js"></script>
<!-- 导入語言包 -->
<script src="/upload/kindeditor/lang/zh_CN.js"></script>

<script src="/upload/kindeditor/jquery.js"></script>
<script type="text/javascript">
    //初始化kindeditor组件
    KindEditor.ready(function(K) {
        var editor = K.editor({
            allowFileManager : true,
            uploadJson : '/upload/uploadController',//后台文件上传处理的路径
            filePostName : 'file'//文件的字段名,一会看到后台代码时会解释怎么使用
        });

        K('#image3').click(//为文件上传按钮绑定事件
                function() {
                    editor.loadPlugin('image', function() {//加载文件上传插件
                        editor.plugin.imageDialog({
                            showRemote : false,
                            imageUrl : K('#url3').val(),//获取本地文件路径:如:c:/doc/ccc.png文件
                            clickFn : function(url, title, width, height,
                                    border, align) {//当上传文件成功时的回调函数
                                K('#url3').val(url);//将路径回显
                                editor.hideDialog();//隐藏文件上传kuang
                            }
                        });
                    });
                });
    });
</script>
</head>
<body>
    <p>
        <input type="text" id="url3" value="" /> <input type="button"
            id="image3" value="选择文件" />
    </p>
</body>
</html>
文件上传后台代码:
@RequestMapping(value = "/uploadController", produces = { "application/json;charset=UTF-8" })
    @ResponseBody
    public Map<String, Object> upload(@RequestParam("file") MultipartFile file) {

        // 获取文件原始名称 :如:DSC_0058.JPG
        String originalFilename = file.getOriginalFilename();
        /**
         * 在这里可以负责处理文件上传的逻辑 如:为文件重命名,写到自定义的路径或者上传到ftp服务器等。 处理完文件上传后要通知前台上传的结果
         * 成功时json串: { "error" : 0, "url" : "http://www.example.com/path/to/file.ext"}
         * 失败时json串: { "error" : 1, "message" : "错误信息" }
         * 這裡我用map封裝了一下如下
         */
        Map<String, Object> result = new HashMap<>();
        result.put("error", 0);
        result.put("message", "上传成功");
        result.put("url", "/upload/kindeditor/editor.gif");
        return result;
    }
至此,文件单文件上传完成。
富文本编辑器的使用
运行效果如下:
前台界面:http://localhost:8080/upload/kindeditor.jsp
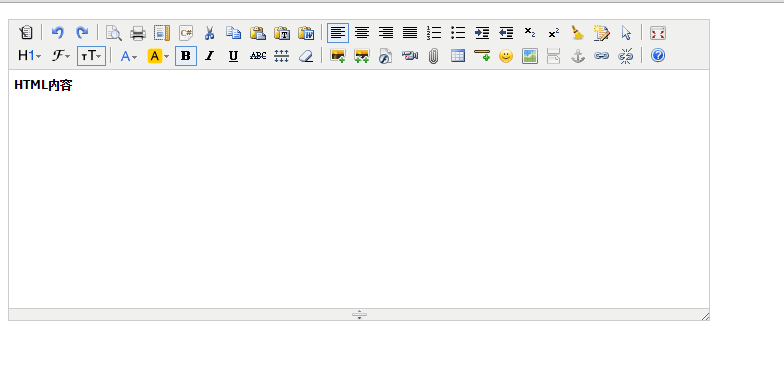
涉及到文件上传的有:

从左到右依次为:单文件上传,多文件上传,flash上传,视频上传,文件上传等。 利用此插件,以及我们刚才的后台代码。可以把所有文件上传的业务交给一个controller来空中。做到一次编写,多次使用。
运行效果如下(显示多图片上传)
文件选择:
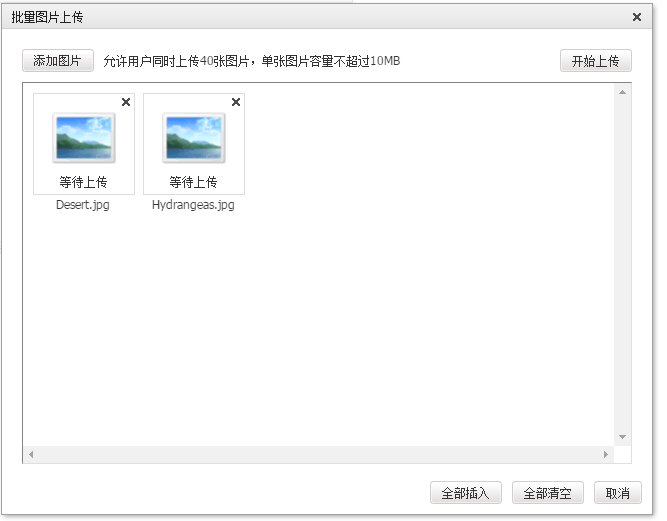
点击上传:
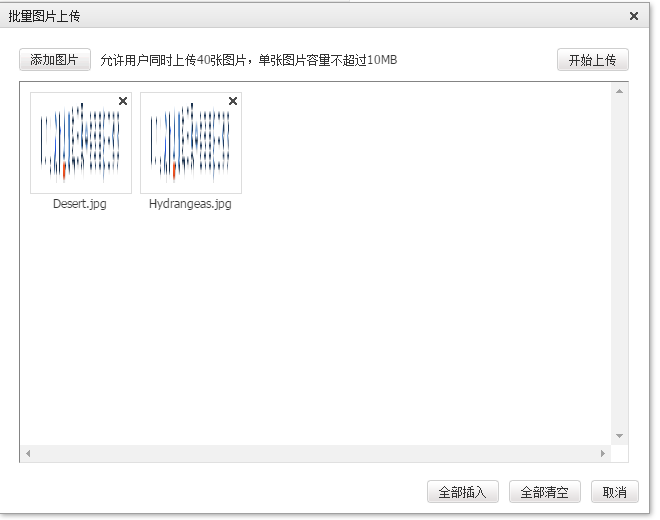
结果:

由于后台我们没有处理真正的业务上传逻辑,所以本次范围的是一个静态页面:
result.put("url", "/upload/kindeditor/editor.gif");
也就说 无论上传什么,返回的都是同一张图片 哈哈。
下面粘上前台代码:
<head>
<meta http-equiv="Content-Type" content="text/html; charset=UTF-8">
<link rel="stylesheet" href="/upload/kindeditor/themes/default/default.css" />
<script src="/upload/kindeditor/kindeditor.js"></script>
<script src="/upload/kindeditor/lang/zh_CN.js"></script>
<script src="/upload/kindeditor/jquery.js"></script>
<script>
KindEditor.ready(function(K) {//初始化editor
window.editor = K.create('#editor_id',{//创建 editor
uploadJson:'/upload/uploadController',//设置文件上传coltroller路径
filePostName:'file',//字段名
imageSizeLimit:'10MB',//每个文件大小的限制
imageUploadLimit:40//每次可以上传多少个文件
});
});
</script>
</head>
<body>
<!-- editor 的显示区域 -->
<p><textarea id="editor_id" name="content" style="width:700px;height:300px;">
<strong>HTML内容</strong>
</textarea></p>
</body>
</html>


 226
226

 被折叠的 条评论
为什么被折叠?
被折叠的 条评论
为什么被折叠?
 到【灌水乐园】发言


