


本人是前端小白一枚。代码粗糙。如果对你有用。请帮我点一赞谢谢。

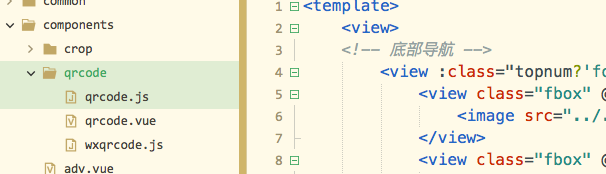
1.准备好二维码的插件和指定的背影图片
2.从服务器端获取二维码的信息(该分享用户的信息)
getyq() {
	let that = this;
		var option = {};
		option.url = 'user/Profile/get_invitation_url';
		option.success = function(res) {
			if (res.code) {
			    // 给二维码赋值相应的信息
				that.qrval = res.data

			}
		};
		option.fail = function(res) {
			uni.showToast({title: '网络异常'});
		};
		util.ajaxGet(option);
	},
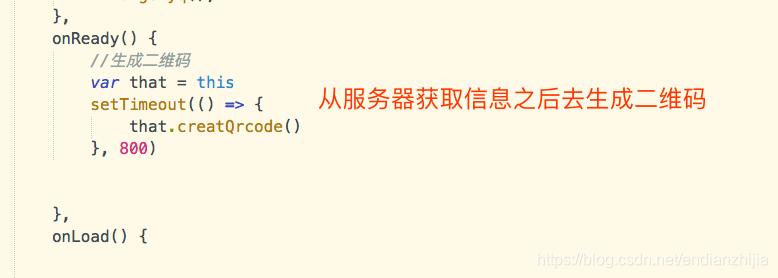
生成二维码
creatQrcode() {
				this.$refs.qrcode._makeCode();
			},
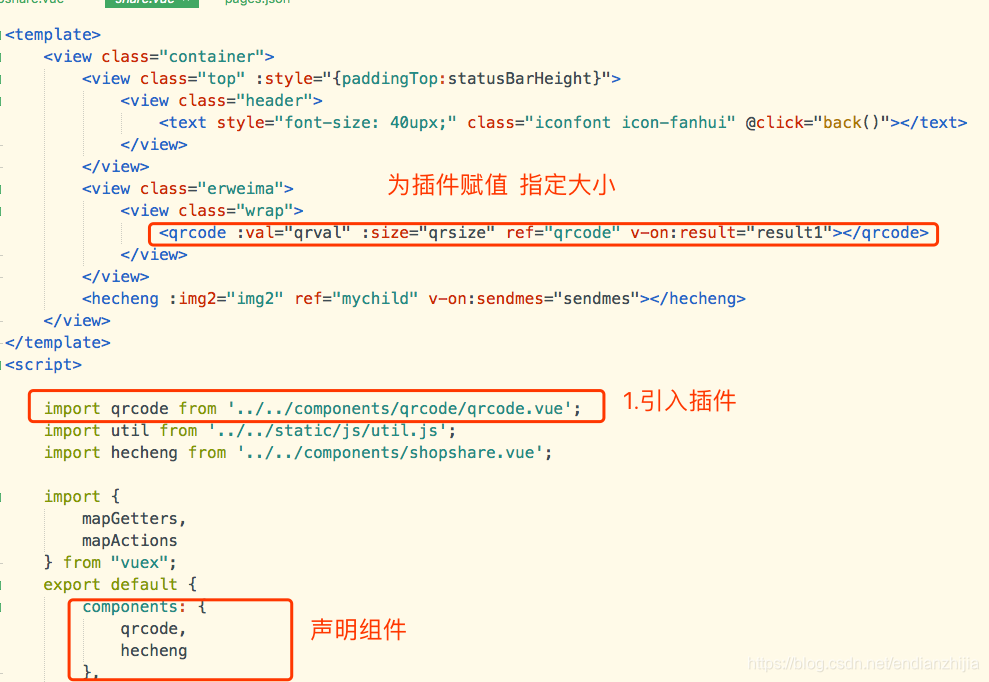
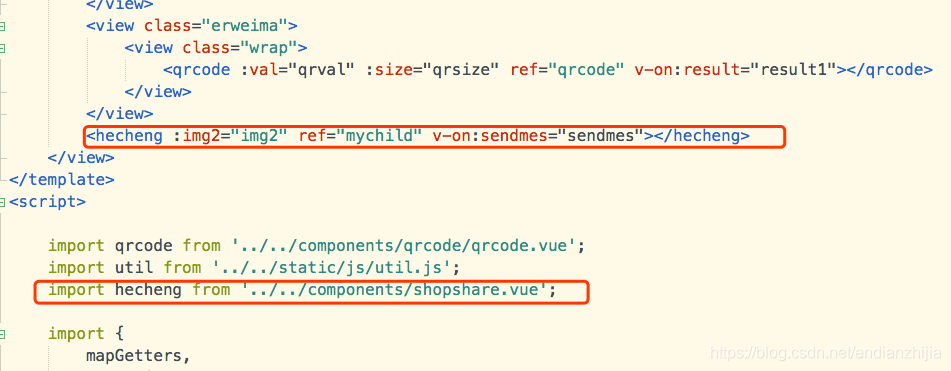
3.调取合并图片的组件。(这里是用canvas将二维码与图片合成一张图片)
//从二维码那里获取二维码的图片放在合成组件当中
			result1(data) {
				this.img2 = {
					src: data,
					width: 100,
					height: 100,
					top: uni.getSystemInfoSync().screenHeight - 180,
					left: uni.getSystemInfoSync().screenWidth - 230
 最低0.47元/天 解锁文章


 被折叠的 条评论
为什么被折叠?
被折叠的 条评论
为什么被折叠?
 到【灌水乐园】发言


