


本文讲述在Android中, 如何将FFmpeg视频转码为YUV格式并保存到本地。
首先,我们基于上一篇文章 基于Android Studio3.2实现ffmpeg最简单的例子 来进行配置。
配置好之后,我们先来明确下概念,FFmpeg解码的流程是固定的
- av_register_all: 注册所有组件
- avformat_open_input : 打开输入视频文件
- avformat_find_stream_info: 获取视频文件信息
- avcodec_find_decoder: 根据编解码上下文中的编码id查找对应的解码
- avcodec_open2: 打开解码器
- av_read_frame:一帧一帧读取压缩数据
- avcodec_decode_video2:解码一帧视频压缩数据,得到视频像素数据
接着,我们来具体实现
在VideoUtils中新增decode方法
/**
 *
 * @param input 输入的视频文件路径
 * @param output 输出的视频文件路径
 */
public native static void decode(String input,String output);
然后再native-lib.c中实现该方法
JNIEXPORT void JNICALL
Java_com_ethanco_ffmpegtest_VideoUtils_decode(JNIEnv *env, jclass type, jstring input_jstr,
                                              jstring output_jstr) {

}
获取输入和输出视频路径
const char *input_cstr = (*env)->GetStringUTFChars(env, input_jstr, NULL);
const char *output_cstr = (*env)->GetStringUTFChars(env, output_jstr, NULL);
注册所有组件
//1.注册所有组件
av_register_all();

//封装格式上下文,统领全局的结构体,保存了视频文件封装格式的相关信息
AVFormatContext *pFormatCtx = avformat_alloc_context();
打开输入视频文件
  //2.打开输入视频文件
  if (avformat_open_input(&pFormatCtx, input_cstr, NULL, NULL) != 0) {
       LOGE("无法打开视频文件:%s", input_cstr);
       return;
   }
获取视频文件信息
if (avformat_find_stream_info(pFormatCtx, NULL) < 0) {
    LOGE("%s", "无法获取视频文件信息")
    return;
}

//获取视频流的索引位置
//遍历所有类型的流 (音频流、视频流、字幕流),找到视频流
int v_stream_idx = -1;
//number of streams
for (int i = 0; i < pFormatCtx->nb_streams; ++i) {
    //流的类型
    if (pFormatCtx->streams[i]->codec->codec_type == AVMEDIA_TYPE_VIDEO) {
        v_stream_idx = i;
        break;
    }
}

if (v_stream_idx == -1) {
    LOGE("%s", "找不到视频流\n");
    return;
}

//只有知道视频的编码方式,才能够根据编码方式去找到解码器
//获取视频流中的编码上下文
AVCodecContext *pCodecCtx = pFormatCtx->streams[v_stream_idx]->codec;
根据编解码上下文中的编码id查找对应的解码
 AVCodec *pCodec = avcodec_find_decoder(pCodecCtx->codec_id);

if (pCodec == NULL) {
    //这里可以临时下载一个解码器
    LOGE("%s", "找不到解码器\n");
    return;
}
打开解码器
if (avcodec_open2(pCodecCtx, pCodec, NULL < 0)) {
    LOGE("%s", "解码器无法打开\n");
    return;
}

//准备读取
//AVPacket用于存储一帧一帧的压缩数据 (H264)
//缓冲区,开辟空间
AVPacket *packet = (AVPacket *) av_malloc(sizeof(AVPacket));

//AVFrame用于存储解码后的像素数据(YUV)
//内存分配
AVFrame *pFrame = av_frame_alloc();
//YUV420
AVFrame *pFrameYUV = av_frame_alloc();
//只有指定了AVFrame的像素格式、画面大小才能真正分配内存
//缓冲区分配内存
uint8_t *out_buffer = (uint8_t *) av_malloc(
        avpicture_get_size(AV_PIX_FMT_YUV420P, pCodecCtx->width, pCodecCtx->height));

//初始化缓冲区
avpicture_fill((AVPicture *) pFrameYUV, out_buffer, AV_PIX_FMT_YUV420P, pCodecCtx->width,
               pCodecCtx->height);

//用于转码 (缩放) 的参数,转之前的宽高,转之后的宽高,格式等
struct SwsContext *sws_ctx = sws_getContext(pCodecCtx->width, pCodecCtx->height,
                                            pCodecCtx->pix_fmt,
                                            pCodecCtx->width, pCodecCtx->height,
                                            AV_PIX_FMT_YUV420P, SWS_BICUBIC, NULL, NULL, NULL);
一帧一帧读取压缩数据,并进行解码,得到像素数据
int got_picture, ret;
FILE *fp_yuv = fopen(output_cstr, "wb+");
int frame_count = 0;

//6.一帧一帧读取压缩数据
while (av_read_frame(pFormatCtx, packet) >= 0) {
    //只要视频压缩数据 (根据流的索引位置判断)
    if(packet->stream_index == v_stream_idx){
        //7.解码一帧视频压缩数据,得到视频像素数据
        ret = avcodec_decode_video2(pCodecCtx, pFrame, &got_picture, packet);
        if(ret < 0){
            LOGE("%s","解码错误");
            return;
        }

        //为0说明解码完成,非0正在解码
        if(got_picture){
            //AVFrame转为像素格式YUV420,宽高
            //参数2、6:输入、输出数据
            //参数3、7:输入、输出画面一行的数据大小 AVFrame转换是一行一行转换的
            //参数4:输入数据第一列要转码的位置 从0开始
            //参数5:输入画面的高度
            sws_scale(sws_ctx, pFrame->data, pFrame->linesize, 0, pCodecCtx->height,
                      pFrameYUV->data, pFrameYUV->linesize);

            //输出到YUV文件
            //AVFrame像素帧写入文件
            //data解码后的图像像素数据 (音频采样数据)
            //Y 亮度 U 色度 (压缩了) 人对亮度更加敏感
            //U V 个数是Y的1/4
            int y_size = pCodecCtx->width * pCodecCtx->height;
            fwrite(pFrameYUV->data[0], 1, y_size, fp_yuv); //Y
            fwrite(pFrameYUV->data[1], 1, y_size / 4, fp_yuv); //U
            fwrite(pFrameYUV->data[2], 1, y_size / 4, fp_yuv); //V

            frame_count++;
            LOGI("解码第%d帧",frame_count);
        }
    }

    //释放资源
    av_free_packet(packet);
}
释放资源
fclose(fp_yuv);

(*env)->ReleaseStringUTFChars(env,input_jstr,input_cstr);
(*env)->ReleaseStringUTFChars(env,output_jstr,output_cstr);

av_frame_free(&pFrame);

avcodec_close(pCodecCtx);

avformat_free_context(pFormatCtx);
在Java层进行调用
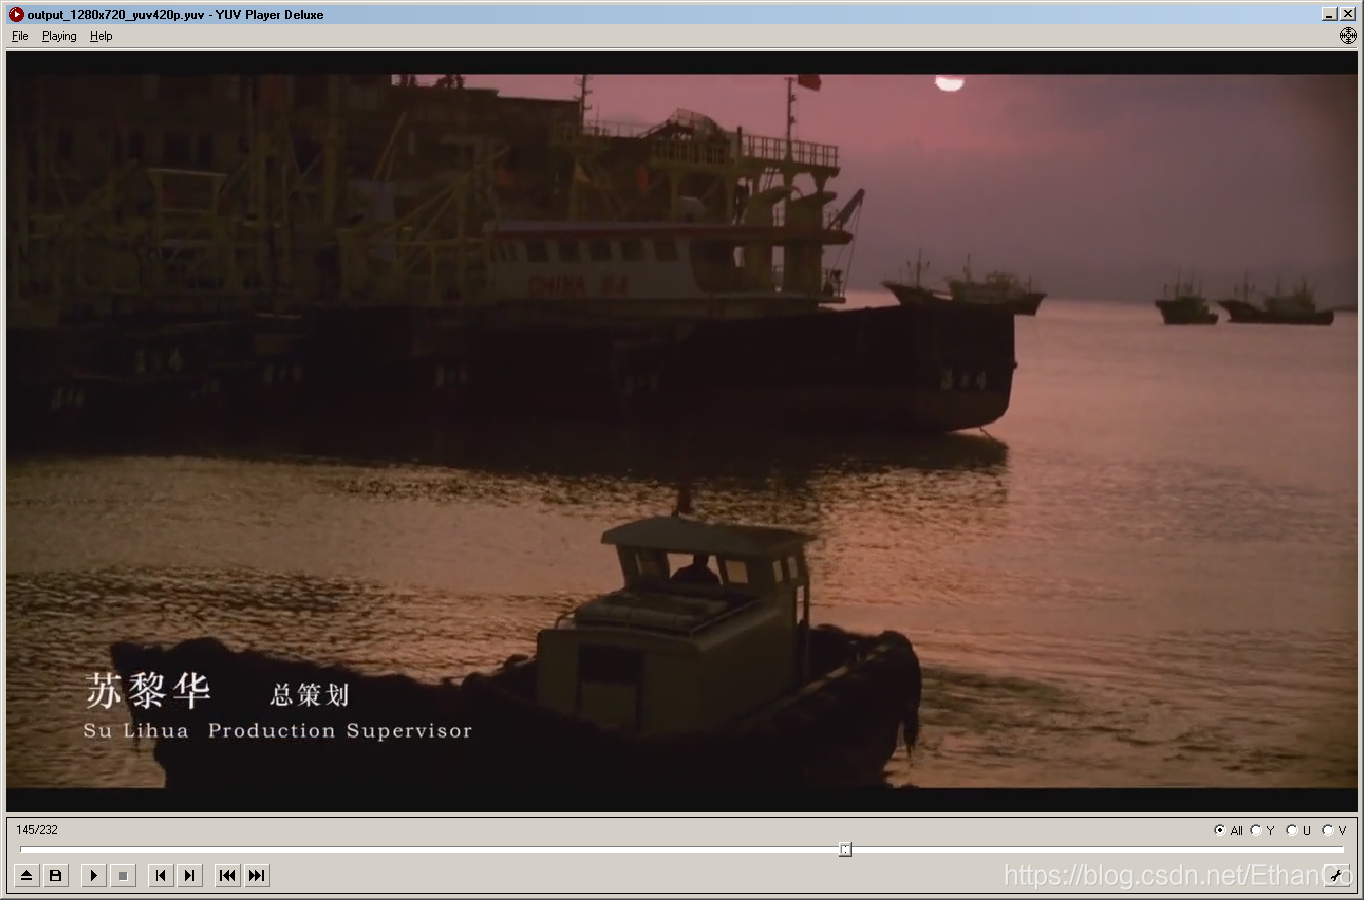
注意这里输出的视频文件名最好是按照output_1280x720_yuv420p.yuv这个格式来,这样YUV player可以自动识别视频分辨率进行播放。
new Thread(){
   @Override
   public void run() {
       super.run();

       String input = new File(Environment.getExternalStorageDirectory(),"input.mp4").getAbsolutePath();
       String output = new File(Environment.getExternalStorageDirectory(),"output_1280x720_yuv420p.yuv").getAbsolutePath();
       VideoUtils.decode(input, output);
   }
}.start();
运行程序,进行视频转换
视频转换成功后,我们可以看到一个output_1280x720_yuv420p.yuv文件,我们使用adb将该文件导出,然后下载专门的播放器YUV player 进行播放,可以看到,视频播放成功。
至此,我们通过FFmpeg进行视频转码就成功了。
其他
YUV格式说明
Y只包含亮度信息,而UV只包含色度信息。
Y占了1/2,U和V分别占了1/4
详见 音视频基础知识


 3098
3098


 被折叠的 条评论
为什么被折叠?
被折叠的 条评论
为什么被折叠?
 到【灌水乐园】发言


