


工欲善其事,必先利其器。此文讲述的是gitlab的安装历程。需要有一定的英文阅读能力者。
安装环境:
ubuntu:Ubuntu 17.04
官方推荐需要的硬件条件:
Storage:a fast drive (7200 RPM and up) or a solid state drive (SSD)CPU:2 cores is the recommended number of cores and supports up to 500 users
Memory:4GB RAM is the recommended memory size for all installations and supports up to 100 users
官方推荐ubuntu的安装也是极其的简洁明了简洁:
1. Install and configure the necessary dependencies
sudo apt-get install -y curl openssh-server ca-certificates开放http以及ssh端口供其访问。
2. Add the GitLab package server and install the package
curl -sS https://packages.gitlab.com/install/repositories/gitlab/gitlab-ce/script.deb.sh | sudo bash
sudo apt-get install gitlab-ce
用apt-get的方式安装gitlab源码包。
3. Configure and start GitLab
sudo gitlab-ctl reconfigure配置gitlab的配置,并且启动gitlab。
至此安装结束,本文也完结,但是安装就如此顺利吗?答案当然不是,若是就不会有本篇文章呢!此处有两个疑惑:
1.apt-get方式安装不成功,怎么办?
2.第三步骤说configure,如何配置?例如我想修改访问的端口,怎么做到。
一.apt-get方式安装不成功,怎么办?
OK,言简意赅,apt-get安装不成功,ubuntu的机器可以使用手动安装源码包的方式,官方文档英文说明如下:
If you are not comfortable installing the repository through a piped script, you can find the entire script here and select and download the package manually and install using:
dpkg -i gitlab-ce-XXX.deb
点击select and download the package manually找到适合自己系统的安装文件,下载的系统磁盘中,在进行:
dpkg -i gitlab-ce-XXX.deb安装即可!
二.第三步骤说configure,如何配置?例如我想修改访问的端口,怎么做到。
此处讲解配置两个方面的问题(gitlab比较庞重,涉及方面之多):
2.1配置访问路径
点击Setting up a domain name/URL ,此处有官方文档详细的配置说明,小弟在此处也是也此文档为说明,在安装结束之后,在此配置文件中/etc/gitlab/gitlab.rb修改如下:
external_url "http://gitlab.example.com"
例如本人设置的如下:
external_url 'http://10.200.80.255'设置完成之后:
重置配置
sudo gitlab-ctl reconfigure重启gitlab服务
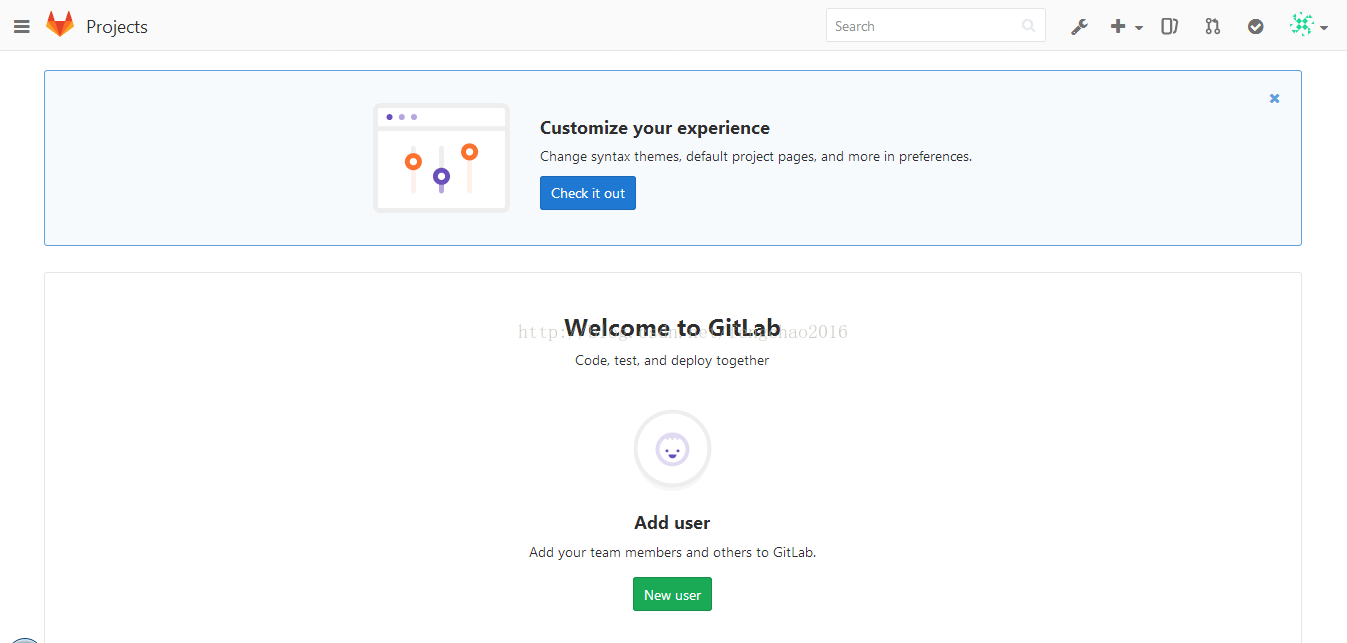
sudo gitlab-ctl restart此时,在浏览器汇总输入http://10.800.80.255默认端口是80,就能访问到gitlab的首页了,初始化会让你设置管理员密码。此时使用:
root+你设置的密码就能访问。
2.2配置访问端口
有的时候默认的80端口被占用了,需要你更改端口,官网中说道:
Setting the NGINX listen port:
By default NGINX will listen on the port specified in external_url or implicitly use the right port (80 for HTTP, 443 for HTTPS). If you are running GitLab behind a reverse proxy, you may want to override the listen port to something else. For example, to use port 8081:
nginx['listen_port'] = 8081
同理,在配置文件中
/etc/gitlab/gitlab.rb修改如下:
nginx['listen_port'] = 8081在此重置配置文件,重启gitlab服务器,此时通过external_url:listen_port就能够访问到gitlab的首页那!


 717
717


 被折叠的 条评论
为什么被折叠?
被折叠的 条评论
为什么被折叠?
 到【灌水乐园】发言


