


初识MQ
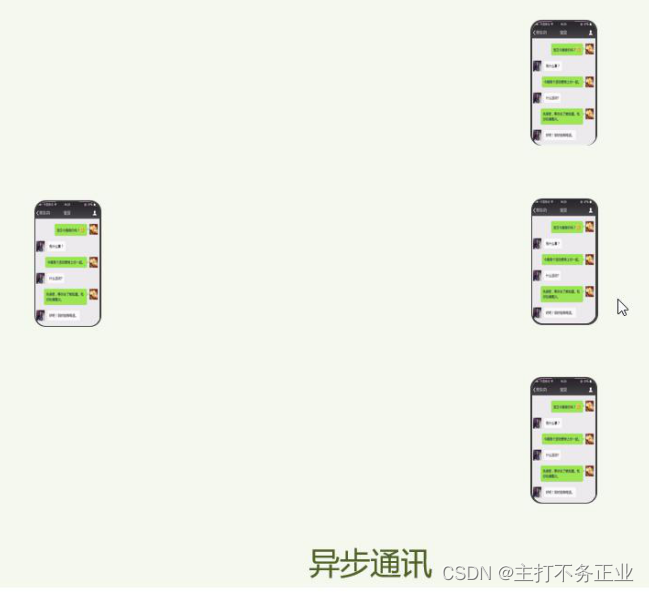
1.同步通讯和异步通讯
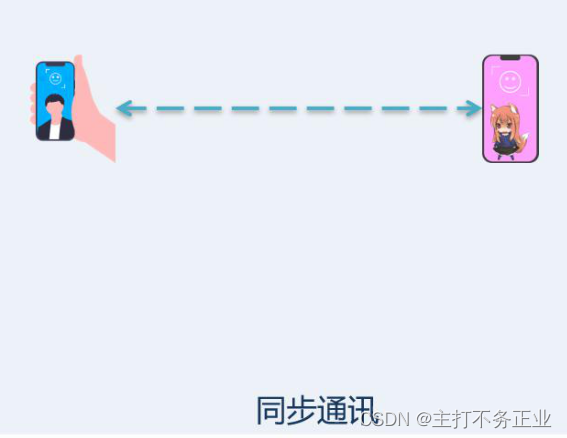
1.1 微服务间基于Feign的调用属于同步方法
RibbitMQ快速入门
1首先我们先安装RibbitMQ,安装教程这里就不演示了
2.做一个简单入门案例:
简单队列模式:

publisher:消息发布者;
queue:消息队列,负责接收并缓存消息;
consumer: 订阅队列(消息接受者):负责处理队列中的消息
简单消息队列代码实现:
发送消息到消息队列
public class PublisherTest {
    @Test
    public void testSendMessage() throws IOException, TimeoutException {
        // 1.建立连接
        ConnectionFactory factory = new ConnectionFactory();
        // 1.1.设置连接参数,分别是:主机名、端口号、vhost、用户名、密码
        factory.setHost("192.168.29.129");
        factory.setPort(5672);
        factory.setVirtualHost("/");
        factory.setUsername("itcast");
        factory.setPassword("123321");
        // 1.2.建立连接
        Connection connection = factory.newConnection();

        // 2.创建通道Channel
        Channel channel = connection.createChannel();

        // 3.创建队列
        String queueName = "simple.queue";
        channel.queueDeclare(queueName, false, false, false, null);

        // 4.发送消息
        String message = "hello, mq!";
        channel.basicPublish("", queueName, null, message.getBytes());
        System.out.println("发送消息成功:【" + message + "】");

        // 5.关闭通道和连接
        channel.close();
        connection.close();

    }
从消息队列中订阅消息,处理消息:
public class ConsumerTest {

    public static void main(String[] args) throws IOException, TimeoutException {
        // 1.建立连接
        ConnectionFactory factory = new ConnectionFactory();
        // 1.1.设置连接参数,分别是:主机名、端口号、vhost、用户名、密码
        factory.setHost("192.168.29.129");
        factory.setPort(5672);
        factory.setVirtualHost("/");
        factory.setUsername("itcast");
        factory.setPassword("123321");
        // 1.2.建立连接
        Connection connection = factory.newConnection();

        // 2.创建通道Channel
        Channel channel = connection.createChannel();

        // 3.创建队列
        String queueName = "simple.queue";
        channel.queueDeclare(queueName, false, false, false, null);

        // 4.订阅消息
        channel.basicConsume(queueName, true, new DefaultConsumer(channel){
            @Override
            public void handleDelivery(String consumerTag, Envelope envelope,
                                       AMQP.BasicProperties properties, byte[] body) throws IOException {
                // 5.处理消息
                String message = new String(body);
                System.out.println("接收到消息:【" + message + "】");
            }
        });
        System.out.println("等待接收消息。。。。");
    }
}
springAMQP
springAMQP中的五种消息队列模型:
1.Basic Queue简单队列模型
第一步:首先我们需要给父工程中导入依赖
<!--AMQP依赖,包含RabbitMQ-->
<dependency>
    <groupId>org.springframework.boot</groupId>
    <artifactId>spring-boot-starter-amqp</artifactId>
</dependency>
第二步:给publisher(消息发送者)配置MQ的相关配置
spring:
  rabbitmq:
    host: 192.168.150.101 # 主机名
    port: 5672 # 端口
    virtual-host: / # 虚拟主机
    username: itcast # 用户名
    password: 123321 # 密码
第三步:在publisher中编写测试类SpringAmqpTest,并利用RabbitTemplate实现消息发送:
@SpringBootTest
@RunWith(SpringRunner.class)
public class SpringAmqpTest {
    @Autowired
    private RabbitTemplate rabbitTemplate;
    @Test
    public void testSimpleQueue(){
        //发送消息
        rabbitTemplate.convertAndSend("simple,queue","hello simple");
    }

}
第四步:消息接收,给consumerMQ相关配置,同上
第五步:然后在consumer新建一个监听器类SpringRabbitListener,代码如下:
@Component
public class SpringRabbitListener {
    @RabbitListener(queues = "simple.queue")
    public void lis
最低0.47元/天 解锁文章


 2967
2967


 被折叠的 条评论
为什么被折叠?
被折叠的 条评论
为什么被折叠?
 到【灌水乐园】发言


