


一、项目进行多环境配置的必要性
- 在实际开发中,应用程序通常需要部署到不同的运行环境中,例如开发环境、测试环境、生产环境等。不同的环境可能需要不同的环境配置,针对这种情况,不可能手动变更配置文件来适应不同的开发环境,通常需要对项目进行多环境配置,Spring Boot框架提供了两种多环境配置的方式,分别是Profile文件多环境配置和@Profile注解多环境配置。同时,会额外讲解在Spring Boot配置文件中设置属性时,除了可以像前面示例中显示的配置属性值外,还可以使用随机值和参数间引用对属性值进行设置。
二、使用Profile文件进行多环境配置
(一)创建Spring Boot Web项目ProfileDemo01
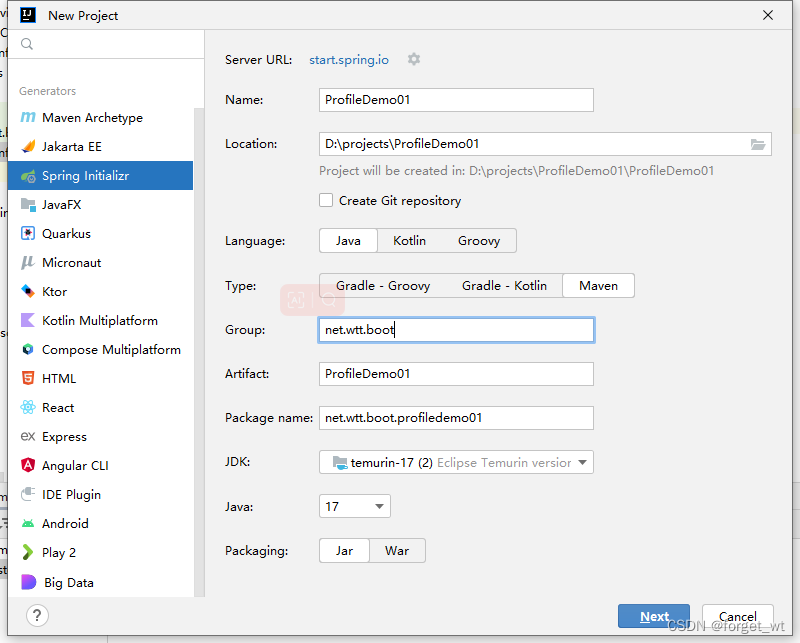
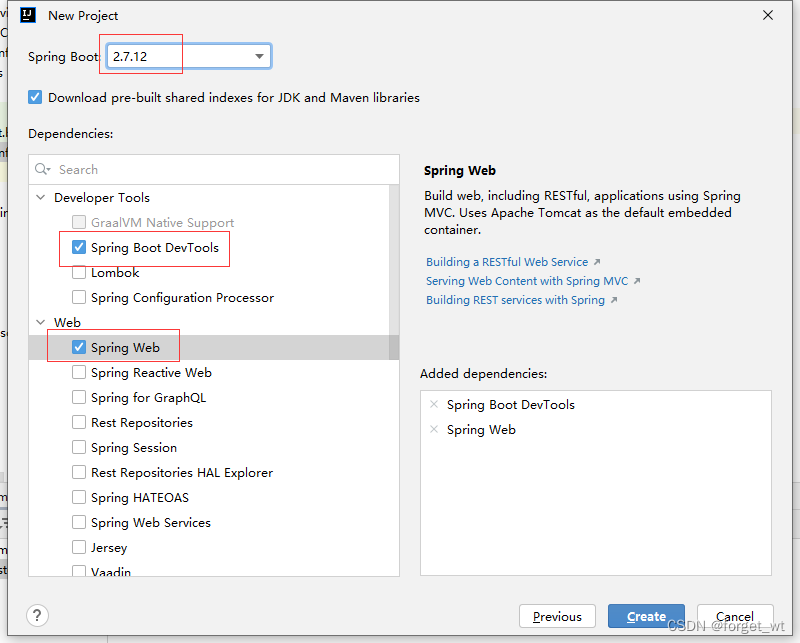
- 添加依赖
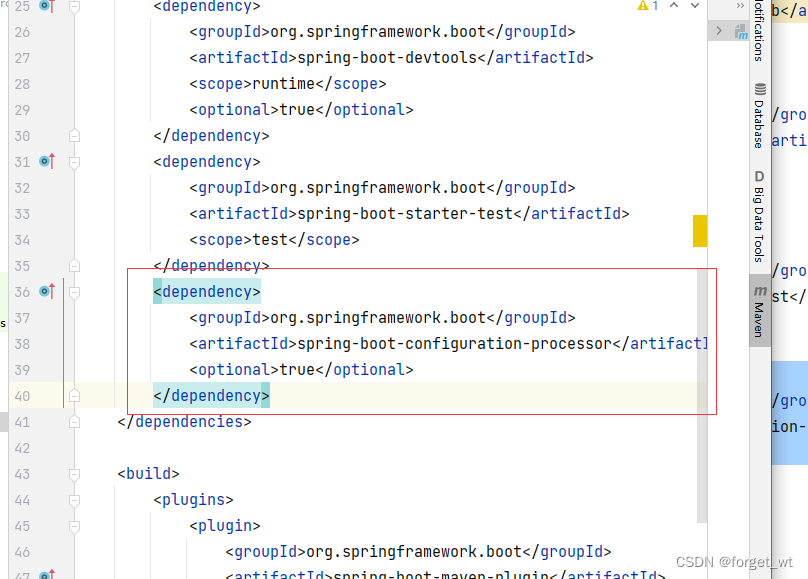
<dependency>
            <groupId>org.springframework.boot</groupId>
            <artifactId>spring-boot-configuration-processor</artifactId>
            <optional>true</optional>
</dependency>
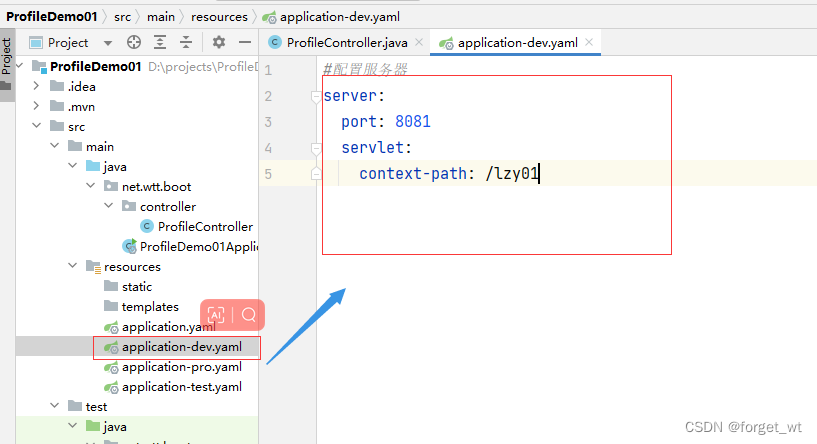
(二)创建多环境配置文件
- 配置文件命名格式:application-xxx.yaml
- 此例仅演示端口号与虚拟路径的配置,实际应用中可以配置许多内容
1、将application.properties更名为application.yaml

2、模拟开发环境,创建配置文件application-dev.yaml
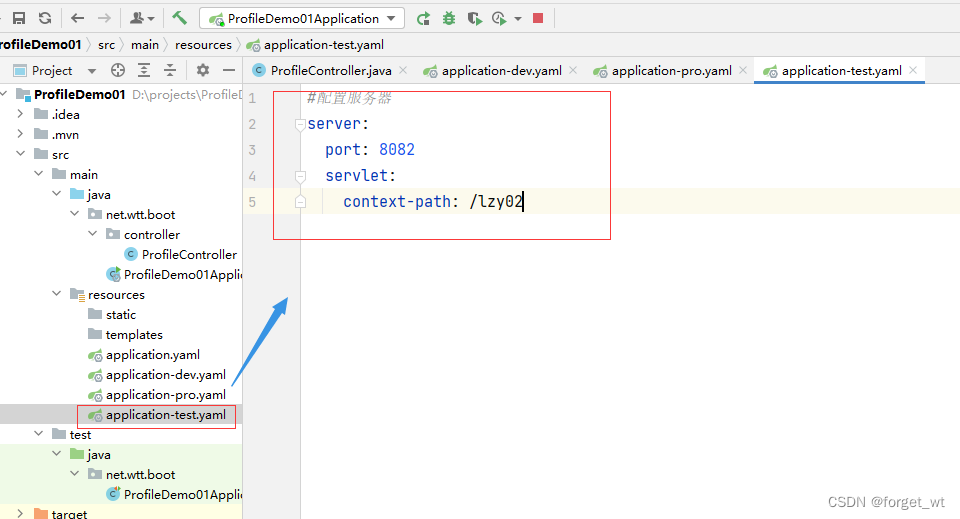
3、模拟测试环境,创建配置文件application-test.yaml
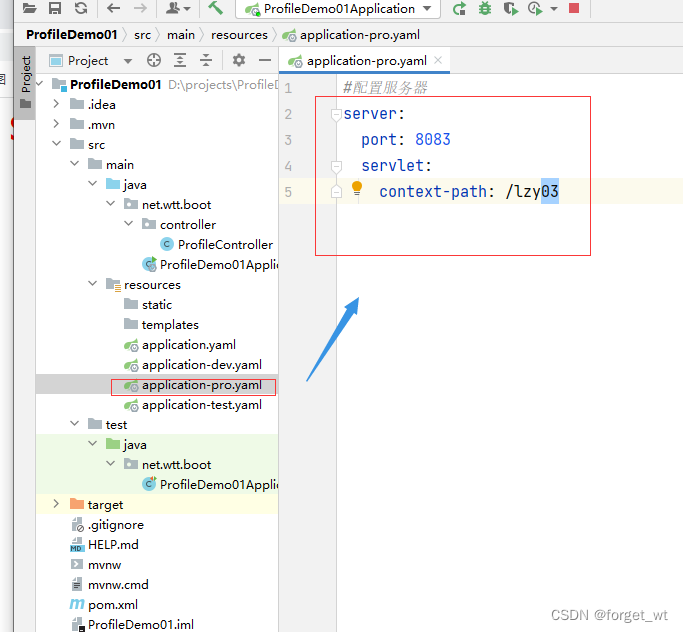
4、模拟生产环境,创建配置文件application-pro.yaml
(三)创建控制器
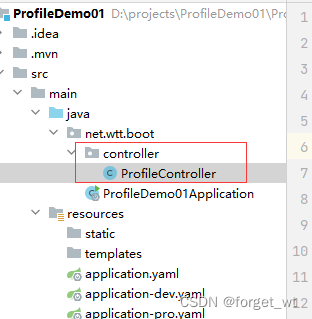
- 在net.wtt.boot里创建controller子包,在子包里创建ProfileController
package net.wtt.boot.controller;
import org.springframework.web.bind.annotation.GetMapping;
import org.springframework.web.bind.annotation.RestController;
@RestController
public class ProfileController {
@GetMapping("/welcome")
public String welcome() {
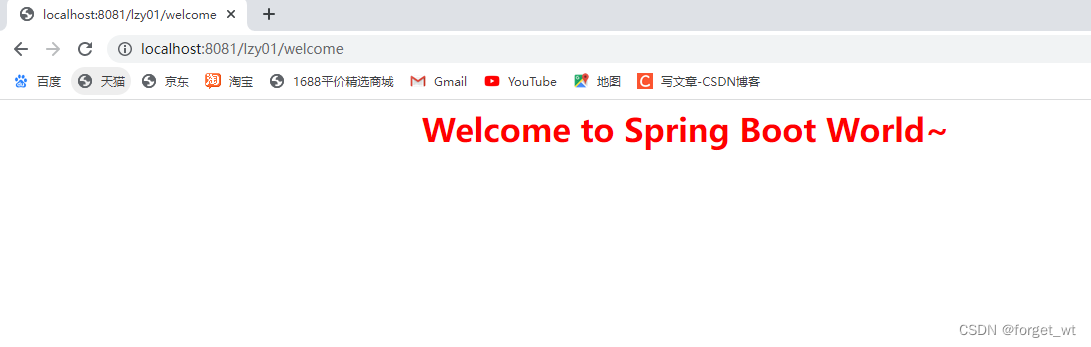
return "<h1 style='color:red; text-align:center'>Welcome to Spring Boot World~<h1>";
}
}
(四)指定使用环境
- 方式1、使用配置文件全局指定使用环境
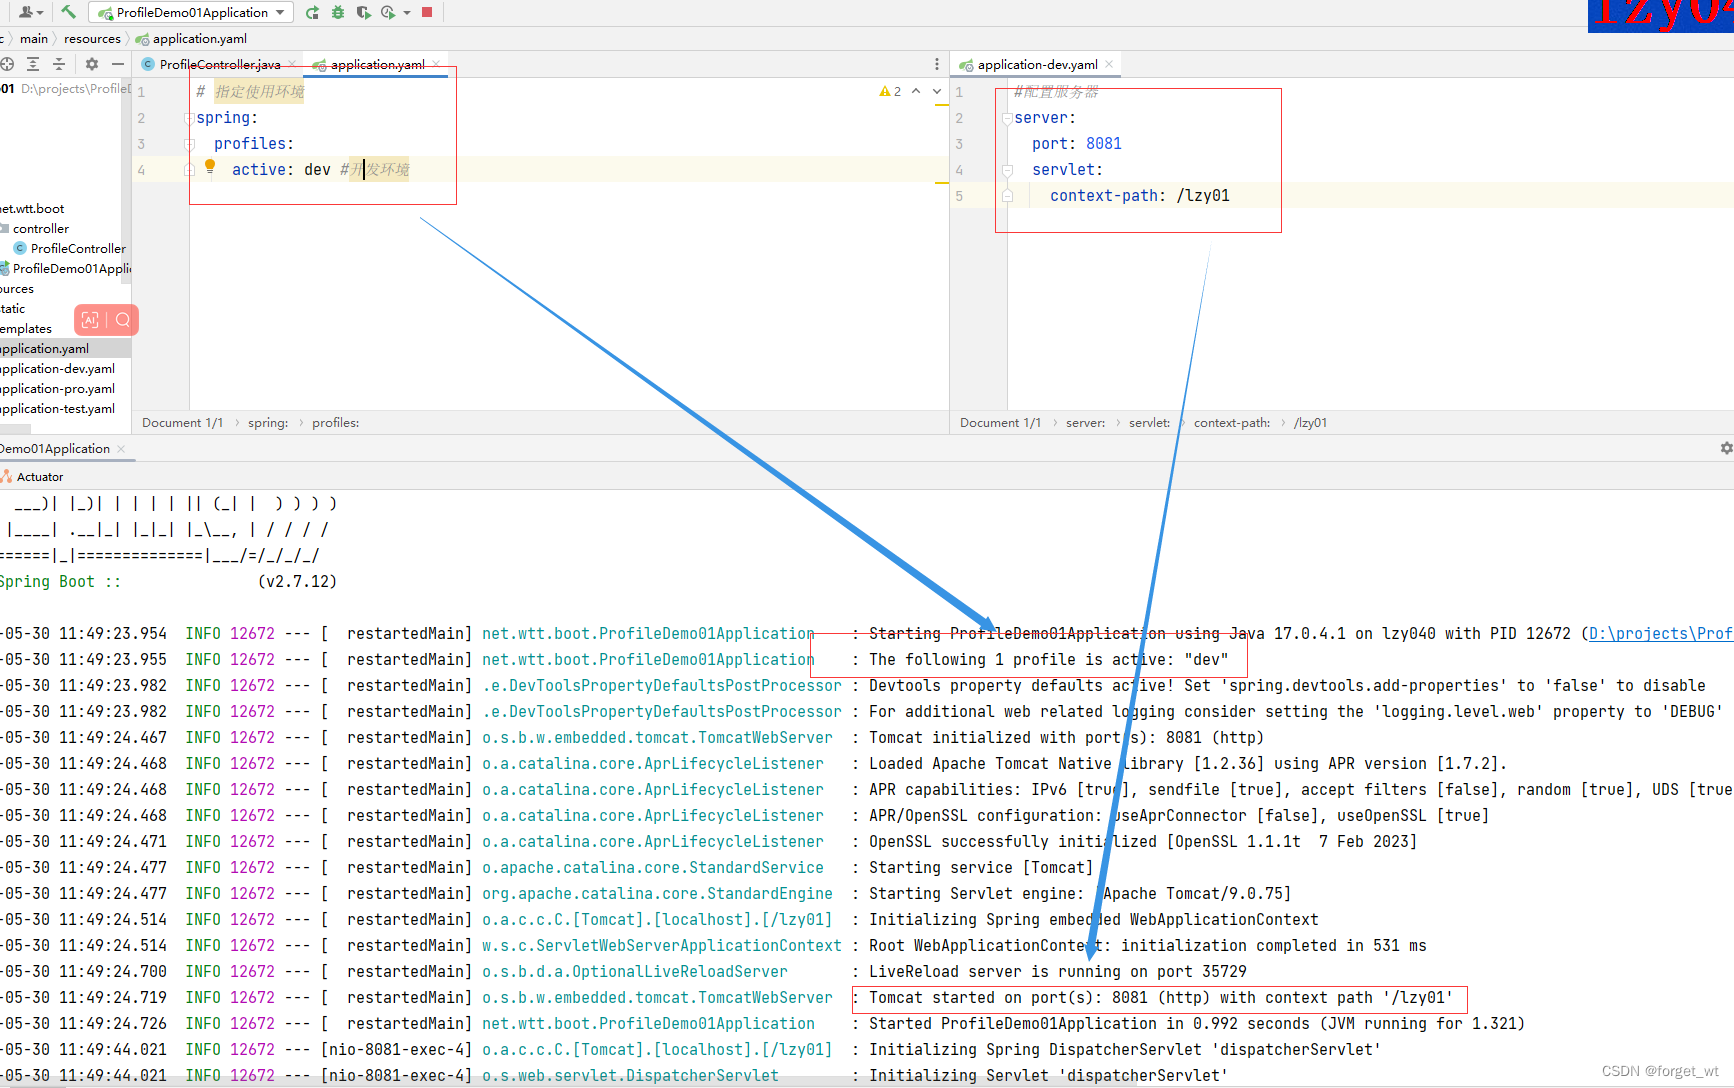
(1) 在全局配置文件里指定当前使用环境 - 开发环境

-
spring: profiles: active: dev,表明当前生效的环境配置文件是application-dev.yaml
-
启动项目,查看采用的使用环境:服务器端口号与虚拟路径
-
访问http://localhost:8081/lzy01/welcome
三、使用@Profile注解进行多环境配置
- 如果项目可能用到三种不同的数据库环境,比如MySQL、Oracle和Sybase,那么我们如何利用@Profile注解来实现多数据库环境配置呢?
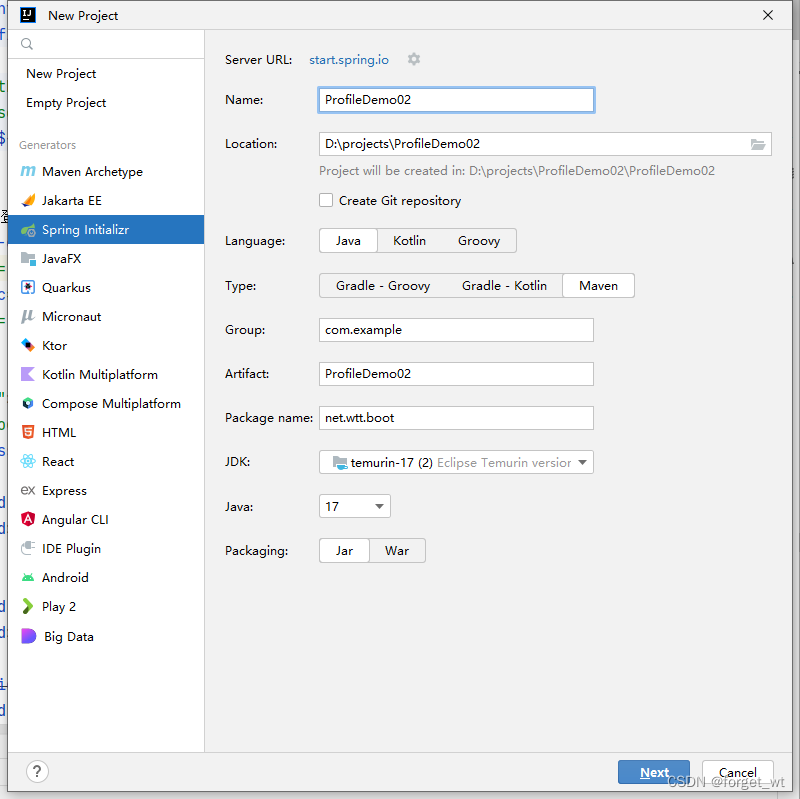
(一)创建Spring Boot项目
创建Spring Boot项目 - ProfileDemo02
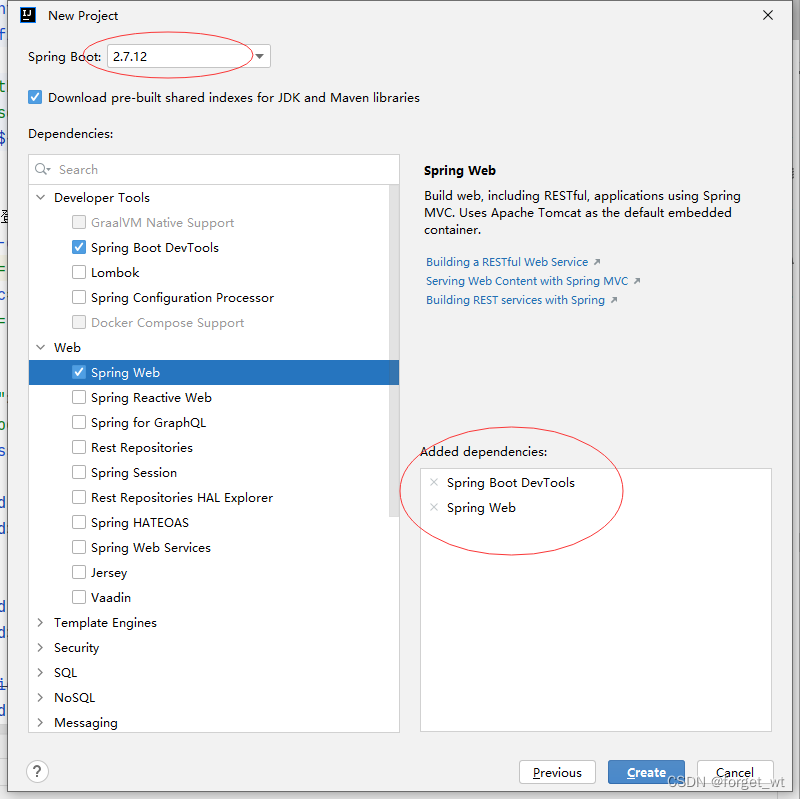
- 单击完成按钮,创建项目

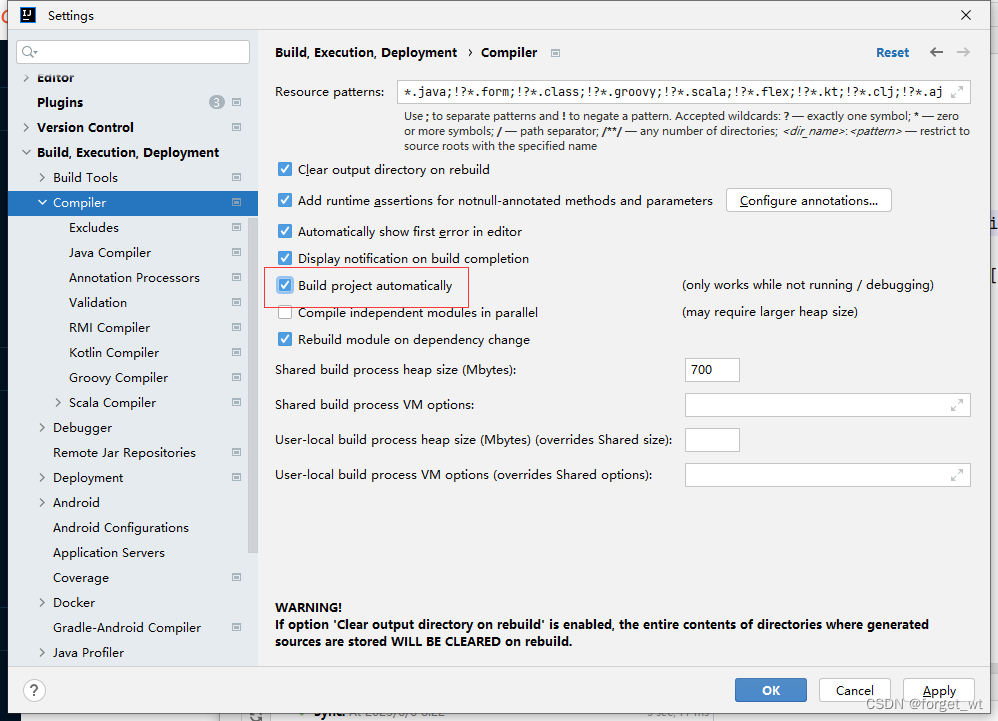
- 将项目进行热部署

(二)创建数据库配置接口
- 在net.wtt.boot里创建config子包,在子包里创建DatabaseConfig接口
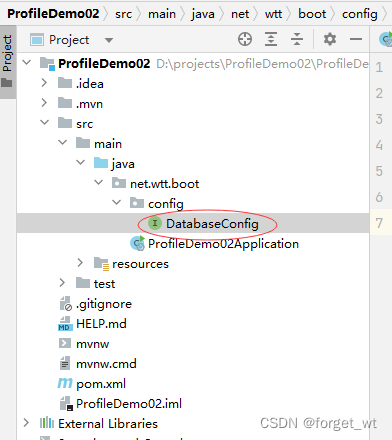
package net.wtt.boot.config;


public interface DatabaseConfig {
    void connect();
}
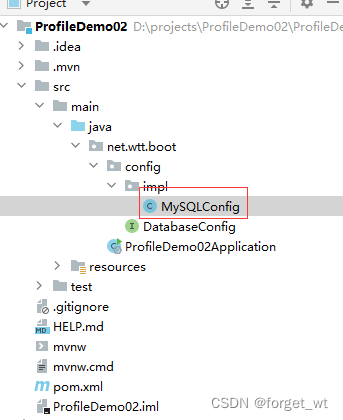
(三)创建三个数据库配置实现类
1、创建MySQL数据库配置实现类
- 在net.wtt.boot.config包里创建impl子包,在子包里创建MySQLConfig类
package net.wtt.boot.config.impl;


import net.wtt.boot.config.DatabaseConfig;
import org.springframework.context.annotation.Configuration;
import org.springframework.context.annotation.Profile;


@Configuration // 标识为配置类
@Profile("mysql") // 指定使用环境名称
public class MySQLConfig implements DatabaseConfig {
    @Override
    public void connect() {
        System.out.println("项目使用MySQL数据库环境~");
    }
}
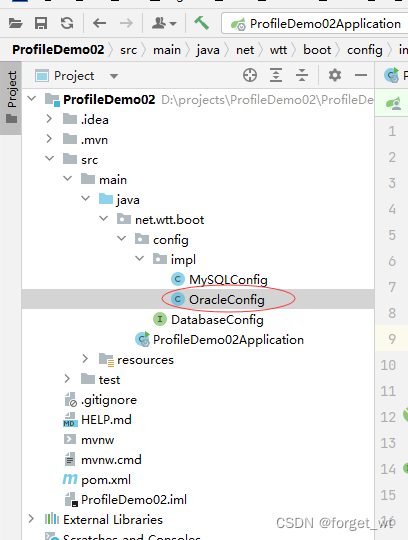
2、创建Oracle数据库配置实现类
- 在net.wtt.boot.config.impl包里创建OracleConfig类
package net.wtt.boot.config.impl;


import net.wtt.boot.config.DatabaseConfig;
import org.springframework.context.annotation.Configuration;
import org.springframework.context.annotation.Profile;


@Configuration // 标识为配置类
@Profile("oracle") // 指定使用环境名称
public class OracleConfig implements DatabaseConfig {
    @Override
    public void connect() {
        System.out.println("项目使用Oracle数据库环境~");
    }
}
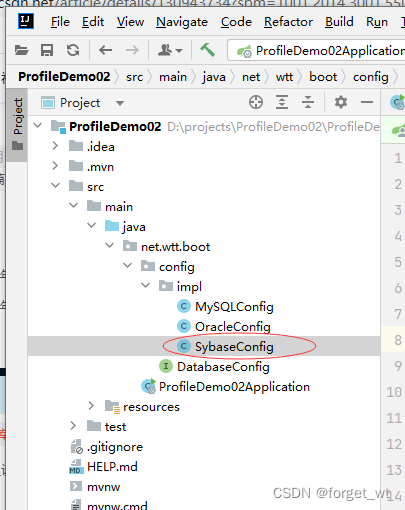
3、创建Sybase数据库配置实现类
- 在net.wtt.boot.config.impl包里创建SybaseConfig类
package net.wtt.boot.config.impl;


import net.wtt.boot.config.DatabaseConfig;
import org.springframework.context.annotation.Configuration;
import org.springframework.context.annotation.Profile;


@Configuration // 标识为配置类
@Profile("sybase") // 指定使用环境名称
public class SybaseConfig implements DatabaseConfig {
    @Override
    public void connect() {
        System.out.println("项目使用Sybase数据库环境~");
    }
}
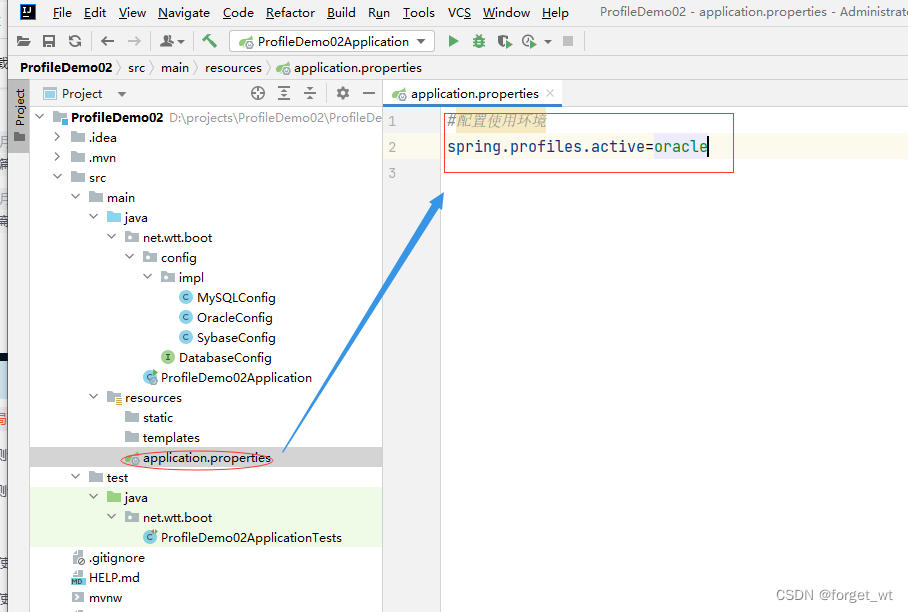
(四)在全局配置文件里设置使用环境
- 在全局配置文件application.properties里配置使用环境
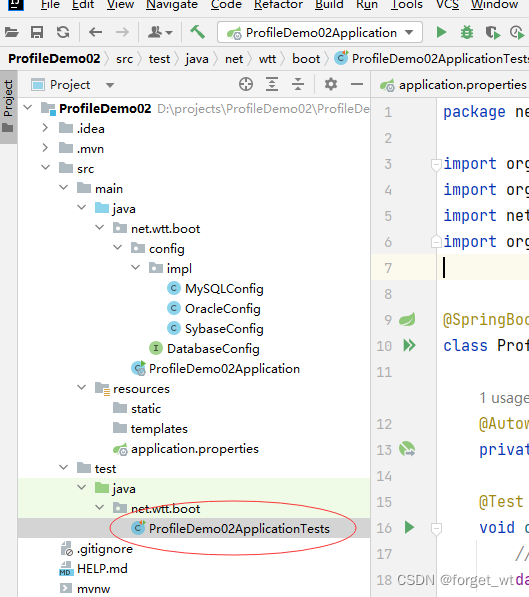
(五)编写测试方法
- 打开自带的测试类ProfileDemo02ApplicationTests
package net.wtt.boot;
import org.junit.jupiter.api.Test;
import org.springframework.boot.test.context.SpringBootTest;
import net.wtt.boot.config.DatabaseConfig;
import org.springframework.beans.factory.annotation.Autowired;
@SpringBootTest
class ProfileDemo02ApplicationTests {
@Autowired // 注入数据库配置实体
private DatabaseConfig databaseConfig;
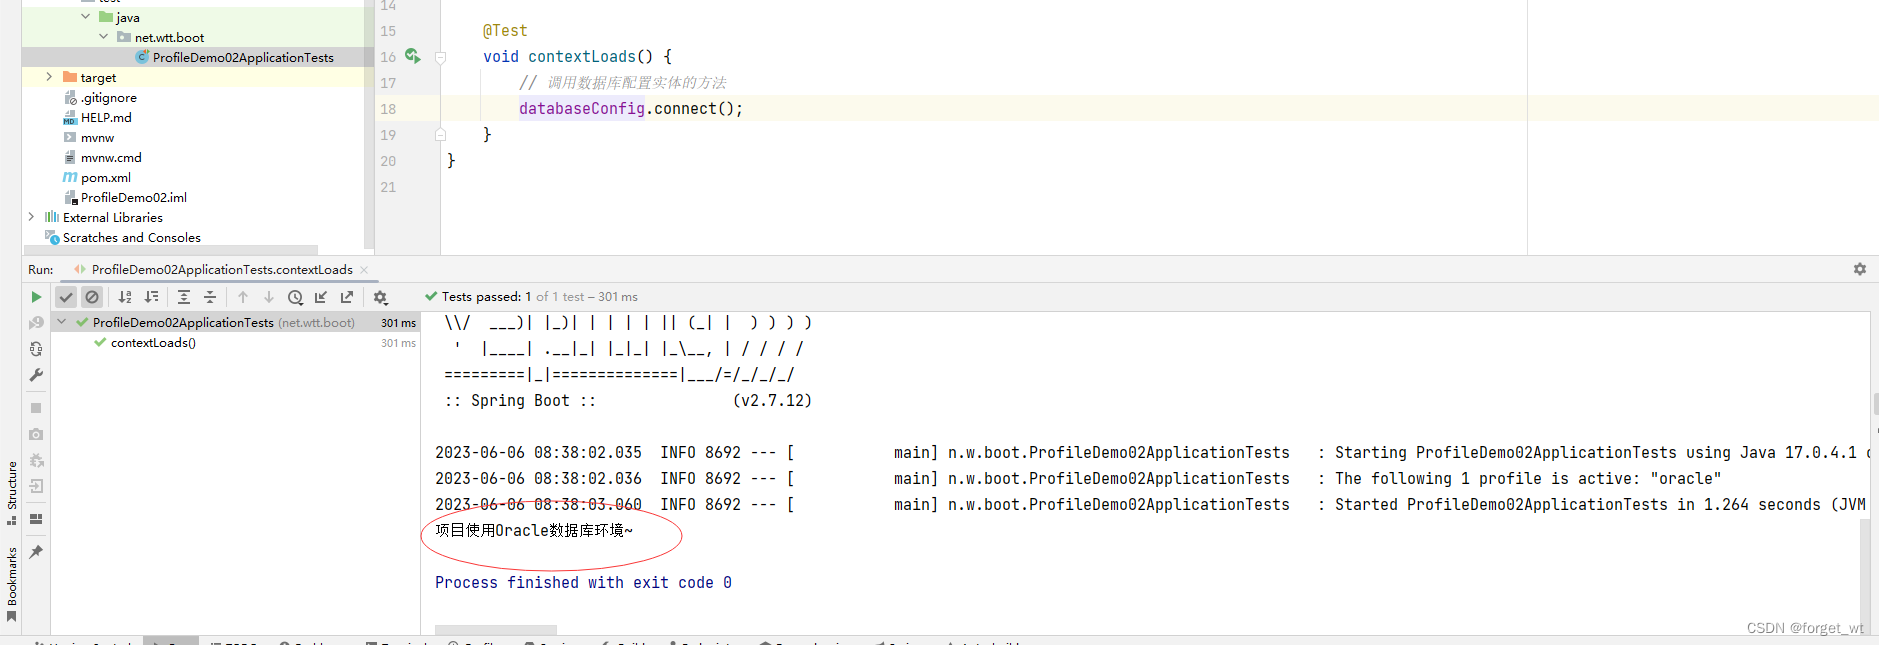
@Test
void contextLoads() {
// 调用数据库配置实体的方法
databaseConfig.connect();
}
}
(六)运行测试方法
- 运行contextLoads()测试方法,查看结果
四、随机值设置以及参数间引用
(一)创建Spring Boot Web项目RandomSetDemo
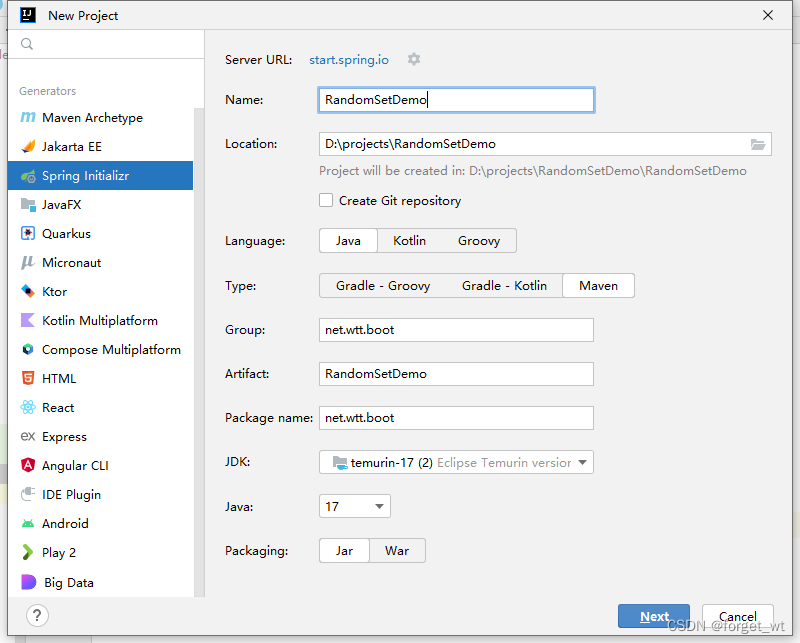
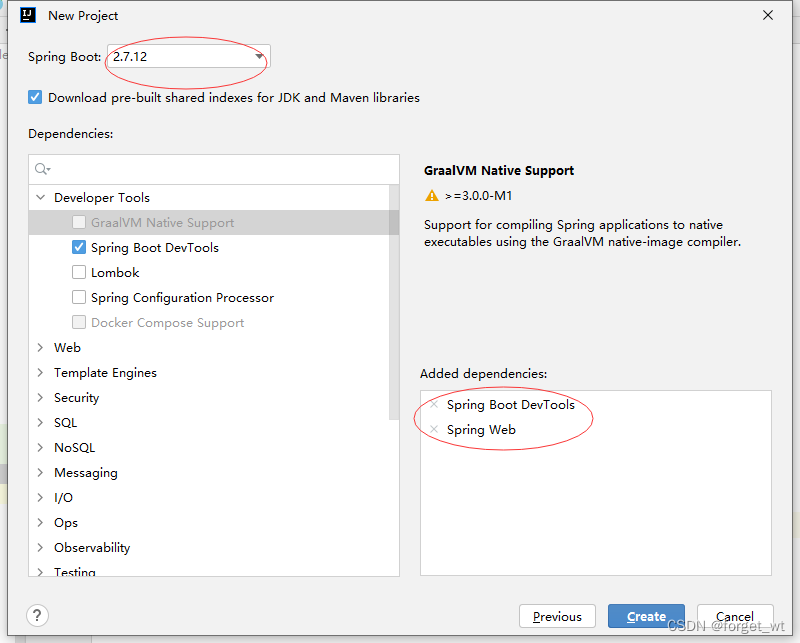
- 单击完成按钮,创建项目

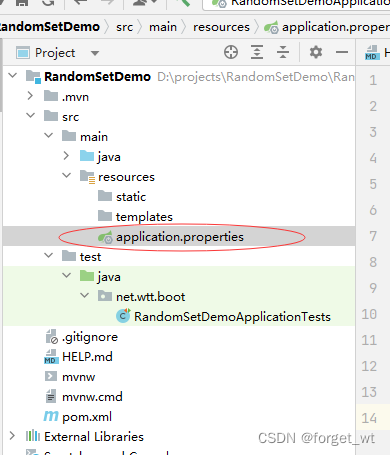
(二)在全局配置文件里配置随机值
#任意一个随机数
lzy.number=${random.value}
#一个随机整数
lzy.integer=${random.int}
#一个长整型的随机数
lzy.long=${random.long}
#获取一个随机的UUID值
lzy.uuid=${random.uuid}
#小于10的随机整数
lzy.number.less=${random.int(10)}
#随机产生1024至65535之间的数
lzy.number.range=${random.int[1024,65535]}
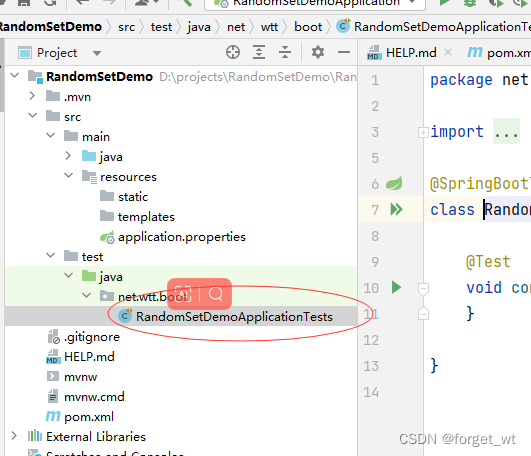
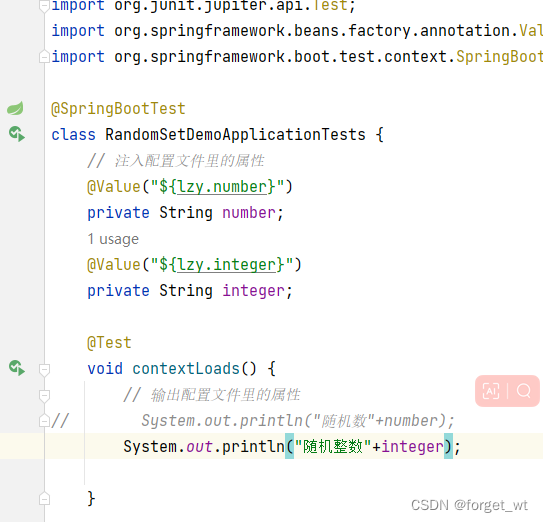
(三)在测试类里测试配置的随机数
- 点开测试类RandomSetDemoApplicationTests
1、测试随机数lzy.number
- 注入配置文件里的属性
- 输出配置文件里的属性
package net.wtt.boot;


import org.junit.jupiter.api.Test;
import org.springframework.beans.factory.annotation.Value;
import org.springframework.boot.test.context.SpringBootTest;

@SpringBootTest
class RandomSetDemoApplicationTests {
    // 注入配置文件里的属性
    @Value("${lzy.number}")
    private String number;

    @Test
    void contextLoads() {
        // 输出配置文件里的属性
        System.out.println("任意一个随机数"+number);
    }

}
- 反复运行测试方法contextL oads(),查看结果
运行一次结果

运行三次结果
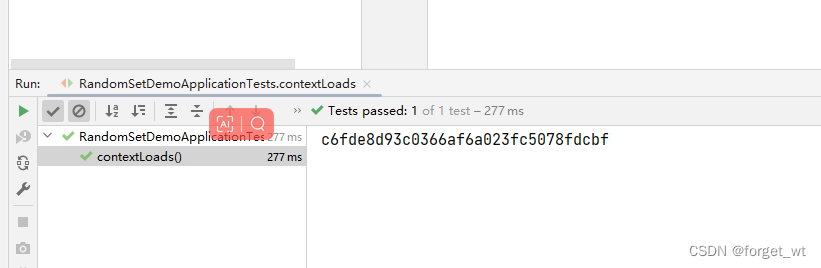
- 大家可以看到,产生的是32位的十六进制数对应的字符串
2、测试随机整数lzy.integer
-
注入配置文件里的属性
-
输出配置文件里的属性
-
反复运行测试方法contextLoads(),查看结果
同样运行三次的结果

3.测试其他几个随机数型
(四)演示参数间的引用
- 先配置文件编码,防止name是汉字是编码出错

- 在appication.properties文件里,后定义的属性可引用前面定义的属性
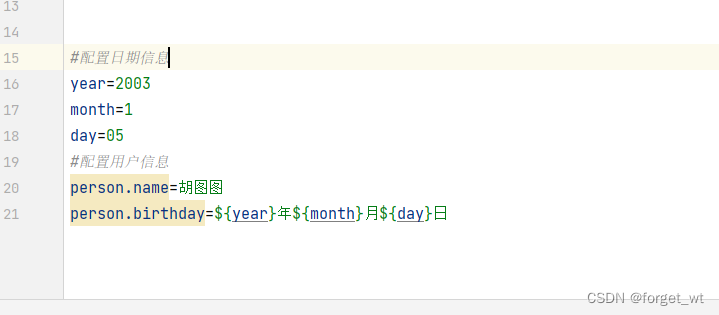
定义三个属性year、month和day
定义属性user.name
定义属性user.birthday,引用属性year、month和day
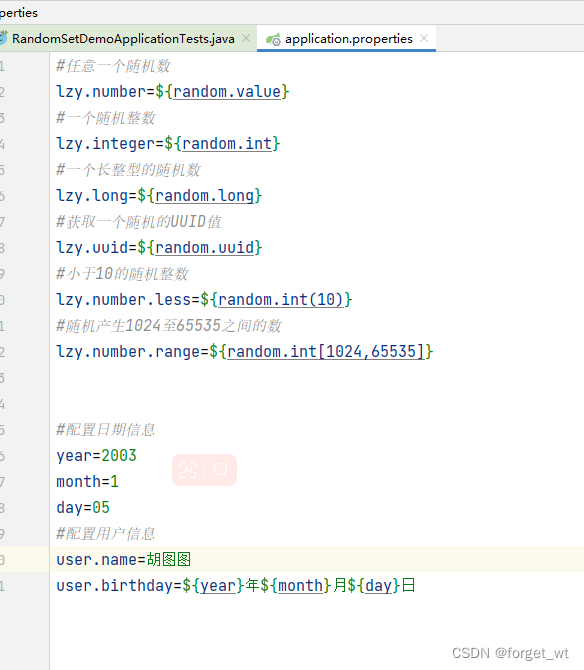
#配置日期信息
year=2003
month=1
day=05
#配置用户信息
user.name=胡图图
user.birthday=${year}年${month}月${day}日
- 修改测试类RandomSetDemoApplicationTests
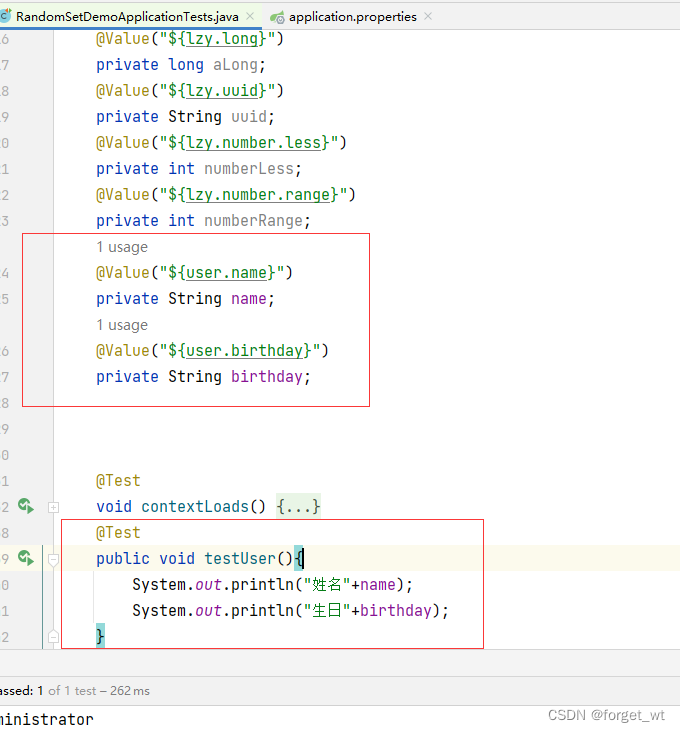
- 运行测试方法testUser
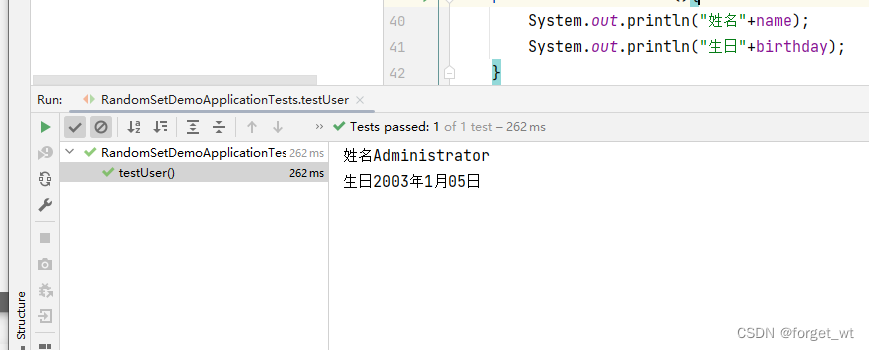
- 我们发现我们配置文件里的名字明明是胡图图但是他输出的确实系统默认的user名Administrator
- 一般我们如果要展示自己的名字都不选用user因为他会默认是系统用户,所以想要显示自己的就不要选用user,我们把它改一下
- 在修改一下测试代码,然后在运行
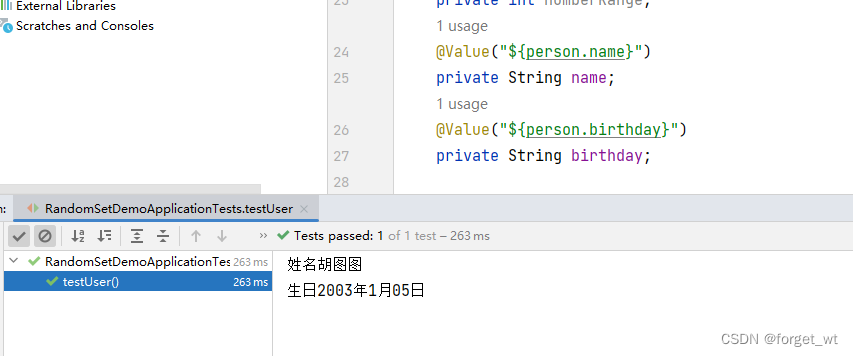
- 此时出现的名字就是我们想要的结果咯


 486
486


 被折叠的 条评论
为什么被折叠?
被折叠的 条评论
为什么被折叠?
 到【灌水乐园】发言


