


功能说明
开发一个类似微信的主页面框架,UI布局为上中下结构,包含4个tab页面
开发技术
layout xml、控件、监听,fragment
开发工具
Android-Studio
设计流程
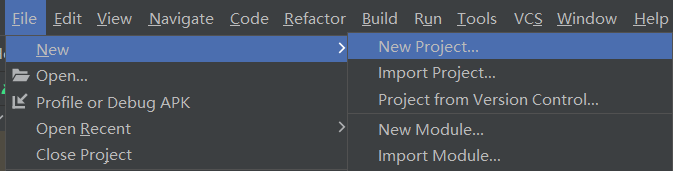
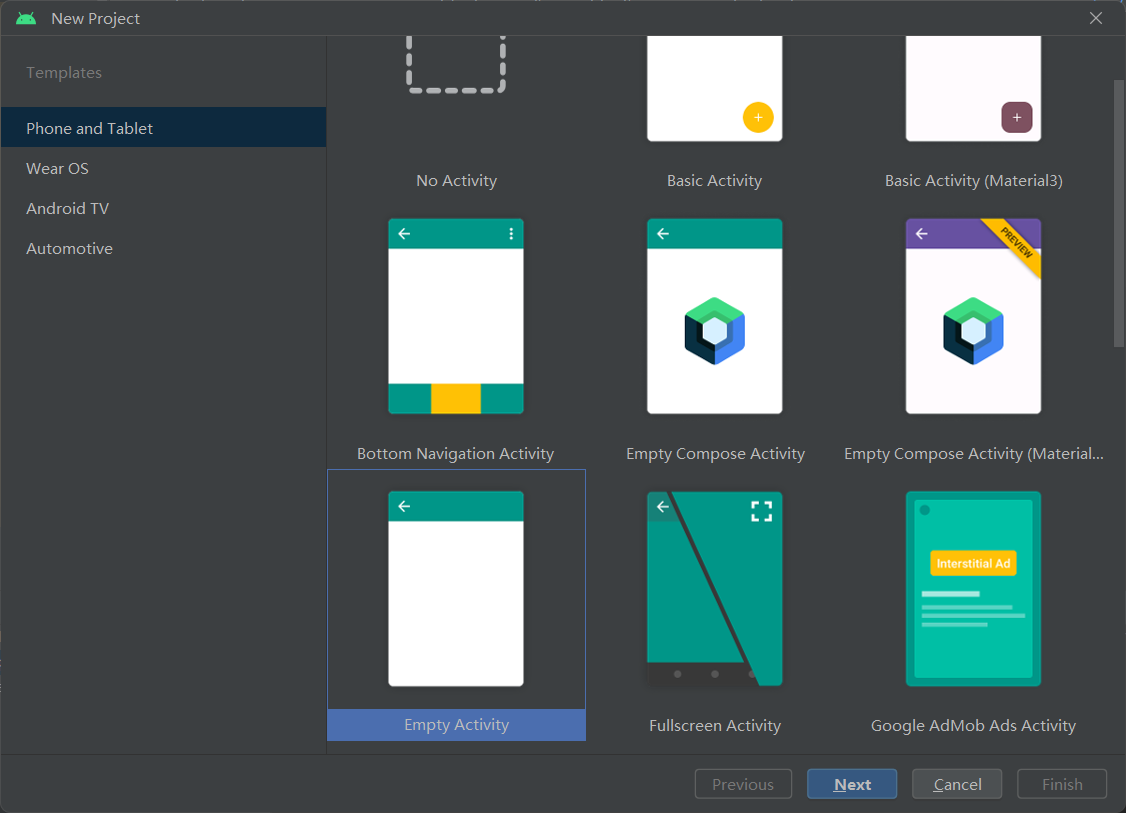
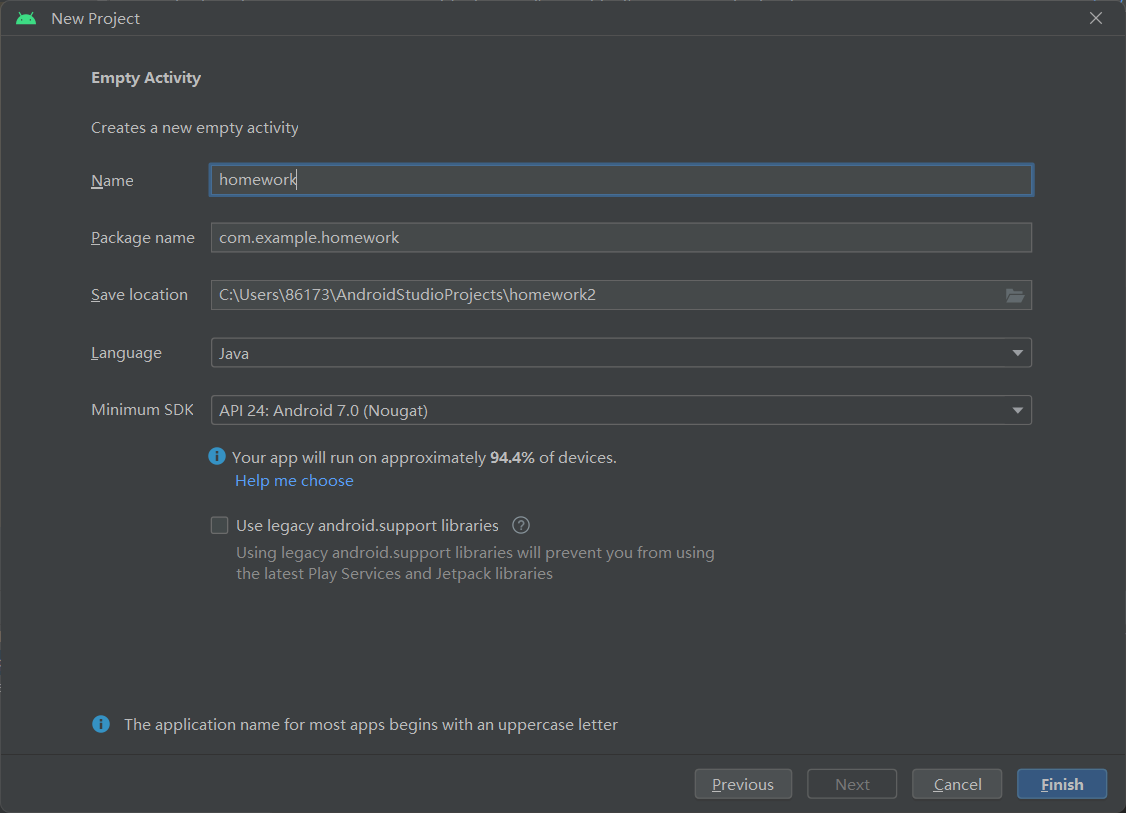
创建项目:
选择Empty Activity
页面布局
top标题栏
中间滚动栏
底部导航栏
标题栏(使用LinearLayout布局)
添加Textview,调整文字居中以及字体颜色和大小
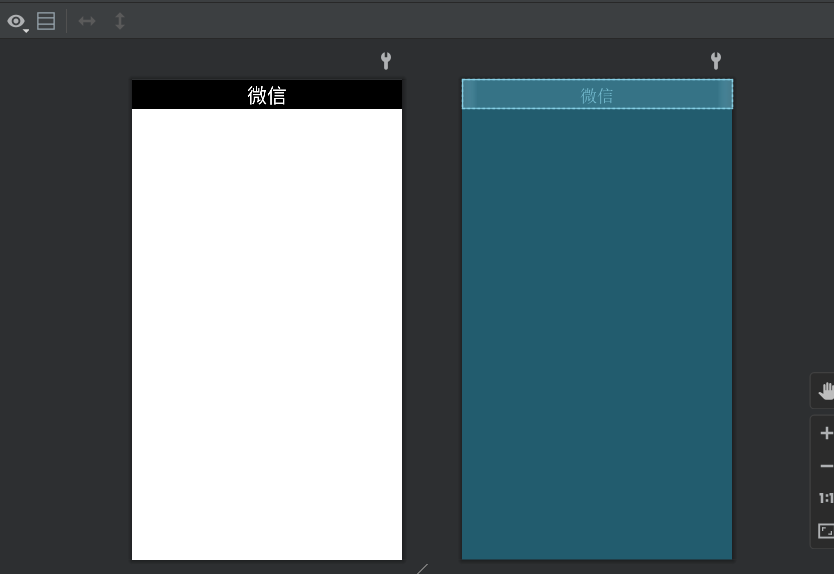
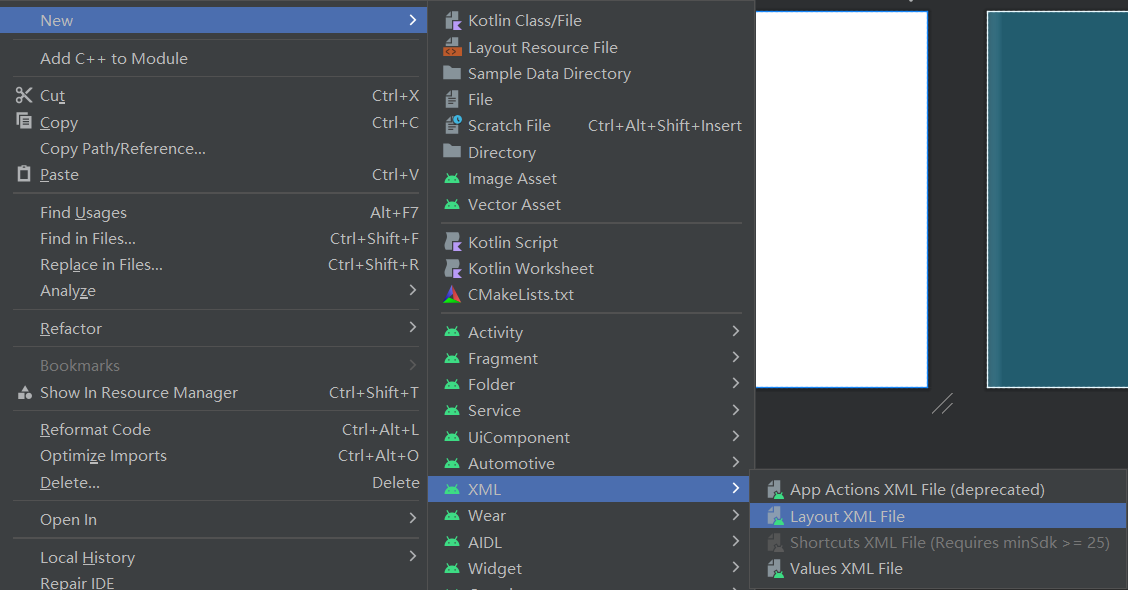
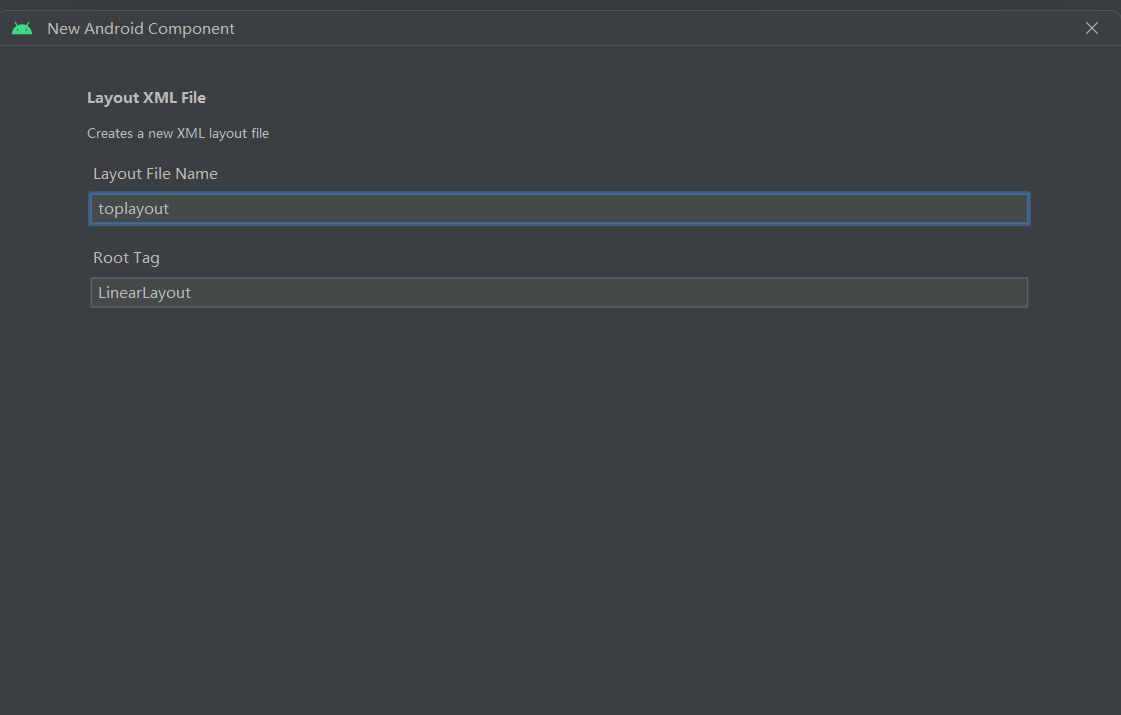
标题栏:toplayout.xml
<?xml version="1.0" encoding="utf-8"?>
<LinearLayout xmlns:android="http://schemas.android.com/apk/res/android"
    android:layout_width="match_parent"
    android:layout_height="wrap_content">

    <TextView
        android:id="@+id/textView"
        android:layout_width="wrap_content"
        android:layout_height="wrap_content"
        android:layout_weight="1"
        android:background="@color/black"
        android:text="微信"
        android:textAlignment="center"
        android:textColor="@color/white"
        android:textSize="30dp" />
</LinearLayout>
2.底部导航栏(主要由四个部分组成,主框架为线性布局)
四个部分设置好一个后,直接在头文件处复制三份
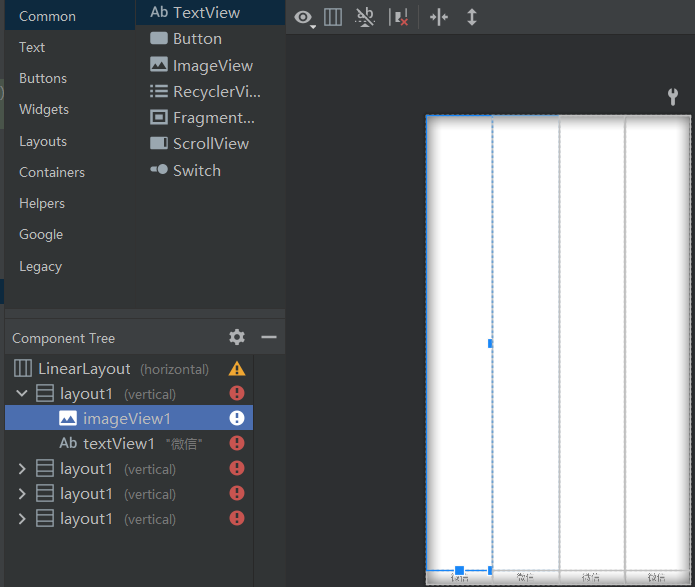
再进行调整(标红部分慢慢修改即可)
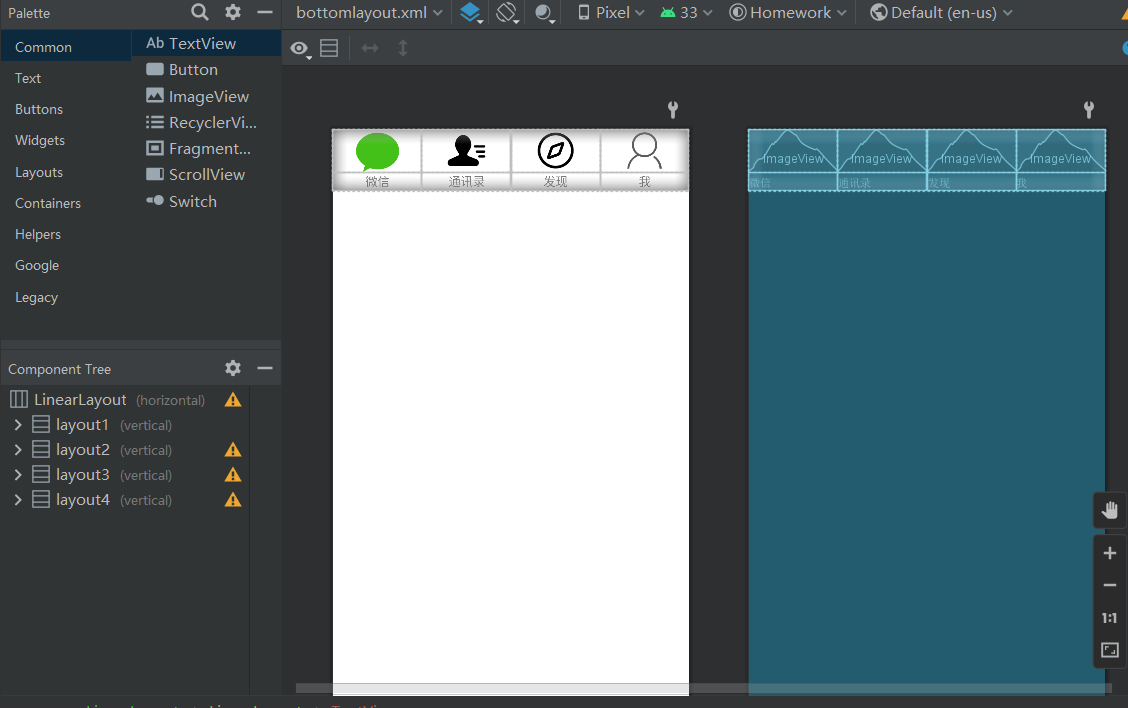
bottomlayout.xml
<?xml version="1.0" encoding="utf-8"?>
<LinearLayout xmlns:android="http://schemas.android.com/apk/res/android"
    xmlns:app="http://schemas.android.com/apk/res-auto"
    android:layout_width="match_parent"
    android:layout_height="wrap_content">


    <LinearLayout
        android:id="@+id/layout1"
        android:layout_width="match_parent"
        android:layout_height="wrap_content"
        android:layout_weight="1"
        android:orientation="vertical">

        <ImageView
            android:id="@+id/imageView1"
            android:layout_width="match_parent"
            android:layout_height="50dp"
            android:layout_weight="1"
            app:srcCompat="@mipmap/微信" />

        <TextView
            android:id="@+id/textView1"
            android:layout_width="match_parent"
            android:layout_height="wrap_content"
            android:gravity="center"
            android:text="微信" />

    </LinearLayout>

    <LinearLayout
        android:id="@+id/layout2"
        android:layout_width="match_parent"
        android:layout_height="wrap_content"
        android:layout_weight="1"
        android:orientation="vertical">

        <ImageView
            android:id="@+id/imageView2"
            android:layout_width="match_parent"
            android:layout_height="50dp"
            app:srcCompat="@mipmap/通讯录" />

        <TextView
            android:id="@+id/textView2"
            android:layout_width="match_parent"
            android:layout_height="wrap_content"
            android:gravity="center"
            android:text="通讯录" />

    </LinearLayout>

    <LinearLayout
        android:id="@+id/layout3"
        android:layout_width="match_parent"
        android:layout_height="wrap_content"
        android:layout_weight="1"
        android:orientation="vertical">

        <ImageView
            android:id="@+id/imageView3"
            android:layout_width="match_parent"
            android:layout_height="50dp"
            app:srcCompat="@mipmap/发现" />

        <TextView
            android:id="@+id/textView3"
            android:layout_width="match_parent"
            android:layout_height="wrap_content"
            android:gravity="center"
            android:text="发现" />

    </LinearLayout>

    <LinearLayout
        android:id="@+id/layout4"
        android:layout_width="match_parent"
        android:layout_height="wrap_content"
        android:layout_weight="1"
        android:orientation="vertical">

        <ImageView
            android:id="@+id/imageView4"
            android:layout_width="match_parent"
            android:layout_height="50dp"
            app:srcCompat="@mipmap/我" />

        <TextView
            android:id="@+id/textView4"
            android:layout_width="match_parent"
            android:layout_height="wrap_content"
            android:gravity="center"
            android:text="我" />

    </LinearLayout>
</LinearLayout>
修改activity_main.xml将上面两个布局整合。
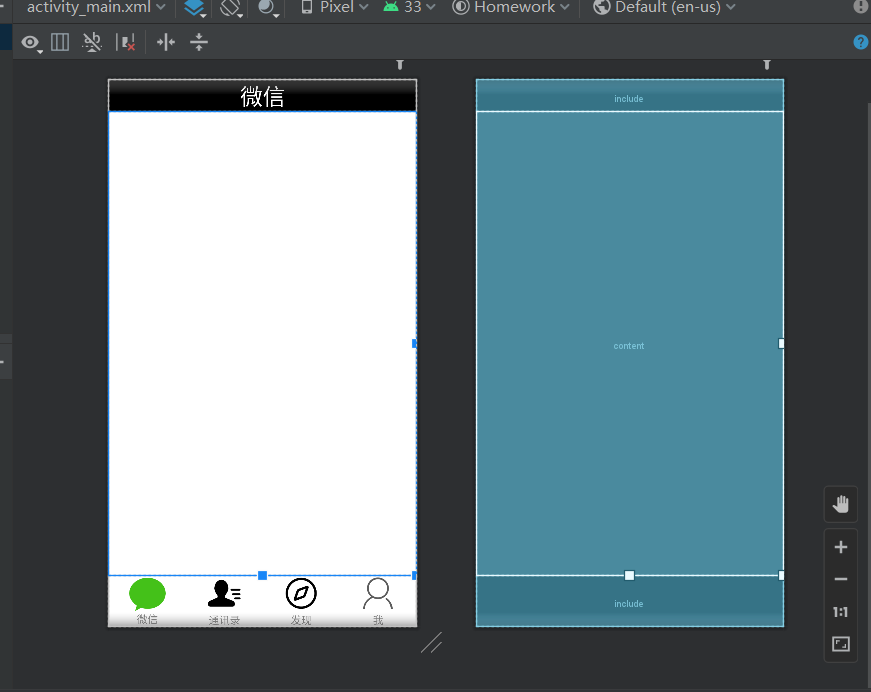
activity_main
<?xml version="1.0" encoding="utf-8"?>
<LinearLayout xmlns:android="http://schemas.android.com/apk/res/android"
    android:layout_width="match_parent"
    android:layout_height="match_parent"
    android:orientation="vertical">

    <include
        layout="@layout/toplayout"
        android:layout_width="match_parent"
        android:layout_height="wrap_content"
        android:layout_weight="1" />

    <FrameLayout
        android:id="@+id/content"
        android:layout_width="match_parent"
        android:layout_height="match_parent"
        android:layout_weight="200"></FrameLayout>

    <include
        layout="@layout/bottomlayout"
        android:layout_width="match_parent"
        android:layout_height="wrap_content"
        android:layout_weight="2" />

</LinearLayout>
四个内容区块
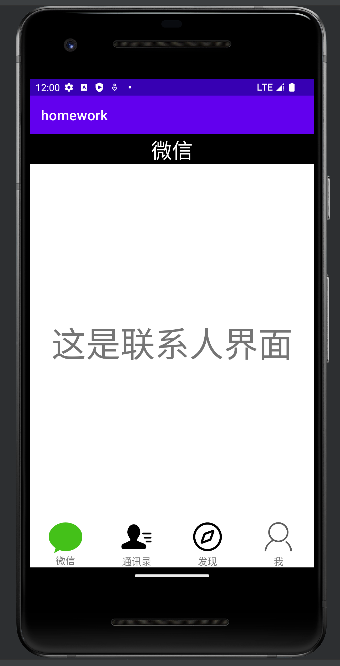
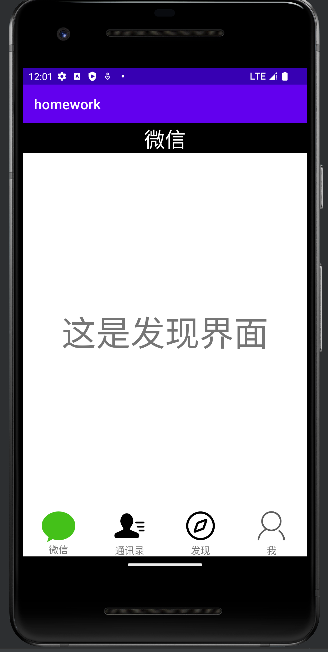
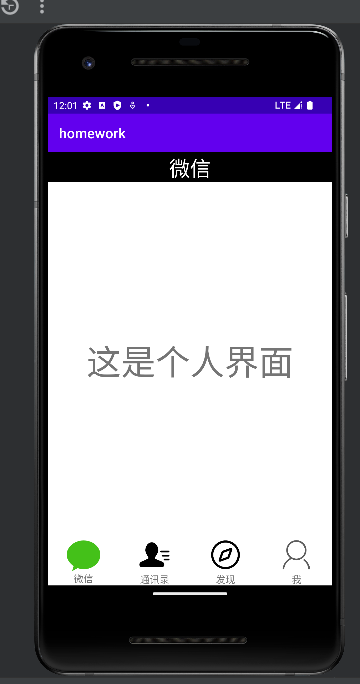
编写微信、通讯录、发现和我四个页面的跳转
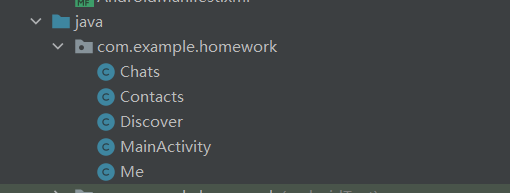
首先创建板块(共四个)
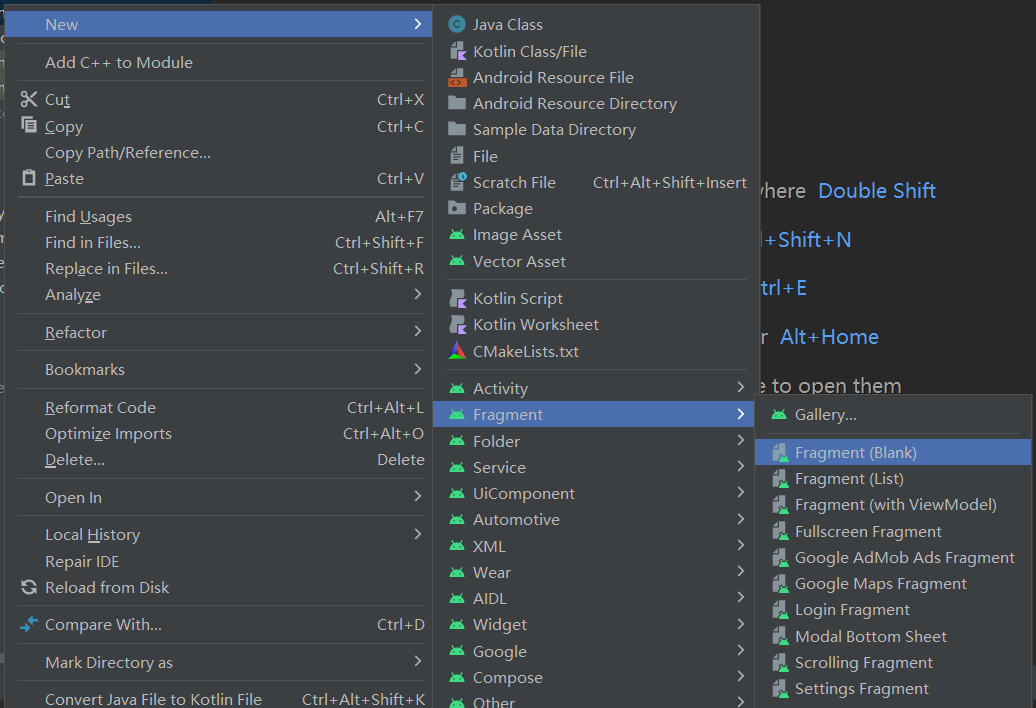
如下:
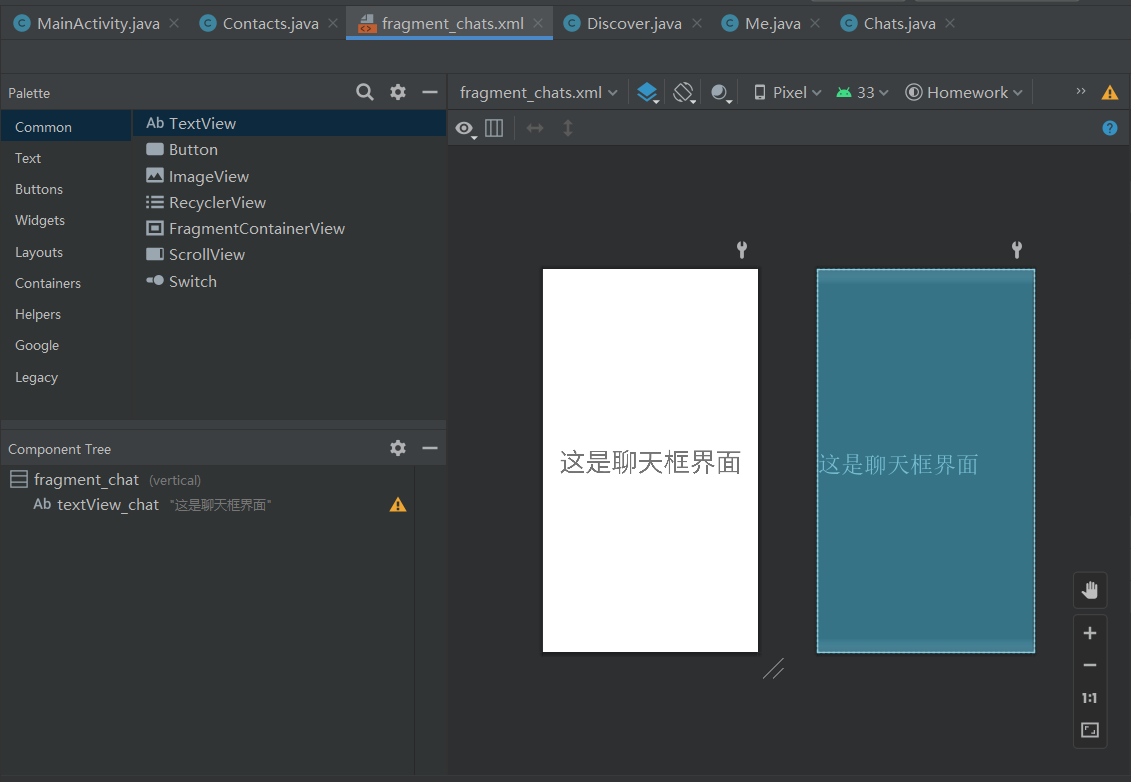
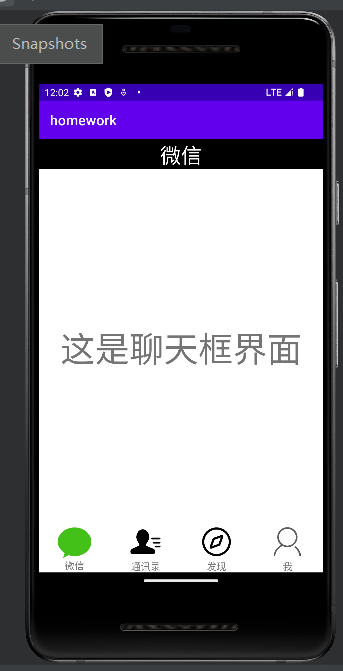
编写fragment_chats.xml(显示提示内容)
<?xml version="1.0" encoding="utf-8"?>
<LinearLayout xmlns:android="http://schemas.android.com/apk/res/android"
    xmlns:tools="http://schemas.android.com/tools"
    android:id="@+id/fragment_chat"
    android:layout_width="match_parent"
    android:layout_height="match_parent"
    android:orientation="vertical">

    <!-- TODO: Update blank fragment layout -->
    <TextView
        android:id="@+id/textView_chat"
        android:layout_width="match_parent"
        android:layout_height="match_parent"
        android:gravity="center"
        android:text="这是聊天框界面"
        android:textSize="50sp" />

</LinearLayout>
其他三个同上。
最后修改MainActivity.java文件
package com.example.homework;

import androidx.appcompat.app.AppCompatActivity;
import androidx.fragment.app.Fragment;
import androidx.fragment.app.FragmentManager;
import android.os.Bundle;
import android.view.View;
import android.widget.LinearLayout;


public class MainActivity extends AppCompatActivity implements View.OnClickListener{
    LinearLayout linearLayout1,linearLayout2,linearLayout3,linearLayout4;
    Fragment fragment1,fragment2,fragment3,fragment4;
    int transaction;
    FragmentManager manager;

    @Override
    protected void onCreate(Bundle savedInstanceState) {
        super.onCreate(savedInstanceState);
        setContentView(R.layout.activity_main);

        linearLayout1=findViewById(R.id.layout1);
        linearLayout2=findViewById(R.id.layout2);
        linearLayout3=findViewById(R.id.layout3);
        linearLayout4=findViewById(R.id.layout4);

        manager=getSupportFragmentManager();
        fragment1=new chats();
        fragment2=new contacts();
        fragment3=new discover();
        fragment4=new me();

        initial();
        fragmentHide();
        showfragment(fragment1);

        linearLayout1.setOnClickListener(this);
        linearLayout2.setOnClickListener(this);
        linearLayout3.setOnClickListener(this);
        linearLayout4.setOnClickListener(this);
    }

    public void initial(){
        transaction=manager.beginTransaction()
                .add(R.id.content,fragment1)
                .add(R.id.content,fragment2)
                .add(R.id.content,fragment3)
                .add(R.id.content,fragment4)
                .commit();
    }

    public void onClick(View view){
        fragmentHide();
        switch (view.getId())
        {
            case R.id.layout1:showfragment(fragment1);break;
            case R.id.layout2:showfragment(fragment2);break;
            case R.id.layout3:showfragment(fragment3);break;
            case R.id.layout4:showfragment(fragment4);break;
        }
    }

    private void showfragment(Fragment fragment) {
        transaction=manager.beginTransaction()
                .show(fragment)
                .commit();
    }

    public void fragmentHide(){
        transaction=manager.beginTransaction()
                .hide(fragment1)
                .hide(fragment2)
                .hide(fragment3)
                .hide(fragment4)
                .commit();


    }
}
运行结果展示:
开源代码


 2601
2601


 被折叠的 条评论
为什么被折叠?
被折叠的 条评论
为什么被折叠?
 到【灌水乐园】发言


