


<script type="text/JavaScript"> </script> <script src="http://a.alimama.cn/inf.js" type="text/javascript"></script>
在我们日常编程中经常会用到“橡皮线”,橡皮线在VC里面实现起来比较容易些。但是在c#中就比较麻烦些。下面是我以前工作中发现的一个开源类,然后加以改造,使用比较方便。现共享CSDN网友!
先给个图:
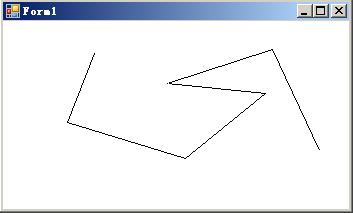
绘制代码:
 这篇博客分享了如何在C#中实现橡皮线的绘制,通过一个开源类库`Win32XORPenDrawer`进行交互式线条效果。代码示例展示了在鼠标移动和点击事件中如何使用该类进行画线操作,并提供了完整类的实现。
<script type="text/JavaScript"> </script> <script src="http://a.alimama.cn/inf.js" type="text/javascript"></script>
在我们日常编程中经常会用到“橡皮线”,橡皮线在VC里面实现起来比较容易些。但是在c#中就比较麻烦些。下面是我以前工作中发现的一个开源类,然后加以改造,使用比较方便。现共享CSDN网友!
先给个图:
绘制代码:

 被折叠的 条评论
为什么被折叠?
被折叠的 条评论
为什么被折叠?
 到【灌水乐园】发言


 最低0.47元/天 解锁文章


 5726
5726


