


关于TextInput组件详细资料,请查看:TextInput
下面我们来写一个QQ登录界面
1.首先我们来学习一下如何引入外部的组件?
在项目根目录下新建一个LoginView.js文件:
/**
 * Sample React Native App
 * https://github.com/facebook/react-native
 * @flow
 */

import React, { Component } from 'react';
import {
    AppRegistry,
    StyleSheet,
    Text,
    View
} from 'react-native';

class LoginView extends Component {
    render() {
        return (
            <View style={styles.container}>
                <Text style={styles.welcome}>
                    我是登录界面
                </Text>
            </View>
        );
    }
}

const styles = StyleSheet.create({
    container: {
        flex: 1,
        justifyContent: 'center',
        alignItems: 'center',
        backgroundColor: '#F5FCFF',
    },
});

// 导出
module.exports = LoginView;
这个组件要想被使用,关键一句话代码是: module.exports = LoginView
2.那么接着我们来看看index.ios.js里是如何使用到LoginView.js定义的组件的?
/**
 * Sample React Native App
 * https://github.com/facebook/react-native
 * @flow
 */

import React, { Component } from 'react';
import {
  AppRegistry,
  StyleSheet,
  Text,
  View
} from 'react-native';

// 引入外部的js文件
var LoginView = require('./LoginView');

class QQLoginDemo extends Component {
  render() {
    return (
        // 使用QQ登录界面组件
      <LoginView />
    );
  }
}

AppRegistry.registerComponent('QQLoginDemo', () => QQLoginDemo);2个关键点:先要引入js文件var LoginView = require('./LoginView');,然后在自己的组件理使用 <LoginView />
完成上面2步,效果如下图:
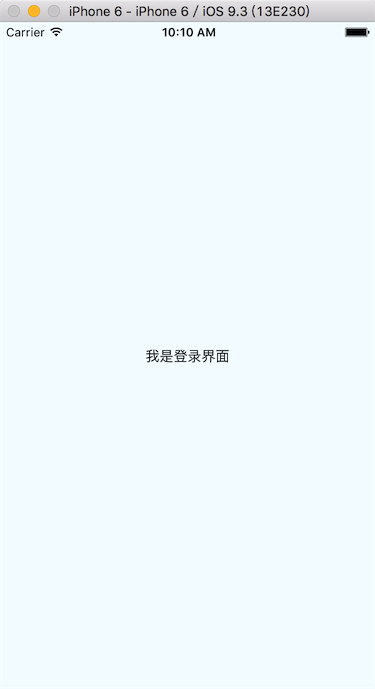
3.从上可知,我们只要修改LoginView.js文件就可以完成QQ登录界面的布局啦
/**
 * Sample React Native App
 * https://github.com/facebook/react-native
 * @flow
 */

import React, { Component } from 'react';
import {
    AppRegistry,
    StyleSheet,
    Text,
    View,
    Image,
    TextInput
} from 'react-native';

var Dimensions = require('Dimensions');
var screenW = Dimensions.get('window').width;
var screenH = Dimensions.get('window').height;

class LoginView extends Component {
    render() {
        return (
            <View style={styles.container}>
                <Image source={require('./img/icon.jpg')} style={styles.iconStyle} />
                <TextInput keyboardType={'number-pad'} placeholder={'QQ号码/手机/邮箱'} style={styles.textInputStyle}  />
                <TextInput placeholder={'密码'} password={true} style={styles.textInputStyle} />
                <View style={styles.loginBtnStyle}>
                    <Text style={styles.loginTextStyle}>登录</Text>
                </View>
                <View style={styles.settingStyle}>
                    <Text style={styles.settingTextStyle}>无法登录?</Text>
                    <Text style={styles.settingTextStyle}>新用户注册</Text>
                </View>
            </View>
        );
    }
}

const styles = StyleSheet.create({
    container: {
        flex: 1,
        backgroundColor: '#E7E7E7',
        // 设置侧轴对齐方式
        alignItems:'center',
    },
    iconStyle:{
        marginTop:50,
        marginBottom:10,
        width:80,
        height:80,
        borderWidth:2,
        borderColor:'white',
        borderRadius:40
    },
    textInputStyle:{
        height:44,
        width:screenW,
        backgroundColor:'white',
        marginBottom:1,
        textAlign:'center'
    },
    loginBtnStyle:{
        height:38,
        width:screenW * 0.85,
        backgroundColor:'#0080D6',
        justifyContent:'center',
        alignItems:'center',
        marginTop:20,
        borderRadius:3
    },
    loginTextStyle:{
        color:'white'
    },
    settingStyle:{
        width:screenW * 0.85,
        // 设置主轴的方向
        flexDirection:'row',
        // 主轴对齐方式
        justifyContent:'space-between',
        // 绝对定位
        position:'absolute',
        bottom:20,
        left:(screenW - screenW * 0.85) * 0.5,
    },
    settingTextStyle:{
        color:'#0080D6'
    },
});

// 导出
module.exports = LoginView;
最后效果如下图:
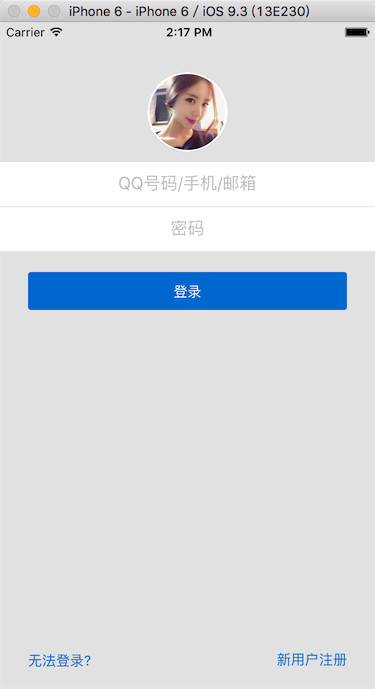
如果要允许到安卓上,只需要修改index.android.js(和index.ios.js一样)

安卓上的坑:
1.iOS上不需要设置TextInput的宽度,默认宽度就是屏幕宽度;而Android上需要给TextInput设置宽度,所以我们在样式里加了width:screenW,。
屏幕宽度取值:var screenW = Dimensions.get('window').width;
2.这个界面还有一个坑,从上图也可以看出:密码框架竟然是明文的(iOS则没有这个问题),观察代码其实我们设置了 password={true}。这个坑,我这里暂时没有解决。
=============
百度了一下,密码框在安卓明文显示的问题 已解决:
secureTextEntry={true}


 264
264

 被折叠的 条评论
为什么被折叠?
被折叠的 条评论
为什么被折叠?
 到【灌水乐园】发言


