


We now have a Large Printbutton that works as advertised, but we need to apply similar handling to the other two buttons (Defaultand Narrow Column) to make them perform their tasks. This is straightforward; we use .bind()to add a clickhandler to each of them, removing and adding classes as necessary. The new code reads as shown in the following code snippet:
$(document).ready(function() {
$('#switcher-default').bind('click', function() {
$('body').removeClass('narrow');
$('body').removeClass('large');
});
$('#switcher-narrow').bind('click', function() {
$('body').addClass('narrow');
$('body').removeClass('large');
});
$('#switcher-large').bind('click', function() {
$('body').removeClass('narrow');
$('body').addClass('large');
});
});
This is combined with a CSS rule for the narrowclass:
body.narrow .chapter {width: 250px;}
我们现在有了一个像之前介绍的那样工作的大号字体按钮,现在我们需要为另外两个按钮(默认和窄间距按钮)添加相似的处理器,让他们可以完成自己的任务。这次很直接,我们使用.bind()为他们都添加一个click处理器,移去和添加类。新的代码像下面的代码片段一样:
$(document).ready(function() {
$('#switcher-default').bind('click', function() {
$('body').removeClass('narrow');
$('body').removeClass('large');
});
$('#switcher-narrow').bind('click', function() {
$('body').addClass('narrow');
$('body').removeClass('large');
});
$('#switcher-large').bind('click', function() {
$('body').removeClass('narrow');
$('body').addClass('large');
});
});
这些和为narrow 类设计的css规则一起使用:
body.narrow .chapter {width: 250px;}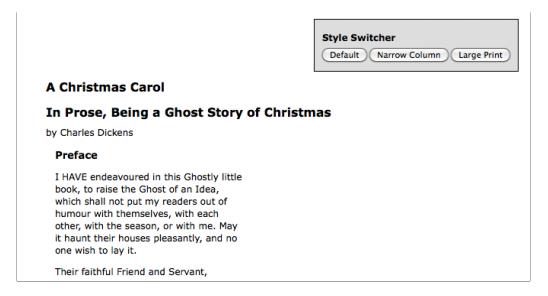
Clicking on Defaultremoves both class names from the <body>tag, returning the page to its initial rendering.
现在点击窄行间距按钮后,对应的css将会被应用,然后文本将会变得不同:
点击默认按钮,将移去body标签上的两个类,染回网页初始渲染的样子。


 127
127

 被折叠的 条评论
为什么被折叠?
被折叠的 条评论
为什么被折叠?
 到【灌水乐园】发言


