


自定义dialog组件插件(Quasar2 & VUE3)
目录
场景说明
例如,在某待缴费列表界面,选中记录后,要进行支付扫码的动作。传统的做法做法可以时写一个div,把微信的付款二维码包含进来,并且事先把div隐藏,然后在用户点击支付的时候,再把这个div显示出来。
但是这样写,总感觉很别扭,不够优雅,这里quasar有一个插件dialog调用的形式(其实也是vue自带的功能),能够通过this.$q.xxxxx写法,通过对话框的形式来打开,然后把结果反馈到主体的vue页面就行了。这里记录一下
写法记录
这里分别参考了官网 quasar1 和quasar2 的两个例子
https://quasar.dev/quasar-plugins/dialog#invoking-custom-component
http://www.quasarchs.com/quasar-plugins/dialog#调用自定义组件
两个的vue版本不同,写法还是有一定区别的
主体Vue页面写法
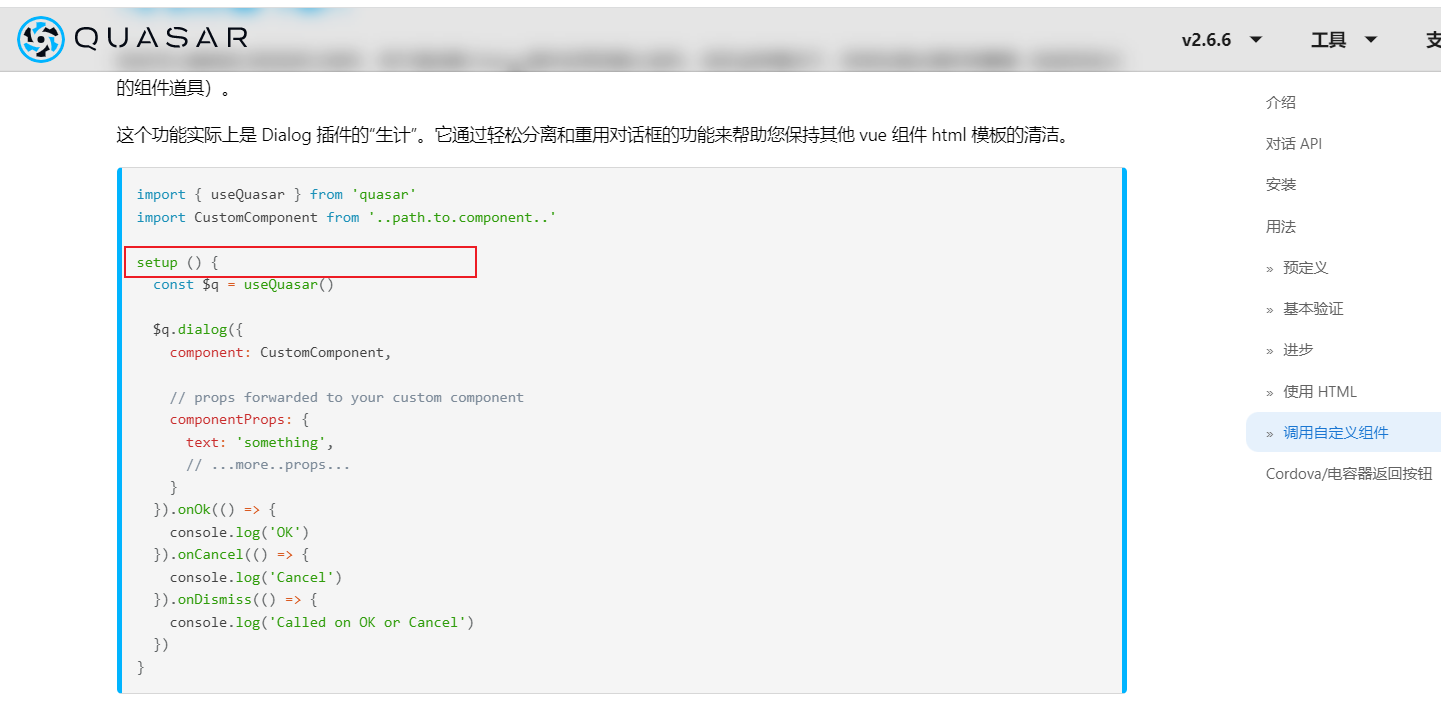
在quasar2(vue3)的写法中。是要再setup里面来触发dialog
这显然不符合业务,不可能用户一进来 就直接弹出扫码dialog的。
于是我参照quasar1.x的写法,试了一下。也是可以在函数中来触发的
src\pages\pay\PayList.vue

<script>
import QCdemo2 from 'src/quasarcomponent/QCdemo2.vue';
...
export default {
...
 methods: {
 ...
  goPay() {
  ...
  this.$q
        .dialog({
          component: QCdemo2,

          // props forwarded to your custom component
          componentProps: {
            username: '周杰伦'
            // ...more..props...
          }
        })
        .onOk(res => {
          console.log('OK');
          console.log(JSON.stringify(res));
        })
        .onCancel(() => {
          console.log('Cancel');
        })
        .onDismiss(() => {
          console.log('Called on OK or Cancel');
        });
     ...


</script>
自定义dialog组件洗发
先贴一下代码
src\quasarcomponent\QCdemo2.vue
<template>
  <q-dialog ref="dialog" @hide="onDialogHide">
    <q-card class="q-dialog-plugin">
      <div>{{ username }}</div>
      <div style="font-size: xx-large">这里是QCDEMO2</div>
      <div>{{ msg }}</div>
      <!--
        ...内容
        ...使用q-card-section展现它?
      -->

      <!-- 按钮示例 -->
      <q-card-actions align="right">
        <q-btn color="primary" label="OK" @click="onOKClick" />
        <q-btn color="primary" label="Cancel" @click="onCancelClick" />
      </q-card-actions>
    </q-card>
  </q-dialog>
</template>

<script>
import { queryToPayRecipeInfoList } from 'src/api/MzPay';
export default {
  props: {
    // ...你自定义的属性
    username: String
  },
  emits: [
    // REQUIRED
    'ok',
    'hide'
  ],
  data() {
    return {
      msg: '正在支付'
    };
  },
  created() {
    alert('这里同样可以出发created逻辑');
  },
  mounted() {
    alert('这里同样可以出发mounted逻辑');
  },
  methods: {
    // 以下方法是必需的
    // (不要改变它的名称 --> "show")
    show() {
      this.$refs.dialog.show();
    },

    // 以下方法是必需的
    // (不要改变它的名称 --> "hide")
    hide() {
      this.$refs.dialog.hide();
    },

    onDialogHide() {
      // QDialog发出“hide”事件时
      // 需要发出
      this.$emit('hide');
    },

    onOKClick() {
      var that = this;
      // debugger;
      // const $q = useQuasar();
      this.$q.loading.show();
      queryToPayRecipeInfoList(1)
        .then(res => {
          // console.log('这里是自定义dialog的动作>>' + JSON.stringify(res));
          that.msg = '支付完成';
        })
        .finally(() => {
          this.$q.loading.hide();
        });
      // 按OK,在隐藏QDialog之前
      // 发出“ok”事件(带有可选的有效负载)
      // 是必需的
      // this.$emit('ok');
      var temJson = { testname: 'ssss', testage: 19 };
      this.$emit('ok', { temJson });
      // // 或带有有效负载:this.$emit('ok', { ... })
      // // 然后隐藏对话框
      this.hide();
    },

    onCancelClick() {
      // 我们只需要隐藏对话框
      this.hide();
    }
  }
};
</script>
这里说明一下。
1.template包的必须是q-dialog
2.必须要有emits声明
3.写法尽量按照官网的写法来写
几个点
1.自定义dialog组件中可以使用created,mounted,以及data()渲染么
可以
2.外部如何传参数给自定义dialog
在调用的时候通过componentProps属性来传
 componentProps: {
            username: '周杰伦'
            // ...more..props...
          }
3.自定义dialog如果返回数据给主体vue页面
可以通过 this.$emit('ok', { 需要传递的数据});的方式 来发射回去
4.自定义dialog里面可以写逻辑么
可以,写法和传统Quasar vue页面的写法没区别


 1807
1807

 被折叠的 条评论
为什么被折叠?
被折叠的 条评论
为什么被折叠?
 到【灌水乐园】发言


