


 本文详细介绍了SpringBoot的手动装配,包括模式注解装配、自定义注解、@Enable模块装配和Spring条件装配。讲解了@Component及其衍生注解的使用,自定义注解的层次性和派生性,并通过示例展示了如何实现自定义模块装配和条件装配,如@Profile和@Conditional。
spring framework手动装配
spring模式注解装配:用于声明在应用中扮演“组件”角色的注解,例如@Component @Servbice @Configuration等。例如:
spring framework中,任何标记@Repository注释的类都是实现了仓储角色的模式注解。@Component标注在任何一个类上,标识这个类是可扫描的对象。
spring framework注解举例:
@Repository:数据仓储模式注解(DAO)
@Component:通用组件模式注解
@Service:服务模式注解
@Controller:Web控制器模式注解
@Configuration:配置类模式注解
装配方式
xml:
<?xml version="1.0" encoding="UTF-8"?>
	<beans xmlns="http://www.springframework.org/schema/beans"
	xmlns:xsi="http://www.w3.org/2001/XMLSchema-instance"
	xmlns:context="http://www.springframework.org/schema/context"
	xsi:schemaLocation="http://www.springframework.org/schema/beans
	http://www.springframework.org/schema/beans/spring-beans.xsd
	http://www.springframework.org/schema/context
        http://www.springframework.org/schema/context/springcontext.xsd">
	    <!-- 激活注解驱动特性 -->
	    <context:annotation-config />
	    <!-- 找寻被 @Component 或者其派生 Annotation 标记的类(Class),将它们注册为 Spring Bean -->
	    <context:component-scan base-package="com.haozirou.demo" />
	</beans>
注解:
@ComponentScan(basePackages = "com.haozirou.demo")
public void SrpingConfiguration {
    ...
}
自定义模式注解
@Component派生性
import java.lang.annotation.*;

import org.springframework.stereotype.Repository;

@Target({ElementType.TYPE})
@Retention(RetentionPolicy.RUNTIME)
@Documented
@Repository
public @interface First {
	String value() default "";
}
@First标记了@Repository,@Repository中标记了@Component


自定义注解方式:

运行结果:
![]()
@Component方式:

运行结果:
![]()
由此可见,使用自定义注解和@Component注解运行效果一样,因为@First继承了@Repository,也继承了@Component,同时注解的签名方法一致,都是String value() default "";这就是@Component的派生性
@Component层次性
自定义另一个注解,标注@First,那么也会具有@Fisrt的属性,具有层次,就是层次性。
常见注解:
@Component
·@Configuration
·@SpringBootConfiguration
·@SpringBootApplication
@Enable模块装配
具有相同领域功能的组件的集合,组合所形成一个单独的单元。这样可以简化配置,例如web mvc模块,aspectJ代理模块等。
@Enable注解模块如:
Spring Framework框架:@EnableWebMvc(激活web mvc模块)、@EnableTransactionManagement(事务管理模块)、@EnableCaching(Caching模块)、@EnableMBeanExport(JMX模块)、@EnableAsync(异步处理模块)、@EnableWebFlux(Web Flux模块)、@EnableAspectAutoProxy(AspectJ代理模块)
Spring Boot框架:@EnableAutoConfiguration(自动装配模块)、@EnableManagementContext(Actuator管理模块)、@EnableConfigurationProperties(配置属性绑定模块)、@EnableOAuth2Sso(OAuth2单点登录模块)
Spring Cloud框架:@EnableEurekaServer(Eureka服务器模块)、@EnableConfigServer(配置服务器模块)、@EnableFeignClients(Feign客户端模块)、@EnableZuulProxy(服务网关zuul模块)、@EnableCircuitBreaker(服务熔断模块)
实现方式:
注解
用@EnableWebMvc的注解来说明
@Retention(RetentionPolicy.RUNTIME)
@Target(ElementType.TYPE)
@Documented
@Import(DelegatingWebMvcConfiguration.class)    //引用DelegatingWebMvcConfiguration这个类,注解驱动
public @interface EnableWebMvc{
}
@Configuragion //注解驱动
public class DelegatingWebMvcConfiguration extends WebMvcConfigurationSupport{
...
}代码
@Target(ElementType.TYPE)
@Retention(RetentionPolicy.RUNTIME)
@Documented
@Import(CachingConfigurationSelector.class)    //引入CachingConfigurationSelector类
public @interface EnableCaching {
    ...
}
//这个类不使用注解、用代码的方式实现接口,更加自由,注解的方式只能用一种
public class CachingConfigurationSelector extends AdviceModeImportSelector<EnableCaching> {
/**
* {@inheritDoc}
* @return {@link ProxyCachingConfiguration} or {@code
AspectJCacheConfiguration} for
* {@code PROXY} and {@code ASPECTJ} values of {@link
EnableCaching#mode()}, respectively
*/
public String[] selectImports(AdviceMode adviceMode) {
switch (adviceMode) {
case PROXY:
return new String[] {
AutoProxyRegistrar.class.getName(),ProxyCachingConfiguration.class.getName()
};
case ASPECTJ:
return new String[] {
AnnotationConfigUtils.CACHE_ASPECT_CONFIGURATION_CLASS_NAME
};
default:
return null;
}
}自定义@Enable模块
基于接口驱动实现@EnableServer
/**
 * HelloWorld{@link ImportSelector} 实现
 */
public class HelloWorldImportSelector implements ImportSelector{
    @Override
    public String[] selectImports(AnnotationMetadata annotationMetadata) {
        return new String[]{HelloWorldConfiguration.class.getName()};
    }
}
/**
* 激活HelloWorld模块
*/
@Retention(RetentionPolicy.RUNTIME)
@Target(ElementType.TYPE)
@Documented
@Import(HelloWorldImportSelector.class)
public @interface EnableHelloWorld {
}/**
* HelloWorld配置
*/
@Configuration
public class HelloWorldConfiguration {
@Bean
public String helloWorld(){ //方法名即bean名称
return "Hello world";
}
}@EnableHelloWorld
public class EnableHelloWorldBootstrap {
public static void main(String[] args) {
ConfigurableApplicationContext context = new SpringApplicationBuilder(EnableHelloWorldBootstrap.class)
.web(WebApplicationType.NONE)
.run(args);
String helloWorld = context.getBean("helloWorld", String.class);
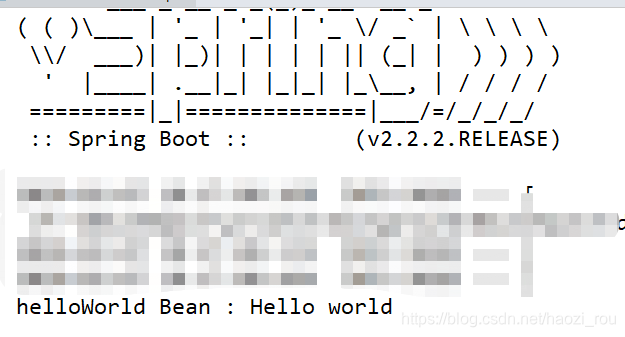
System.out.println("helloWorld Bean : " + helloWorld);
context.close();
}
}首先,先明确ImportSelector接口的作用,spring源码注释翻译为:ImportSelector通常被子类实现,用以判断被@Configuration注解修饰的类是否应该被导入;而判断的条件通常是基于注解的一些属性。
由此课件,我们可以通过实现该接口,用于选择性的导入一些被@Configuration注解修饰的类。
接下来看代码,首先定义HelloWorldImportSelector 实现类实现ImportSelector,导入HelloWorldConfiguration,定义注解EnableHelloWorld ,并导入HelloWorldImportSelector,在启动类上加注解,那么在程序启动时,HelloWorldConfiguration下方法都会被扫描到。运行结果:
自定义编程的方式可以自定义多种返回值,更灵活方便。
spring条件装配
从 Spring Framework 3.1 开始,允许在 Bean 装配时增加前置条件判断,例如@Profile(配置化条件装配)、@Conditional(编程条件装配4.0可用)
实现方式:
配置方式-@Profile
详见https://blog.csdn.net/ysl19910806/article/details/91646554
编程方式-@Conditional
@Target({ ElementType.TYPE, ElementType.METHOD })
@Retention(RetentionPolicy.RUNTIME)
@Documented
@Conditional(OnClassCondition.class)
public @interface ConditionalOnClass {
    /**
    * The classes that must be present. Since this annotation is parsed by loading class
    * bytecode, it is safe to specify classes here that may ultimately not be on the
    * classpath, only if this annotation is directly on the affected component and
    * <b>not</b> if this annotation is used as a composed, meta-annotation. In order to
    * use this annotation as a meta-annotation, only use the {@link #name} attribute.
    * @return the classes that must be present
    */
    Class<?>[] value() default {};
    /**
    * The classes names that must be present.
    * @return the class names that must be present.
    */
    String[] name() default {};
}
自定义条件装配
配置方式-@Profile
计算服务:多整数求和
@Profile("java7):for循环
@Profile("java8):lambda
上代码
/**
 * 计算服务
 */
public interface CalculateService {
    /**
     * 多整数sum求和
     */
    public Integer sum(Integer... values);
}
/**
* java7 for循环实现{@link CalculateService}
*/
@Profile("java7")
@Service
public class Java7CalculateServiceImpl implements CalculateService{
@Override
public Integer sum(Integer... values) {
int num = 0;
for (Integer value : values) {
num += value;
}
return num;
}
}/**
* java8 lambda实现{@link CalculateService}
*/
@Profile("java8")
@Service
public class Java8CalculateServiceImpl implements CalculateService{
@Override
public Integer sum(Integer... values) {
int num = Stream.of(values).reduce(0 , Integer::sum);
return num;
}
}/**
* {@link CalculateService} 引导类
*/
@SpringBootApplication(scanBasePackages = "com.haozi.demo.service")
public class CalculateServiceBootstrap {
public static void main(String[] args) {
ConfigurableApplicationContext context = new SpringApplicationBuilder(CalculateServiceBootstrap.class)
.web(WebApplicationType.NONE) //非web类型
.profiles("java7") //profiles配置
.run(args);
CalculateService calculateService = context.getBean(CalculateService.class);
System.out.println("calculateService.sum(1...10):" + calculateService.sum(1,2,3,4,5,6,7,8,9,10));
context.close();
}
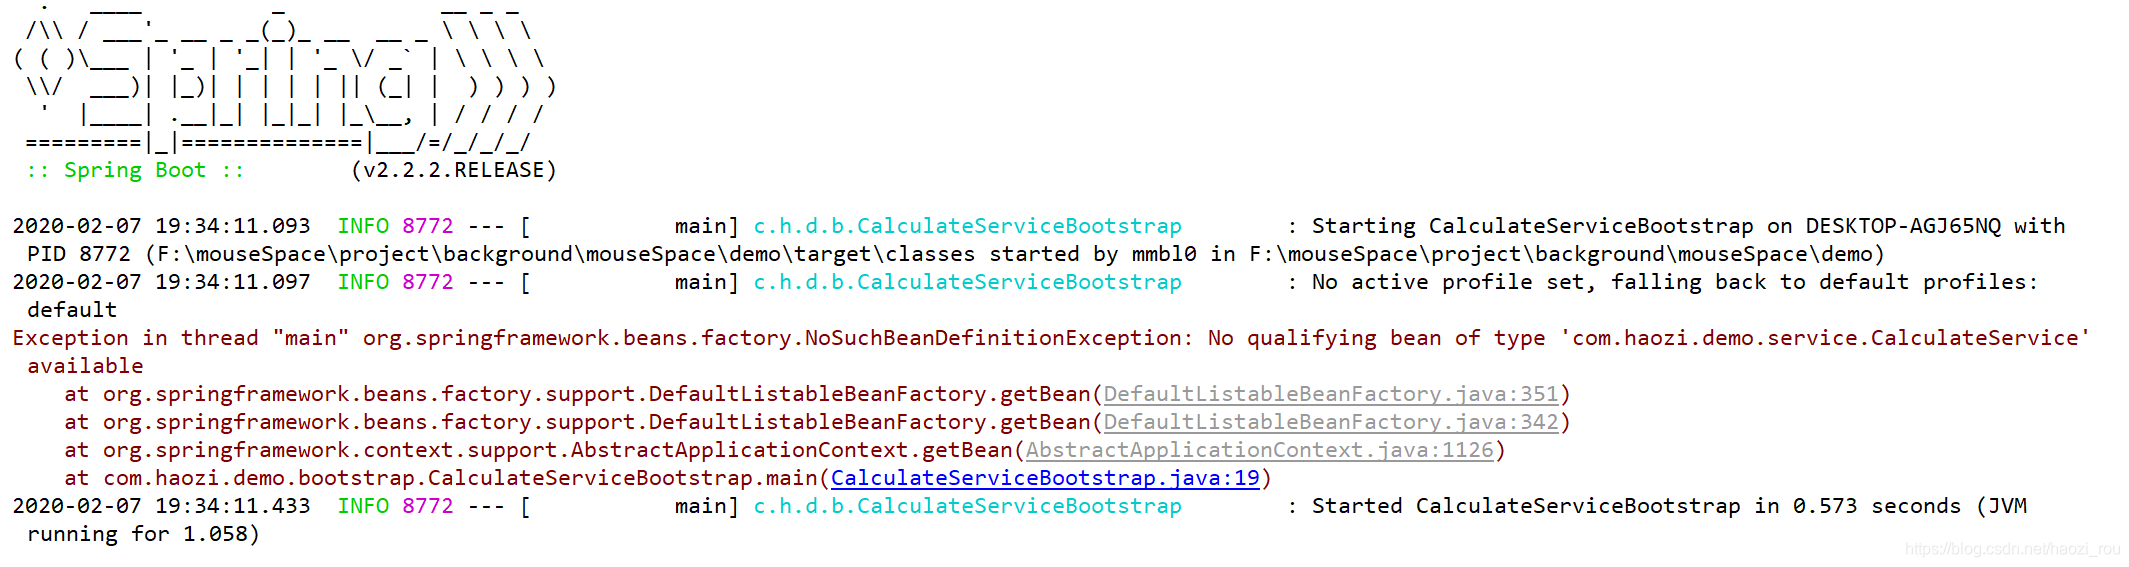
}在引导类中,定义上下文时需配置profiles,如代码中:.profiles("java7")
不配置运行结果:
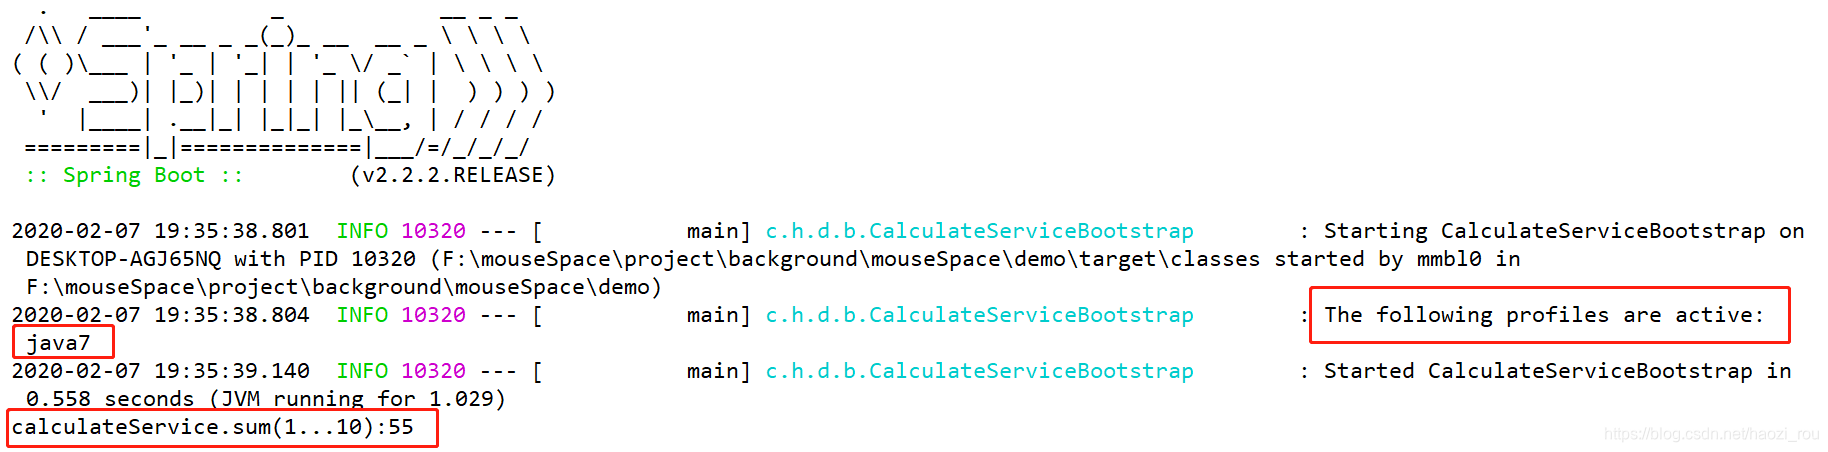
配置java7结果:
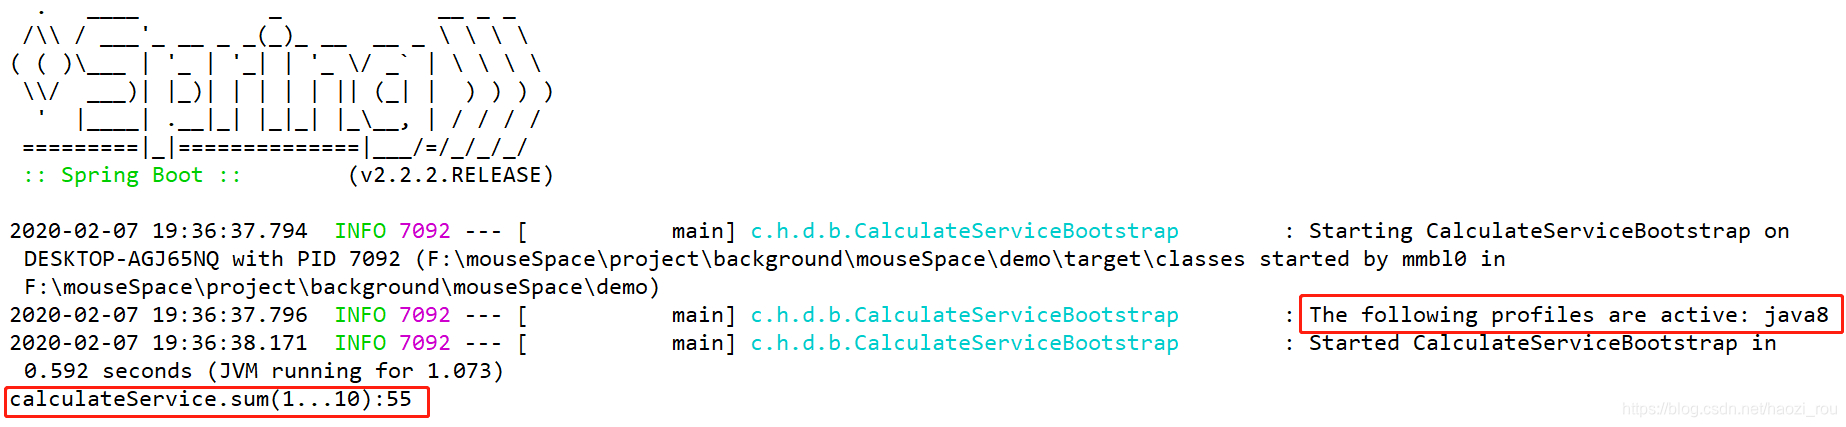
配置java8结果:
关于profile
在4.0后,profile发生改变,源码:
package org.springframework.context.annotation;

import java.lang.annotation.Documented;
import java.lang.annotation.ElementType;
import java.lang.annotation.Retention;
import java.lang.annotation.RetentionPolicy;
import java.lang.annotation.Target;

@Target({ElementType.TYPE, ElementType.METHOD})
@Retention(RetentionPolicy.RUNTIME)
@Documented
@Conditional({ProfileCondition.class})
public @interface Profile {
    String[] value();
}
是通过@Conditional 引用ProfileCondition来实现的,
package org.springframework.context.annotation;

import java.util.Iterator;
import java.util.List;
import org.springframework.core.env.Profiles;
import org.springframework.core.type.AnnotatedTypeMetadata;
import org.springframework.util.MultiValueMap;

class ProfileCondition implements Condition {
    ProfileCondition() {
    }

    public boolean matches(ConditionContext context, AnnotatedTypeMetadata metadata) {
        MultiValueMap<String, Object> attrs = metadata.getAllAnnotationAttributes(Profile.class.getName());
        if (attrs != null) {
            Iterator var4 = ((List)attrs.get("value")).iterator();

            Object value;
            do {
                if (!var4.hasNext()) {
                    return false;
                }

                value = var4.next();
            } while(!context.getEnvironment().acceptsProfiles(Profiles.of((String[])((String[])value))));

            return true;
        } else {
            return true;
        }
    }
}
package org.springframework.context.annotation;
import org.springframework.core.type.AnnotatedTypeMetadata;
@FunctionalInterface
public interface Condition {
boolean matches(ConditionContext var1, AnnotatedTypeMetadata var2); //用上下文,元素类型注解来判断是否匹配
}编程方式-@ConditionalOnSystemProperty
/**
 * java系统属性条件判断     系统属性参考System.java中的getProperties()
 */
@Retention(RetentionPolicy.RUNTIME)
@Target({ElementType.TYPE, ElementType.METHOD})
@Documented
@Conditional({OnSystemPropertyCondition.class})
public @interface ConditionalOnSystemProperty {
    /**
     * java系统属性名称
     */
    String name();

    /**
     * java系统属性值
     */
    String value();
}
/**
* 系统属性条件判断
*/
public class OnSystemPropertyCondition implements Condition {
@Override
public boolean matches(ConditionContext conditionContext, AnnotatedTypeMetadata annotatedTypeMetadata) {
Map<String , Object> attributes = annotatedTypeMetadata.getAnnotationAttributes(ConditionalOnSystemProperty.class.getName());
String propertyName = String.valueOf(attributes.get("name")); //这里会显示引导类注解中的name
String propertyValue = String.valueOf(attributes.get("value")); //这里会显示引导类注解中的value
String javaPropertyValue = System.getProperty(propertyName);
return javaPropertyValue.equals(propertyValue);
}
}/**
* 系统属性条件引导类
*/
@ConditionalOnSystemProperty(name = "user.name" , value = "haozi")
public class ConditionalOnSystemPropertyBootstrap {
public static void main(String[] args) {
ConfigurableApplicationContext context = new SpringApplicationBuilder(ConditionalOnSystemPropertyBootstrap.class)
.web(WebApplicationType.NONE) //非web类型
.run(args);
context.close();
}
}当然这样看不出结果,调整引导类
public class ConditionalOnSystemPropertyBootstrap {
@Bean
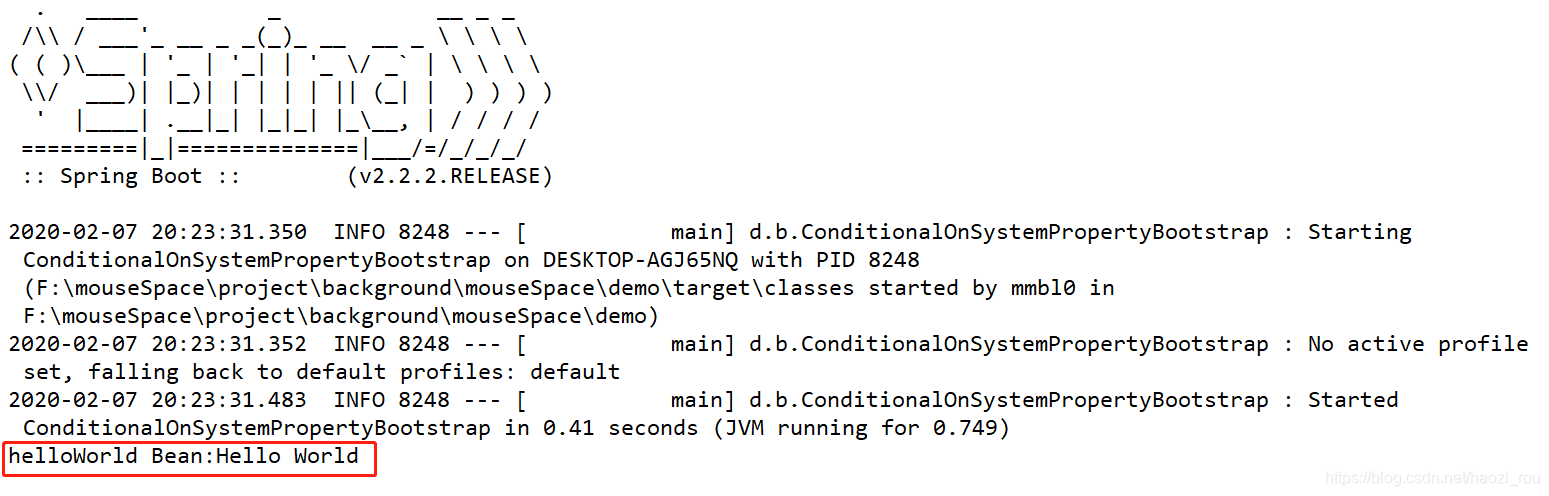
@ConditionalOnSystemProperty(name = "user.name" , value = "haozirou")
public String helloWorld(){
return "Hello World";
}
public static void main(String[] args) {
ConfigurableApplicationContext context = new SpringApplicationBuilder(ConditionalOnSystemPropertyBootstrap.class)
.web(WebApplicationType.NONE) //非web类型
.run(args);
//通过名称和类型获取helloworld bean
String helloWorld = context.getBean("helloWorld" , String.class);
System.out.println("helloWorld Bean:" + helloWorld);
context.close();
}
}这样,如果与系统name value匹配,那么就会加载bean,结果:
如果不匹配:
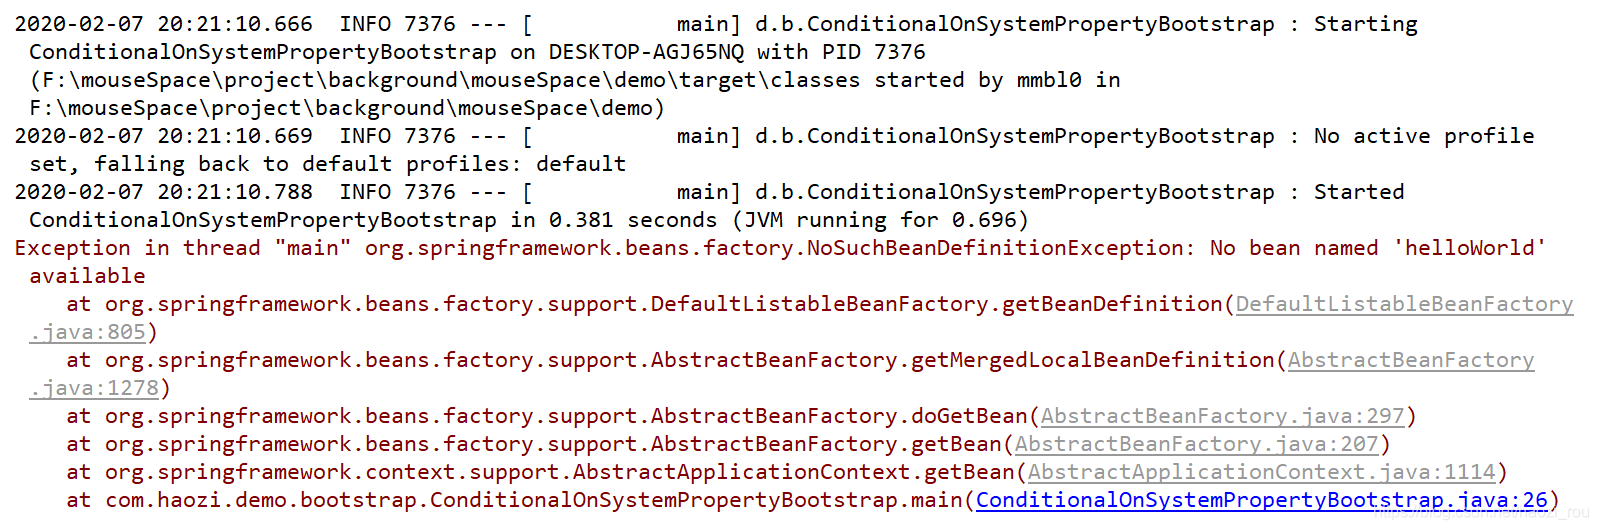
需要补充的是,引导类上没有加@Component注解,因为在获取上下文过程中,直接把自己丢进去,那么引导类自己也是bean,所以里面的东西会自动注册。


 8万+
8万+

 被折叠的 条评论
为什么被折叠?
被折叠的 条评论
为什么被折叠?
 到【灌水乐园】发言


