


1.安装nacos
- 进入bin目录
- 启动 sh startup.sh -m standalone
- 访问 localhost:8848/nacos
- 默认账号密码 nacos/nacos
2.nacos作注册中心
添加依赖:
<!--添加nacos客户端-->
<dependency>
     <groupId>com.alibaba.cloud</groupId>
     <artifactId>spring-cloud-starter-alibaba-nacos-discovery</artifactId>
</dependency>
添加配置文件:
spring:
  cloud:
    nacos:
      discovery:
        server-addr: 47.111.111.111:8848
启动类添加注解:
@EnableDiscoveryClient
调用demo:
    @Autowired
    private DiscoveryClient discoveryClient;

	@GetMapping("save1/{videoId}")
    public Object save1(@PathVariable("videoId") int videoId) {
        List<ServiceInstance> instances = discoveryClient.getInstances("video-service");
        ServiceInstance serviceInstance = instances.get(0);
        String host = serviceInstance.getHost();
        int port = serviceInstance.getPort();
        String url = "http://" + host + ":" + port + "/api/v1/video/getById/" + videoId;
        Video video = restTemplate.getForObject(url, Video.class);
        return video;
    }
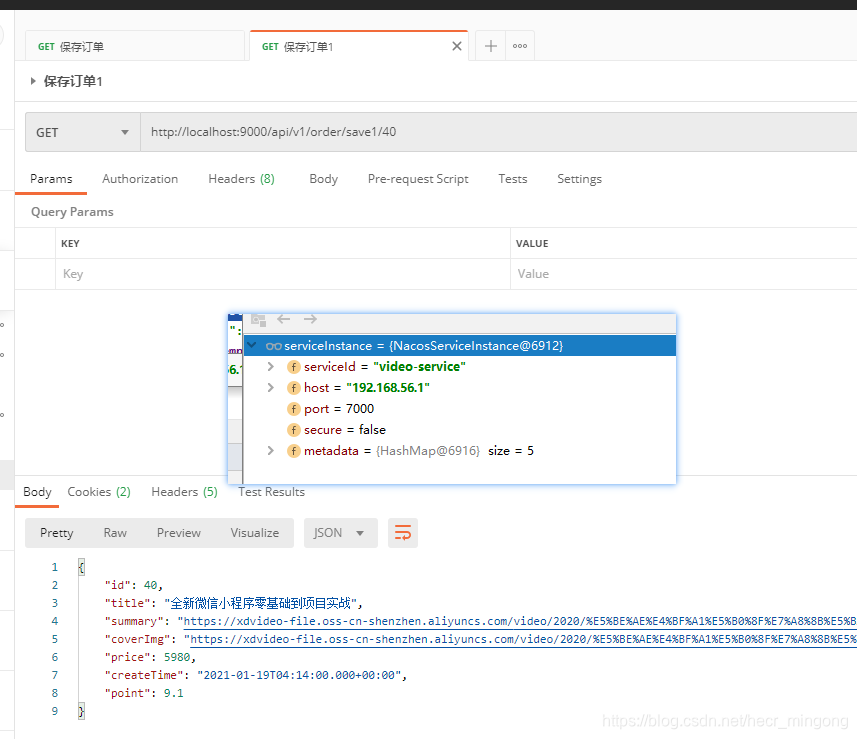
postman测试结果:
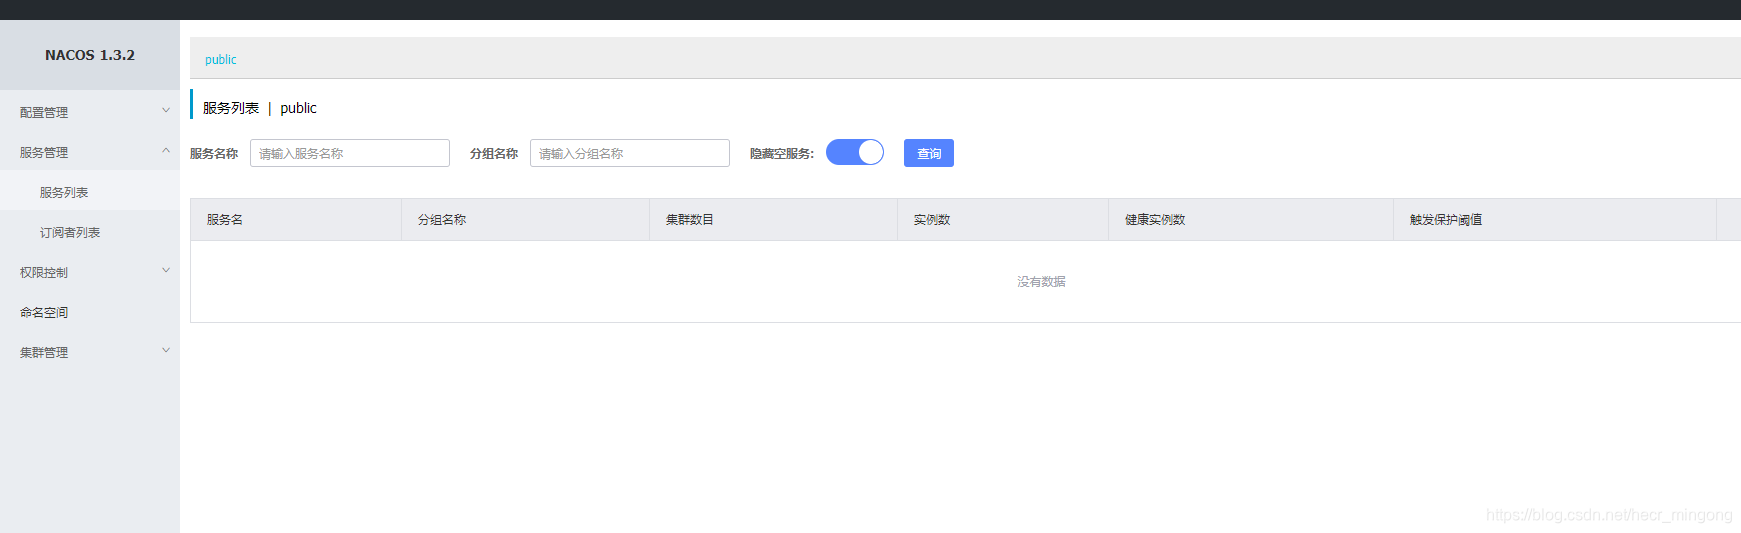
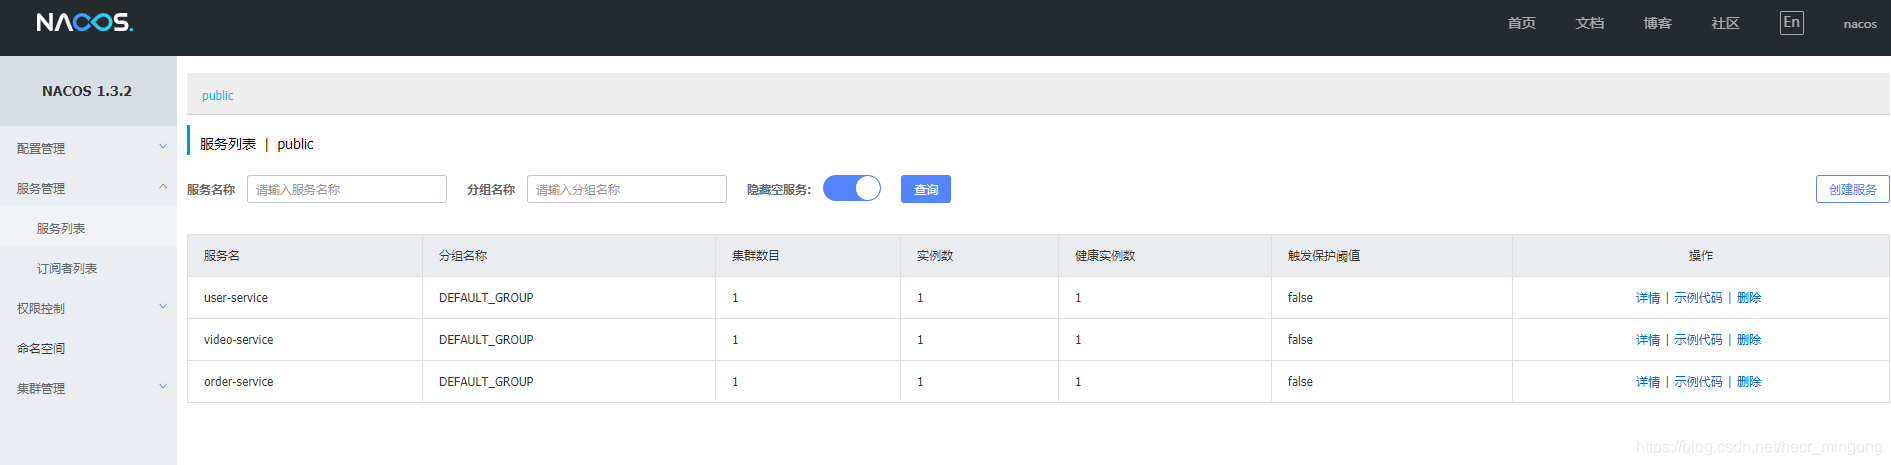
nacos注册服务之后效果:
3.nacos作配置中心
添加依赖:
        <!--添加nacos配置中心-->
        <dependency>
            <groupId>com.alibaba.cloud</groupId>
            <artifactId>spring-cloud-starter-alibaba-nacos-config</artifactId>
        </dependency>
- 不能使用原先的application.yml, 需要使用bootstrap.yml作为配置文件
- 配置读取优先级 bootstrap.yml > application.yml
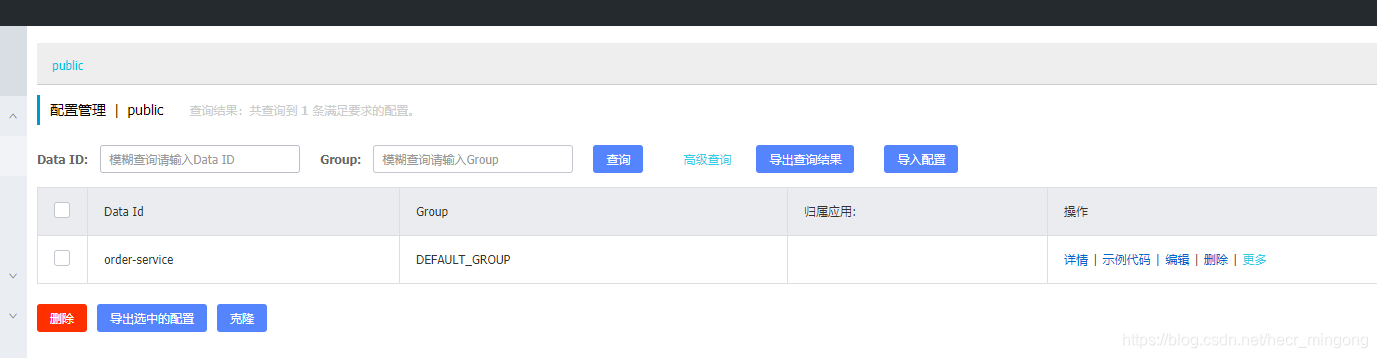
配置实操:
- 订单服务迁移配置
- 增加bootstrap.yml
spring:
  profiles:
    active: dev
  application:
    name: order-service
  cloud:
    nacos:
      config:
        server-addr: 111.111.111.112:8848 #nacos配置中心地址
        file-extension: yaml #文件拓展格式
测试是否可以获取配置:
http://111.111.111.112:8848/nacos/v1/cs/configs?dataId=order-service-dev.yaml&group=DEFAULT_GROUP
如果出现 config dta not exist:
- 建议重启nacos
- 重新构建下项目 mvn clean package -U 然后重启idea
在 Nacos Spring Cloud 中,dataId 的完整格式如下:
${prefix}-${spring.profiles.active}.${file-extension}
prefix 默认为 spring.application.name 的值
spring.profiles.active 即为当前环境对应的 profile
当 spring.profiles.active 为空时,对应的连接符 - 也将不存在,dataId 的拼接格式变成 ${prefix}.${file-extension}
file-exetension 为配置内容的数据格式,可以通过配置项 spring.cloud.nacos.config.file-extension 来配置。目前只支持 properties 和 yaml 类型。
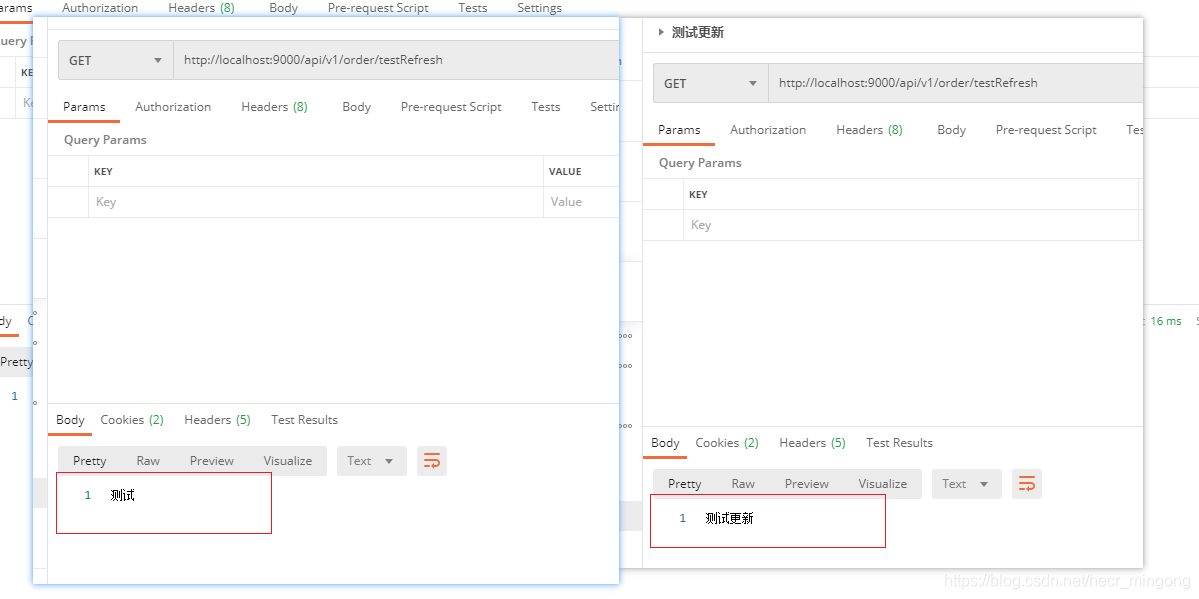
动态刷新配置:
package hecr.controller;

import org.springframework.beans.factory.annotation.Value;
import org.springframework.cloud.context.config.annotation.RefreshScope;
import org.springframework.web.bind.annotation.GetMapping;
import org.springframework.web.bind.annotation.RequestMapping;
import org.springframework.web.bind.annotation.RestController;

/**
 * <p>Date: Created in 13:46 2021/6/1</p>
 *
 * @author hecanrong
 */
@RestController
@RequestMapping("/api/v1/order")
@RefreshScope
public class OrderController {
    @Value("${testRefresh}")
    private String testRefresh;

    @GetMapping("testRefresh")
    public Object testRefresh() {
        return testRefresh;
    }
}
测试结果:
4.文章参考链接
a. https://nacos.io/zh-cn/
b. https://github.com/alibaba/spring-cloud-alibaba/issues/1500


 4196
4196


 被折叠的 条评论
为什么被折叠?
被折叠的 条评论
为什么被折叠?
 到【灌水乐园】发言


