


最牛逼android上的图表库MpChart(一) 介绍篇
最近工作中,用到了mpchart图表库,现在分享受下mpchart图表库的各个图表在实际工作应用场景:
- 最牛逼android上的图表库MpChart(一) 介绍篇
- 最牛逼android上的图表库MpChart(二) 折线图
- 最牛逼android上的图表库MpChart(三) 条形图
- 最牛逼android上的图表库MpChart(四) 饼图
- 最牛逼android上的图表库MpChart(五) 泡泡图
写在前面的:学习任何新的开源库,首先不要怕,第二不要慌,大多都有对应的wiki,如MpChart是philjay提供的,其主要优点如下:
MpChart优点
- 8种不同的图表类型
- 缩放两个轴(与触摸手势,轴分别或捏变焦)
- 拖动/平移(触摸手势)
- 组合图表(线,酒吧,散射,蜡烛数据)
- 双(独立)轴
- 可定制的轴(X,Y轴)
- 突出价值观(可定制的弹出视图)
- 图表保存到SD卡(如图像,或为.txt文件)
- 预定义的颜色模板
- 传奇(自动生成,可定制)
- 动画(建立动画,在X和Y轴)
- 限制线(提供额外的信息,最大值,…)
- 完全可定制的(油漆、字体、颜色、背景、传说、手势、虚线,…)
- 平滑缩放和滚动的多达30个数据点,线和条线图
- Gradle支持
- 绘图数据直接从realm.io移动数据库
MpChart是什么?
MPAndroidChart :zap: is a powerful & easy to use chart library for Android. It runs on API level 8 and upwards.(强大,易用的图表库,支持api 8以上)
As an additional feature, this library allows cross-platform development between Android and iOS as an iOS version of this library is also available: Charts :zap:(除此之外,还支持跨平台,iOS也能用)
MpChart支持哪些图表?
| 图表类型 |
|---|
| 条型图 |
| 折线图 |
| 饼图 |
| 散点图 |
| 泡泡图 |
| 直方图 |
| 雷达图 |
| 组合图 |
MpChart效果如何?
LineChart (with legend, simple design)
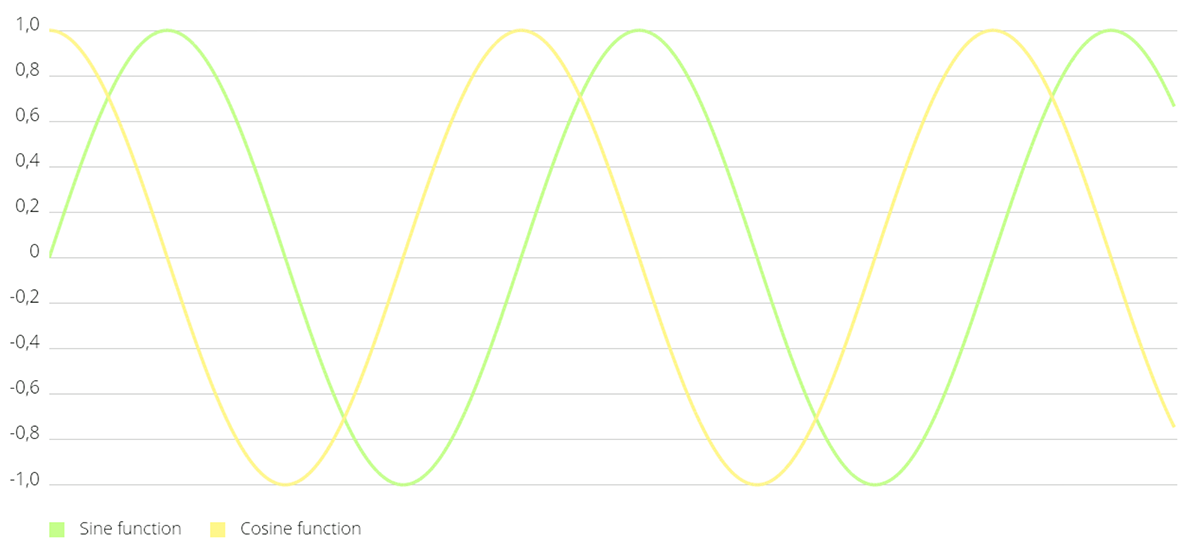
LineChart (with legend, simple design)
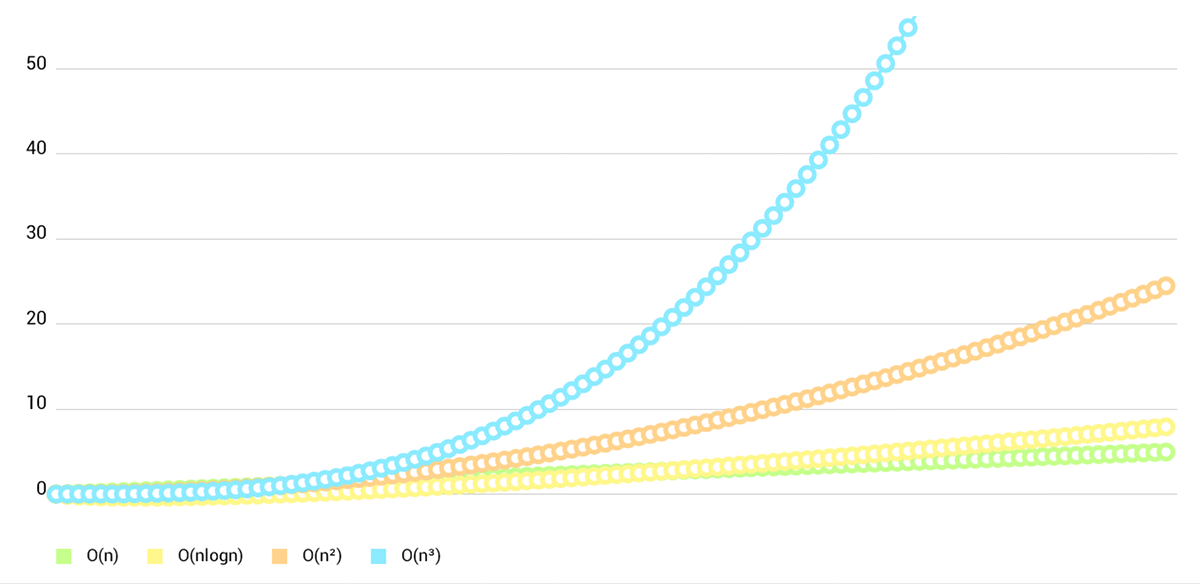
LineChart (cubic lines)
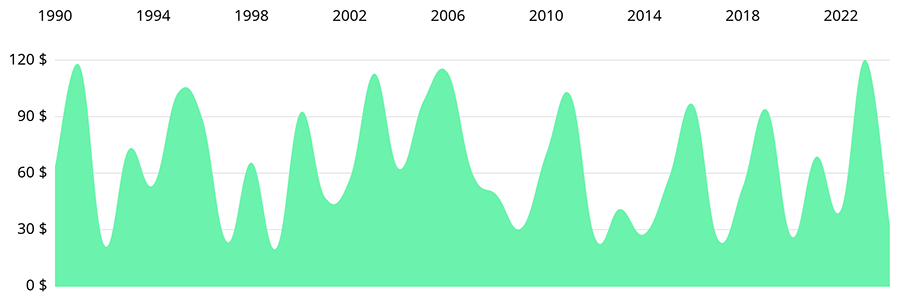
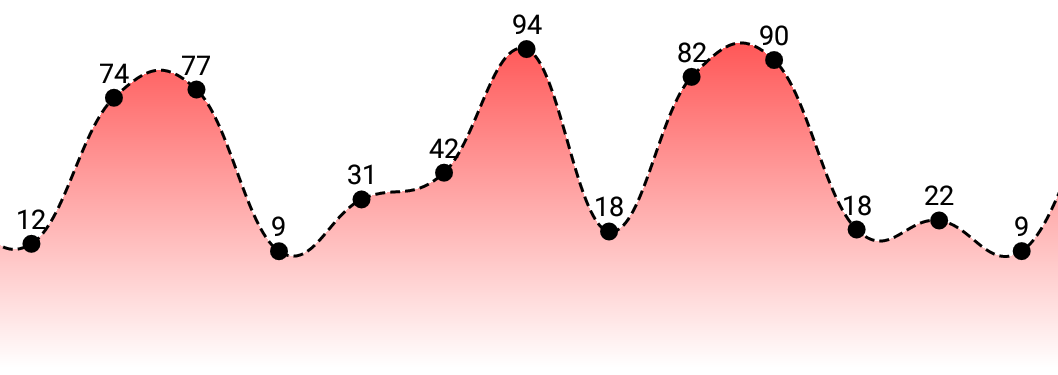
LineChart (gradient fill)
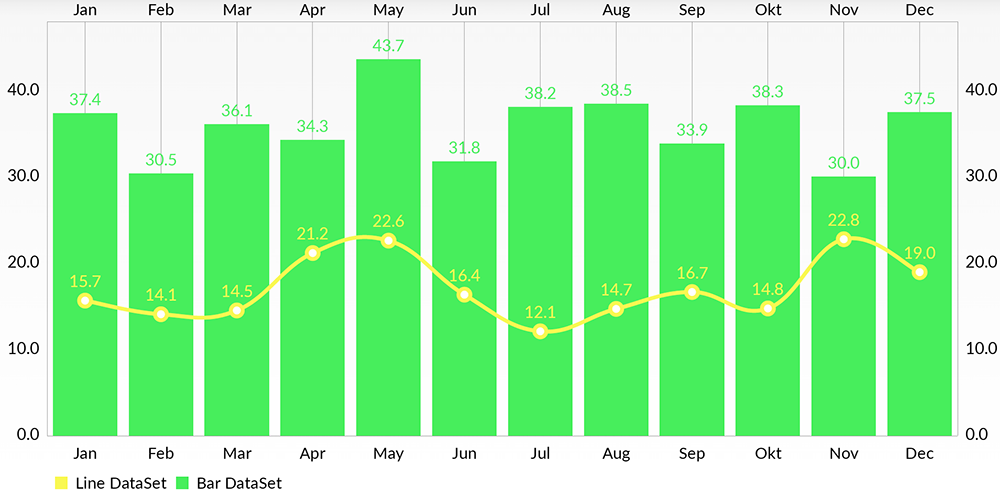
Combined-Chart (bar- and linechart in this case)
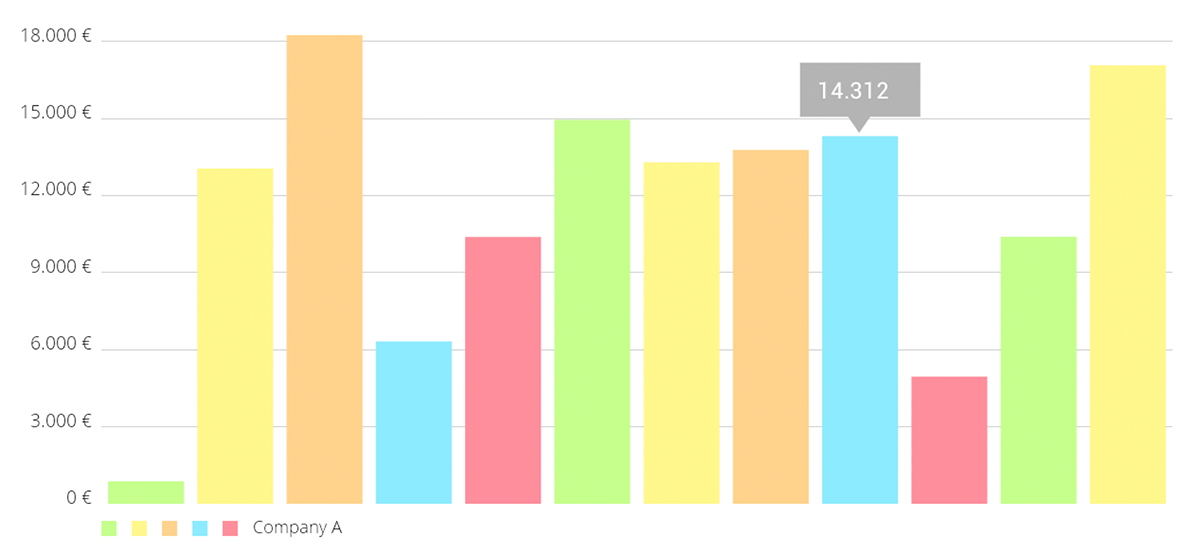
BarChart (with legend, simple design)
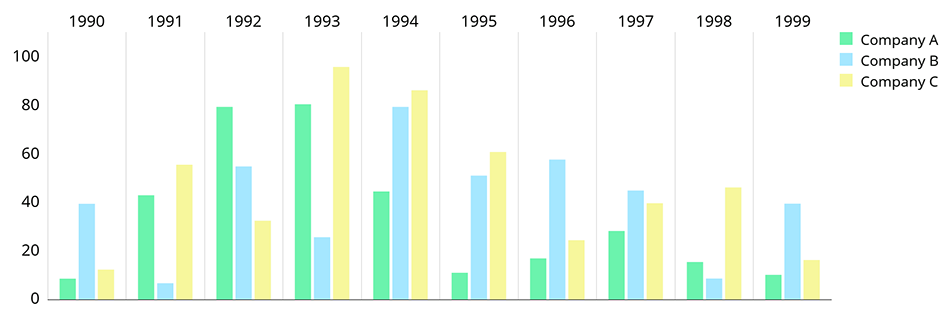
BarChart (grouped DataSets)
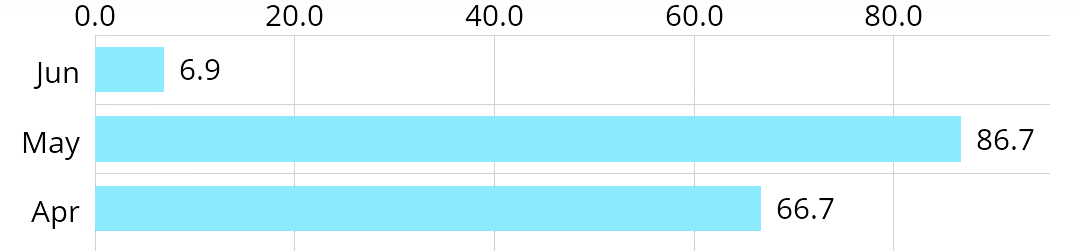
Horizontal-BarChart
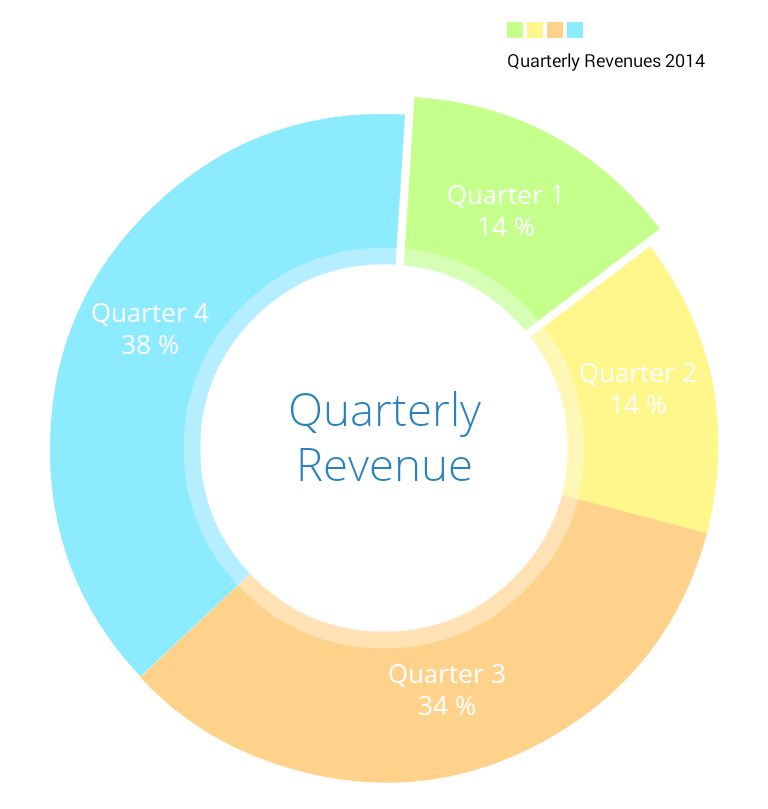
PieChart (with selection, …)
未完待续


 726
726


 被折叠的 条评论
为什么被折叠?
被折叠的 条评论
为什么被折叠?
 到【灌水乐园】发言


