


A Step by Step Guide to Installing Solaris on Classmate PC *
Last updated: Aug. 17, 2007
Download the CD or DVD
The URL to download the Solaris is
http://www.opensolaris.org/os/downloads/
See the Solaris Express Community Edition and click the download link. It is recommended that to choose the DVD. After downloading and unzipping, reconstruct the DVD image file by using the cat or copy command. Burn the image file to a DVD disk.
Boot from the CD/DVD-ROM
Here you need a USB CD/DVD-ROM, because there is no CD/DVD-ROM in the CMPC. Connect the CD/DVD-ROM to the CMPC and input the DVD disk you burned. Start the CMPC and press Del button to enter the BIOS SETUP UTILITY screen. See the Boot label, and select the Boot Device Priority. Let the USB: Generic STORAGE DEVICE be the first boot device. Then press F10 to save the change, exit the BIOS setup utility and restart CMPC. After a few seconds, the screen below will be on the monitor.

Figure-1
Please select the Solaris Express. If you select the first, there will be an error and the installation will be stopped. The picture below shows the error message. Because the CMPC only has 256MB memory, this installer is negative to run.
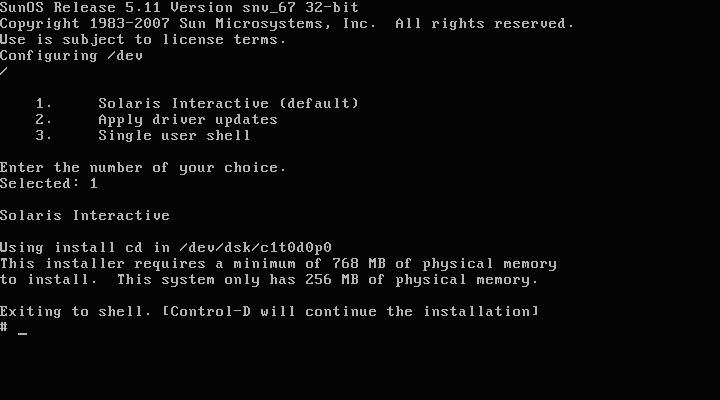
Figure-2
Basic Configurations
After pressing Enter at the entry of Solaris Express, you will see the screen below.
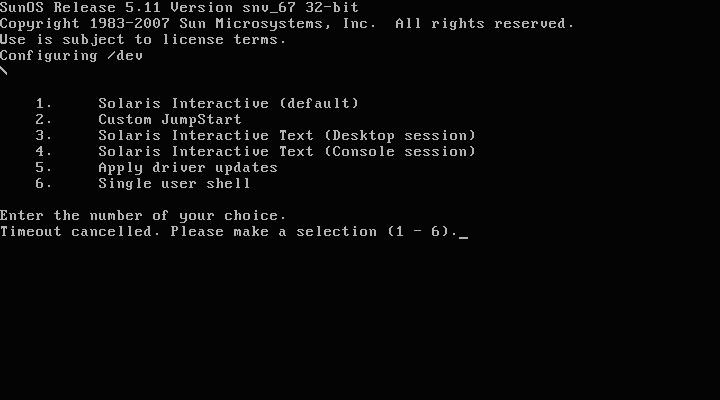
Figure-3
Just select the default entry. This selection here is equal to the fourth entry. Because the memory of 256MB is not sufficient to support the GUI, the installer will start the console session. After waiting for a moment, you will be asked to configure the keyboard layout.
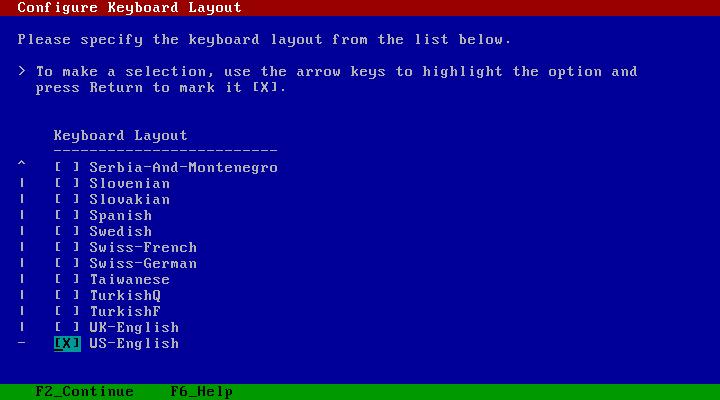
Figure-4
Select US-English. Press F2 to continue.
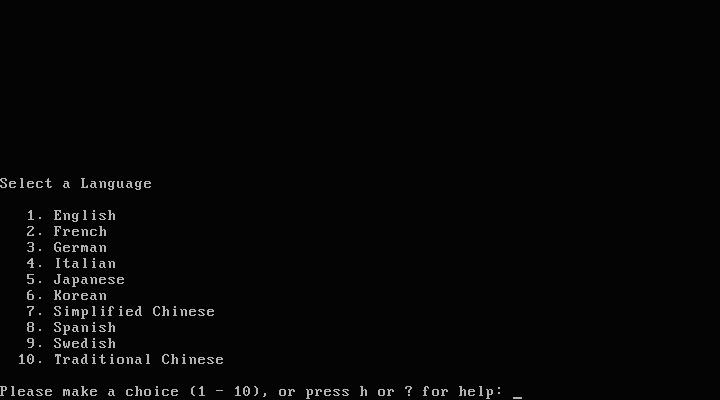
Figure-5
Select a language. Select English or some other as you wish. Type the number then press Enter.
Network Configuration
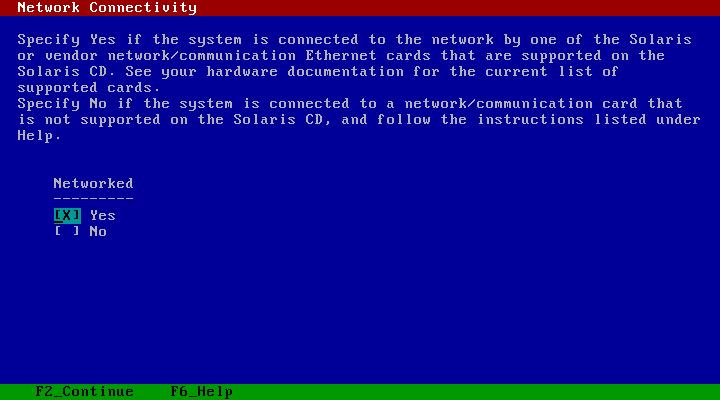
Figure-6
 最低0.47元/天 解锁文章


 978
978


 被折叠的 条评论
为什么被折叠?
被折叠的 条评论
为什么被折叠?
 到【灌水乐园】发言


