


1 环境准备
实验平台:ubuntu16.04
2 ASN.1介绍
ASN.1是定义抽象数据类型规格形式的标准。是用于描述数据的表示、编码、传输、解码的灵活的记法。它提供了一套正式、无歧义和精确的规则,以描述独立于特定计算机硬件的对象结构。
ASN.1是通信协议中描述数据传输的正式标记(notation),它与语言实现和物理表示无关,与应用的复杂度无关。ASN.1特别适合表示现代通信应用中那些复杂的、变化的及可扩展的数据结构。
ASN.1发送任何形式(音频、视频、数据等等)的信息都必须用数字传送。ASN.1只能包含信息的结构方面(没有已经定义的或考虑到的处理数据值的操作)。它不是一个编程语言。 ASN.1格式数据有多种编码方式,包括BER、DER、XER、PER/UPER等。
3 ASN.1实例
3.1 ASD1C
ASD1C是ASN.1的c/c++实例。
实例功能:
(1)本工程将ASN文件编译为.c和.h文件,通过调用API实现UPER编码和解码。
(2)编写了一个UDP的client和server端,对数据传输进行了测试。
(3)网上的例程只涉及到BER编码,没有关于UPER编码的历程,本工程采用UPER编码。
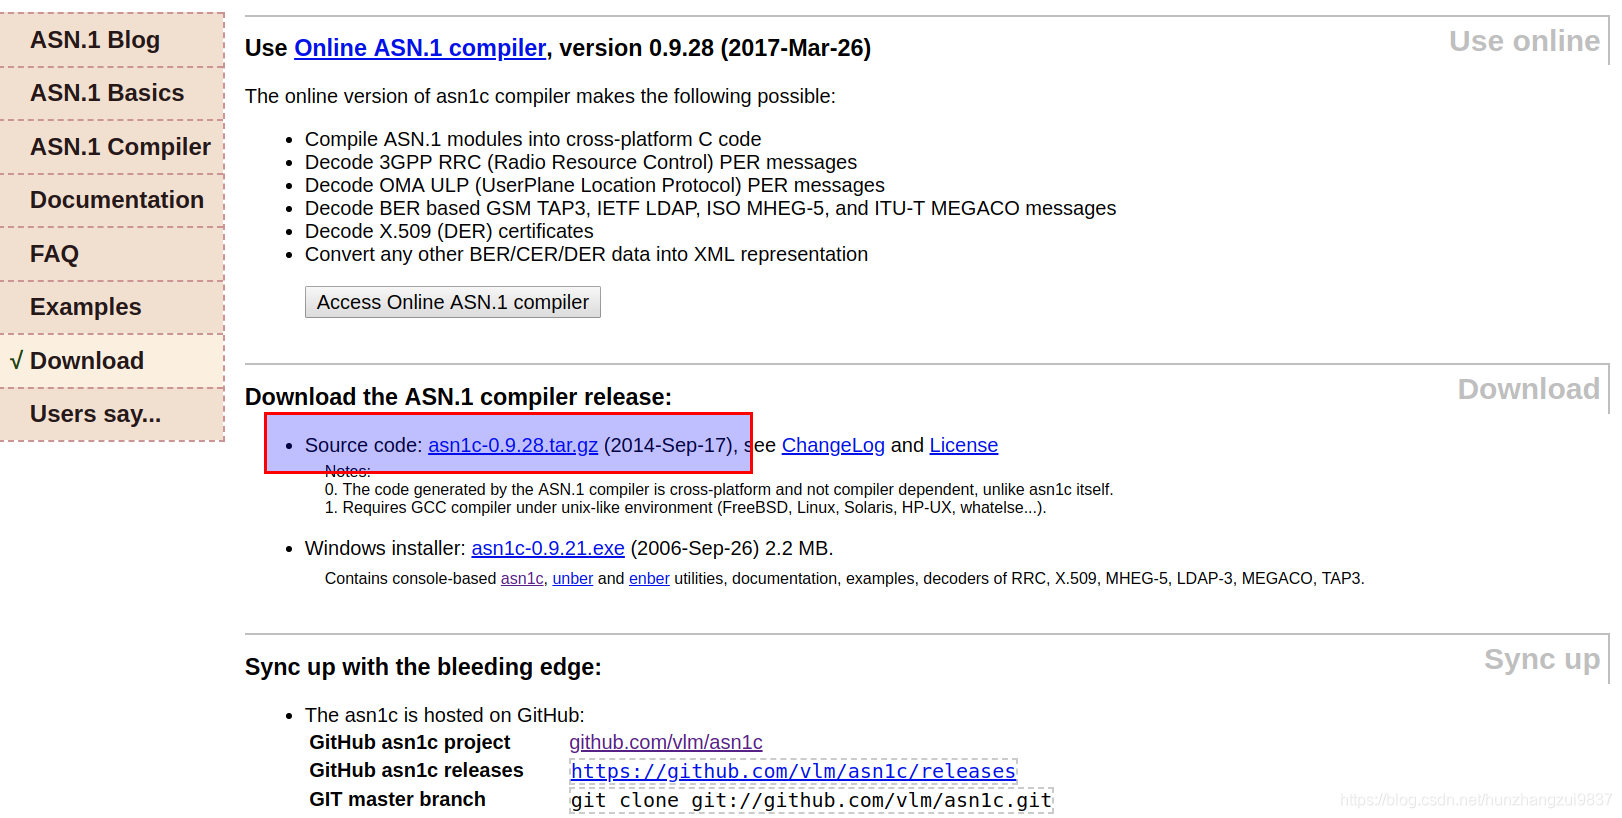
3.2 下载ADN1C工具
下载地址:http://lionet.info/asn1c/download.html
3.3 编译ADN1C工具
下载之后进行解压
sudo tar xf asn1c-0.9.28.tar.gz然后进入解压目录,执行
cd asn1c-0.9.28/编译安装
参考该目录文件INSTALL.md:
## Compiling From Sources
### Configure
Configure with the default settings:
test -f configure || autoreconf -iv
./configure
make
Configure with non-standard settings:
asn1c specific ./configure options include:
--enable-Werror
--enable-ASN_DEBUG
invoke `./configure --help` for details.
### Build
Build the libraries and the compiler:
make
Ensure asn1c is still behaving well after compiling on your platform:
make check
### Install
Install the compiler into a standard location:
make install
# Use ./configure --prefix to override install location.
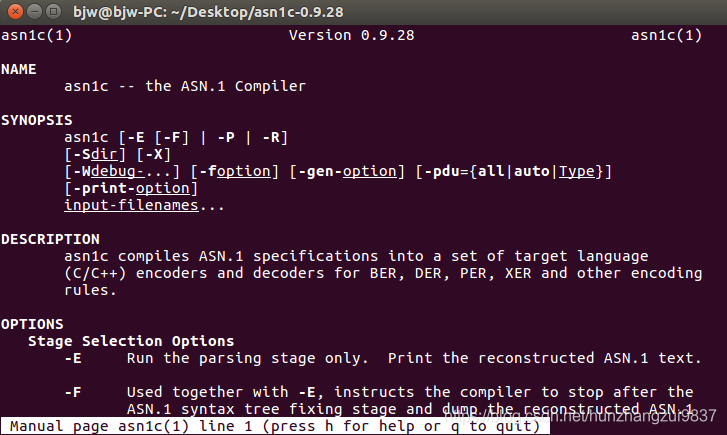
Display the `asn1c` manual page:
man asn1c
## Quick Usage Guide
For a usage guide and more information please refer to:
* the [README.md](README.md) file
* the asn1c manual page `man asn1c`
* the included quick start PDF [doc/asn1c-quick.pdf](doc/asn1c-quick.pdf)
* the comprehensive usage documentation [doc/asn1c-usage.pdf](doc/asn1c-usage.pdf)
In case of any difficulties with installing the compiler, consider using
the Online ASN.1 Compiler at http://lionet.info/asn1c.
--
Lev Walkin
vlm@lionet.info最后执行man ans1c,进行验证:
3.4 创建一个.asn文件
创建一个目录asn_send
sudo mkdir asn_send
cd asn_send/
创建一个.asn文件,以Traffic_light.asn为例
sudo touch Traffic_light.asn
vim Traffic_light.asn
里面按照asn格式填充数据:
MsgTest DEFINITIONS ::=BEGIN
Msg ::= SEQUENCE{
length INTEGER,
latitude INTEGER, -- latitude of traffic
longitude INTEGER, -- longitude of traffic
heading INTEGER,
state INTEGER,
time INTEGER,
pading INTEGER
}
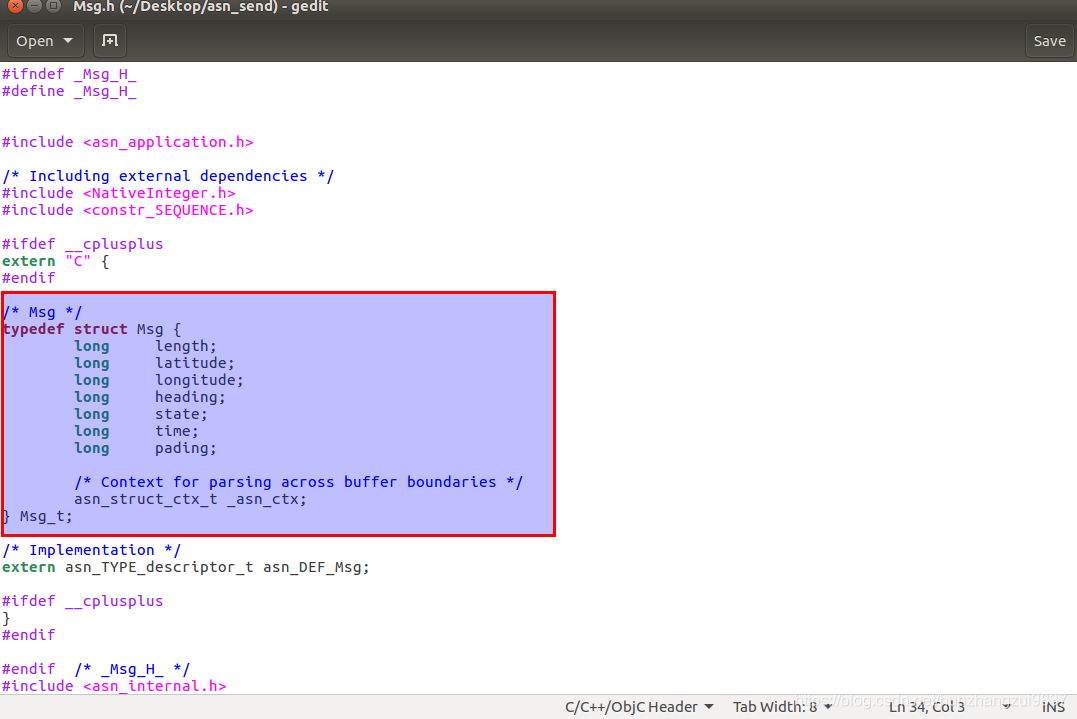
END3.5 编译.asn文件
利用ans1c工具进行编译,选择PER编码格式
asn1c -gen-PER *.asn编译之后出现很多.c和.h文件,可以从Msg.h看到我们定义的结构体。
3.6 编写测试代码
一定要删除asn_send文件里面converter-sample.c文件,自己创建一个send.c文件,自己写了一个对数据的编码和udp发送代码:
#include <sys/socket.h>
#include <arpa/inet.h>
#include <netinet/in.h>
#include <sys/stat.h>
#include <sys/types.h>
#include <unistd.h>
#include <pthread.h>
#include <stdio.h>
#include <stdlib.h>
#include <string.h>
#include <time.h>
#include <wait.h>
#include <errno.h>
#include <netdb.h>
#include <sys/ipc.h>
#include <sys/msg.h>
#include <sys/time.h>
#include <stdint.h>


#include <Msg.h>

#define MAXLEN_256 256

#define DEST_PORT 8000
#define DSET_IP_ADDRESS  "127.0.0.1"     //回环测试IP

char sendbuf[64];

/* Msg */
typedef struct _SpatMsg {
	long	 length;
	long	 latitude;
	long	 longitude;
	long	 heading;
	long	 state;
	long	 time;
	long	 pading;
} SpatMsg;


#define dbg_printf(f, a...)                                       \
    do {                                                          \
        fprintf(stdout, "%s(%d): " f, __func__, __LINE__, ## a);  \
    }while (0)

#define ERR_EXIT(m)	\
	do	\
	{	\
		perror(m);	\
		exit(EXIT_FAILURE);	\
	} while(0)

// 编码发送
void Encode_Msg(SpatMsg *spatmsg)
{
    Msg_t *msg;        /* Type to encode */
    asn_enc_rval_t ec; /* Encoder return value */

    /* Allocate the Rectangle_t */
    msg = (Msg_t*)calloc(1, sizeof(Msg_t)); /* not */
    printf("length = %ld\n", sizeof(Msg_t));
    if(!msg) {
        perror("calloc() failed");
        exit(71); /* better, EX_OSERR */
    }

    /* Initialize the Rectangle members , 写死测试*/
    msg->length = 4; /* any random value */
    msg->latitude = 295312345; /* any random value */
    msg->longitude = 1063623456;
    msg->heading = 0x01;
    msg->state = 0x01;
    msg->time = 5;

    // 填充信号灯消息
//    msg->length = spatmsg->length; /* any random value */
//    msg->latitude = spatmsg->latitude; /* any random value */
//    msg->longitude = spatmsg->longitude;
//    msg->heading = spatmsg->heading;
//    msg->state = spatmsg->state;
//    msg->time = spatmsg->time;
//    msg->pading = spatmsg->pading;


    // 对从C结构编码成ASN1格式数据buf
    // UPER
    ec = uper_encode_to_buffer(&asn_DEF_Msg, msg, sendbuf, 64);
    if(ec.encoded  == -1) {
        fprintf(stderr,
            "Could not encode MessageFrame (at %s)\n",
            ec.failed_type ? ec.failed_type->name : "unknown");
        exit(65); /* better, EX_DATAERR */
    } else {
        fprintf(stderr, "Created %s with PER encoded MessageFrame\n",
            "");
    }


    /* Also print the constructed Rectangle XER encoded (XML) */
    xer_fprint(stdout, &asn_DEF_Msg, msg);

}


 void Socket_send(char *buf){
  /* socket文件描述符 */
  int sock_fd;

  /* 建立udp socket */
  sock_fd = socket(AF_INET, SOCK_DGRAM, 0);
  if(sock_fd < 0)
  {
    perror("socket");
    exit(1);
  }

  /* 设置address */
  struct sockaddr_in addr_client;
  int len;
  memset(&addr_client, 0, sizeof(addr_client));
  addr_client.sin_family = AF_INET;
  addr_client.sin_addr.s_addr = inet_addr(DSET_IP_ADDRESS);
  addr_client.sin_port = htons(DEST_PORT);
  len = sizeof(addr_client);


   /* send */
  int send_num;

  send_num = sendto(sock_fd, buf, strlen(buf), 0, (struct sockaddr *)&addr_client, len);

  if(send_num < 0)
  {
    perror("sendto error:");
    exit(1);
  }

  /* close sock_fd */
  close(sock_fd);
}


int main()
{
	// 填充信号灯消息
	SpatMsg *msg;

	// 编码发送
	Encode_Msg(msg);

	//socket发送
        Socket_send(sendbuf);

    return 0;
}
编译:
gcc *.c -I. -o send.exe然后在文件夹会出现send.exe执行文件,执行:
./send.exe执行之后并没什么反应,因为还差一个接收程序。
接着,把asn_send整个文件粘贴复制一份出来,更名asd_rec
进入asd_rec目录,然后删除send.c文件,新建一个rec.c
cd asn_rec/
sudo rm send.c
sudo touch rec.c
自己在rec.c里面写了一个接受udp数据和解码的代码,并把解码后的数据打印出来
#include <sys/socket.h>
#include <arpa/inet.h>
#include <netinet/in.h>
#include <sys/stat.h>
#include <sys/types.h>
#include <unistd.h>
#include <pthread.h>
#include <stdio.h>
#include <stdlib.h>
#include <string.h>
#include <time.h>
#include <wait.h>
#include <errno.h>
#include <netdb.h>
#include <sys/ipc.h>
#include <sys/msg.h>
#include <sys/time.h>
#include <stdint.h>

#include <Msg.h>

#define MAXLEN_256 256
#define SERV_PORT   8000

char recv_buf[64];

/* Msg */
typedef struct _SpatMsg {
	long	 length;
	long	 latitude;
	long	 longitude;
	long	 heading;
	long	 state;
	long	 time;
	long	 pading;
} SpatMsg;

#define dbg_printf(f, a...)                                       \
    do {                                                          \
        fprintf(stdout, "%s(%d): " f, __func__, __LINE__, ## a);  \
    }while (0)

#define ERR_EXIT(m)	\
	do	\
	{	\
		perror(m);	\
		exit(EXIT_FAILURE);	\
	} while(0)

/*receive*/
char* Socket_rec(){
	/* socket文件描述符 */
 	int sock_fd;

 	/* 建立udp socket */
 	sock_fd = socket(AF_INET, SOCK_DGRAM, 0);
 	if(sock_fd < 0)  {
   		perror("socket");
   		exit(1);
 	}

 	/* 设置address */
 	struct sockaddr_in addr_serv;
 	int len;
 	memset(&addr_serv, 0, sizeof(addr_serv));
	addr_serv.sin_family = AF_INET;
	addr_serv.sin_port = htons(SERV_PORT);
	/* INADDR_ANY表示不管是哪个网卡接收到数据,只要目的端口是SERV_PORT,就会被该应用程序接收到 */
	addr_serv.sin_addr.s_addr = htonl(INADDR_ANY);  //自动获取IP地址
	len = sizeof(addr_serv);

	/* 绑定socket */
	if(bind(sock_fd, (struct sockaddr *)&addr_serv, sizeof(addr_serv)) < 0){
		perror("bind error:");
		exit(1);
	}

        /* receive */
	int recv_num;
	recv_num = recvfrom(sock_fd, recv_buf, sizeof(recv_buf), 0, (struct sockaddr *)&addr_serv, (socklen_t *)&len);
	if(recv_num < 0)
	{
		perror("recvfrom error:");
		exit(1);
	}
	/* close sock_fd */
 	close(sock_fd);
	return recv_buf;

}


// 解析处理
void Decode_Receive(char *recveive_buf)
{
	asn_dec_rval_t rval;
	Msg_t *msg1 = (Msg_t *)calloc(1, sizeof(Msg_t));
	// UPER 解码
	asn_codec_ctx_t *opt_codec_ctx = 0;
	rval = uper_decode(opt_codec_ctx, &asn_DEF_Msg, (void **) &msg1,
			recveive_buf, 256, 0, 0);
	if (rval.code == RC_OK) {
		printf("\n ----- decode ASN success-----\n");
	} else {
		printf("\n ----- decode ASN failed ------\n");
		exit(1);
	}

	// printf the msg
	xer_fprint(stdout, &asn_DEF_Msg, msg1);

	// 执行其他业务
}


int main()
{
	while(1){
		// socket接受并解码
		Decode_Receive(Socket_rec());
	}

	return 0;
}
编译:
gcc *.c -I. -o rec.exe然后在文件夹会出现rec.exe执行文件
3.7 代码测试
打开两个终端,分别进入asn_send和asn_rec目录,执行./send.exe和./rec.exe


 1万+
1万+

 被折叠的 条评论
为什么被折叠?
被折叠的 条评论
为什么被折叠?
 到【灌水乐园】发言


