How to Install OpenAI Gym in a Windows Environment(转)
A step by step guide for getting OpenAI Gym up and running
This is the second in a series of articles about reinforcement learning and OpenAI Gym. The first part can be found here.
Introduction
OpenAI Gym is an awesome tool which makes it possible for computer scientists, both amateur and professional, to experiment with a range of different reinforcement learning (RL) algorithms, and even, potentially, to develop their own.
Built with the aim of becoming a standardized environment and benchmark for RL research, OpenAI Gym is a Python package comprising a selection of RL environments, ranging from simple “toy” environments, to more challenging environments, including simulated robotics environments and Atari video game environments.
The only downside of the package is that, even though over 80% of the world’s desktop and laptop computers run on a Windows operating system, OpenAI Gym only supports Linux and MacOS.
However, just because OpenAI Gym doesn’t support Windows, doesn’t mean that you can’t get OpenAI Gym to work on a Windows machine. In this article, I will provide the instructions for how I got OpenAI Gym up and running on my Windows 10 PC.
Note: these instructions are sufficient to get OpenAI Gym’s Algorithmic, Toy Text, Classic Control, Box2D and Atari environments to work. OpenAI Gym also includes MuJoCo and Robotics environments, which allow the user to run experiments using the MuJoCo physics simulator. However, to run these environments, you will also need to install MuJoCo which will set you back at least $500 for a one year licence (unless you are a student).
Instructions
These instructions assume you already have Python 3.5+ installed on your computer.
Step 1: Install Microsoft Visual C++ Build Tools for Visual Studio 2017
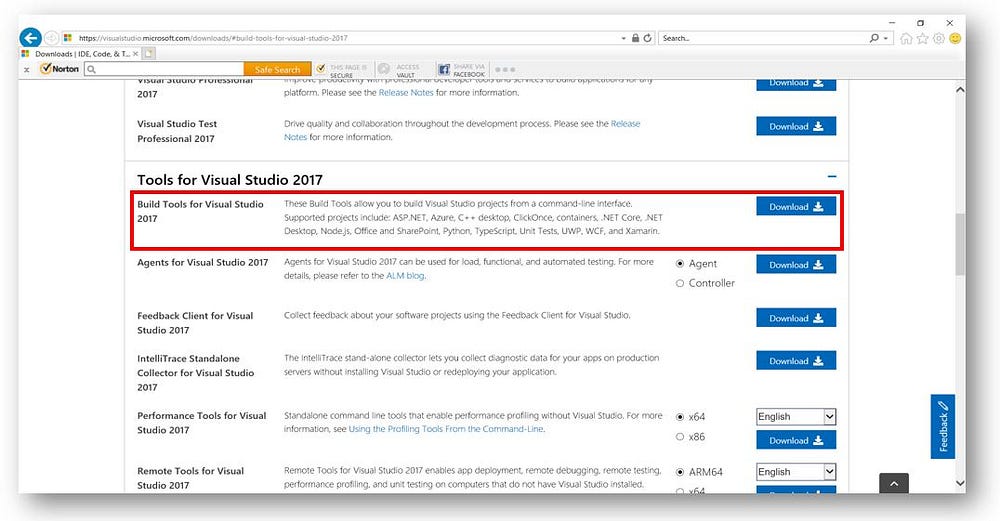
If you don’t already have it on your computer, install Microsoft Visual C++ Build Tools for Visual Studio 2017. This can be downloaded for free here.
You will need to scroll about halfway down the page to the “Tools for Visual Studio 2017” section.

Step 2: Install All Necessary Python Packages
Given that OpenAI Gym is not supported in a Windows environment, I thought it best to set it up in its own separate Python environment. This was to avoid potentially breaking my main Python installation.
In Conda, this can be done using the following command (at the terminal or Anaconda prompt):
conda create -n gym python=3 pipThis command creates a Conda environment named “gym” that runs Python 3 and contains pip.
If you don’t install pip at the time you create a Conda environment, then any packages you try to install within that environment will be installed globally, to your base Python environment, rather than just locally within that environment. This is because a version of pip won’t exist within your local environment.
To activate your new environment type:
activate gymNext run the following commands:
pip install gymThis does a minimum install of OpenAI Gym.
conda install pystanThis is necessary to run the ToyText environments.
conda install git
pip install git+https://github.com/Kojoley/atari-py.git
This is required to run the Atari environments.
conda install swig
pip install Box2D
This is required to run the Box2D environments.
pip install gym[all]This installs the remaining OpenAI Gym environments. Some errors may appear, but just ignore them.
pip install pyglet==1.2.4
pip install gym[box2d]
The last two lines are necessary to avoid some bugs that can occur with Pyglet and the Box2D environments.
Once you’ve done that, install any other Python packages you wish to have in your Conda environment.
Step 3: Install Xming
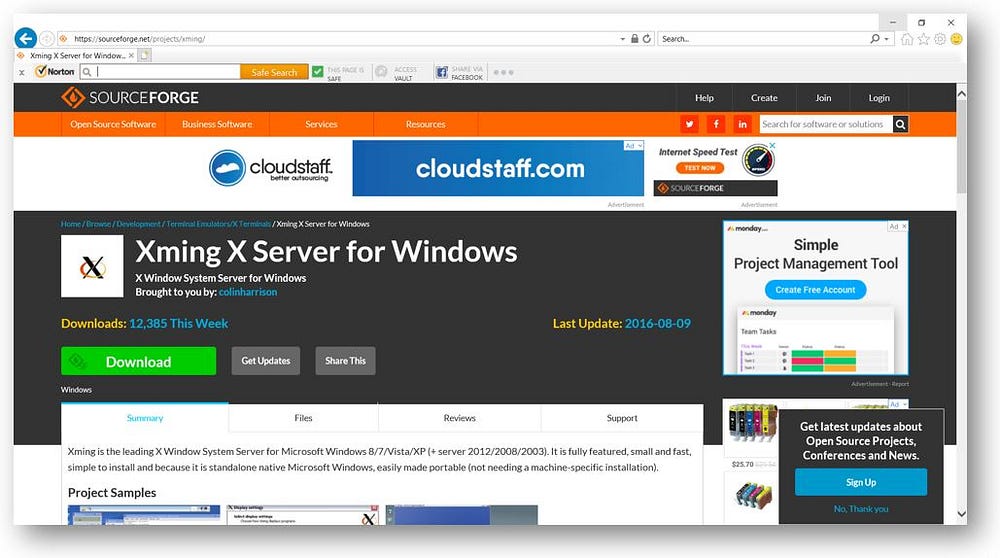
Install Xming on your computer, which can be downloaded for free from here.

Step 4: Start Xming Running
Each time you want to use OpenAI Gym, before starting your Python IDE, start Xming running by entering the following command at the Windows command prompt:
set DISPLAY=:0Step 5: Test
To test your new OpenAI Gym environment, run the following Python code:
import gym

env = gym.make('CartPole-v0')
env.reset()

for _ in range(1000):
    env.render()
    env.step(env.action_space.sample())

env.close()
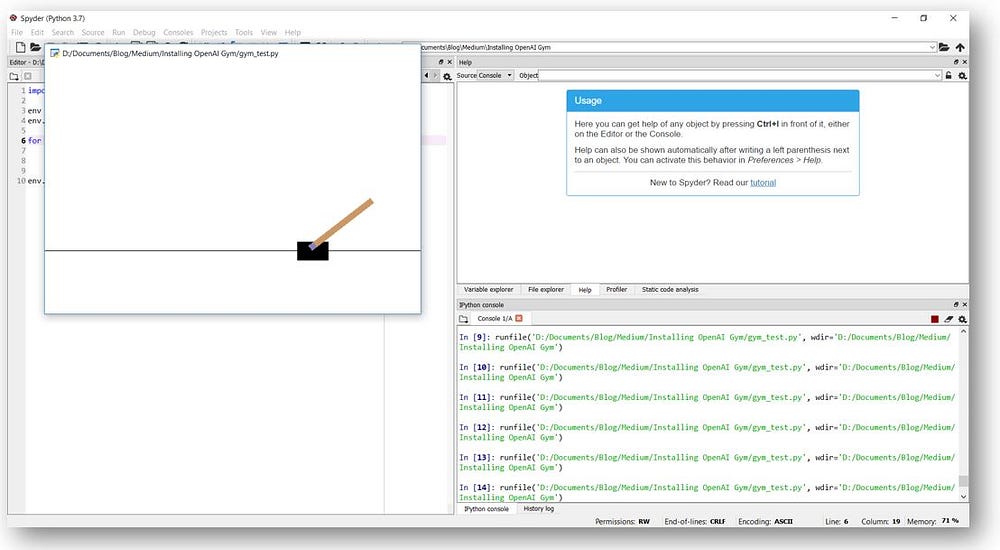
If everything has been set up correct, a window should pop up showing you the results of 1000 random actions taken in the Cart Pole environment.

To test other environments, substitute the environment name for “CartPole-v0” in line 3 of the code. For example, “Taxi-v2”, “SpaceInvaders-v0” and “LunarLander-v2”.
You can find the names and descriptions of all the available environments on the OpenAI Gym website here.
Conclusions
If you followed these instructions, you should now have OpenAI Gym successfully up and running on your computer. However, now that it’s up and running, what do you do with it?
In my next article, I will go through how to apply this exciting tool to reinforcement learning problems.
About the Author
Genevieve Hayes is a Data Scientist with experience in the insurance, government and education sectors, in both managerial and technical roles. She holds a PhD in Statistics from the Australian National University and a Master of Science in Computer Science (Machine Learning) from Georgia Institute of Technology. You can learn more about her here.


 522
522

 被折叠的 条评论
为什么被折叠?


