主要参考
示例1:双击鼠标画圆

-
EVENT_LBUTTONDBLCLK:双击(DBL)鼠标左键(L)出发opencv函数 -
import numpy as np
import cv2 as cv
# mouse callback function
def draw_circle(event,x,y,flags,param):
    if event == cv.EVENT_LBUTTONDBLCLK:
        cv.circle(img,(x,y),100,(255,0,0),-1)
# Create a black image, a window and bind the function to window
img = np.zeros((512,512,3), np.uint8)
cv.namedWindow('image')
cv.setMouseCallback('image',draw_circle)
while(1):
    cv.imshow('image',img)
    if cv.waitKey(20) & 0xFF == 27:
        break
cv.destroyAllWindows()
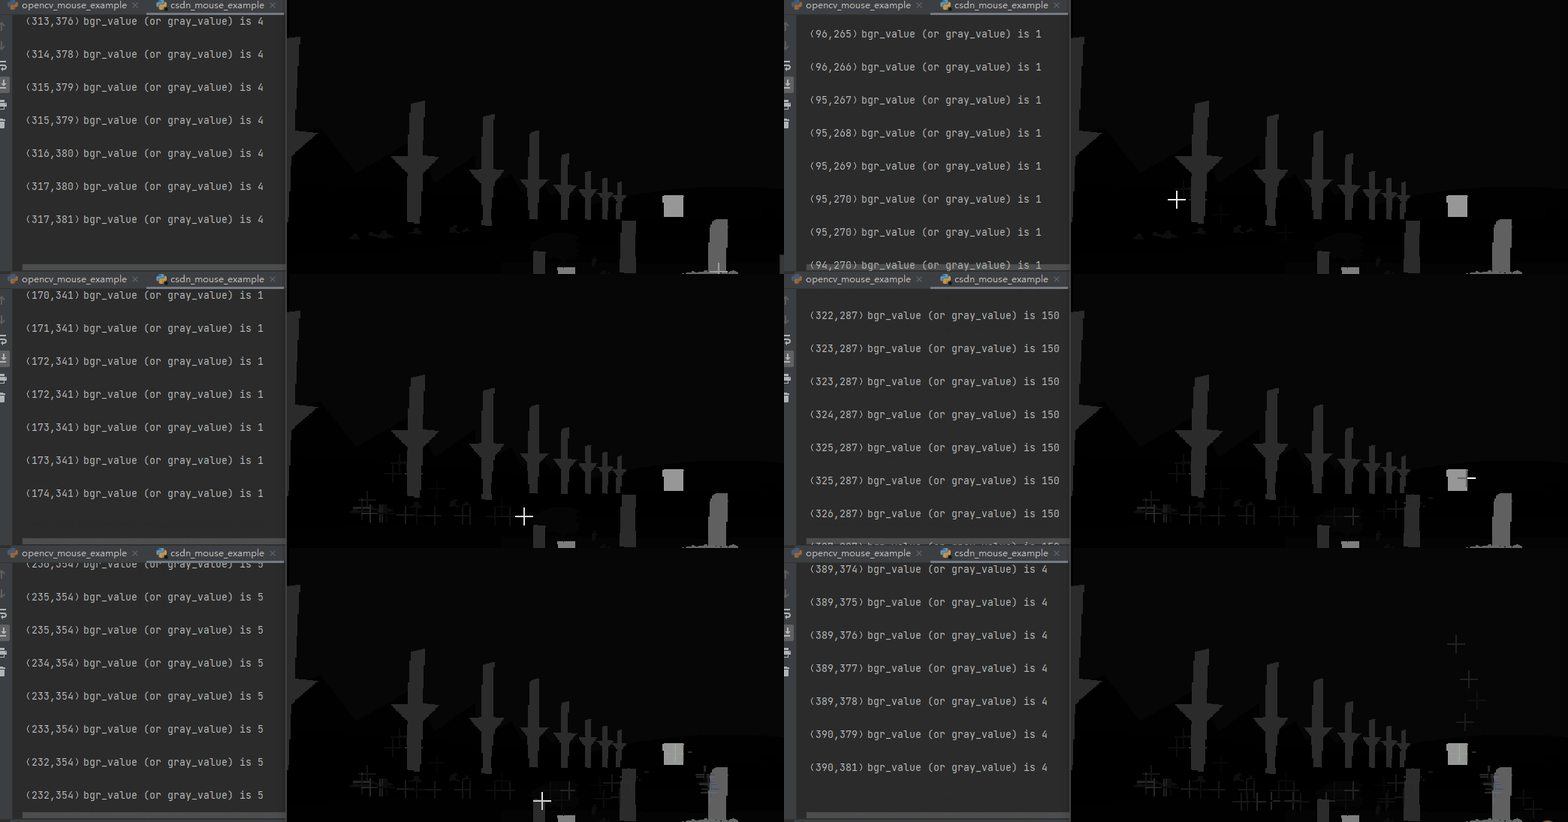
示例2:输出图片像素值
Code (空格退出)
-
import os

import cv2

global img_channel,img

def opencv_mouse(event,x,y,flags,param):
    # 左键点击
    # if event==cv2.EVENT_LBUTTONDBLCLK:
    if event==cv2.EVENT_MOUSEMOVE:
        if img_channel==1:
            print(f"({x},{y})bgr_value (or gray_value) is {img[y,x]}")
        if img_channel==3:
            print(f"({x},{y})bgr_value (or gray_value) is {img[y,x,:]}")
        print()


def init_log():
    events = [i for i in dir(cv2) if 'EVENT' in i]
    print(events)


if __name__=='__main__':
    global img_channel,img
    img_channel = 1
    init_log()
    img_gray16=r'aachen_000000_000019_gtFine_instanceIds.png' # 0-65535的16位灰度图
    img_gray8=r'ADE_train_00000001.png'               # 0-255的8位灰度图
    img_color=r'aachen_000000_000019_leftImg8bit.png' #彩图
    '''
    opencv读取的灰度值,默认是8位的,
    对于16位灰度图,需要使用cv2.IMREAD_UNCHANGED
    '''
    img=cv2.imread(img_gray16,cv2.IMREAD_UNCHANGED)
    if img is None:
        print(f"error the img dont existed!")
        import sys
        sys.exit() #结束程序

    print("img.shape",img.shape)
    if len(img.shape)==3:
        height, width,img_channel = img.shape
    else:
        height, width = img.shape
    '''
    将回调函数,绑定到opencv交互界面,将读取
    # cv2.WINDOW_AUTOSIZE 无法调打开窗口大小
    #cv2.WINDOW_NORMAL 可随意调整
    '''
    cv2.namedWindow('mouse',cv2.WINDOW_NORMAL)
    cv2.setMouseCallback('mouse', opencv_mouse)
    cv2.imshow('mouse', img)
    cv2.waitKey(0)
    cv2.destroyAllWindows()


 5666
5666


 被折叠的 条评论
为什么被折叠?


