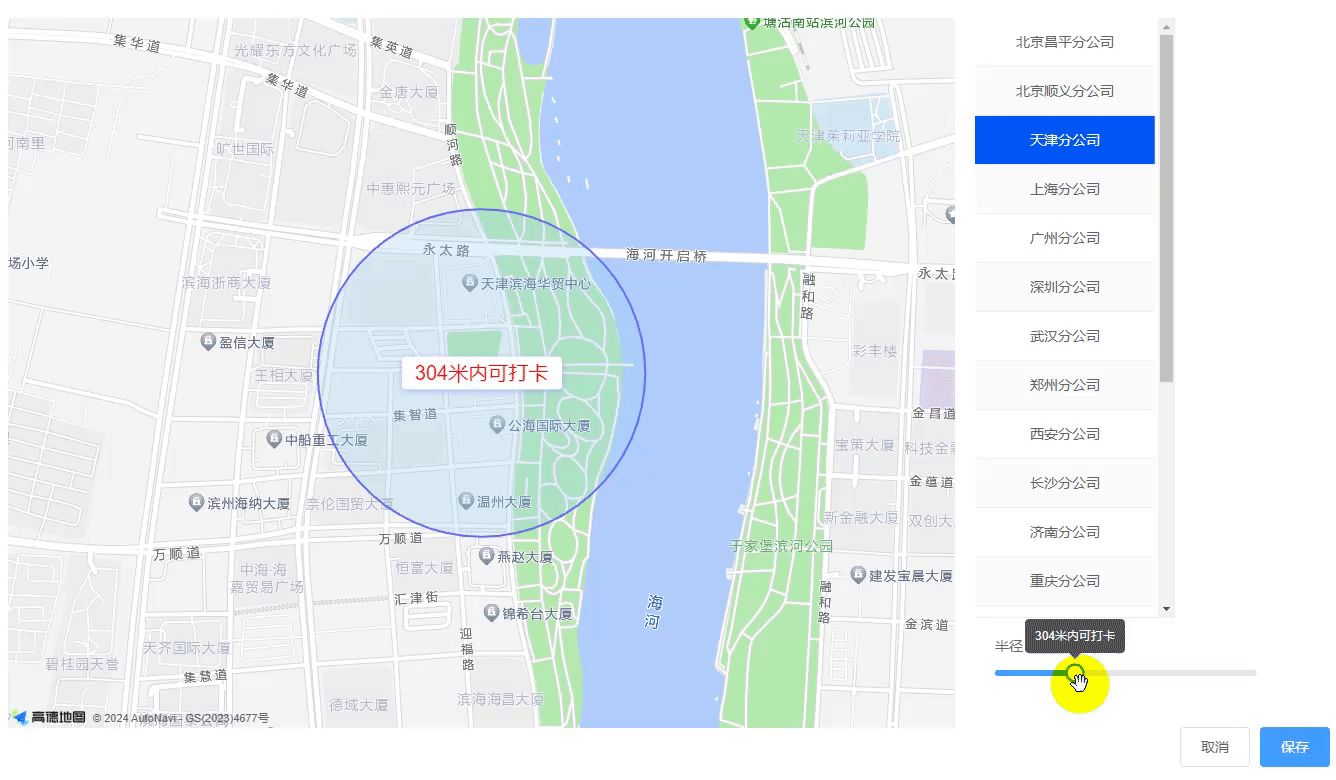
高德地图地图 JS API 2.0 基本使用

0.效果预览

在这里插入图片描述

1. 按 NPM 方式安装使用 Loader

npm i @amap/amap-jsapi-loader --save

2. 新建 MapContainer.vue 文件

在项目中新建 MapContainer.vue 文件,用作地图组件。

3.创建地图容器

MapContainer.vue 地图组件中创建 div 标签作为地图容器 ,并设置地图容器的 id 属性为 container。

<template>
  <div id="container"></div>
</template>

4.设置地图容器样式

<style  scoped>
    #container{
        padding:0px;
        margin: 0px;
        width: 100%;
        height: 800px;
    }
</style>

5.引入 JS API Loader

在地图组件 MapContainer.vue 中引入 amap-jsapi-loader

import AMapLoader from '@amap/amap-jsapi-loader';

6.创建地图组件

MapContainer.vue文件中初始化地图

vue 2 中的组件形式

<template>
  <div id="container" />
</template>
<script>
import AMapLoader from '@amap/amap-jsapi-loader'

export default {
  name: 'MapView',
  props: {
    point: {
      type: Array,
      default: () => [116.397428, 39.90923]
    },
    radius: {
      type: Number,
      default: 500
    }
  },
  data() {
    return {
      text: null,
      circle: null,
      marker: null,
      circleEditor: null
    }
  },
  mounted() {
    this.initAMap()
  },
  unmounted() {
    this.map?.destroy()
  },
  methods: {
    initAMap() {
      AMapLoader.load({
        key: '867e334269c0b9efbb3b9bff05f1d020', // 申请好的Web端开发者Key,首次调用 load 时必填
        version: '2.0', // 指定要加载的 JSAPI 的版本,缺省时默认为 1.4.15
        plugins: ['AMap.CircleEditor'] // 需要使用的的插件列表,如比例尺'AMap.Scale'等
      })
        .then((AMap) => {
          // 初始化地图
          this.map = new AMap.Map('container', {
            // 设置地图容器id
            viewMode: '3D', // 是否为3D地图模式
            zoom: 16, // 初始化地图级别
            center: this.point // 初始化地图中心点位置
          })

          // 创建地图标记(marker)并赋值给this.marker
          // 假设我们想在地图的中心点添加一个标记
          this.marker = new AMap.Marker({
            position: this.point, // 标记在地图上的位置
            map: this.map // 将标记添加到地图上
          })

          this.circle = new AMap.Circle({
            center: this.point, // 圆心经纬度
            radius: this.radius, // 半径,单位:米
            borderWeight: 2, // 边框线宽
            strokeColor: '#636BF7', // 边框颜色
            strokeOpacity: 1, // 边框透明度
            strokeWeight: 2, // 边框线宽(与borderWeight重复,可只设置一个)
            fillColor: '#9AD4F3', // 填充颜色
            fillOpacity: 0.3, // 填充透明度
            zIndex: 50 // 堆叠层级
          })
          // 将圆形添加到地图上
          this.circle.setMap(this.map)
          // 文本标记点
          this.text = new AMap.Text({
            text: `${this.radius}米内打卡`, // 标记显示的文本内容
            anchor: 'center', // 设置文本标记锚点位置
            draggable: true, // 是否可拖拽
            cursor: 'pointer', // 指定鼠标悬停时的鼠标样式。
            angle: 0, // 点标记的旋转角度
            style: {
              // 设置文本样式,Object 同 css 样式表
              padding: '.3rem .5rem',
              'margin-bottom': '0',
              'border-radius': '.25rem',
              'background-color': 'white',
              width: '10rem',
              'border-width': 0,
              'box-shadow': '0 2px 6px 0 rgba(114, 124, 245, .5)',
              'text-align': 'center',
              'font-size': '20px',
              color: 'red'
            },
            position: [this.point[0], this.point[1] - 0.0005] // 点标记在地图上显示的位置
          })
          this.text.setMap(this.map) // 将文本标记设置到地图上
          // 缩放地图到合适的视野级别
          // this.map.setFitView([circle])

          // 实例化圆形编辑器,传入地图实例和要进行编辑的圆形实例
          this.circleEditor = new AMap.CircleEditor(this.map, this.circle)
          // 开启编辑模式
          // circleEditor.open()
          this.circleEditor.on('move', function (event) {
            console.log('触发事件:move', event)
          })

          this.circleEditor.on('adjust', function (event) {
            console.log('触发事件:adjust', event)
          })

          this.circleEditor.on('end', function (event) {
            console.log('触发事件: end', event)
            // event.target 即为编辑后的圆形对象
          })
        })
        .catch((e) => {
          console.log(e)
        })
    }
  }
}
</script>
<style scoped>
#container {
  width: 80%;
  height: 710px;
}
</style>

7.封装弹框组件

<template>
  <el-dialog
    :title="title"
    :center="center"
    :visible="dialogVisible"
    :width="width"
    :fullscreen="fullscreen"
    @close="handleClose"
  >
    <slot name="header" />
    <slot name="body" />

    <span slot="footer" class="dialog-footer">
      <!-- <el-button @click="handleClose">取 消</el-button>
      <el-button type="primary" @click="handleClose">确 定</el-button> -->
      <slot name="footer" />
    </span>
  </el-dialog>
</template>

<script>
export default {
  props: {
    center: {
      type: Boolean,
      default: false
    },
    handleClose: {
      type: Function,
      default: () => {}
    },
    width: {
      type: String,
      default: ''
    },
    fullscreen: {
      type: Boolean,
      default: false
    },
    title: {
      type: String,
      default: ''
    },
    dialogVisible: {
      type: Boolean,
      default: false
    }
  },
  data() {
    return {}
  },
  methods: {
    issueEvent(value, mouseEvent) {
      if (mouseEvent) {
        return mouseEvent(value)
      }
    }
  }
}
</script>

<style lang="scss" scoped></style>

8.调用封装的地图组件和弹框组件

index.vue

<template>
  <div class="attendance-page">
    <!-- 打卡范围弹框 -->
    <my-dialog
      title="打卡范围设置"
      class="attendance-dialog"
      :dialog-visible="mapDialogVisible"
      :handle-close="handleClose"
      :fullscreen="true"
    >
      <template #body>
        <mapView
          ref="mapRef"
          :radius="mapDetail.radius"
          :point="[mapDetail.point[0], mapDetail.point[1]]"
        />
        <div class="rightSetting">
          <el-table
            ref="maptable"
            :data="mapList"
            style="width: 200px; height: 600px"
            :cell-style="{ textAlign: 'center' }"
            :header-cell-style="{ display: 'none' }"
            highlight-current-row
            :row-key="getRowKey"
            :current-row-key="currentRowKey"
            stripe
            @current-change="handleCurrentChange"
          >
            <el-table-column label="公司" width="180">
              <template v-slot="{ row }">
                <div :class="{ 'current-row': row.id === currentRowKey }">
                  {{ row.name }}
                </div>
              </template>
            </el-table-column>
          </el-table>
          <el-row style="margin: 20px">
            <el-col :span="20">
              半径
              <el-slider
                v-model="mapDetail.radius"
                :step="2"
                :format-tooltip="formatTooltip"
                :max="1000"
                @input="handleInput"
              />
            </el-col>
          </el-row>
        </div>
      </template>
      <template #footer>
        <el-button>取消</el-button>
        <el-button type="primary">保存</el-button>
      </template>
    </my-dialog>
  </div>
</template>

<script>
import mapView from './components/mapContainer.vue'
import MyDialog from '@/components/MyDialog.vue'
import { getMapList } from '@/api/attendance'
export default {
  components: {
    MyDialog,
    mapView
  },
  data() {
    return {
      mapDialogVisible: false, // 打卡范围弹框
      mapDetail: {
        name: '',
        address: '',
        radius: null,
        phone: '',
        point: [],
        update_time: ''
      },
      currentRowKey: 1, // 当前选中的row
      mapList: []
    }
  },
  async created() {},
  methods: {
    // 显示地图弹框
    async showMap() {
      this.mapDialogVisible = true
      const res = await getMapList()
      this.mapList = res.data
      this.mapDetail = this.mapList?.filter((item) => {
        return item.id === this.currentRowKey
      })[0]
      // 初始化渲染地图数据
      this.$refs.mapRef.initAMap()
    },
    // 关闭弹框
    async handleClose() {
      this.mapDialogVisible = false
    },
    // 当前选中map企业变化
    handleCurrentChange(currentRow, oldCurrentRow) {
      this.currentRowKey = currentRow ? currentRow.id : null
      this.mapDetail = this.mapList?.filter((item) => {
        return item.id === this.currentRowKey
      })[0]
      // 每次切换企业重新渲染地图,否则地图数据不会变
      this.$refs.mapRef.initAMap()
    },
    // 行数据的唯一键
    getRowKey(row) {
      return row.id
    },
    // 打卡范围格式化
    formatTooltip(val) {
      return val === 1000 ? '1公里内可打卡' : val + '米内可打卡'
    },
    // 滑块-打卡范围数据实时变化
    handleInput(val) {
      this.$refs.mapRef.circleEditor.open() // 开启编辑模式
      this.mapDetail.radius = val
      this.$refs.mapRef.circle.setRadius(this.mapDetail.radius) // 动态设置圆形范围
      this.$refs.mapRef.text.setText(this.mapDetail.radius + '米内可打卡') // 动态设置打卡范围文字提示
      this.$refs.mapRef.circleEditor.close() // 关闭编辑模式
    }
  }
}
</script>

<style lang="scss" scoped>
.attendance-page {
  .attendance-dialog {
    ::v-deep .el-dialog__body {
      height: 80%;
      display: flex;
      .rightSetting {
        width: 30%;
        margin-left: 20px;
        .el-table {
          overflow-y: auto;
        }
        td {
          padding: 0;
        }
        .cell {
          line-height: 48px;
          padding: 0;
        }
        .current-row > td {
          background-color: #0058f5;
          color: #fff;
        }
        .current-row {
          line-height: 48px;
          width: 100%;
          background-color: #0058f5;
          color: #fff;
        }
      }
    }
  }
}
</style>
  • 3
    点赞
  • 0
    收藏
    觉得还不错? 一键收藏
  • 0
    评论
高德地图API 2.0是一个开放平台,提供开发使用地图相关功能接口。 首先,为了使用高德地图API 2.0,我们需要在高德开放平台上创建一个开发者账号,并且申请一个API Key。API Key是使用API的身份标识,每个开发者账号可以申请多个API Key。 然后,我们可以使用API Key在开发项目中调用高德地图API的各种功能接口。这些接口包括地图显示、地图搜索、路径规划、地理编码等等。 例如,如果我们想在网页上显示一个地图,可以使用JavaScript API。首先,在网页中引入高德地图APIJavaScript文件,并在HTML中创建一个指定位置的容器,然后在JavaScript代码中调用地图显示接口,传入容器和配置参数,即可在网页上显示地图。 另外,如果我们需要实现地图搜索功能,可以使用地理编码和输入提示接口。通过地理编码接口,我们可以将地名转换为经纬度坐标,通过输入提示接口,可以根据用户输入的关键字,提供相应的地点建议。 同时,高德地图API还提供了路径规划接口,可以实现驾车、步行、公交等不同出行方式的路径规划功能。 除了以上功能,高德地图API还提供了丰富的地图样式、地图覆盖物、地图交互等等功能接口,供开发者根据自己的需求自由调用和定制。 总之,高德地图API 2.0使用方便、功能强大,可以帮助开发者在自己的项目中轻松实现各种地图相关的功能。无论是网页、移动应用还是其他项目,高德地图API都是一个值得推荐的选择。

“相关推荐”对你有帮助么?

  • 非常没帮助
  • 没帮助
  • 一般
  • 有帮助
  • 非常有帮助
提交
评论
添加红包

请填写红包祝福语或标题

红包个数最小为10个

红包金额最低5元

当前余额3.43前往充值 >
需支付:10.00
成就一亿技术人!
领取后你会自动成为博主和红包主的粉丝 规则
hope_wisdom
发出的红包
实付
使用余额支付
点击重新获取
扫码支付
钱包余额 0

抵扣说明:

1.余额是钱包充值的虚拟货币,按照1:1的比例进行支付金额的抵扣。
2.余额无法直接购买下载,可以购买VIP、付费专栏及课程。

余额充值