传奇开心果博文系列
- 系列博文目录
- BeeWare的Toga开发移动应用示例系列
- 博文目录
- 一、前言
- 二、Toga布局介绍
- 三、分别实现常用布局样式的示例代码
- 四、归纳总结
系列博文目录
BeeWare的Toga开发移动应用示例系列
博文目录
一、前言
 toga是一个Python GUI库,它支持多种平台的GUI开发。它的界面布局多种多样。这些界面布局样式有很好的跨平台适应性。
二、Toga布局介绍
 关于toga的GUI界面布局,常用的主要有以下几种:
-
使用Box布局管理器进行组件布局
Box支持水平布局(HBox)和垂直布局(VBox)。可以通过添加组件到Box来实现界面布局。 -
支持常见的组件添加到Box中进行定位布局
如Button、Label、TextInput等。这些组件都继承自Widget基类,可以添加到Box中进行定位布局。 -
支持网格布局给界面划分行和列
Grid可以将界面划分为行和列,通过指定组件的row和column属性来进行定位。 -
支持滚动视图组件,实现滚动视图布局。
可以将其他组件添加到ScrollView中,实现超出范围的组件滚动显示。 -
支持栅格布局实现等分布局。
GridLayout可以自动根据组件数量进行等分布局。 -
支持表单布局(Form)实现类表单样式布局。
Form可以实现类表单样式的布局,包含标签和输入框。 -
支持多种导航类型布局实现导航切换
如NavigationView、SplitContainer等,实现不同类型的导航切换。 -
支持添加样式到组件上布局,实现个性化视觉效果
-
支持多平台渲染,实现跨平台统一布局。
界面布局可以在Windows、macOS、Linux、Android、iOS等平台上统一开发。
所以总体来说,Toga 采用容器+组件的方式进行GUI开发,支持常见布局和导航,可以方便实现跨平台的Python GUI应用。
三、分别实现常用布局样式的示例代码
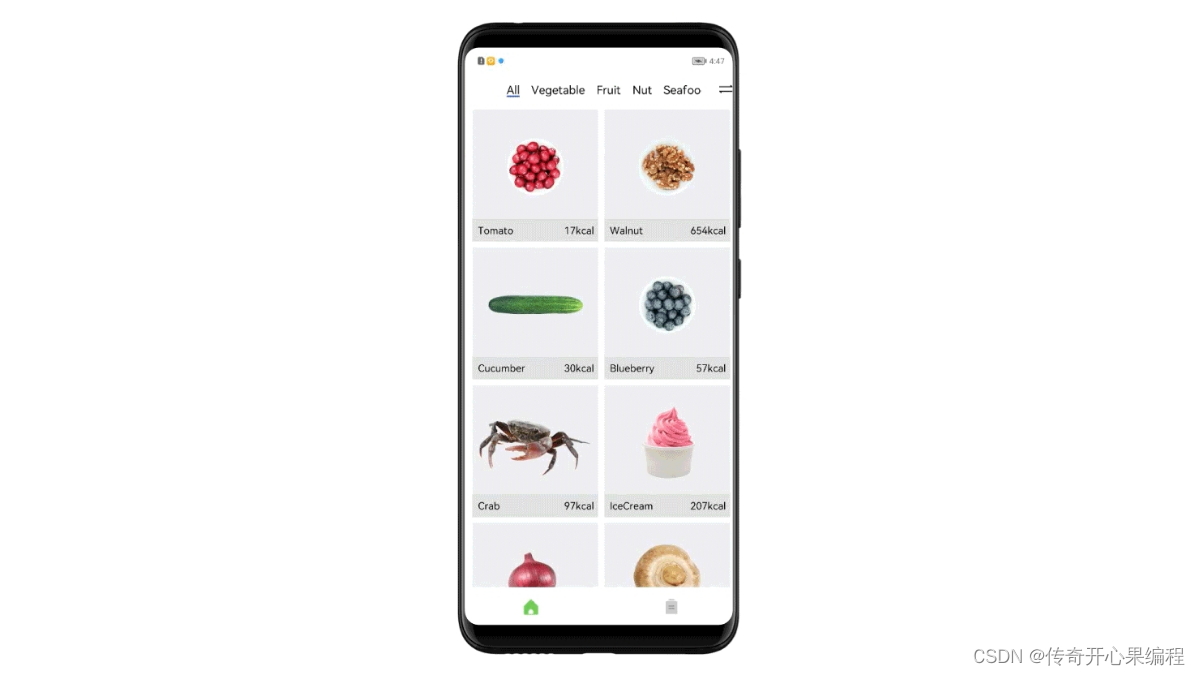 (一)使用Box布局管理器实现组件布局示例代码
以下是使用Toga的Box布局管理器进行简单组件布局的示例代码:
import toga
from toga.style import Pack
from toga.style.pack import COLUMN, ROW

def app():

    # 创建窗口
    window = toga.Window("Hello World")

    # 创建水平布局的Box
    box = toga.Box(style=Pack(direction=ROW))

    # 添加Label组件
    label = toga.Label('Hello World')
    box.add(label)

    # 添加Button组件
    button = toga.Button('Click me')
    box.add(button)

    # 将Box添加到窗口中
    window.content = box

    # 显示窗口
    window.show()

    return window

if __name__ == "__main__":
    app().main_loop()
在这个例子中:
- 创建了一个水平方向的Box容器
- 分别添加了Label和Button组件到Box中
- 将Box设置为窗口的内容区域
- 显示窗口
通过Box可以很方便地实现组件的水平排列。同理,使用Pack(direction=COLUMN)可以实现垂直方向的布局。
还可以通过Box的add方法控制组件的添加顺序来实现更复杂的布局效果。
以下是一个通过控制Box添加组件顺序来实现更复杂布局的示例:
import toga
from toga.style import Pack
from toga.style.pack import COLUMN, ROW

def app():

    window = toga.Window("Layout Example")

    box = toga.Box(style=Pack(direction=ROW))

    # 先添加左侧组件
    left_box = toga.Box()
    label1 = toga.Label('Left Content')
    left_box.add(label1)
    box.add(left_box)

    # 再添加中间组件
    middle_box = toga.Box()
    label2 = toga.Label('Middle Content')
    middle_box.add(label2)
    box.add(middle_box)

    # 最后添加右侧组件
    right_box = toga.Box()
    label3 = toga.Label('Right Content')
    button = toga.Button('Click')
    right_box.add(label3)
    right_box.add(button)
    box.add(right_box)

    window.content = box
    window.show()

    return window

if __name__ == '__main__':
    app().main_loop()
在这个例子中,我们:
- 使用了三个内嵌Box分别控制左中右区域
- 分别添加了对应标签
- 按左中右顺序添加子Box到主Box
这样就实现了一个更复杂的三列布局。
通过控制组件添加顺序,可以实现很多不同类型的布局效果。
(二)支持常见组件添加到Box中进行定位布局示例代码
以下是一些常见组件添加到Box中进行定位的示例代码:
添加Label
label = toga.Label("Hello World")
box.add(label)
添加Button
button = toga.Button("Click Me")
box.add(button)
添加TextInput
text_input = toga.TextInput()
box.add(text_input)
添加NumberInput
number_input = toga.NumberInput()
box.add(number_input)
添加Checkbox
checkbox = toga.Checkbox("I agree")
box.add(checkbox)
添加Select
options = ['Option 1', 'Option 2', 'Option 3']
select = toga.Select(options)
box.add(select)
添加WebView
webview = toga.WebView()
box.add(webview)
添加ScrollContainer
scroll = toga.ScrollContainer()
box.add(scroll)
以上是一些常见组件添加到Box容器中的示例。Toga支持绝大多数常见组件的添加,通过Box可以很方便地进行组件布局。
(三)支持网格布局实现组件网格排列示例代码
这里是一个使用Toga实现网格布局(Grid)的示例代码:
import toga
from toga.style import Pack
from toga.style.pack import GRID

def app():

    window = toga.Window("Grid Layout")

    grid = toga.Box(style=Pack(direction=GRID,
                              padding=10,
                              spacing=10))

    for i in range(9):
        label = toga.Label(f"Item {i+1}")
        grid.add(label)

    window.content = grid
    window.show()

    return window

if __name__ == "__main__":
    app().main_loop()
主要点:
- 使用Pack(direction=GRID)指定网格布局
- 设置padding和spacing控制间距
- 通过for循环添加多个Label组件
- 将grid设置为窗口内容
这样就实现了一个3x3的简单网格布局。
网格布局支持设置行数和列数,比如:
grid = Box(style=Pack(direction=GRID, rows=3, columns=3))
也可以通过style属性控制单元格占据的行列数:
label.style = Pack(grid_area="1/1/3/3")
通过Grid可以实现更复杂的响应式布局。
(四)支持滚动视图组件实现滚动视图布局示例代码
实现滚动视图布局的示例代码:
import toga
from toga.style import Pack

def app():
    window = toga.Window("ScrollView Demo")

    # 创建一个容纳其他组件的Box
    inner_box = toga.Box()

    # 添加大量组件到inner_box
    for i in range(100):
        label = toga.Label(f"Item {i}")
        inner_box.add(label)

    # 将inner_box包装在ScrollContainer中
    scroll = toga.ScrollContainer(content=inner_box)

    # 将ScrollContainer设置为窗口内容
    window.content = scroll
    window.show()

    return window

if __name__ == '__main__':
    app().main_loop()
主要点:
- 创建一个Box容纳所有子组件
- 往Box添加大量组件,超过窗口高度
- 将Box包装在ScrollContainer中
- ScrollContainer作为窗口内容
这样就实现了一个可滚动的视图。
ScrollContainer支持设置滚动方向,如horizontal或vertical。
也可以给ScrollContainer添加样式,如设置宽高或边距等。
通过ScrollContainer可以很方便地实现需要滚动的复杂界面。
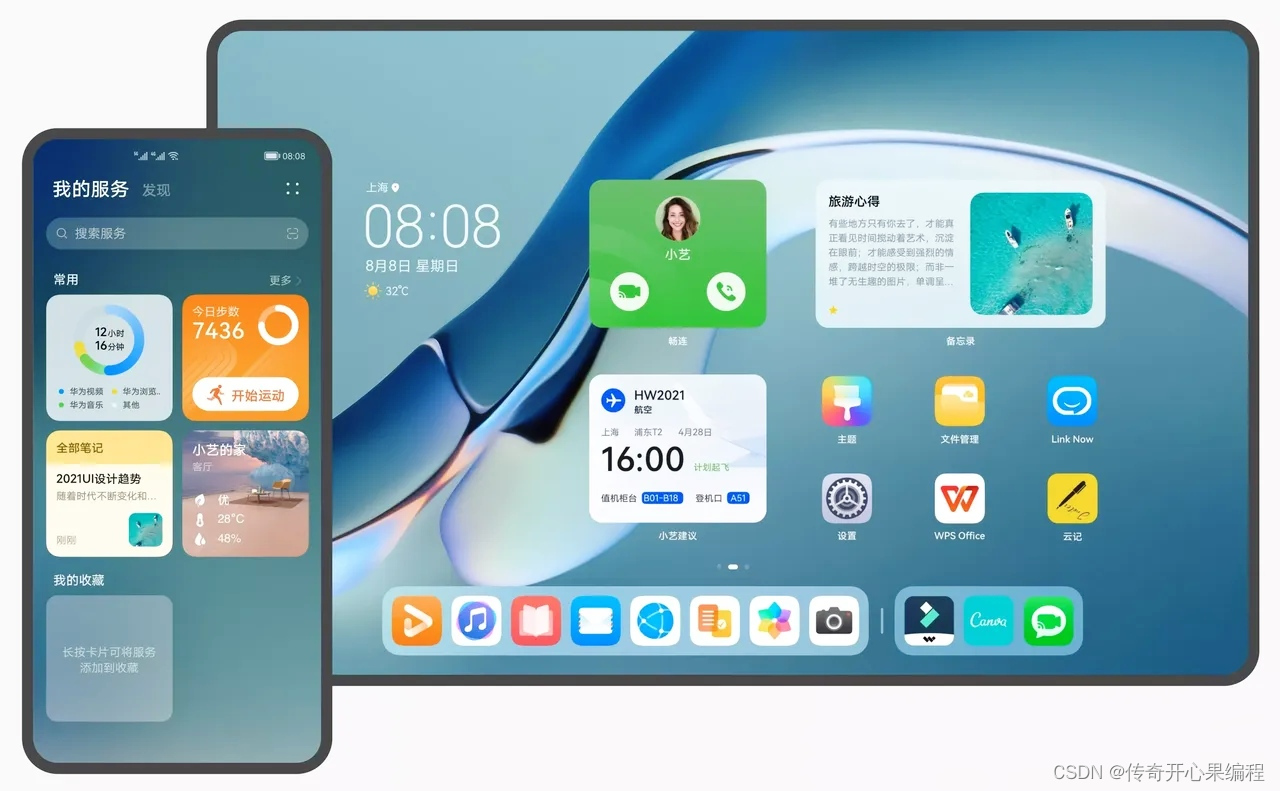 (五)支持栅格布局实现等分布局示例代码
这里是一个使用Toga实现等分栅格布局的示例代码:
import toga
from toga.style import Pack

def app():

    window = toga.Window("Equal Grid Layout")

    grid = toga.Box(style=Pack(direction=GRID, rows=3))

    # 添加9个Label,每3个等分一排
    for i in range(9):
        label = toga.Label(f"Item {i+1}")
        grid.add(label)
        if (i+1) % 3 == 0:
            label.style = Pack(flow=PACK_START)

    window.content = grid
    window.show()

    return window

if __name__ == "__main__":
    app().main_loop()
主要点:
- 使用Pack(direction=GRID, rows=3)定义3行栅格布局
- 循环添加Label,每3个等分一排
- 每3个添加时,将Label样式设置为PACK_START,实现换行
这样就实现了3行等分的栅格布局。
也可以控制列数:
grid = Box(style=Pack(direction=GRID, columns=3))
通过控制流方向flow,可以实现各种等分布局。
Toga的栅格系统支持响应式设计,可以很方便实现各种等分布局需求。
(六)支持表单布局实现类表单布局样式示例代码
这里是一个使用Toga实现类表单布局样式的示例代码:
import toga
from toga.style import Pack

def app():

    window = toga.Window("Form Layout")

    box = toga.Box(style=Pack(direction=VERTICAL, padding=10))

    # 名称字段
    name_label = toga.Label('Name:')
    name_input = toga.TextInput()
    name_row = toga.Box(children=[name_label, name_input],
                        style=Pack(direction=ROW, padding=5))

    # 邮箱字段
    email_label = toga.Label('Email:')
    email_input = toga.TextInput()
    email_row = toga.Box(children=[email_label, email_input],
                         style=Pack(direction=ROW, padding=5))

    # 添加到容器
    box.add(name_row)
    box.add(email_row)

    window.content = box
    window.show()

    return window
主要点:
- 使用Pack(VERTICAL)实现垂直方向布局
- 每个表单项使用Box + Pack(ROW)实现行内布局
- 添加标签和输入组件到行容器
- 将行容器添加到主容器实现表单效果
通过Row和Box嵌套可以实现各种类表单布局。
Toga还支持表单验证、提交等高级功能。
(七)使用多种类型导航栏布局实现导航切换示例代码
这里是一个使用Toga实现不同类型导航切换的示例:
import toga
from toga.style import Pack

def build_navigation(window):

    # 左侧导航菜单
    menu = toga.Box(style=Pack(direction=VERTICAL))
    for label in ["Home", "About", "Settings"]:
        button = toga.Button(label, on_press=switch_page)
        menu.add(button)

    # 页面内容容器
    pages = toga.Box()

    # 添加首页
    home = toga.Label("Home Page")
    pages.add(home)

    # 初始页面
    window.content = toga.SplitContainer(first=menu, second=pages)

def switch_page(widget):

    # 切换页面
    if widget.label == "Home":
        pages.remove(1)
        pages.add(home)
    elif widget.label == "About":
        # 加载about页面
        about = toga.Label("About Page")
        pages.remove(1)
        pages.add(about)

def app():

    window = toga.Window("Nav Demo")

    build_navigation(window)

    window.show()

if __name__ == "__main__":
    app().main_loop()
使用SplitContainer实现左侧菜单+内容页导航。
点击菜单切换pages内容。
也可以使用NavigationView实现底部导航切换不同Tab。
通过组合Box、SplitContainer等可以实现各种导航交互。
这里是使用NavigationView实现底部导航切换Tab的示例:
import toga
from toga.style import Pack

def build_navigation(window):

    # Tab内容容器
    tabs = toga.Box()

    # 首页
    home = toga.Label("Home Page")
    tabs.add(home)

    # 设置页
    settings = toga.Label("Settings Page")

    # 底部导航
    bottom_navbar = toga.NavigationView([
        {"title": "Home", "icon": "home"},
        {"title": "Settings", "icon": "settings"}
    ])

    bottom_navbar.on_select = switch_tab

    # 使用NavigationView包装内容
    window.content = toga.Box(
        children=[tabs, bottom_navbar],
        style=Pack(direction=VERTICAL)
    )

def switch_tab(widget):

    selected_index = widget.selected_index

    if selected_index == 0:
        tabs.remove(1)
        tabs.add(home)
    elif selected_index == 1:
        tabs.remove(1)
        tabs.add(settings)

def app():

    window = toga.Window("Nav Demo")

    build_navigation(window)

    window.show()

if __name__ == "__main__":
    app().main_loop()
主要点:
- 使用NavigationView定义底部导航
- 通过on_select事件切换Tab内容
- 每次移除旧Tab,添加新Tab到tabs容器
实现了点击底部导航切换页面内容。
(八)支持添加样式到组件上,实现个性化视觉效果示例代码
这里是使用Toga添加样式到组件的示例:
import toga
from toga.style import Pack, TextAlign

def build_app(app):

    # 添加主窗口
    window = toga.Window("Style Demo", size=(800,600))

    # 添加Label
    label = toga.Label("Hello World", style=Pack(padding=20))

    # 设置Label样式
    label.style.update(
        font_size=32,
        color='blue',
        text_align=TextAlign.CENTER
    )

    # 添加Button
    button = toga.Button("Click Me", on_press=say_hello)

    # 设置Button样式
    button.style.update(
        font_size=24,
        color='green',
        border_radius=10,
        padding=(10,20)
    )

    # 将组件添加到窗口
    window.content = toga.Box(children=[label, button])

    # 显示窗口
    window.show()

def say_hello(widget):
    print("Hello!")

def main():
    return build_app(toga.App('Style Demo', 'org.pybee.style'))

if __name__ == '__main__':
    app = main()
    app.main_loop()
主要点:
- 使用组件的style属性更新样式
- 设置字体大小、颜色、对齐等Label样式
- 设置字体大小、颜色、圆角、内边距等Button样式
- 实现个性化视觉效果
通过style属性统一设置Toga组件样式,实现自定义界面设计。
(九)支持多平台渲染,实现跨平台统一布局示例代码
界面布局可以在Windows、macOS、Linux、Android、iOS等平台上统一开发。示例代码
这里是一个使用Toga支持多平台渲染的简单示例:
import toga
from toga.style import Pack

def build(app):

    # 创建主窗口
    window = toga.Window("Hello World")

    # 创建Label
    label = toga.Label("Hello World!", style=Pack(padding=50))

    # 将Label添加到窗口内容中
    window.content = toga.Box(children=[label], style=Pack())

    # 显示窗口
    window.show()

def main():
    return toga.App('Hello World', 'org.pybee.helloworld', startup=build)

if __name__ == '__main__':
    app = main()
    app.main_loop()
主要点:
- 使用Toga定义界面布局,不依赖任何特定平台
- 通过Toga自动渲染界面,支持Windows、macOS、Linux、Android、iOS等多平台
- 界面元素如Label、Button等组件定义一次,在所有平台上都能正常显示
- 实现了跨平台统一开发的能力
通过Toga,我们可以用同一套Python代码在不同平台上开发和运行应用,大大简化了跨平台开发的难度。开发者只需要关注界面逻辑,不需要针对每一平台做特殊处理。
四、归纳总结
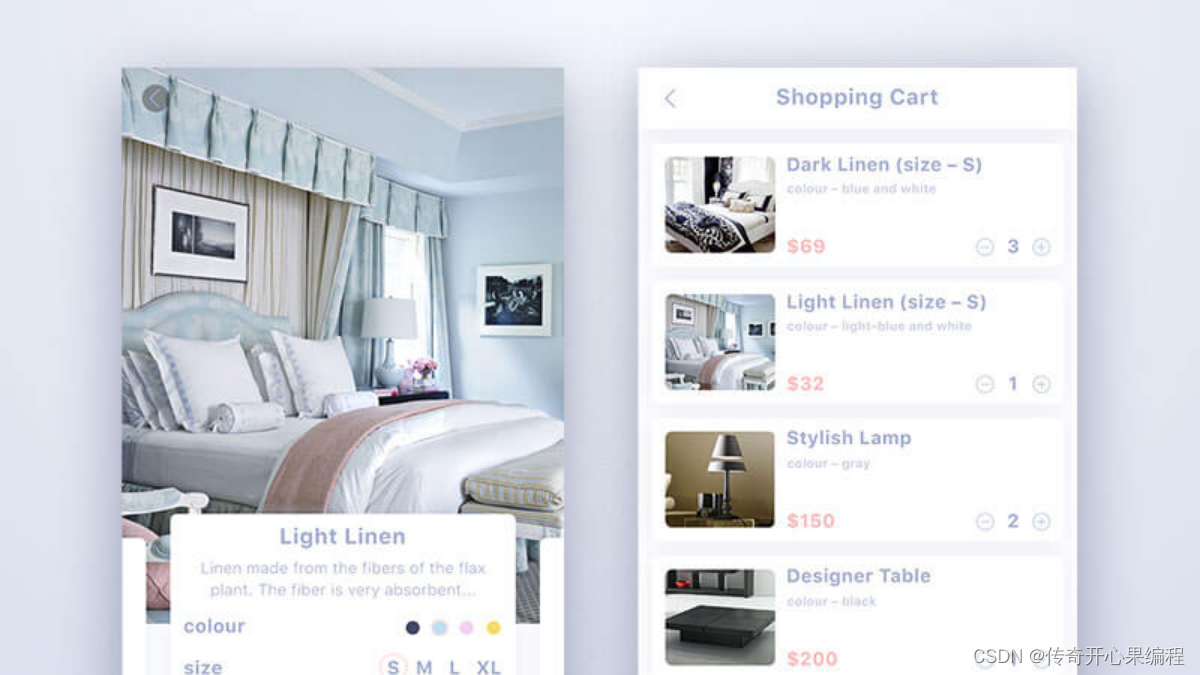 Toga支持以下常见的界面布局样式:
-
Box:最基础的布局容器,支持垂直或水平排列子组件。
-
Grid:网格布局,支持行列定义子组件位置。
-
Stack:堆叠布局,子组件上下或左右堆叠。
-
ScrollContainer:滚动容器,用于内容过长时添加滚动条。
-
SplitContainer:分割容器,可分割为两个可调整大小的面板。
-
Table:表格布局,用于展示行列数据。
-
Form:表单布局,用于构建表单界面。
这些布局样式都定义在toga.widgets.base包中。
使用方法:
-
选择合适的布局容器,如Box、Grid等
-
将子组件添加到容器children属性中
-
设置组件样式,如尺寸、边距等
-
将容器设置为窗口或其他容器的content
-
调用容器show()方法显示界面
常用属性如padding、direction等可以定制布局效果。

通过合理搭配这些基础布局,可以实现大多数常见的界面布局需求。开发者只需关注界面逻辑,不用关心具体平台差异。


 366
366


 被折叠的 条评论
为什么被折叠?


