转自:http://blog.csdn.net/deft_mkjing/article/details/51564422
如何通过UITableView的cell获取对应的indexpath,或者通过indexpath获取对应的cell
简单介绍下这两个方法
1.
- - (nullable NSIndexPath *)indexPathForCell:(UITableViewCell *)cell;
- // 官网描述
- Returns an index path representing the row and section of a given table-view cell.
- An index path representing the row and section of the cell, or nil if the index path is invalid.
- 返回值是indexpath类型,代表了给出那个cell的section和row,如果cell=nil,indexpath是无效的
2.
- - (nullable __kindof UITableViewCell *)cellForRowAtIndexPath:(NSIndexPath *)indexPath;
- Returns the table cell at the specified index path.
- An object representing a cell of the table, or nil if the cell is not visible or indexPath is out of range.
- 返回指定indexpath下对应的cell,代表了一个tableView里面的cell对象,当cell不可见或者indexpath越界了,返回nil
一般来说,常规的tableView的两个代理方法里面进行操作
- - (UITableViewCell *)tableView:(UITableView *)tableView cellForRowAtIndexPath:(NSIndexPath *)indexPath
- {
- MKJTableViewCell *cell = [tableView dequeueReusableCellWithIdentifier:identyfy forIndexPath:indexPath];
-
- return cell;
- }
- - (void)tableView:(UITableView *)tableView didSelectRowAtIndexPath:(NSIndexPath *)indexPath
- {
- [self.tableView deselectRowAtIndexPath:indexPath animated:YES];
-
- NSLog(@"点击整个cell%@",indexPath);
- }
1.第一个方法案例
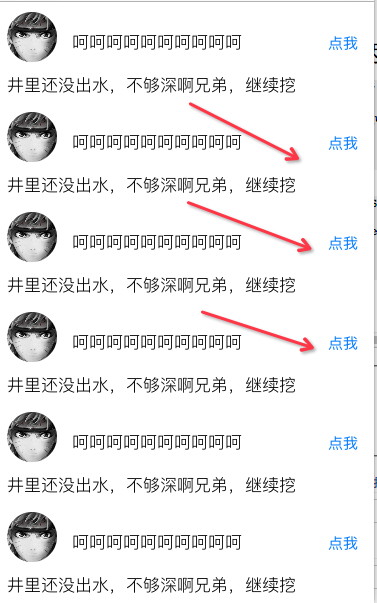
还有一种情况大家应该很常见了,就是每个cell里面有个按钮,暂时就做关注按钮吧,如何知道点击那个按钮的时候,是点击了哪个cell?
先来个图,就是点这个

我是这么做的
首先:布局UI问题不大吧,然后你把这个按钮的点击事件拖到你的cell.m文件里面,由于我是要到我的Controller进行下一波操作
然后:我们就给cell一个代理方法
-
- - (IBAction)click:(UIButton *)sender {
-
- if ([self.delegate respondsToSelector:@selector(MKJTableView:clickButton:)]) {
- [self.delegate MKJTableView:self clickButton:sender];
- }
- }
让Controller实现这个代理
-
- - (void)MKJTableView:(MKJTableViewCell *)cell clickButton:(UIButton *)touchBtn
- {
-
- }
之后:我们点击按钮,就会回调到这个方法里面进行下一波操作了 QWER随你来了
其实已经很明确了,一般设置代理都会把自身作为参数传过来
那么我们的第一种最直观的方法就是直接获取啊
- NSIndexPath *indexpath1 = [self.tableView indexPathForCell:cell];
- NSLog(@"第一种简单粗暴%@",indexpath1);
如果脑残了没有把cell传过来,也没事,看看第二种方法获取
- MKJTableViewCell *cell1 = (MKJTableViewCell *)[[touchBtn superview] superview];
- NSIndexPath *indexpath2 = [self.tableView indexPathForCell:cell1];
- NSLog(@"第二种方法%@",indexpath2);
这里的第一个superView指的是Cell的contentView,第二个superView不就是获取到了cell么
反正能拿到cell了,那么下边的操作就可以随意赋值操作了
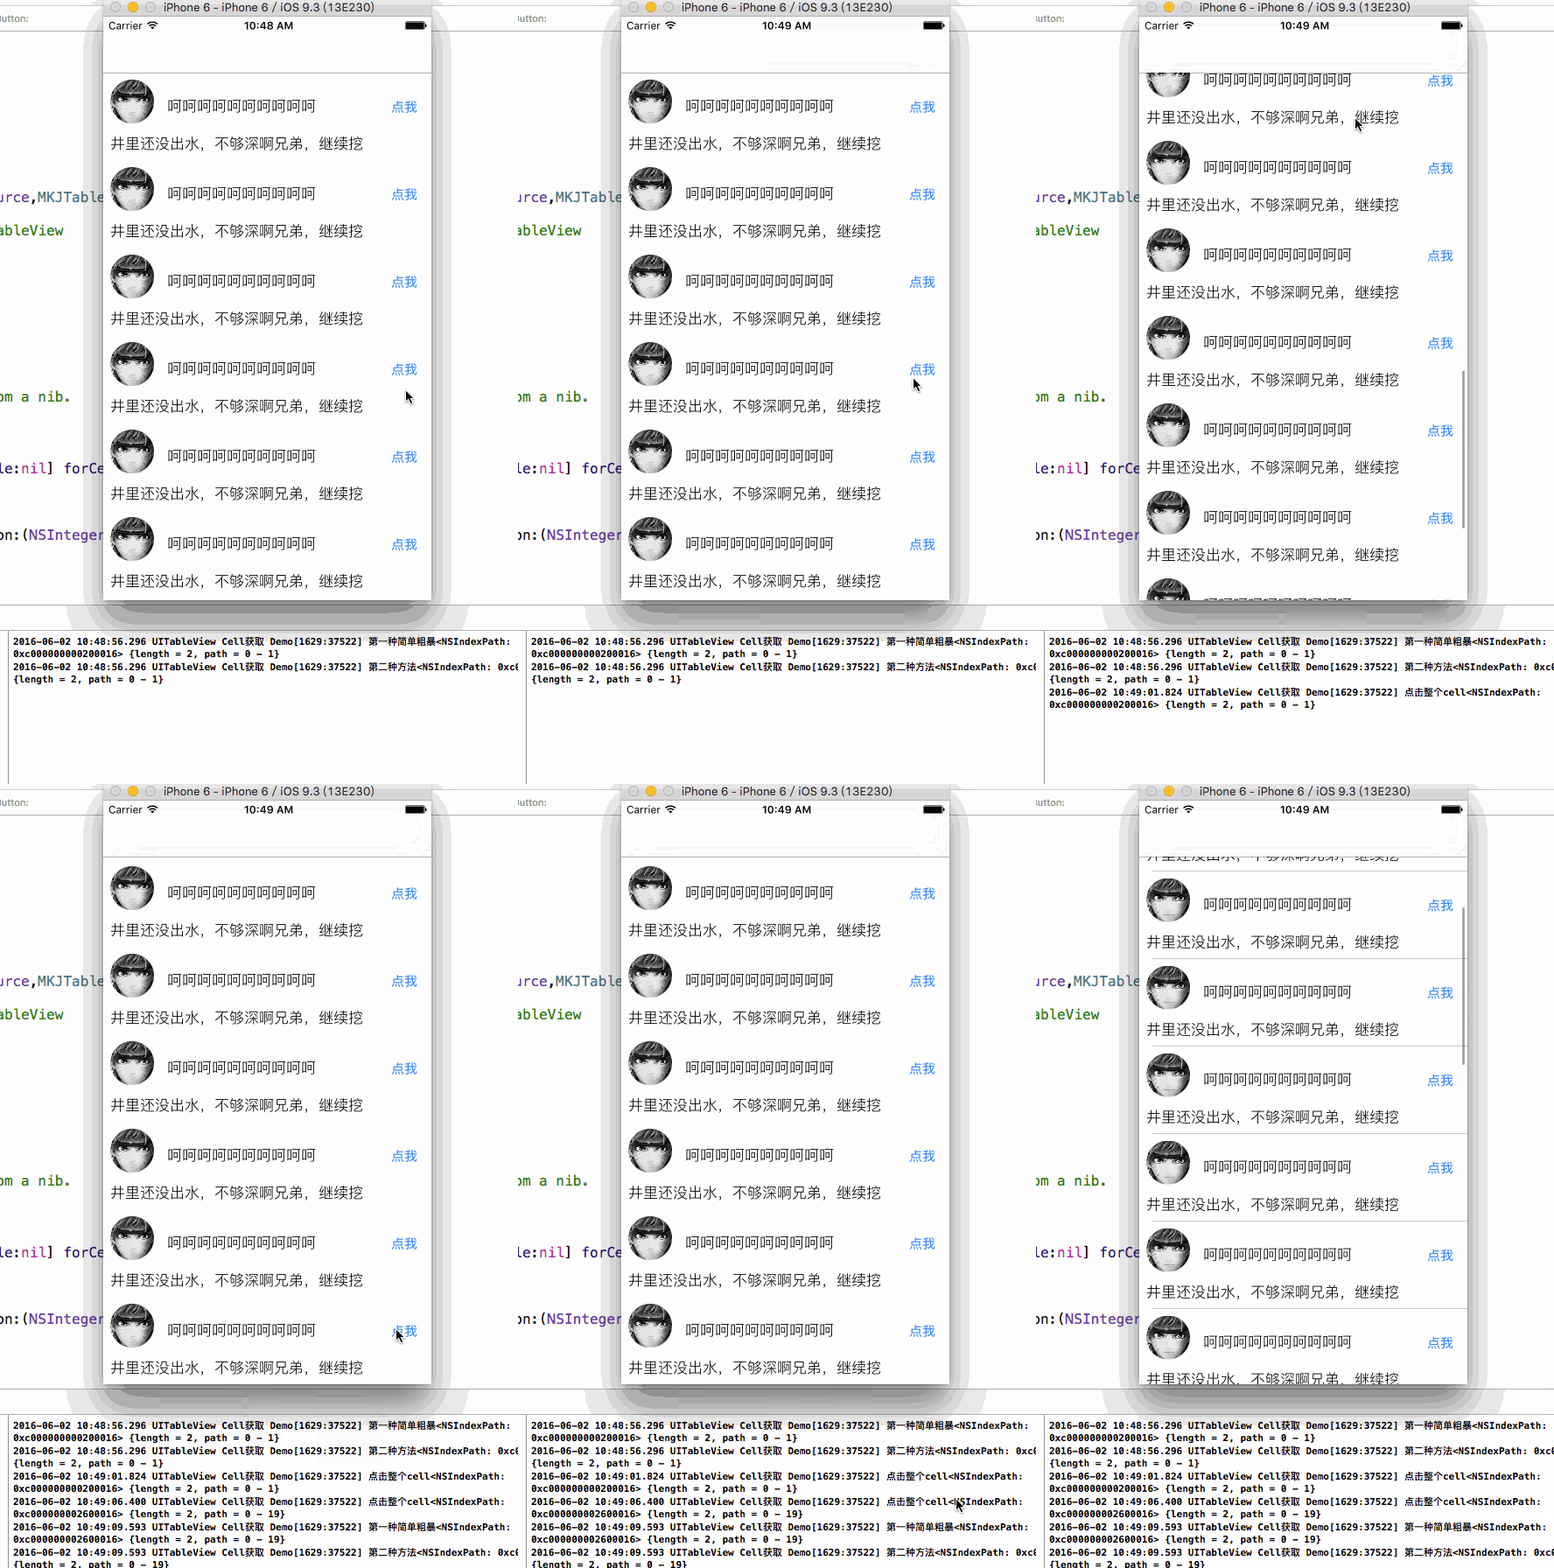
看下具体实现,注意看打印

github地址:demo地址,需要的请点击
第二个方法案例
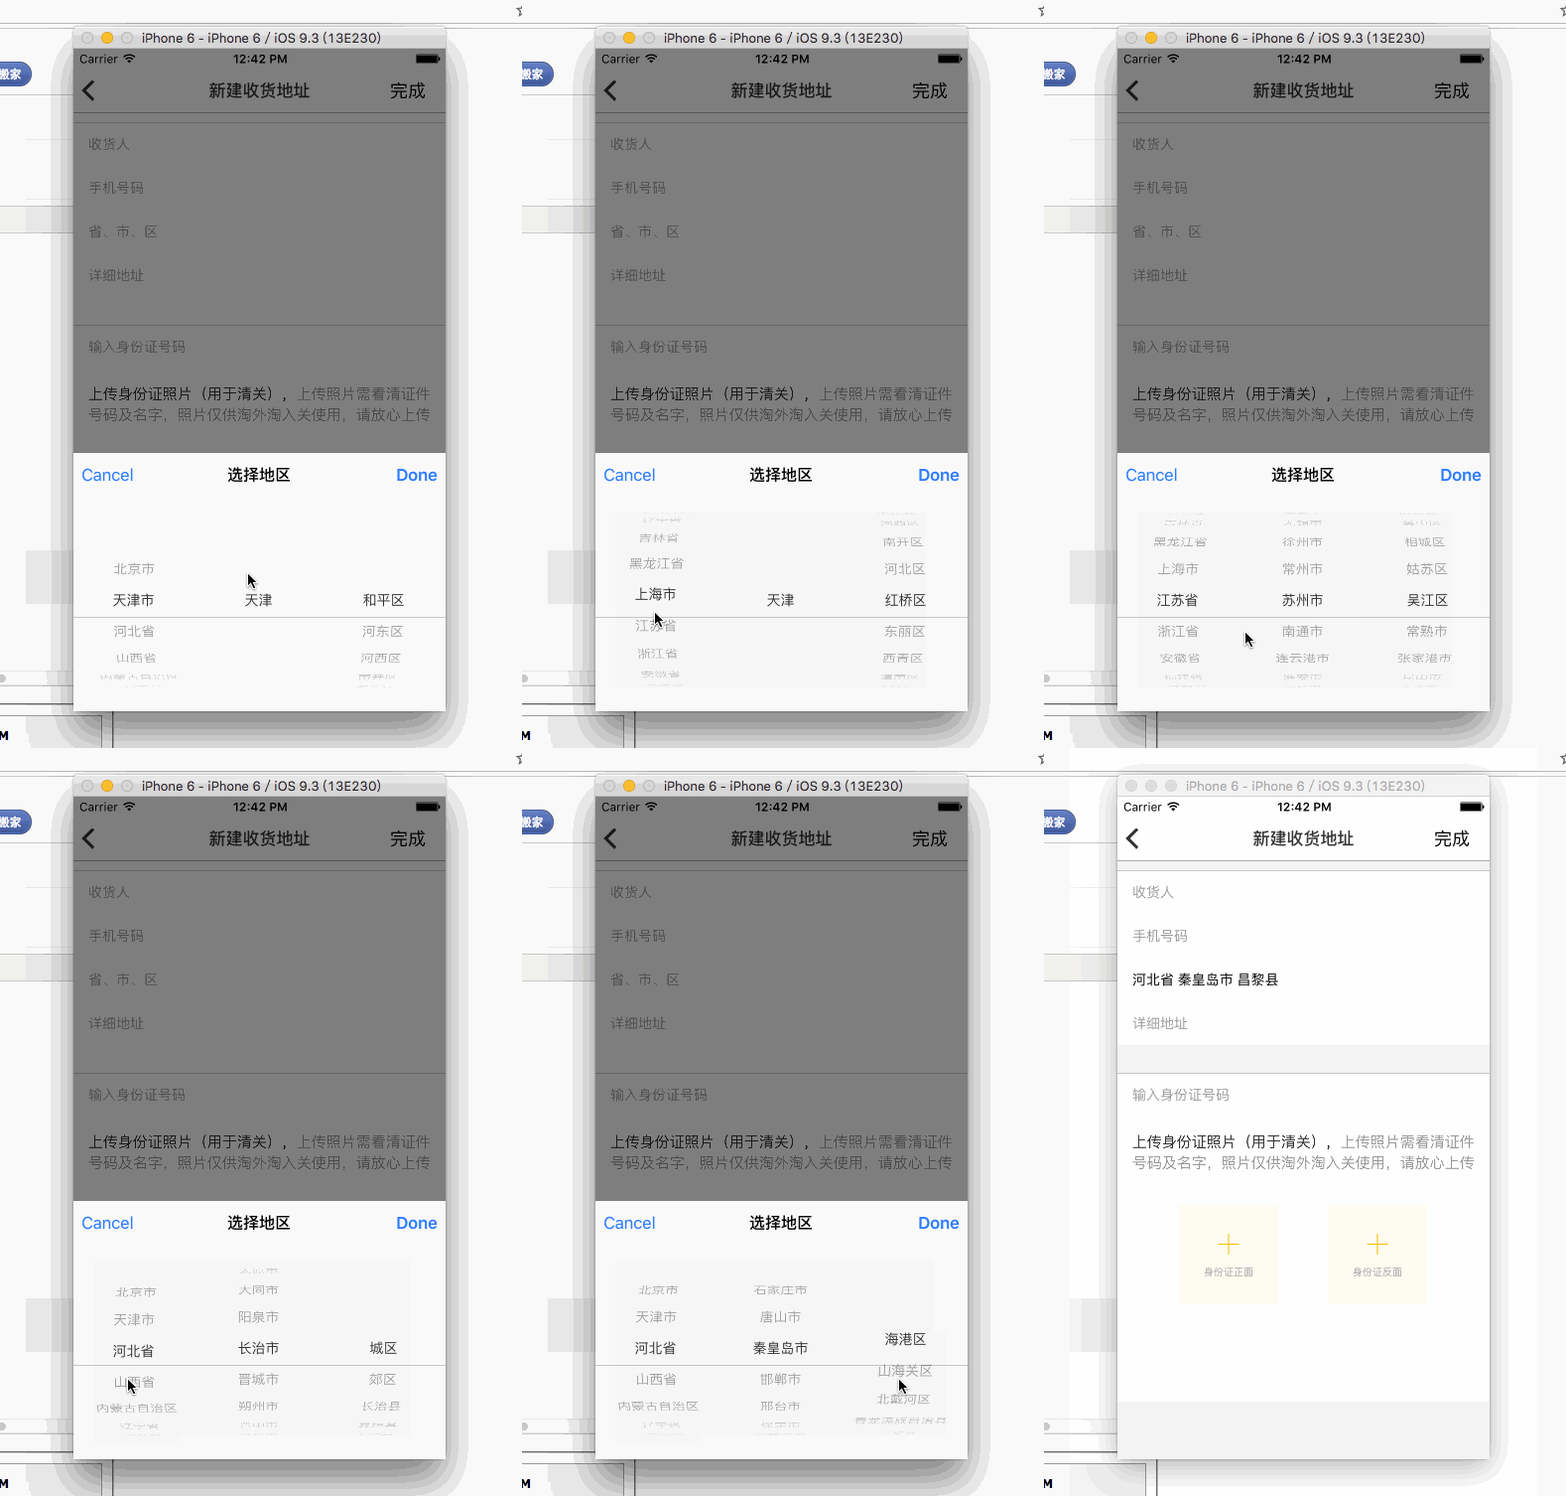
如图所示,根据Picker选择的地址,给指定indexpath的cell赋值
NOTE:这个picker三级联动的Demo会近期写成博客记录下来,如果有看的人或者留言的人会尽快写的

那么我们首选需要根据indexpath获取到cell,代码如下
-
- NSIndexPath * indexPath = [NSIndexPath indexPathForRow:2 inSection:0];
- UITableViewCell * cell = [self.tableView cellForRowAtIndexPath:indexPath];
获取到Cell之后再进行赋值就很简单了


 Over~~~~~~~~~~~~~~~~~~~~~~


 Over~~~~~~~~~~~~~~~~~~~~~~


 1235
1235


 被折叠的 条评论
为什么被折叠?


