


参考链接:https://github.com/Tencent/ncnn
https://github.com/Tencent/ncnn/wiki/how-to-build#build-for-windows-x64-using-visual-studio-community-2017
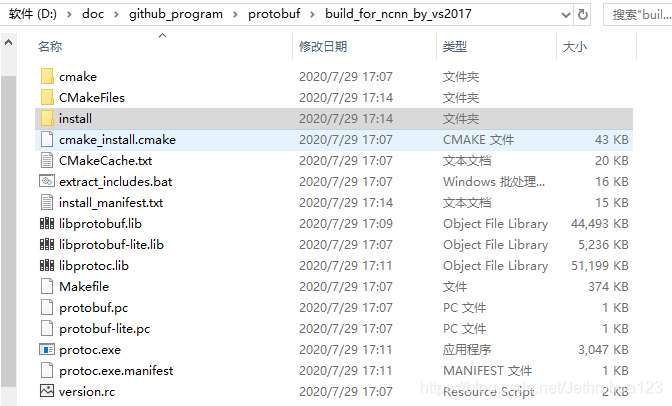
1.编译protobuf。
https://github.com/Tencent/ncnn/wiki/how-to-build#build-for-windows-x64-using-visual-studio-community-2017
2.下载vulkan软件:
https://vulkan.lunarg.com/sdk/home
3。编译ncnn。
进入vs2017 x64本机工具命令提示界面:输入如下:
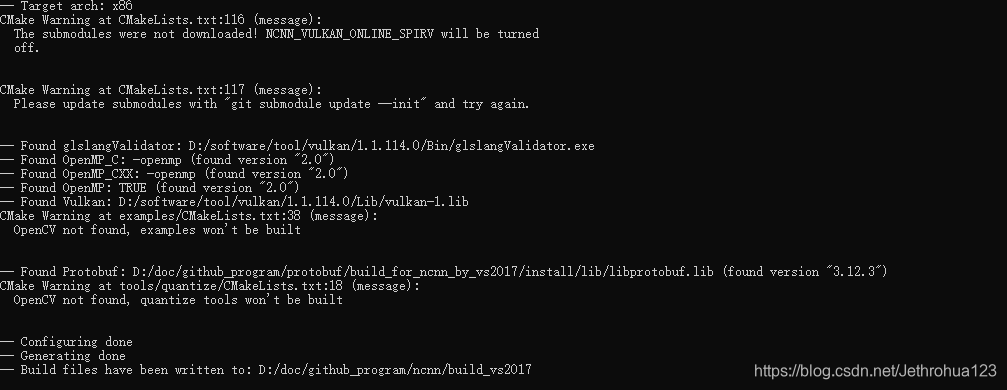
cmake -G"NMake Makefiles" -DCMAKE_BUILD_TYPE=Release -DCMAKE_INSTALL_PREFIX=%cd%/install -DProtobuf_INCLUDE_DIR=D:/doc/github_program/protobuf/build_for_ncnn_by_vs2017/install/include -DProtobuf_LIBRARIES=D:/doc/github_program/protobuf/build_for_ncnn_by_vs2017/install/lib/libprotobuf.lib -DProtobuf_PROTOC_EXECUTABLE=D:/doc/github_program/protobuf/build_for_ncnn_by_vs2017/install/bin/protoc.exe -DNCNN_VULKAN=ON … (该路径为自己电脑私人路径,需要自己修改)
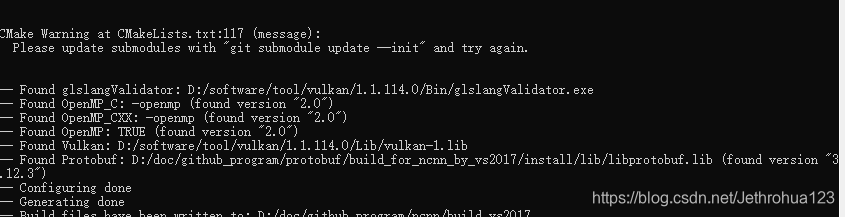
此时部分doc界面显示如下:
这里应该已经编译好了,但是本人想要使用ncnn中的自动量化功能,因此还需要cmake找到opencv后,重新cmake编译。关于这个问题在ncnn的github中提了issue,已自行解决:
https://github.com/Tencent/ncnn/issues/1982
这里需要把opencv的cmake路径加入到cmake 中。具体如下:
*cmake -G"NMake Makefiles" -DCMAKE_BUILD_TYPE=Release -DCMAKE_INSTALL_PREFIX=%cd%/install -DProtobuf_INCLUDE_DIR=D:/doc/github_program/protobuf/build_for_ncnn_by_vs2017/install/include -DProtobuf_LIBRARIES=D:/doc/github_program/protobuf/build_for_ncnn_by_vs2017/install/lib/libprotobuf.lib -DProtobuf_PROTOC_EXECUTABLE=D:/doc/github_program/protobuf/build_for_ncnn_by_vs2017/install/bin/protoc.exe -DOpenCV_DIR=D:/software/tool/opencv/opencv/build -DNCNN_VULKAN=ON ..*
cmake成功,截图如下:
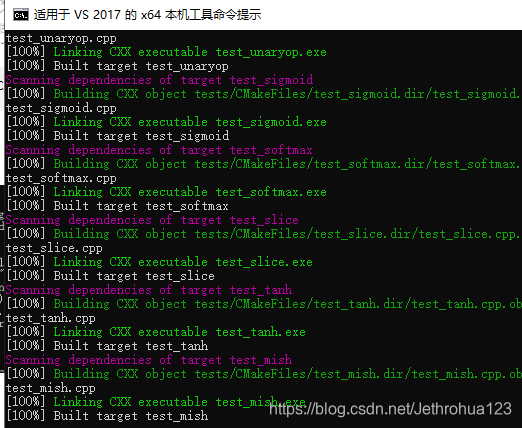
运行nmake进行编译。
运行nmake install进行安装。
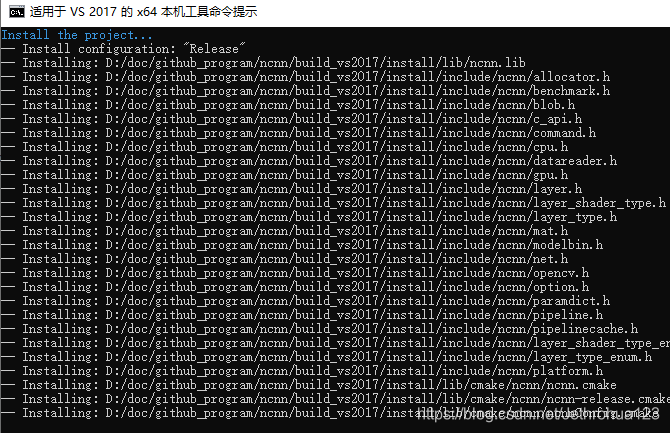
编译完成!


 1343
1343


 被折叠的 条评论
为什么被折叠?
被折叠的 条评论
为什么被折叠?
 到【灌水乐园】发言


