


备注:学习自博主黑夜の骑士REVIT二次开发入门教程
1、老规矩,新建一个类库,实现IExternalCommand接口
using System;
using System.Collections.Generic;
using System.Linq;
using System.Text;
using System.Threading.Tasks;
using Autodesk.Revit;
using Autodesk.Revit.Attributes;
using Autodesk.Revit.DB;
using Autodesk.Revit.UI;

namespace LearnFilter {
    [Transaction(TransactionMode.Manual)]
    public class CreateWallDemo : IExternalCommand {
        public Result Execute(ExternalCommandData commandData, ref string message, ElementSet elements) {
            return Result.Succeeded;
        }
    }
}
2、获取当前文档,这里以CW 102-50-100p这个族类型为例,获取该墙类型,将返回值转换为WallType类型。
//获取当前文档
Document doc = commandData.Application.ActiveUIDocument.Document;
//获取CW 102-50-100p类型的墙
FilteredElementCollector collector = new FilteredElementCollector(doc);
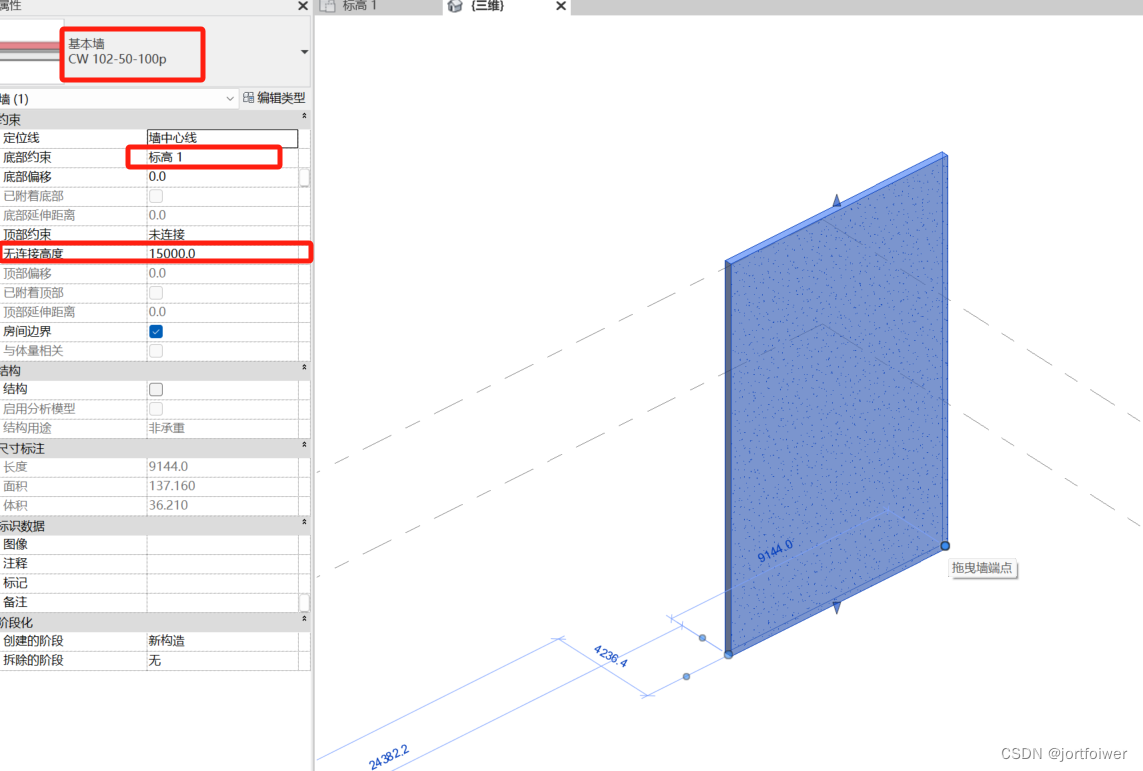
WallType wallType = collector.OfCategory(BuiltInCategory.OST_Walls).OfClass(typeof(WallType)).FirstOrDefault(x => x.Name == "CW 102-50-100p") as WallType;3、revit中创建墙的时候需要指定楼层平面的标高,这里获取你要创建墙的标高信息
Level level = new FilteredElementCollector(doc).OfClass(typeof(Level)).FirstOrDefault(x => x.Name == "标高 1") as Level;4、指定墙的起点和终点
            XYZ start = new XYZ(0, 0, 0);
            XYZ end = new XYZ(30, 0, 0);
            Line geomLine = Line.CreateBound(start, end);
5、设置墙的高度和偏移等属性,由于revit的底层是以英寸为单位的,需要将英寸转换为米
            double height = 15 / 0.3048;
            double offset = 0;
6、创建墙
            Transaction trans = new Transaction(doc, "创建墙");
            trans.Start();
            Wall wall = Wall.Create(doc, geomLine, wallType.Id, level.Id, height, offset, false, false);
            trans.Commit();
7、右键程序集生成dll文件,并利用外部工具在revit中载入,就可以看到创建出来的墙了


 633
633


 被折叠的 条评论
为什么被折叠?
被折叠的 条评论
为什么被折叠?
 到【灌水乐园】发言


