


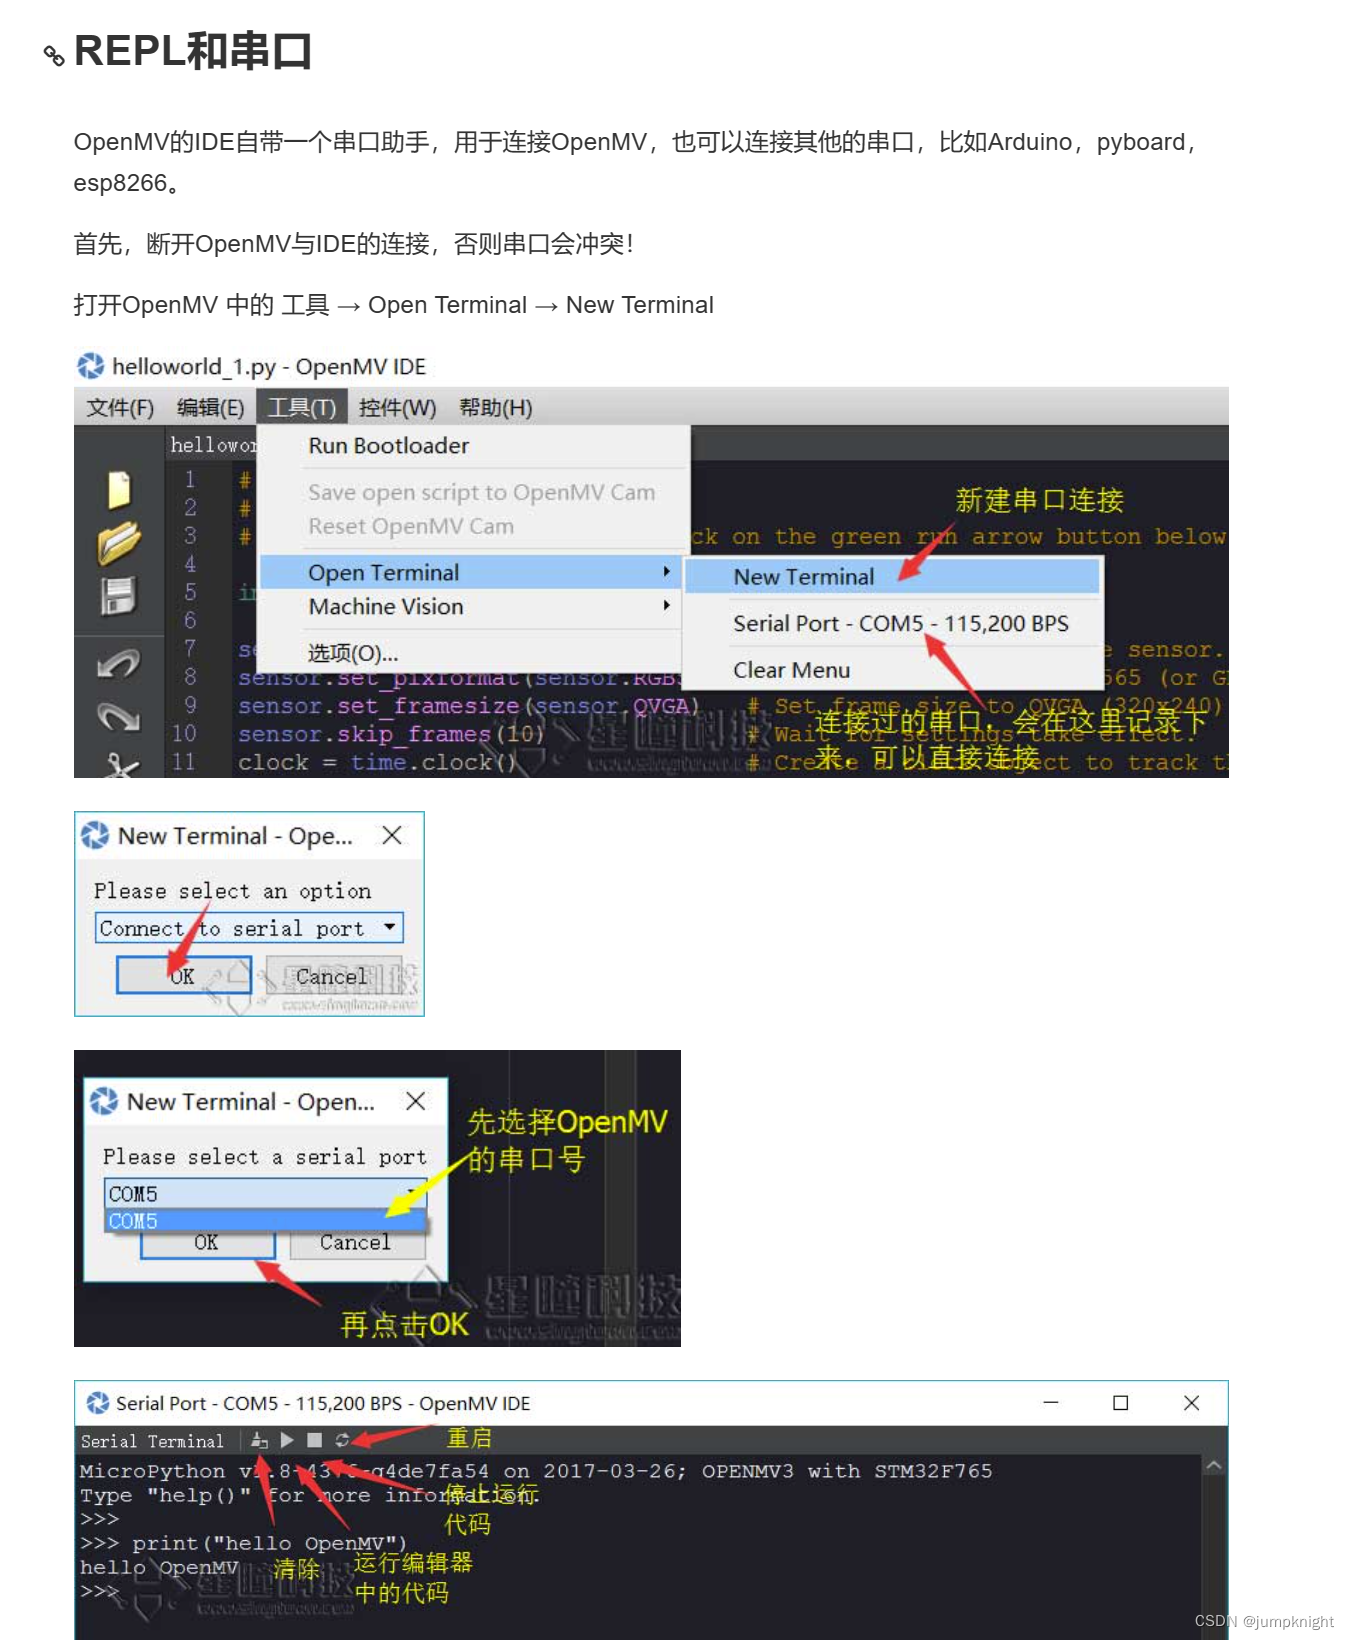
REPL和串口
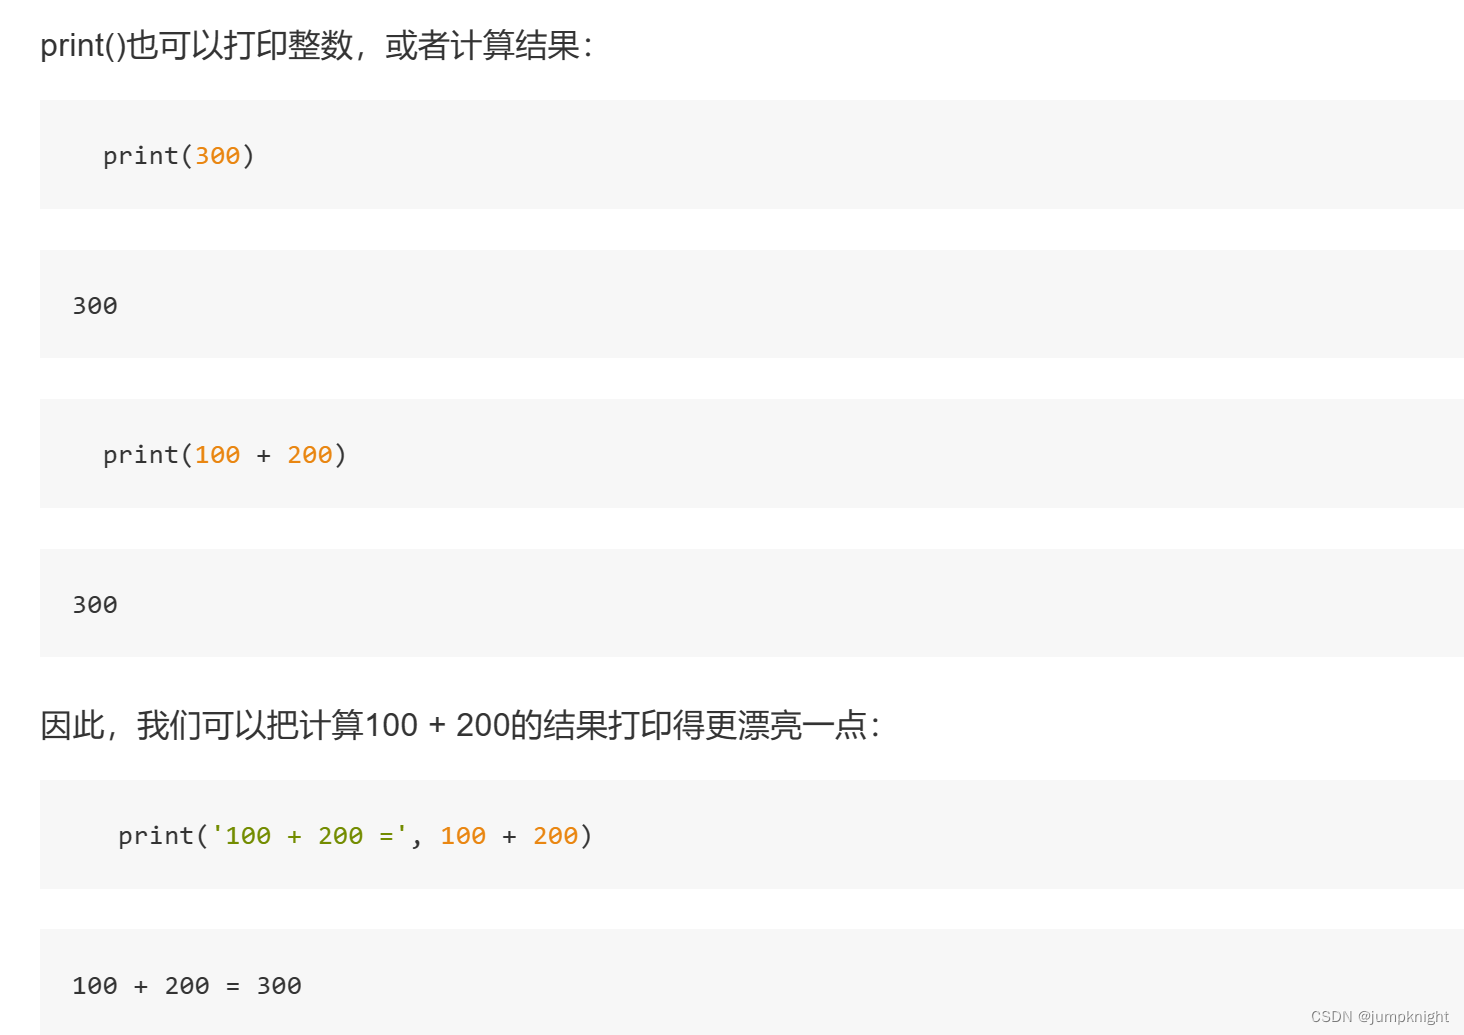
print('hello, world')
输出
hello, world
print('The quick brown fox', 'jumps over', 'the lazy dog')
输出
The quick brown fox jumps over the lazy dog
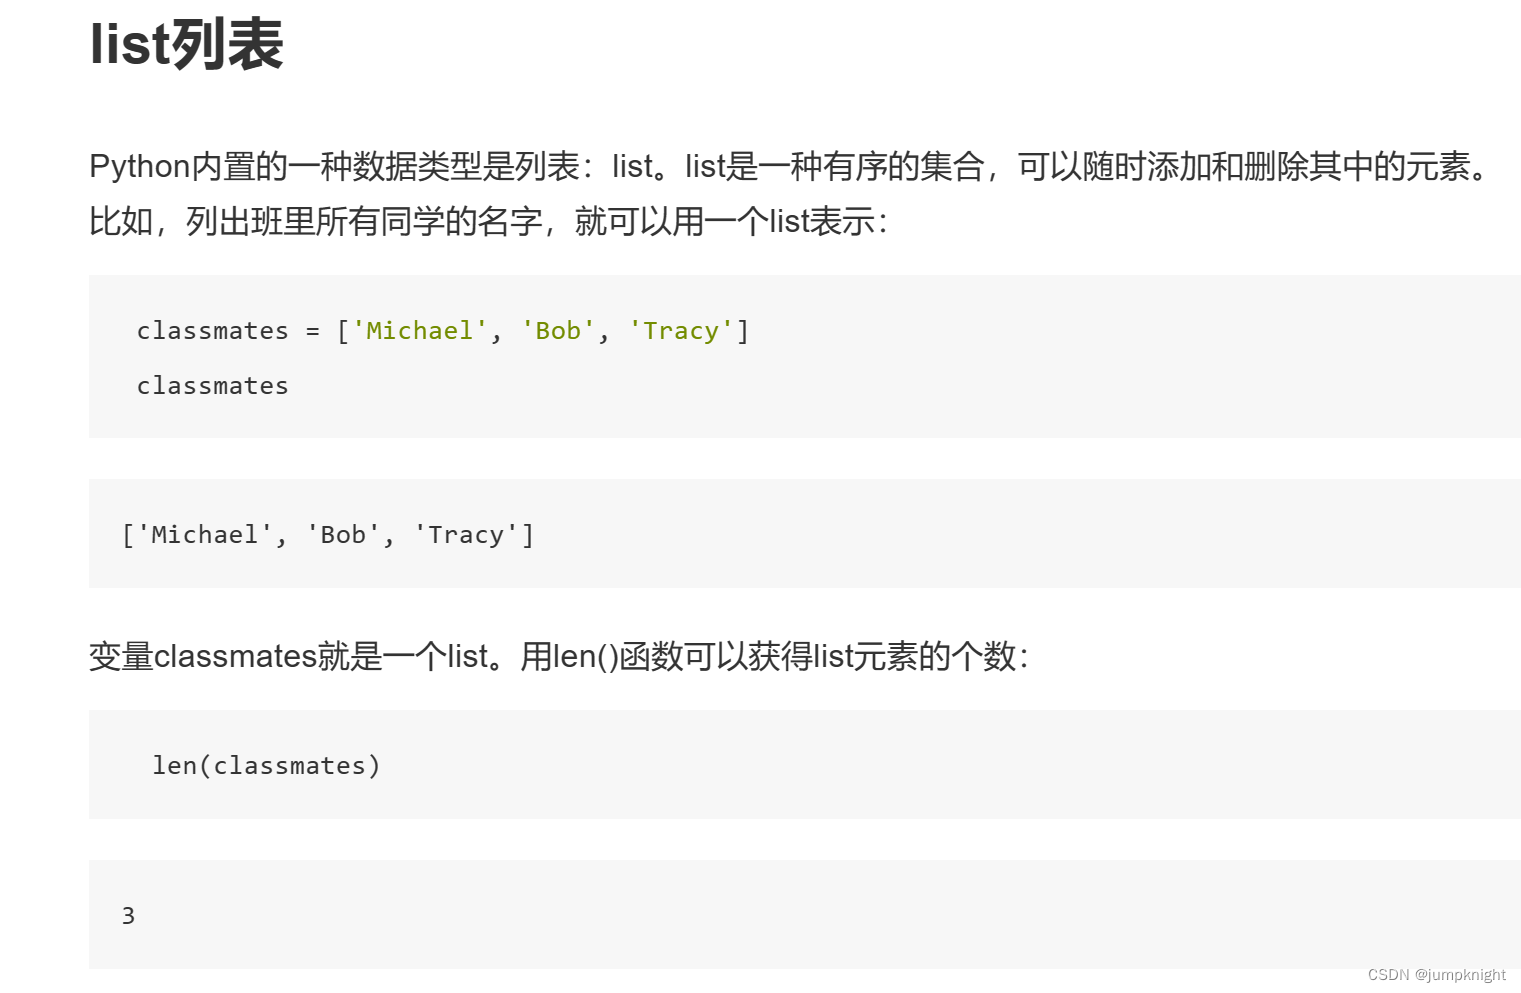
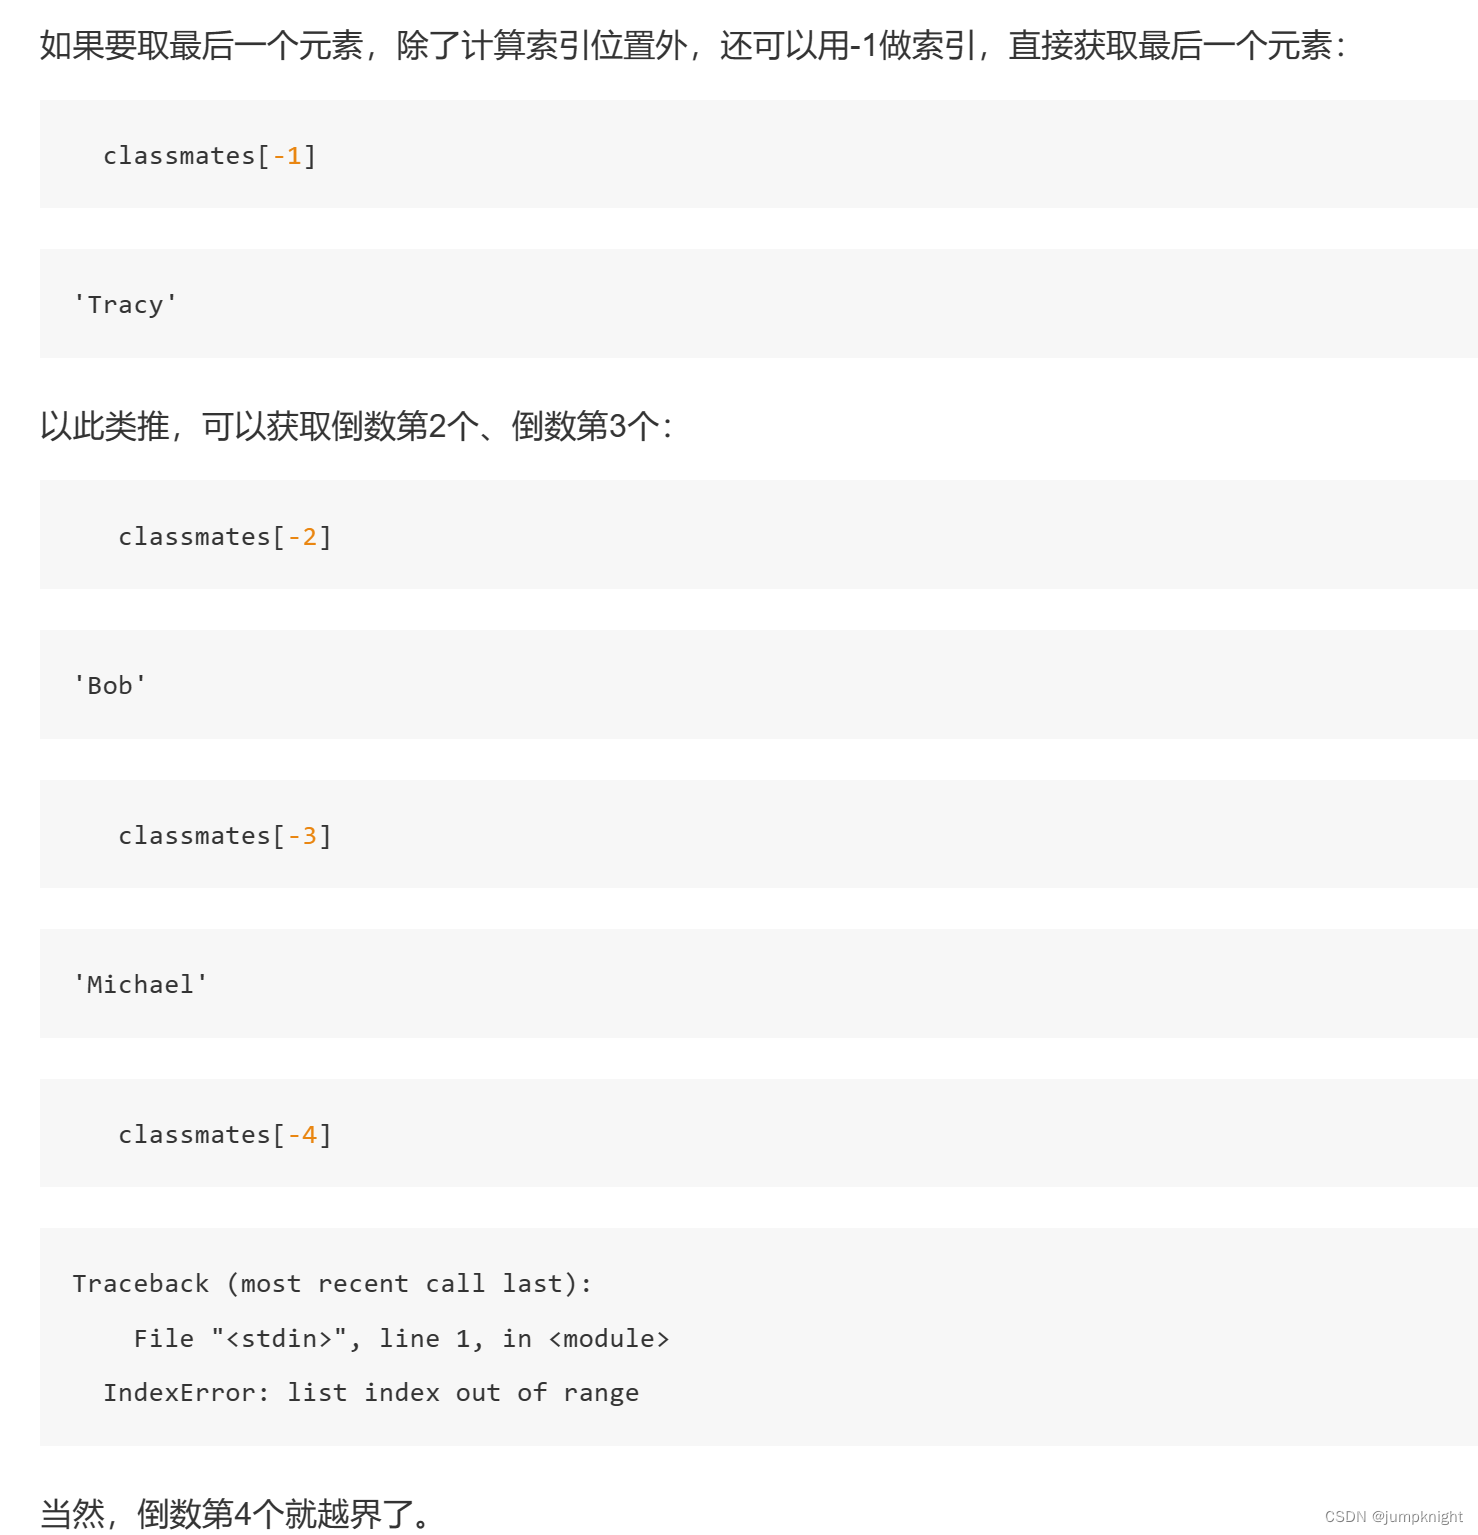
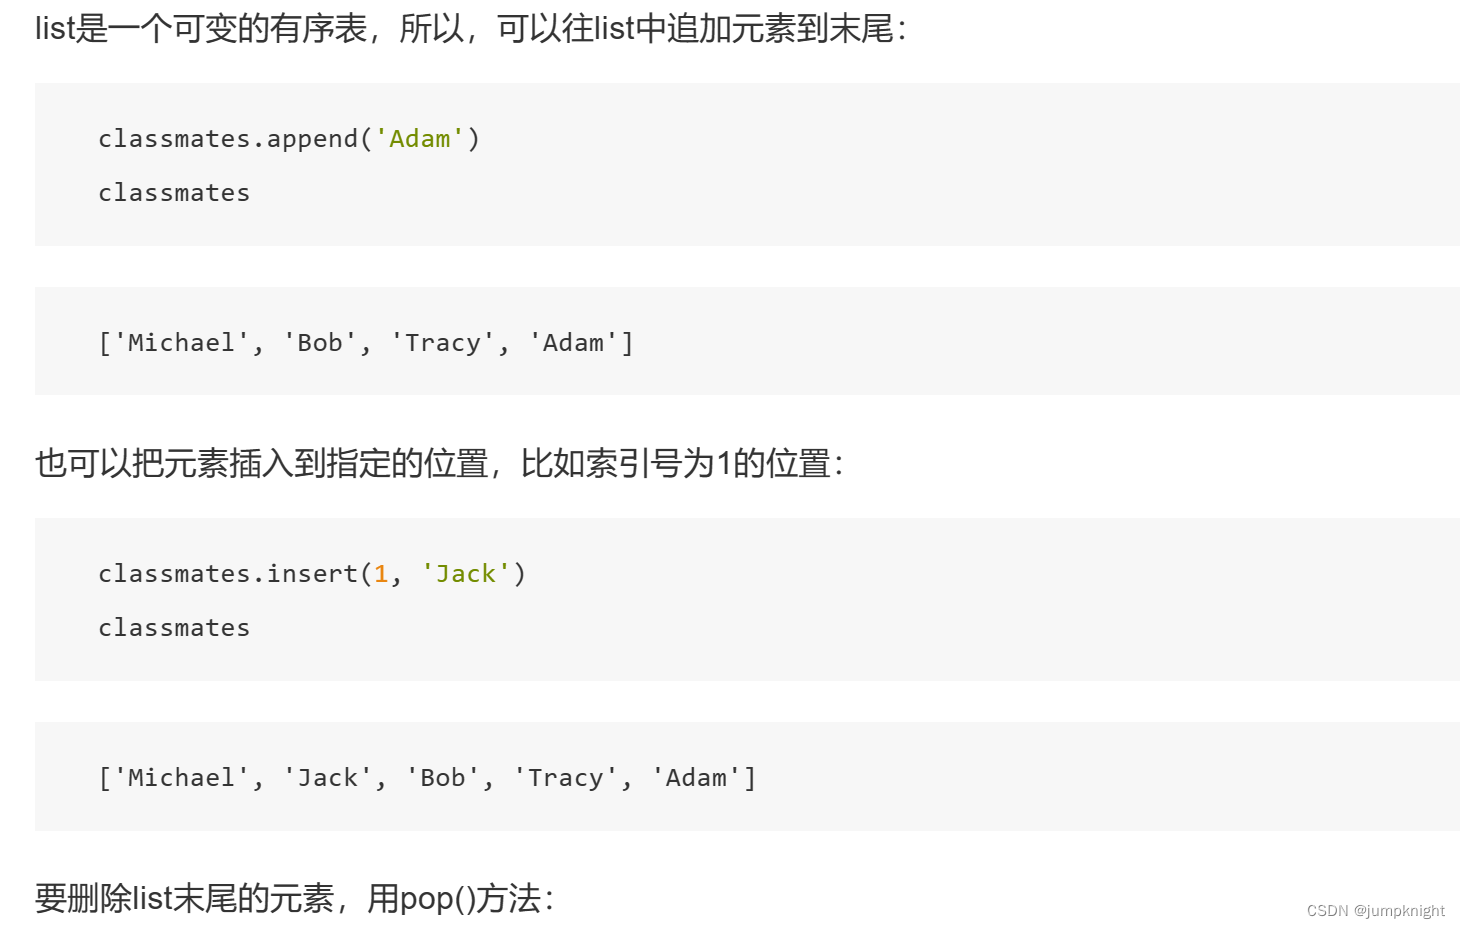
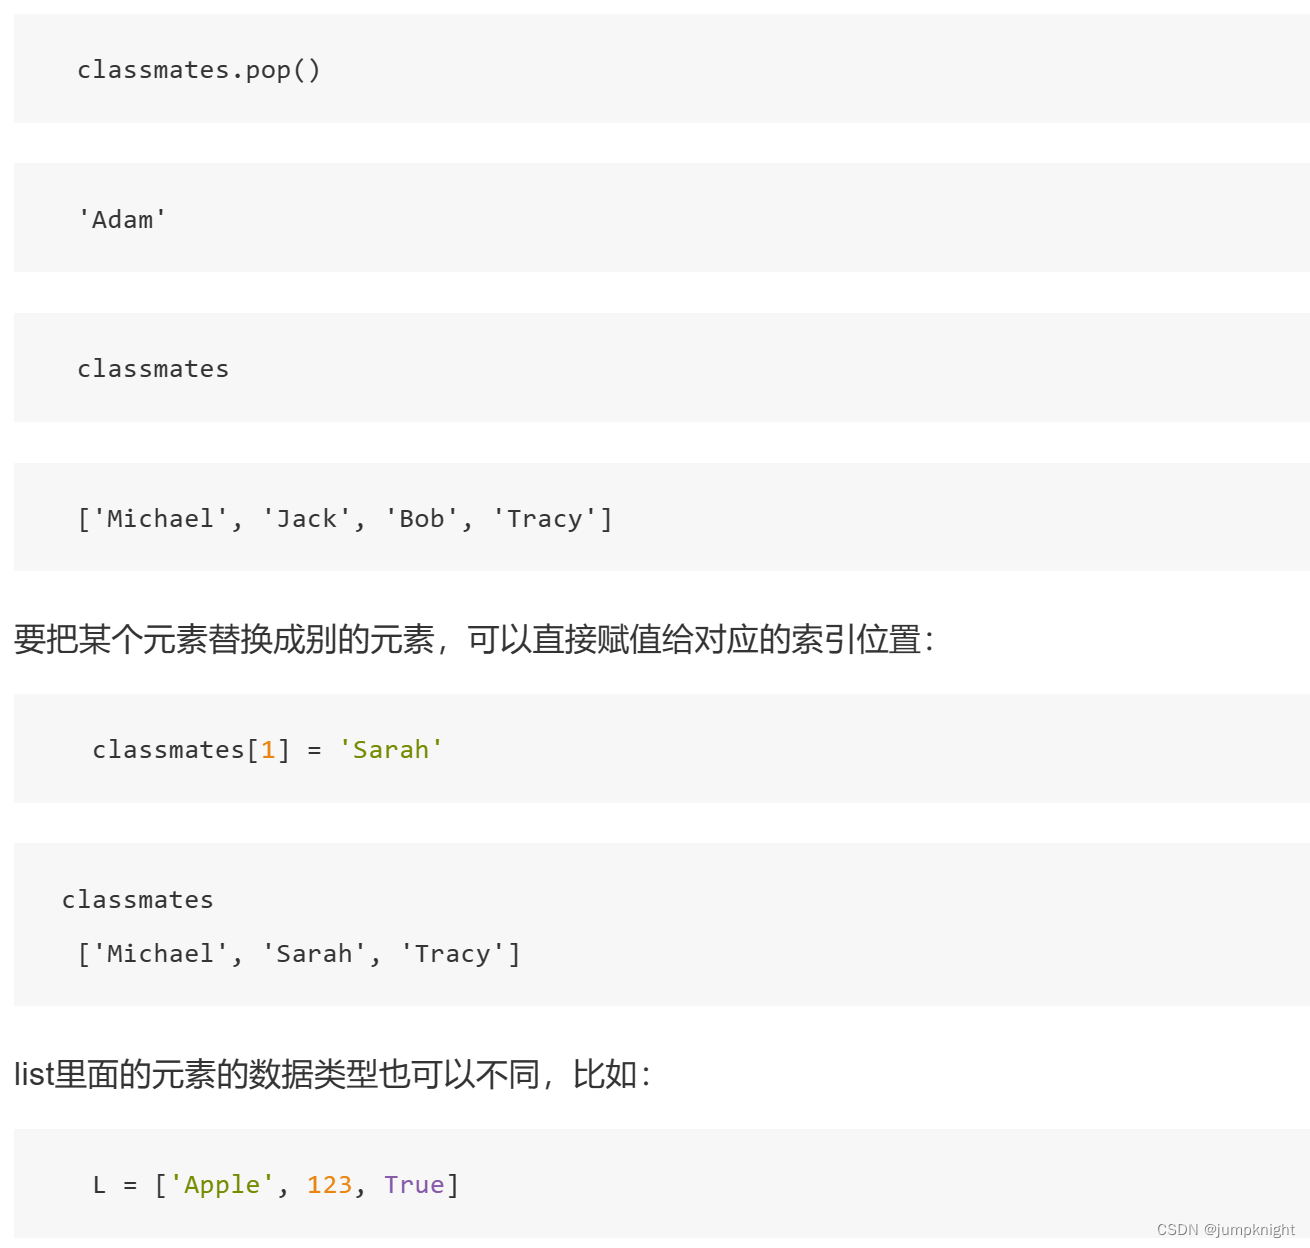
List列表
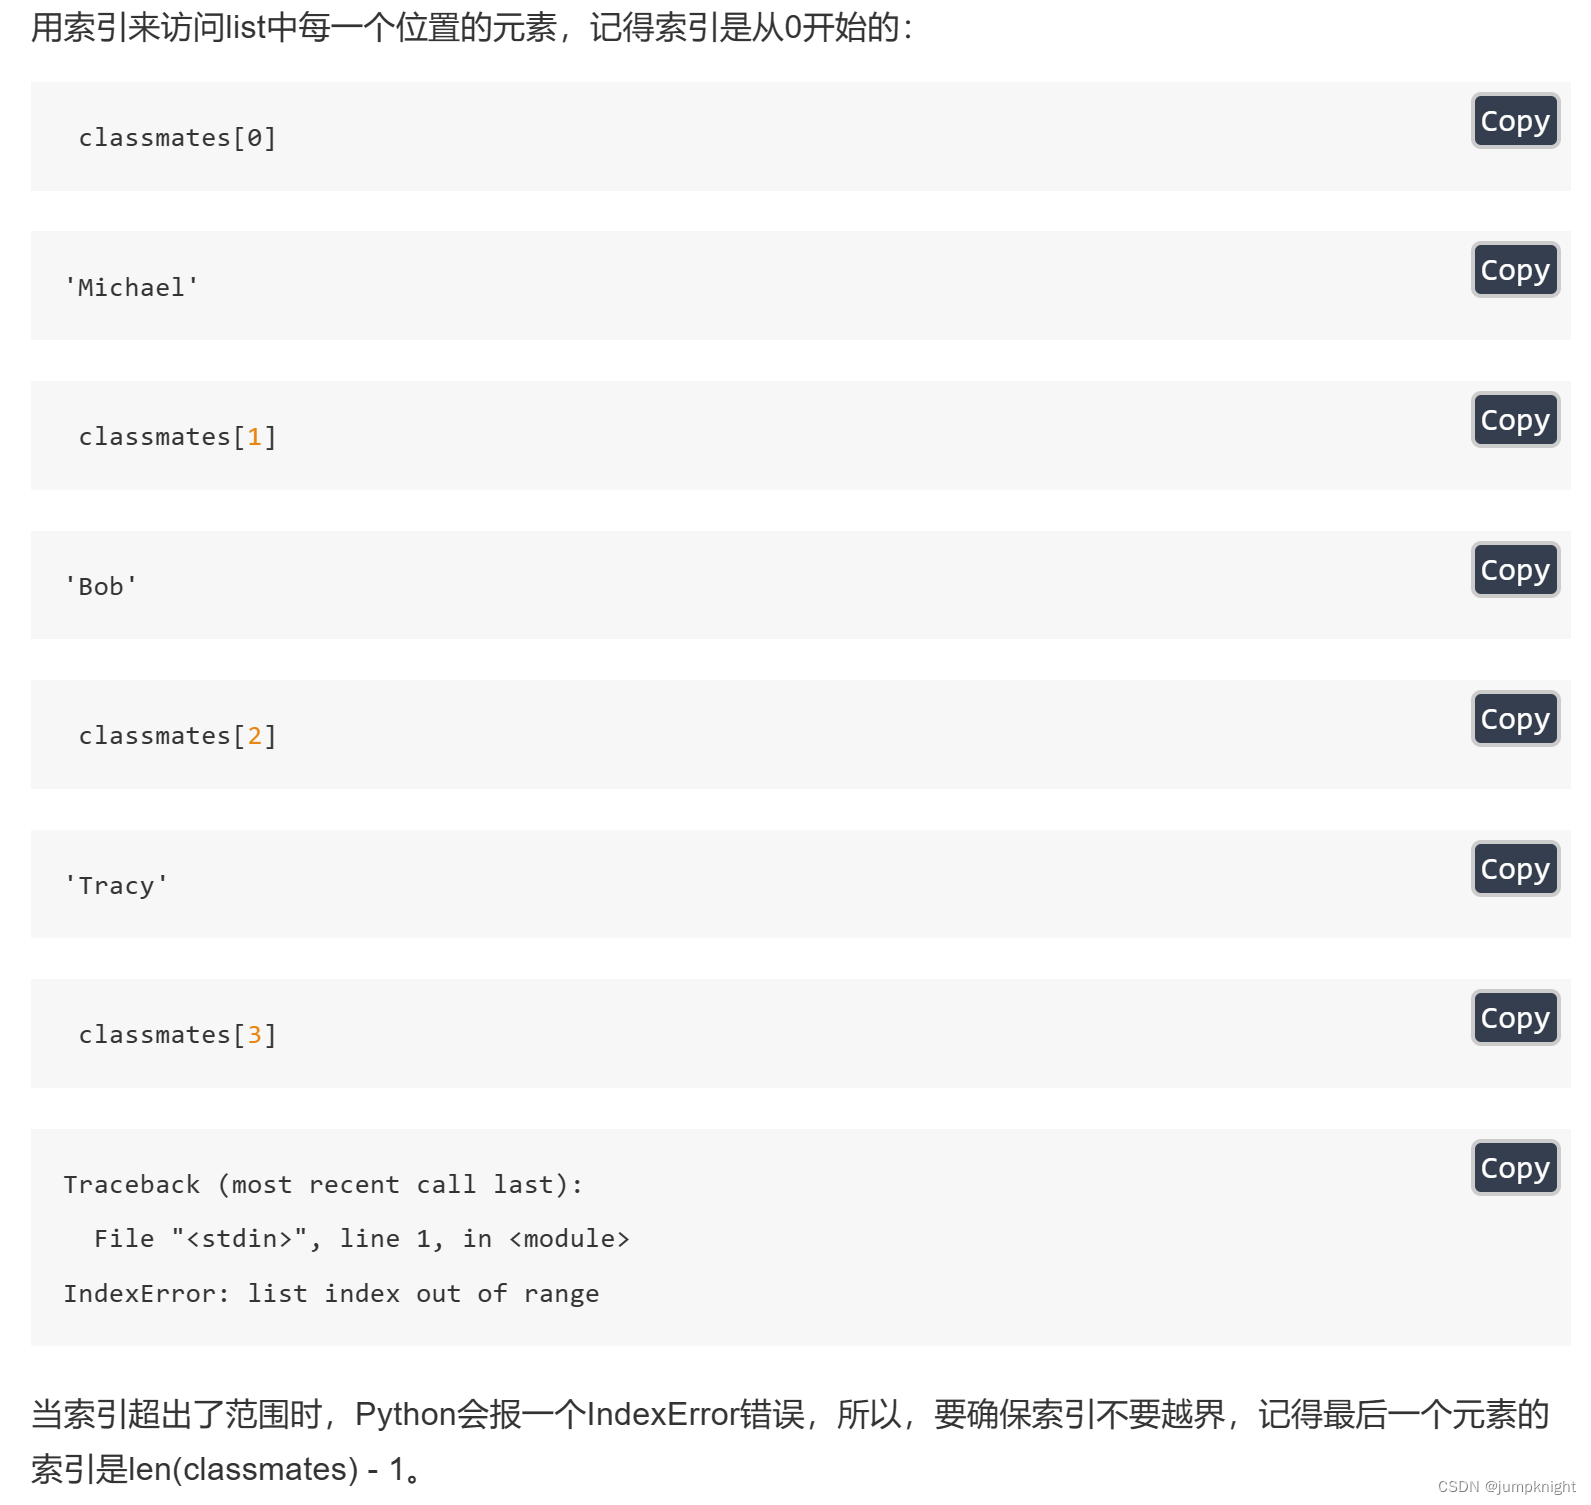
这里的-1就和编码器的强制类型转换很像,把65536变成 -1,以此类推
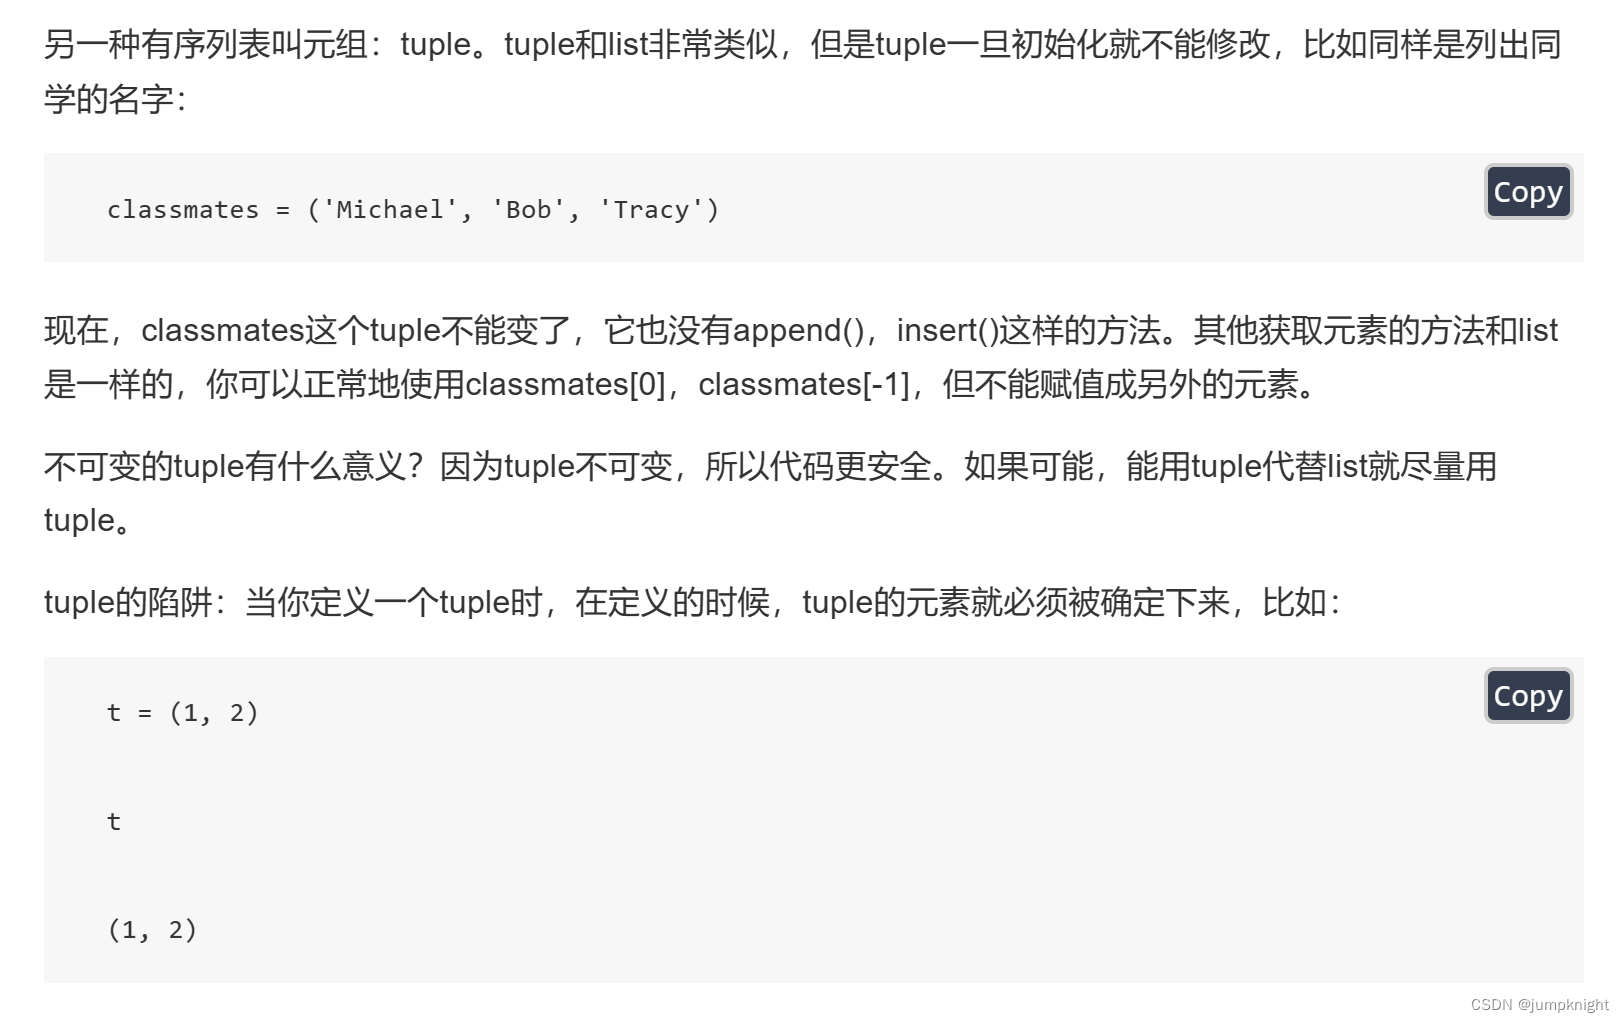
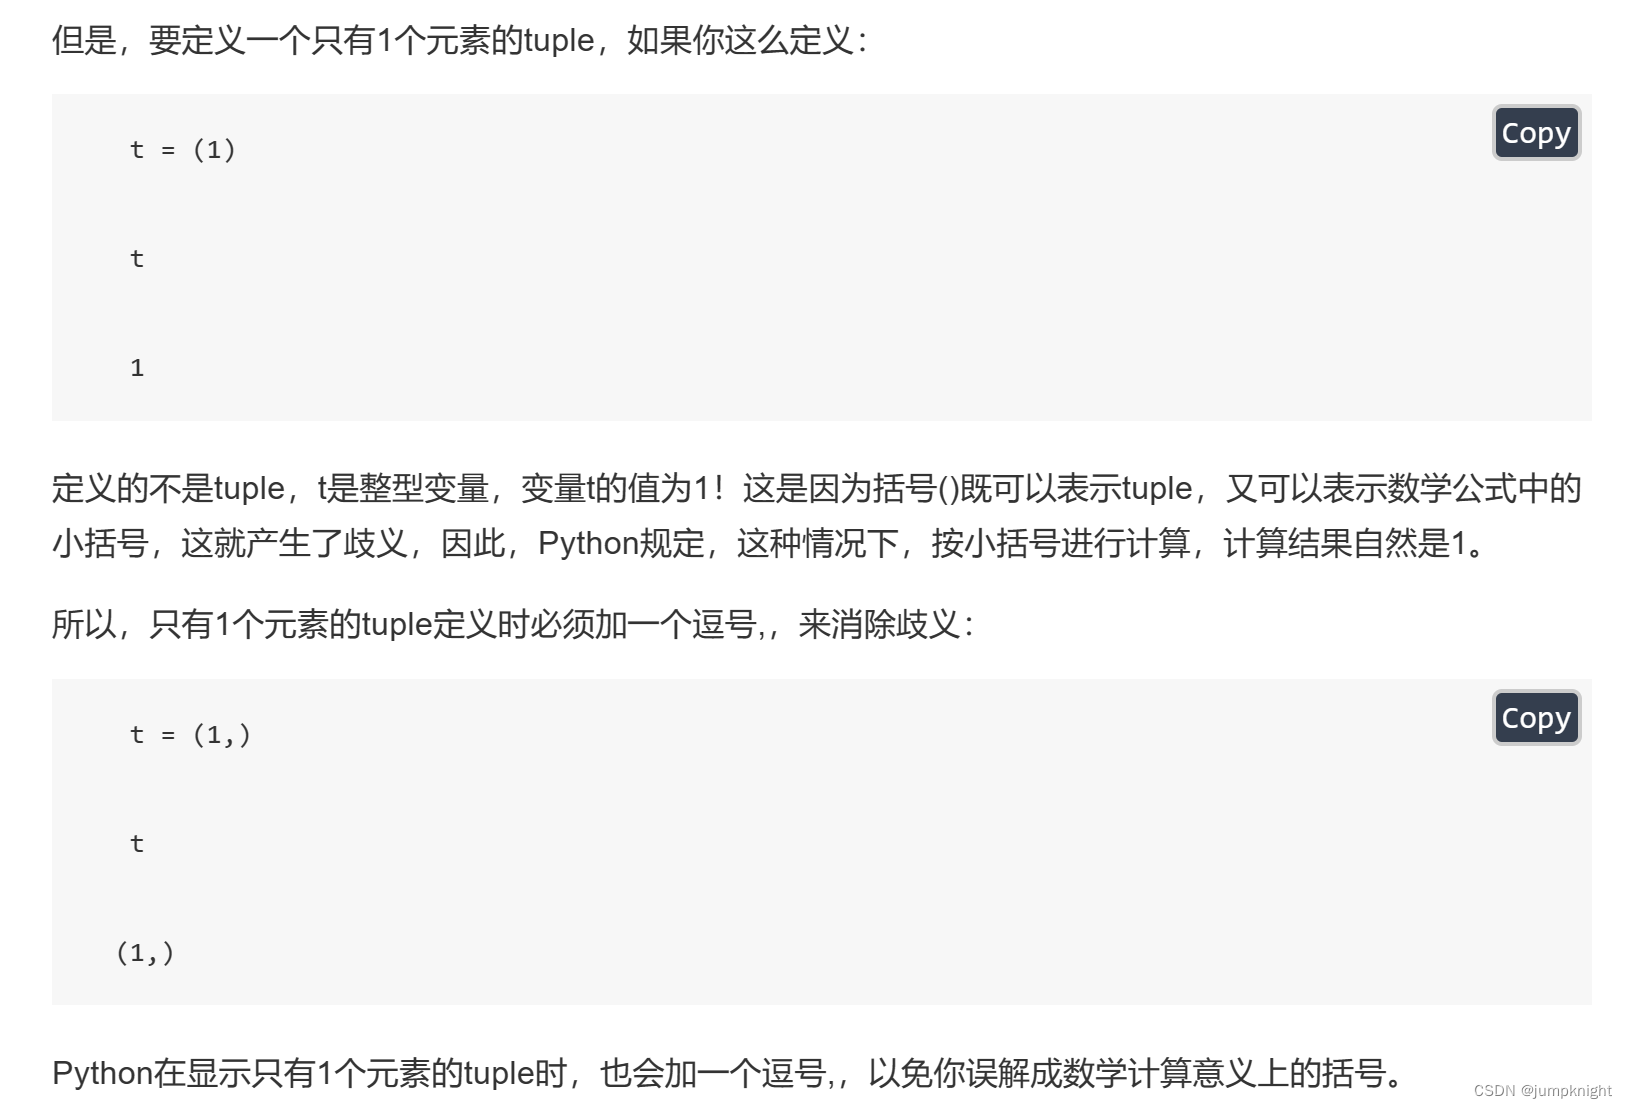
tuple元组
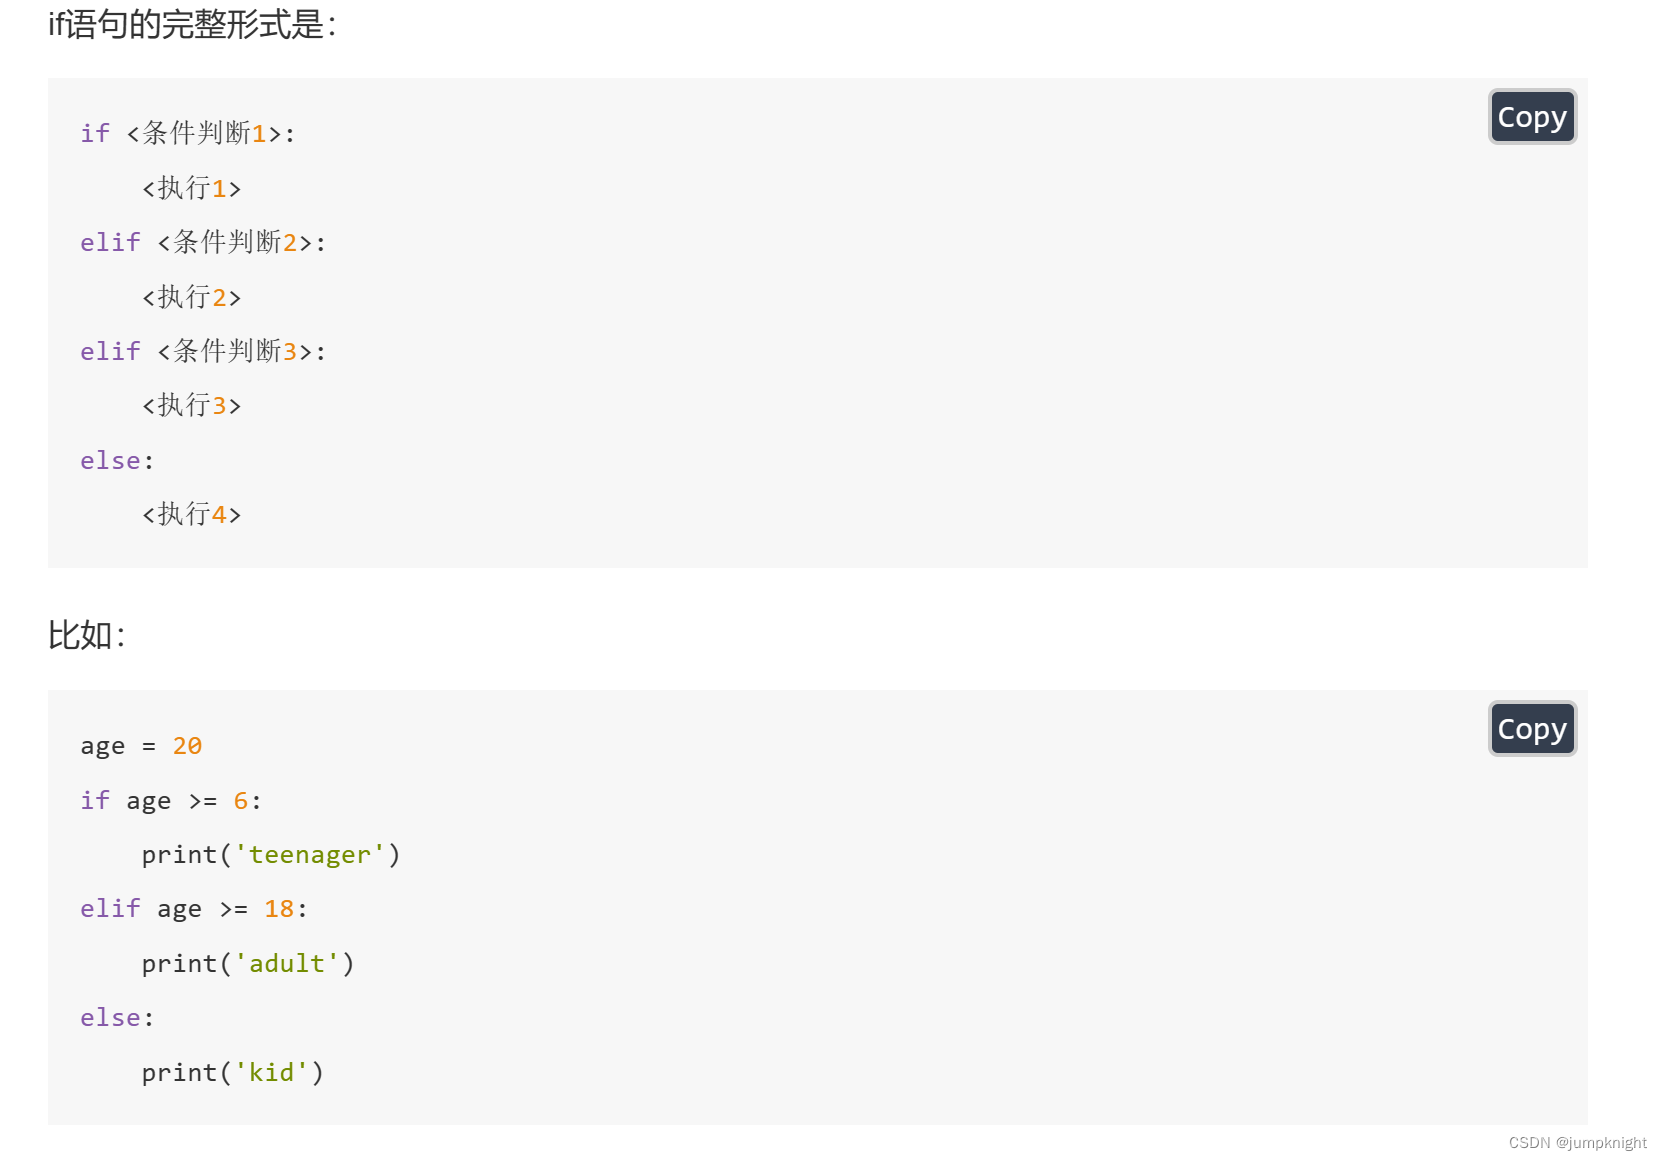
条件判断
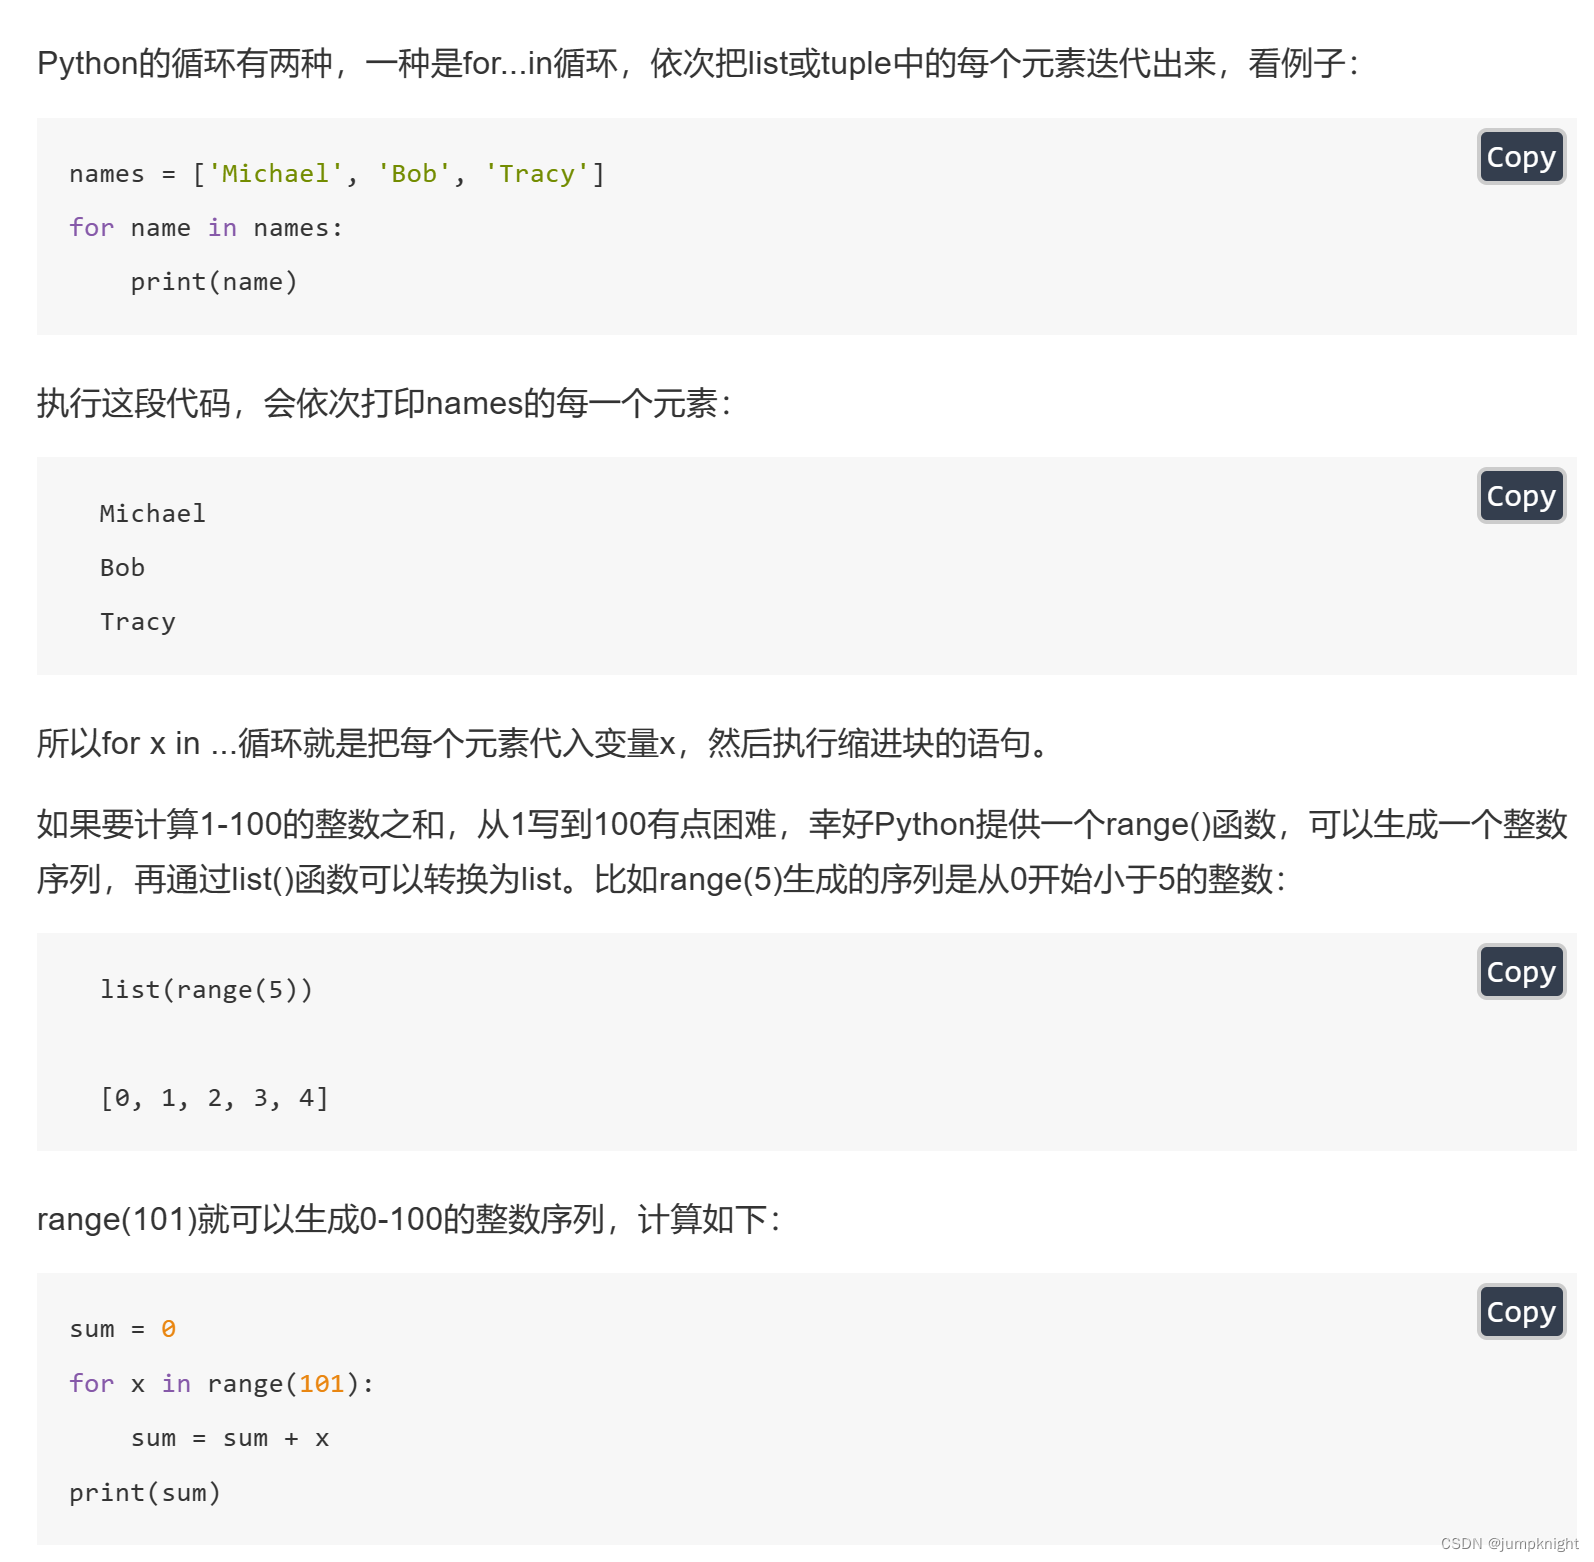
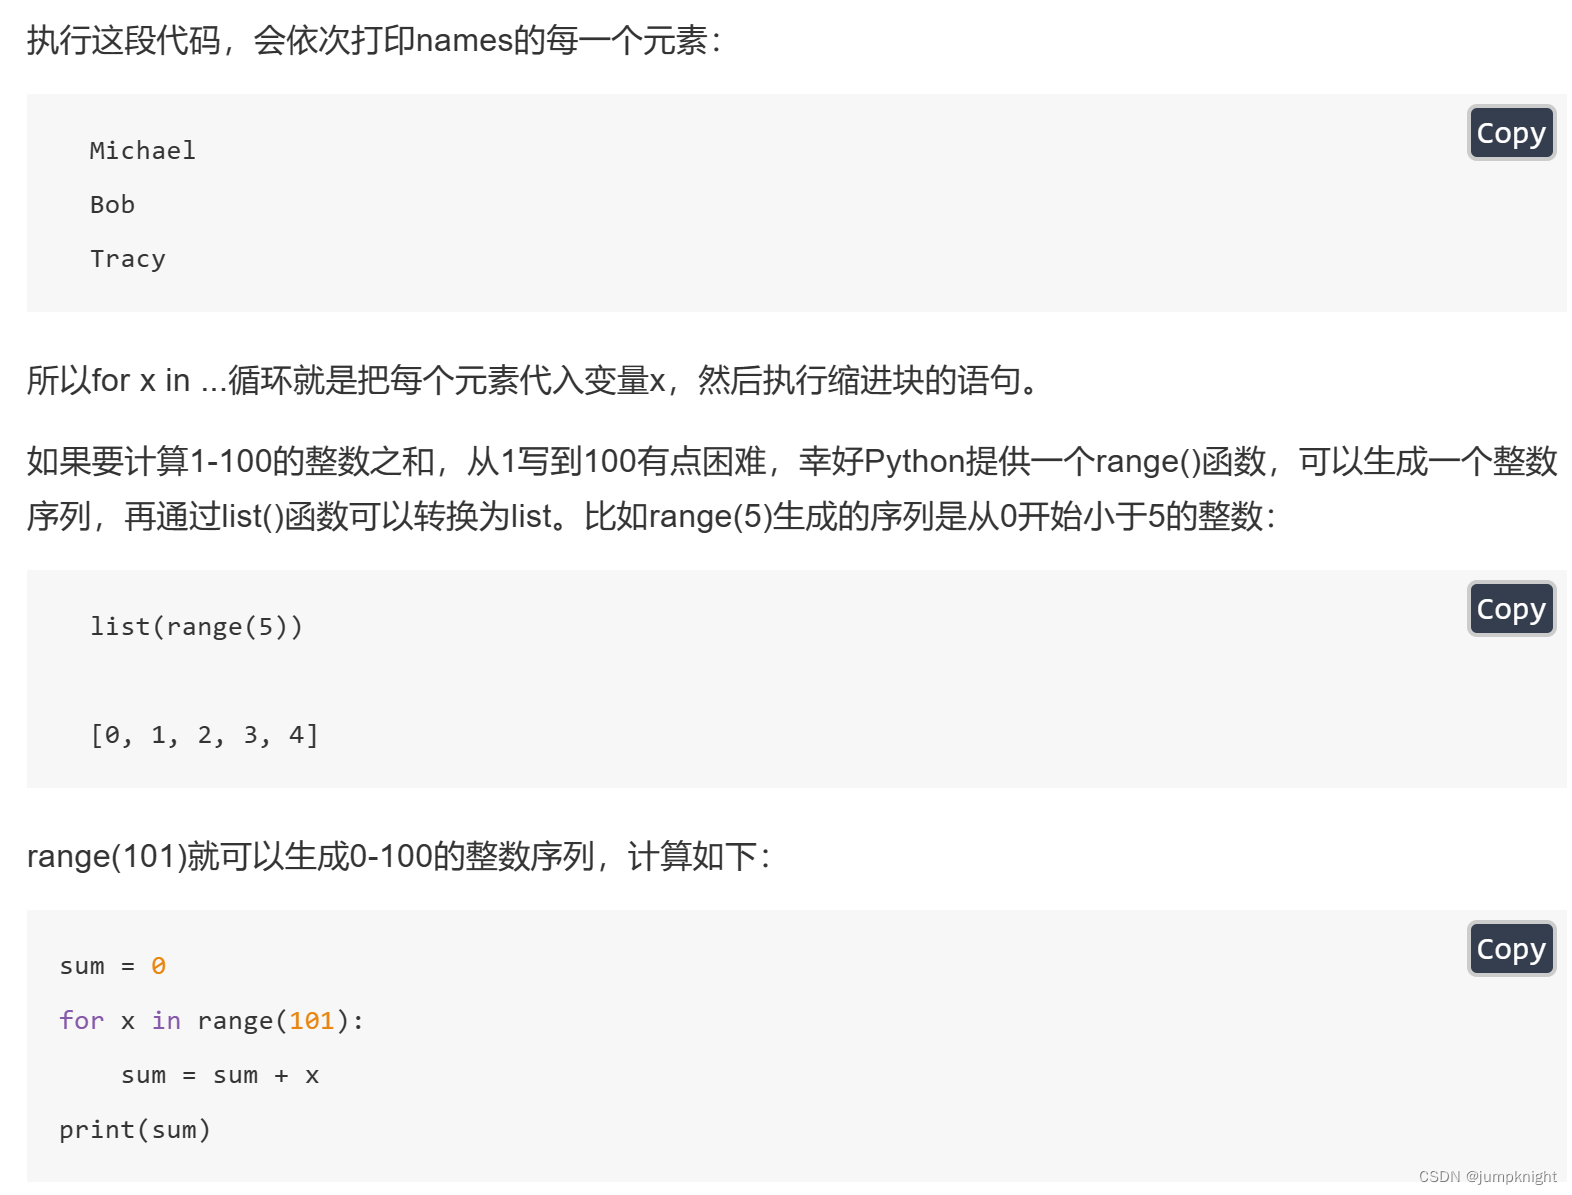
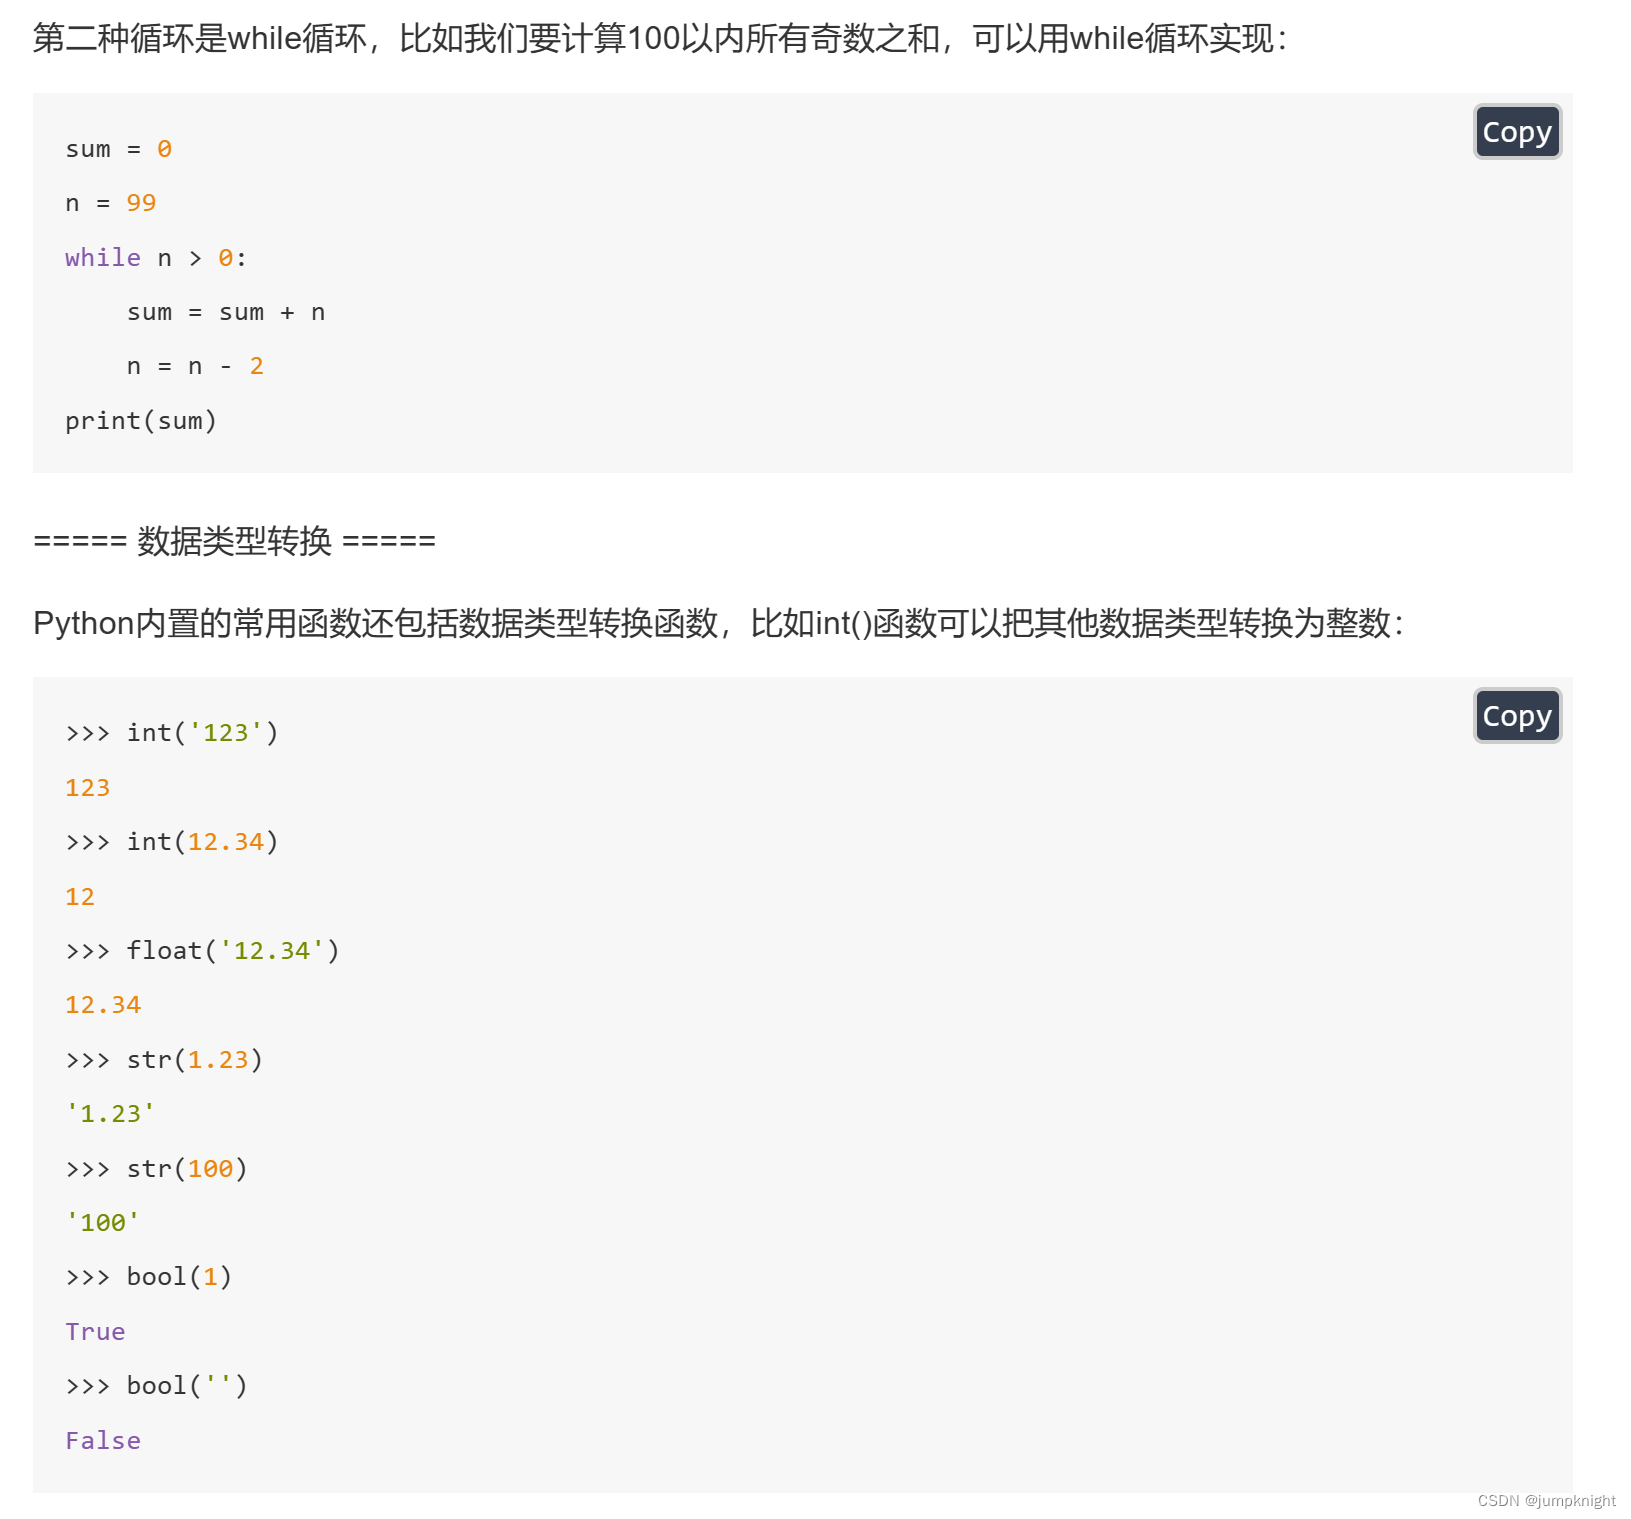
循环
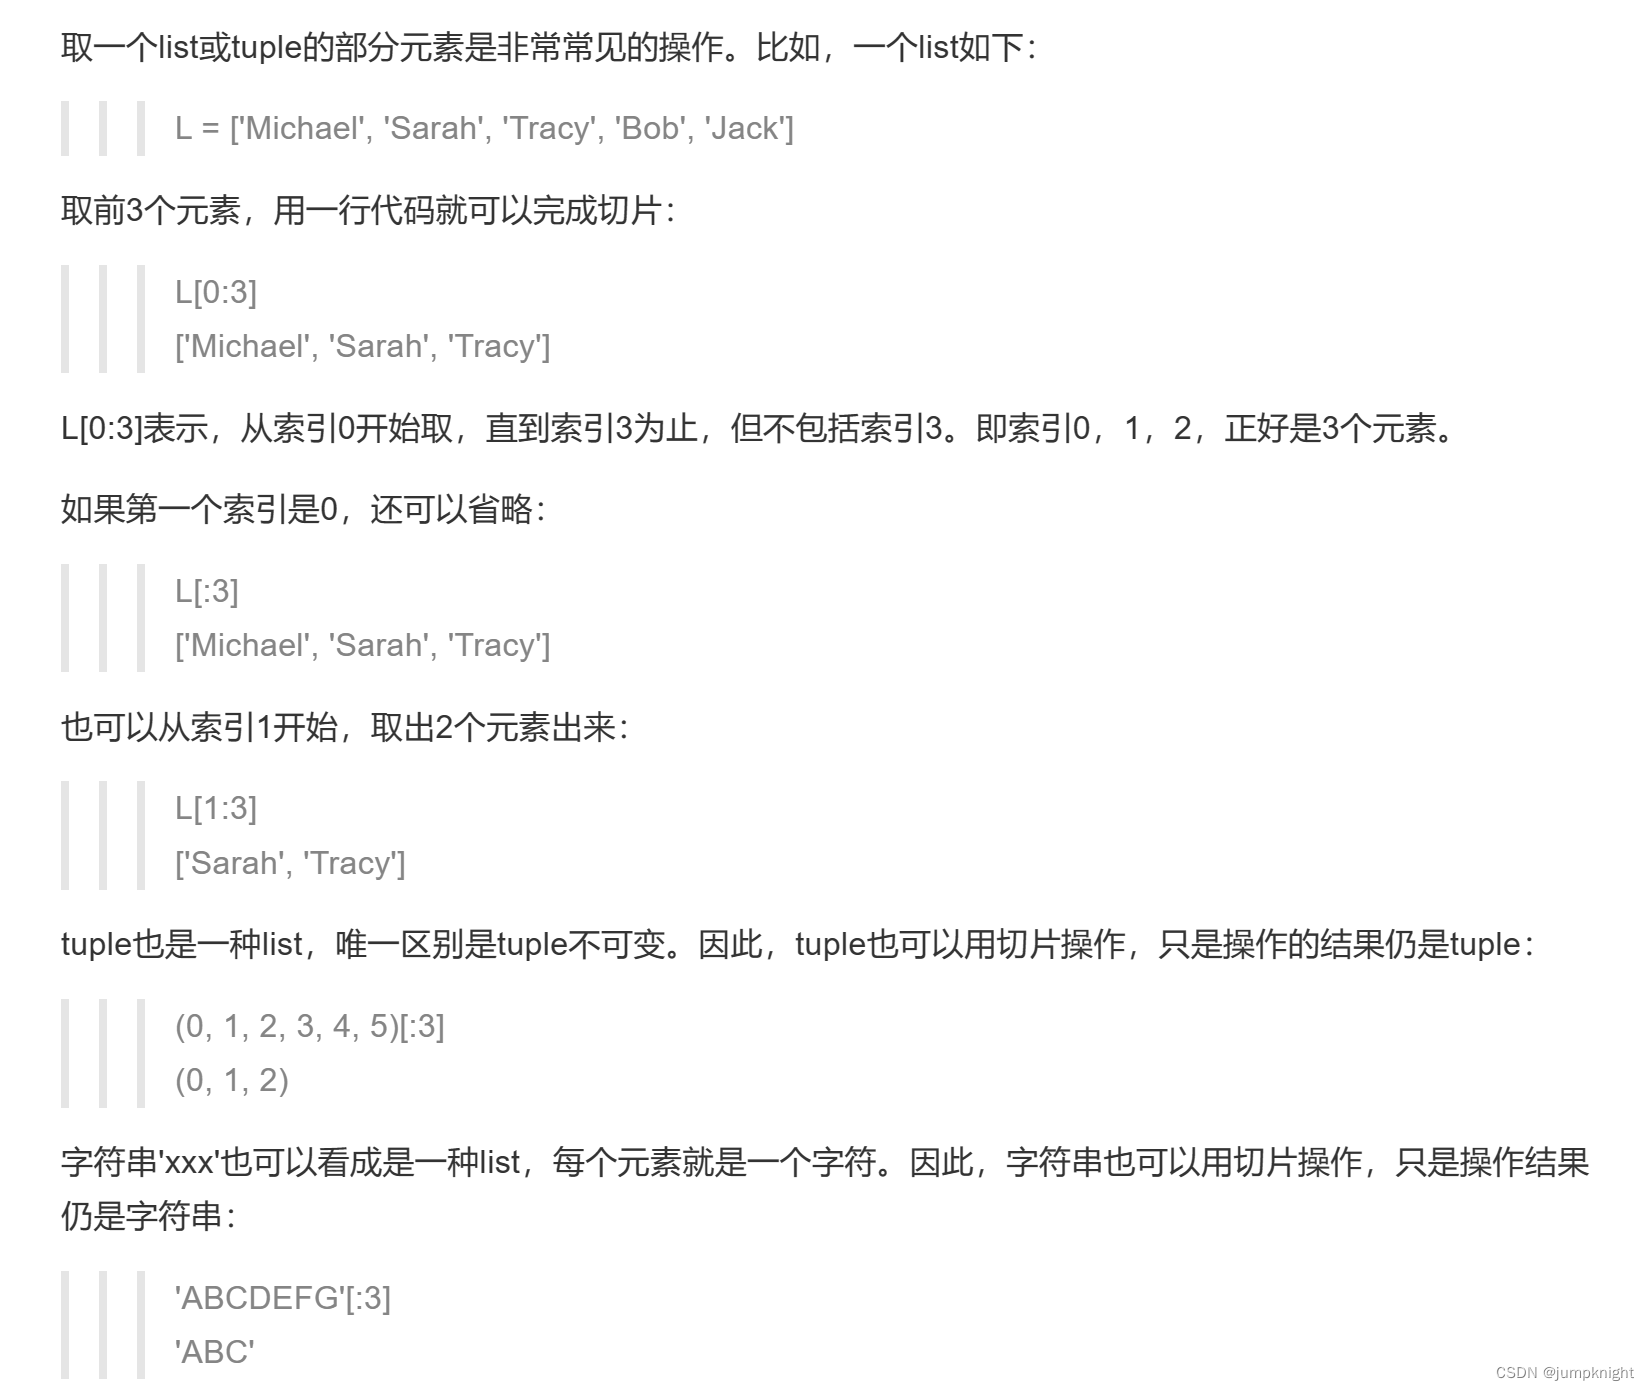
切片
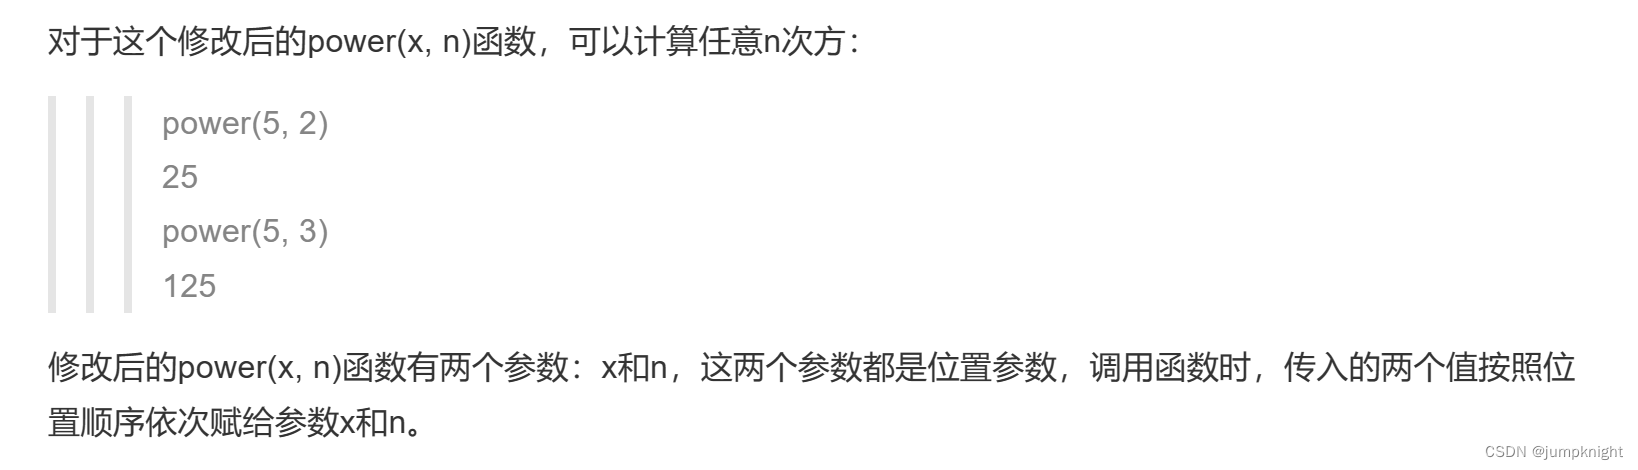
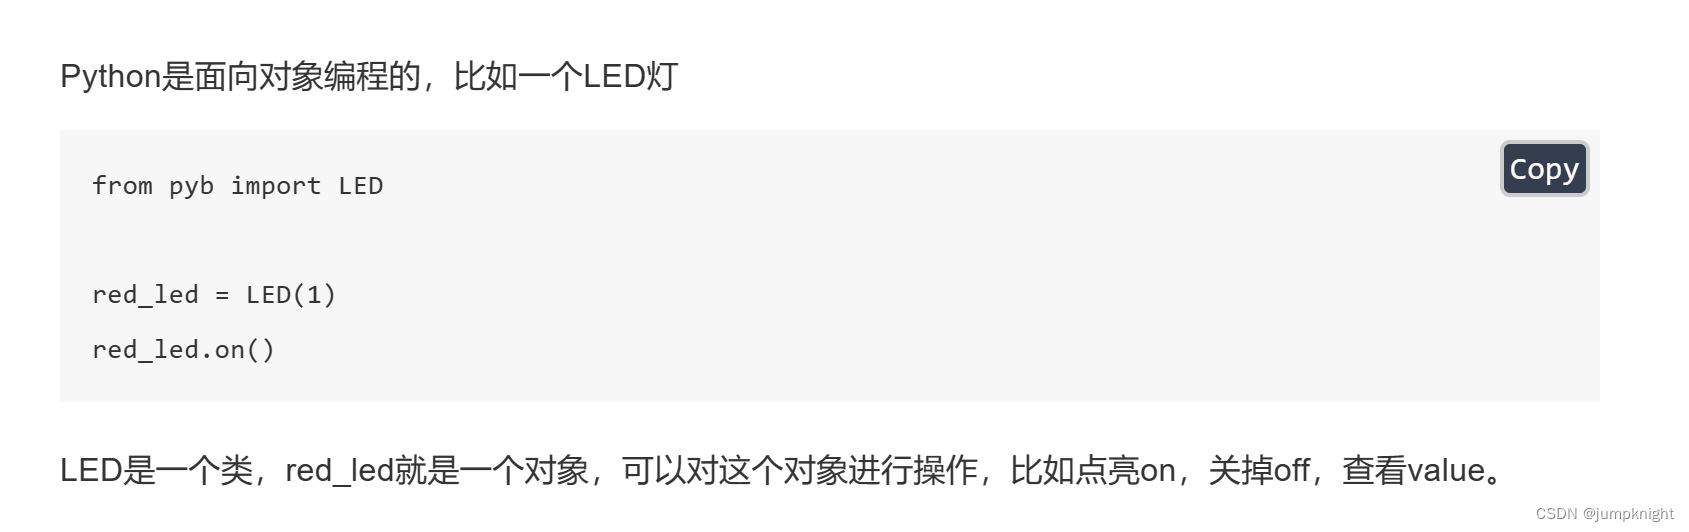
对象
OpenMV图像处理的方法
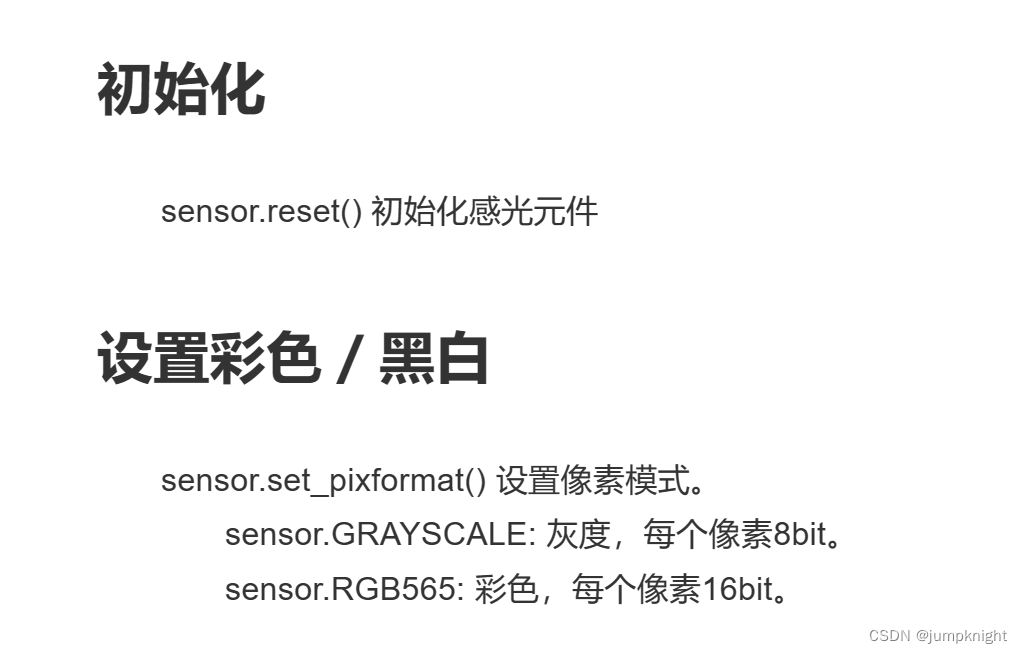
1、感光元件
sensor模块,用于设置感光元件的参数。
import sensor#引入感光元件的模块
# 设置摄像头
sensor.reset()#初始化感光元件
sensor.set_pixformat(sensor.RGB565)#设置为彩色
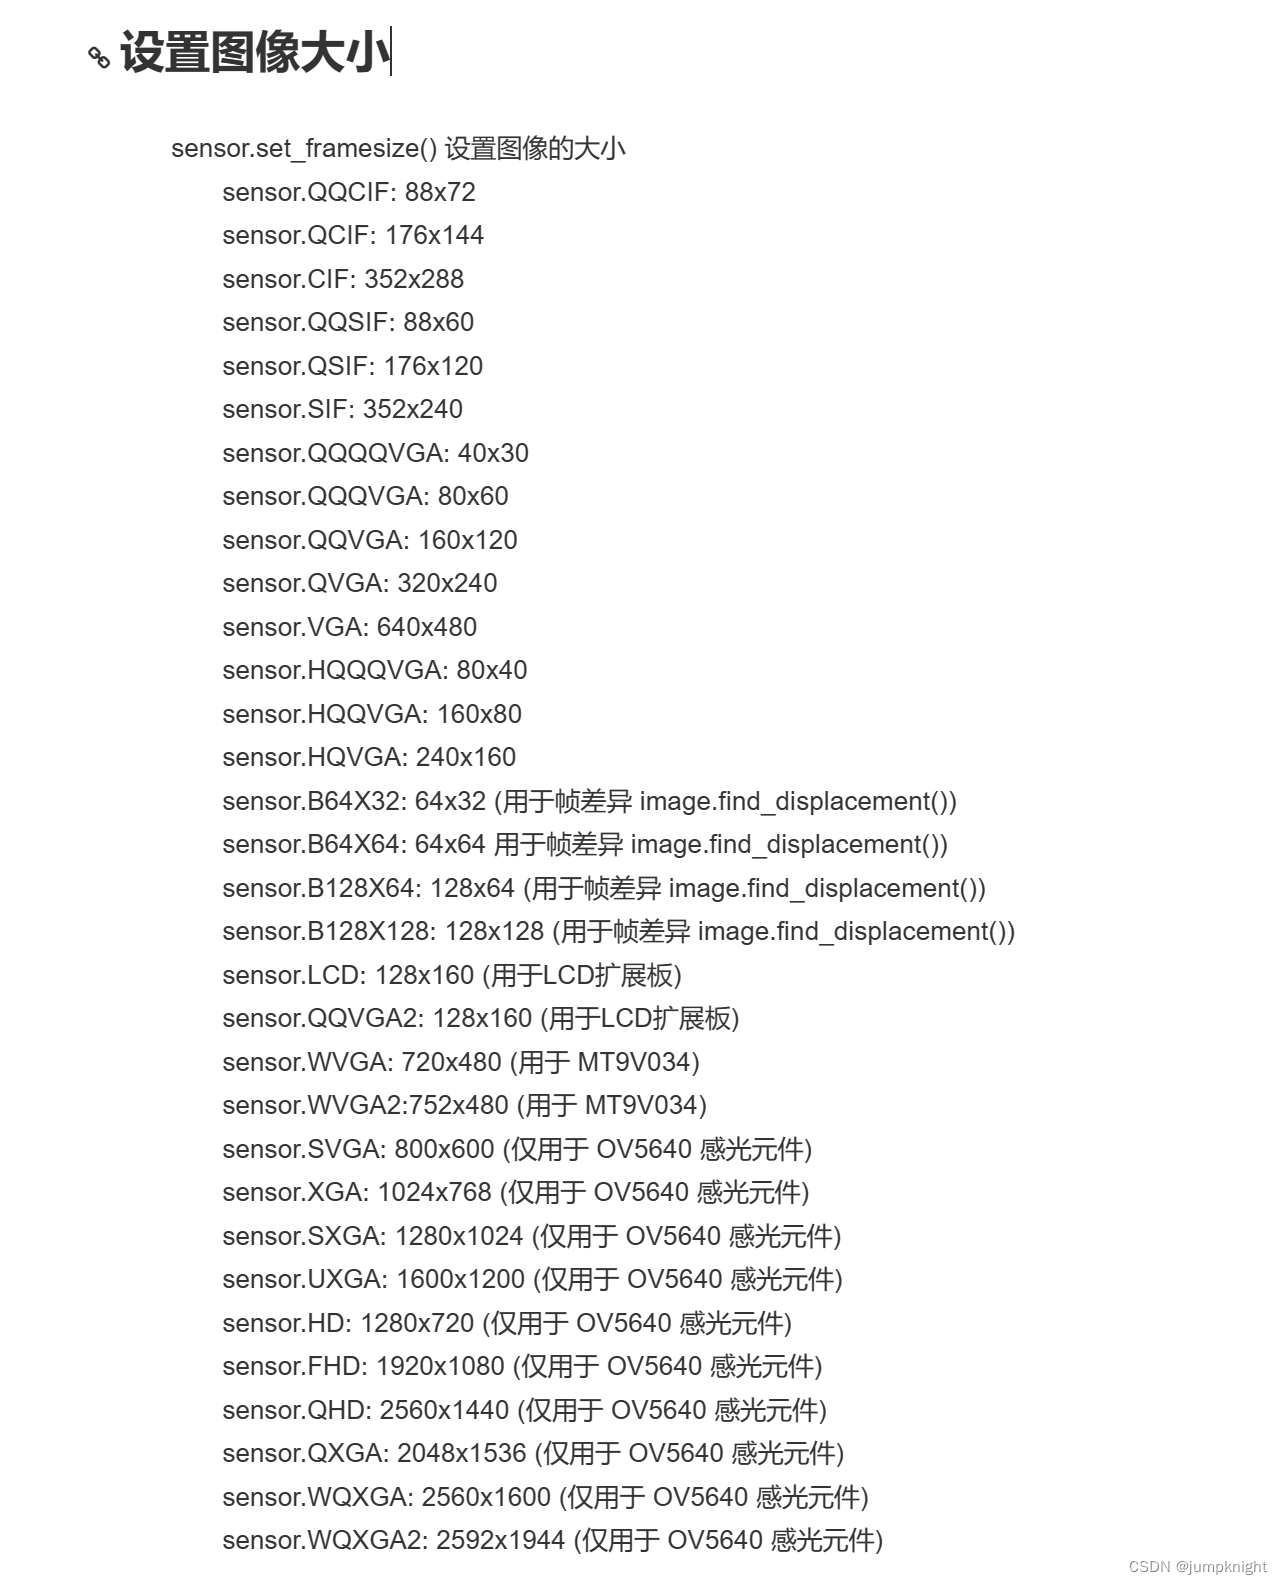
sensor.set_framesize(sensor.QVGA)#设置图像的大小
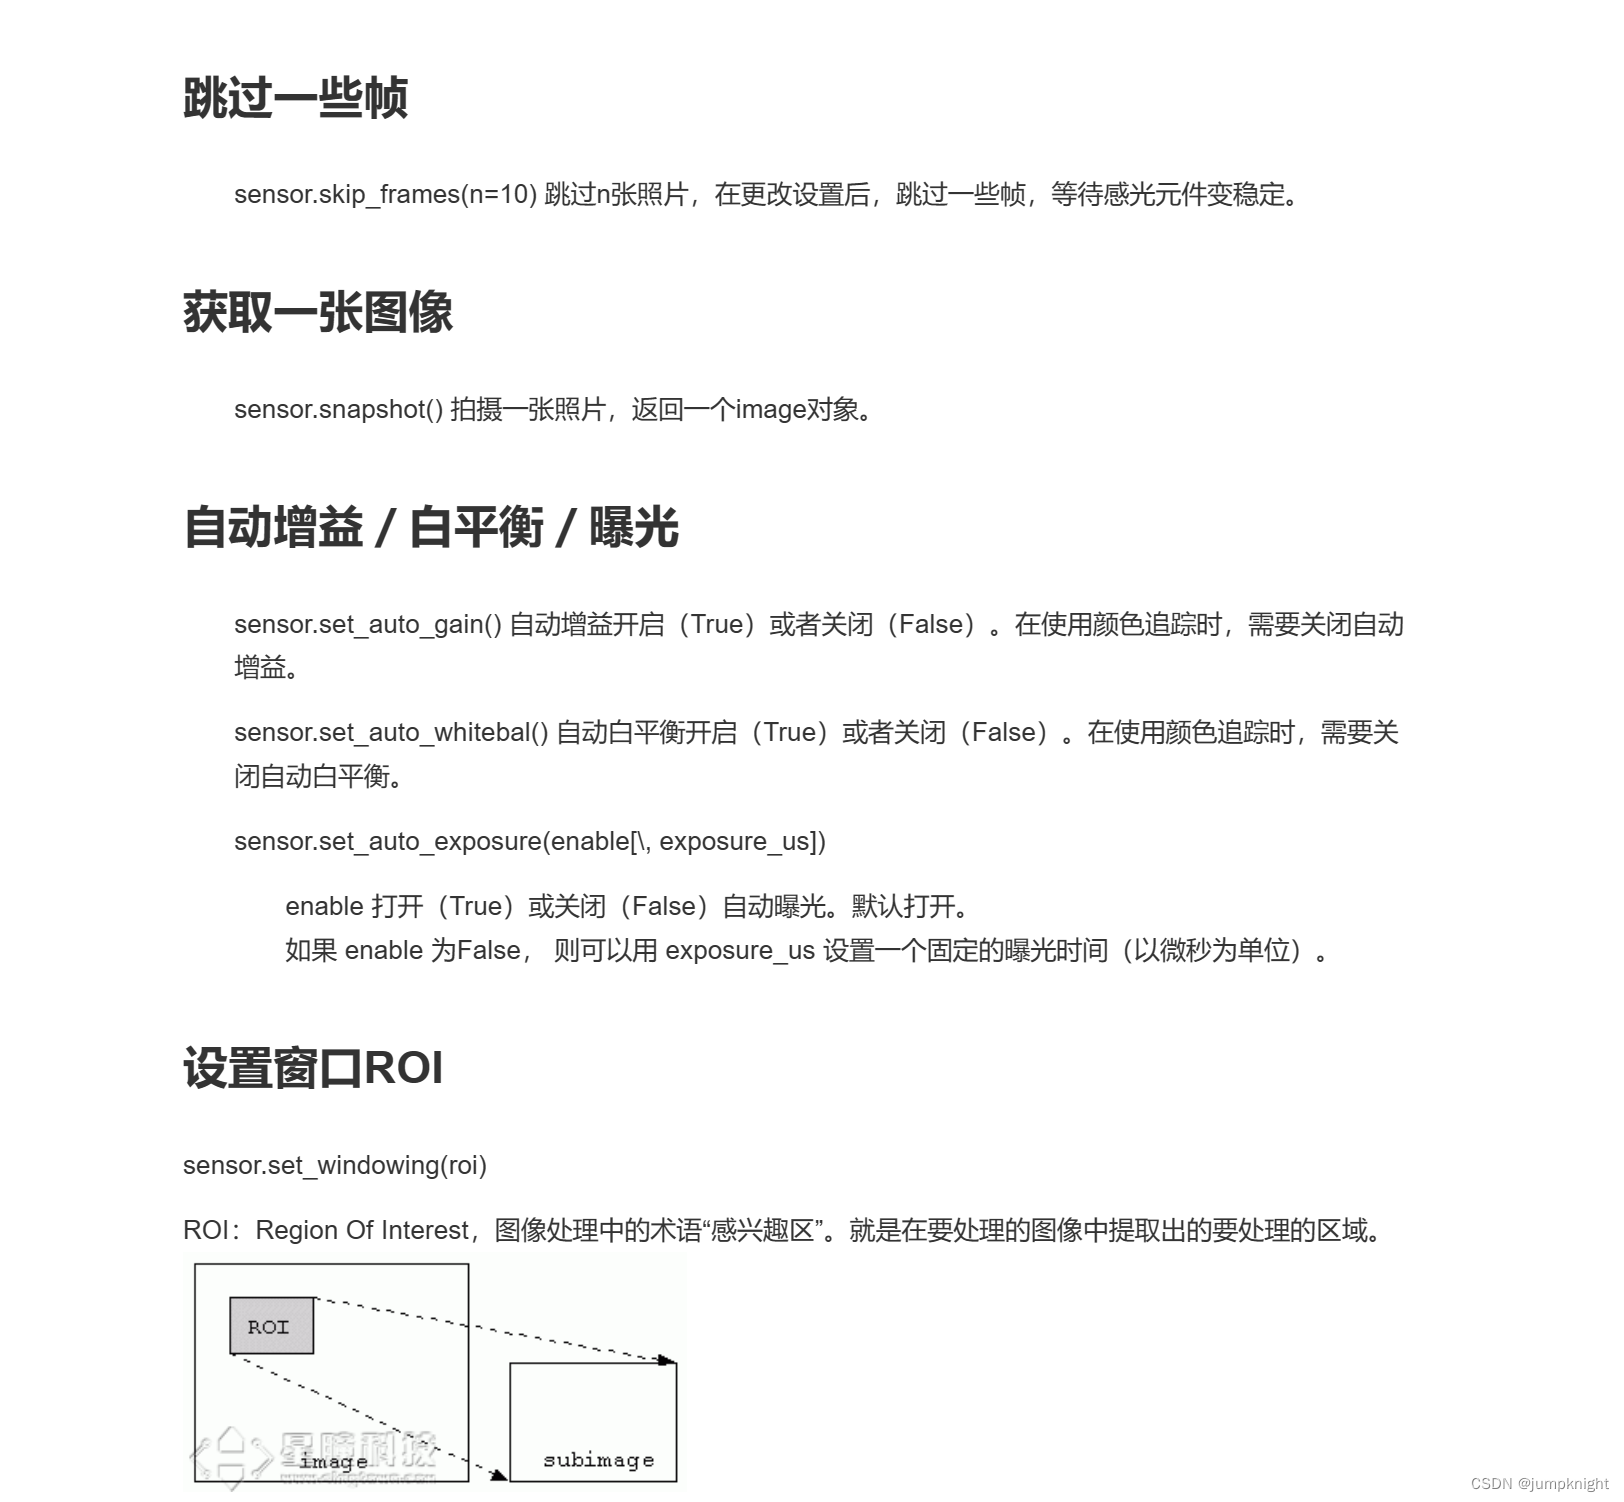
sensor.skip_frames()#跳过n张照片,在更改设置后,跳过一些帧,等待感光元件变稳定。
# 一直拍照
while(True):
img = sensor.snapshot()#拍摄一张照片,img为一个image对象
sensor.set_framesize(sensor.VGA) # 高分辨率
sensor.set_windowing((640, 80)) #取中间的640*80区域
总结
想要用追踪小球,得有以下感光部分的设置
sensor.reset()                      #重置感光元件,重置摄像机
sensor.set_pixformat(sensor.RGB565) #设置颜色格式为RGB565,彩色,每个像素16bit。
sensor.set_framesize(sensor.QVGA)   #图像大小为QVGA
sensor.skip_frames(time = 2000)     #跳过n张照片,在更改设置后,跳过一些帧,等待感光元件变稳定。
sensor.set_auto_gain(False)         #颜色识别必须关闭自动增益,会影响颜色识别效果
sensor.set_auto_whitebal(False)     #颜色识别必须关闭白平衡,会影响颜色识别效果,导致颜色的阈值发生改变
2、图像的基本运算
img = sensor.snapshot()
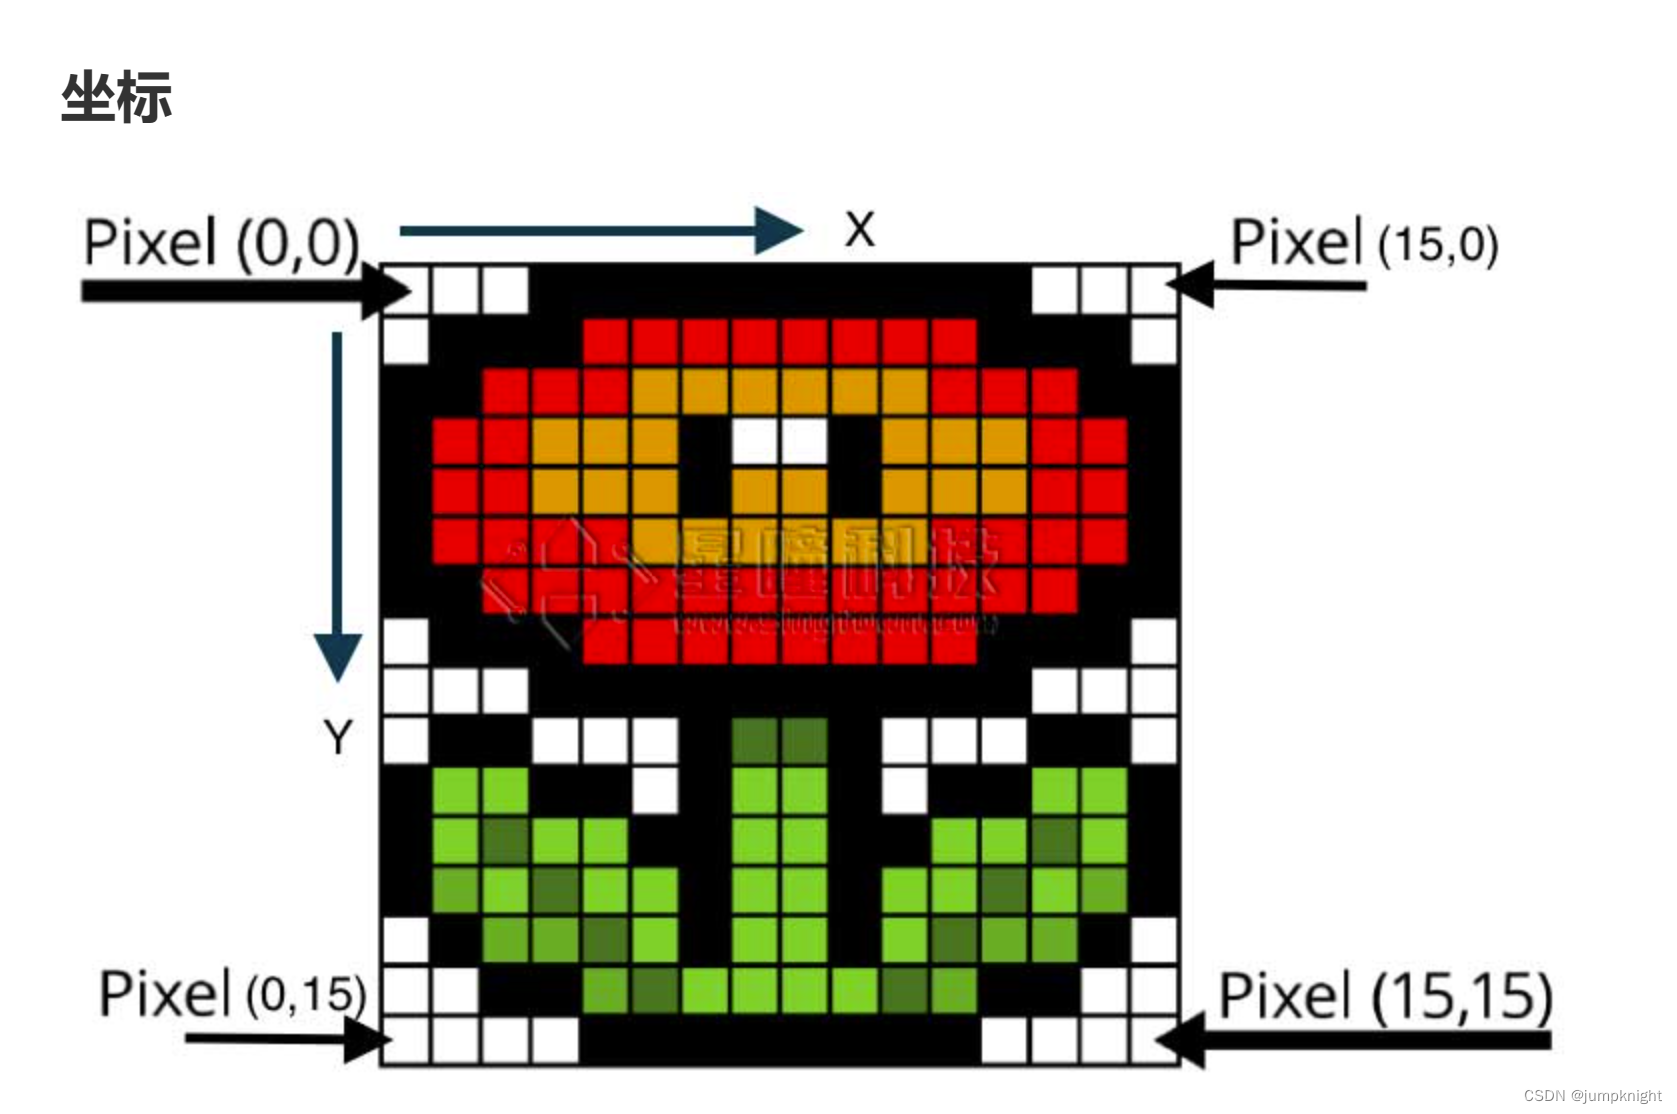
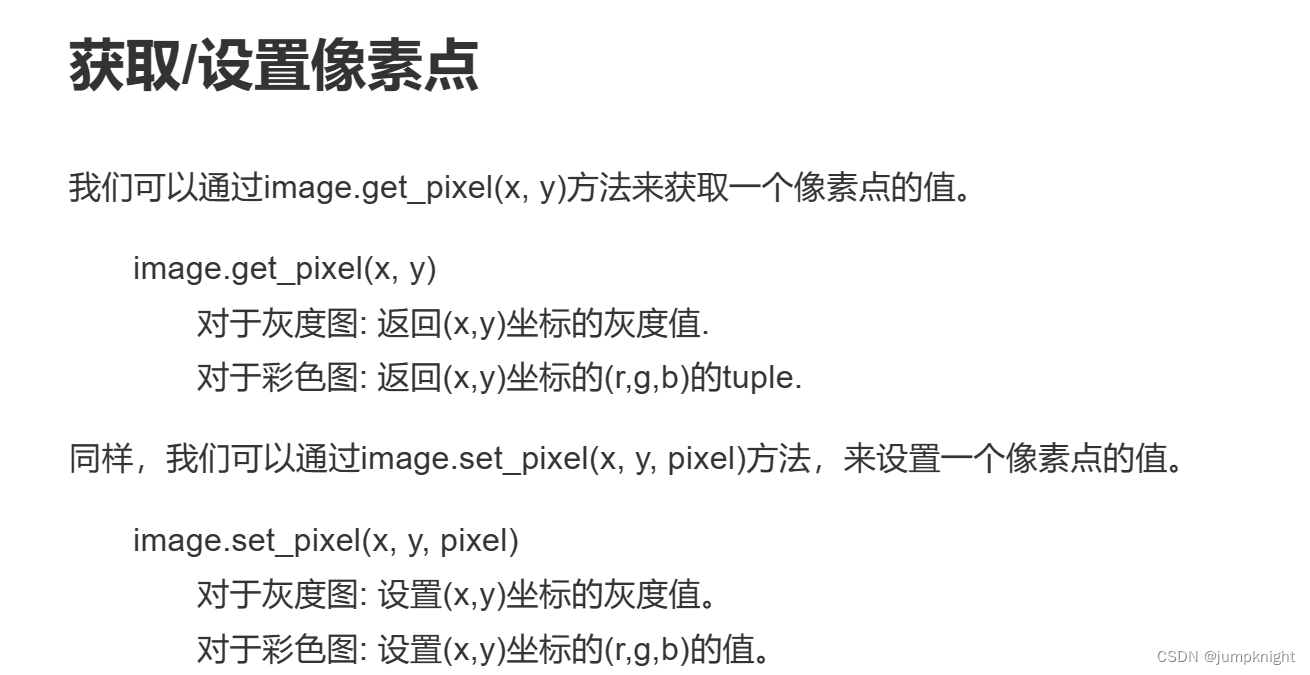
img.get_pixel(10,10)
img.set_pixcel(10,10,(255,0,0))#设置坐标(10,10)的像素点为红色(255,0,0)
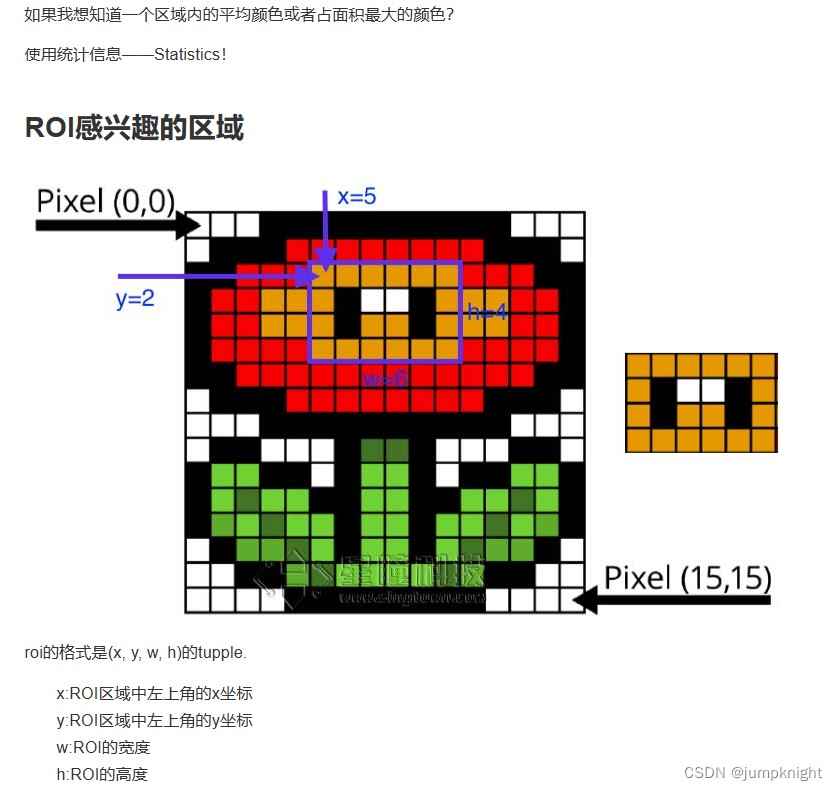
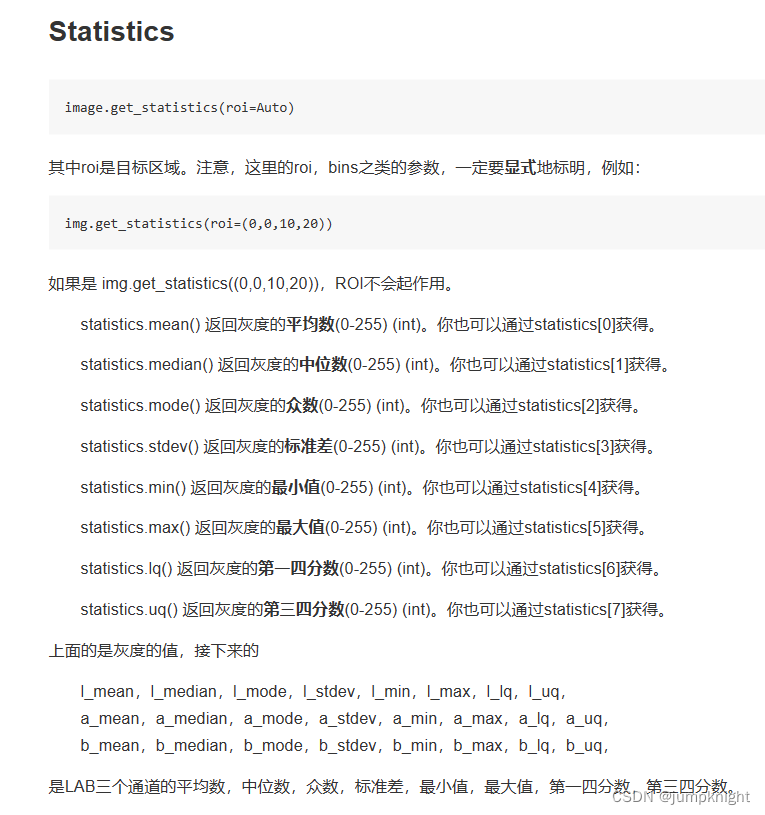
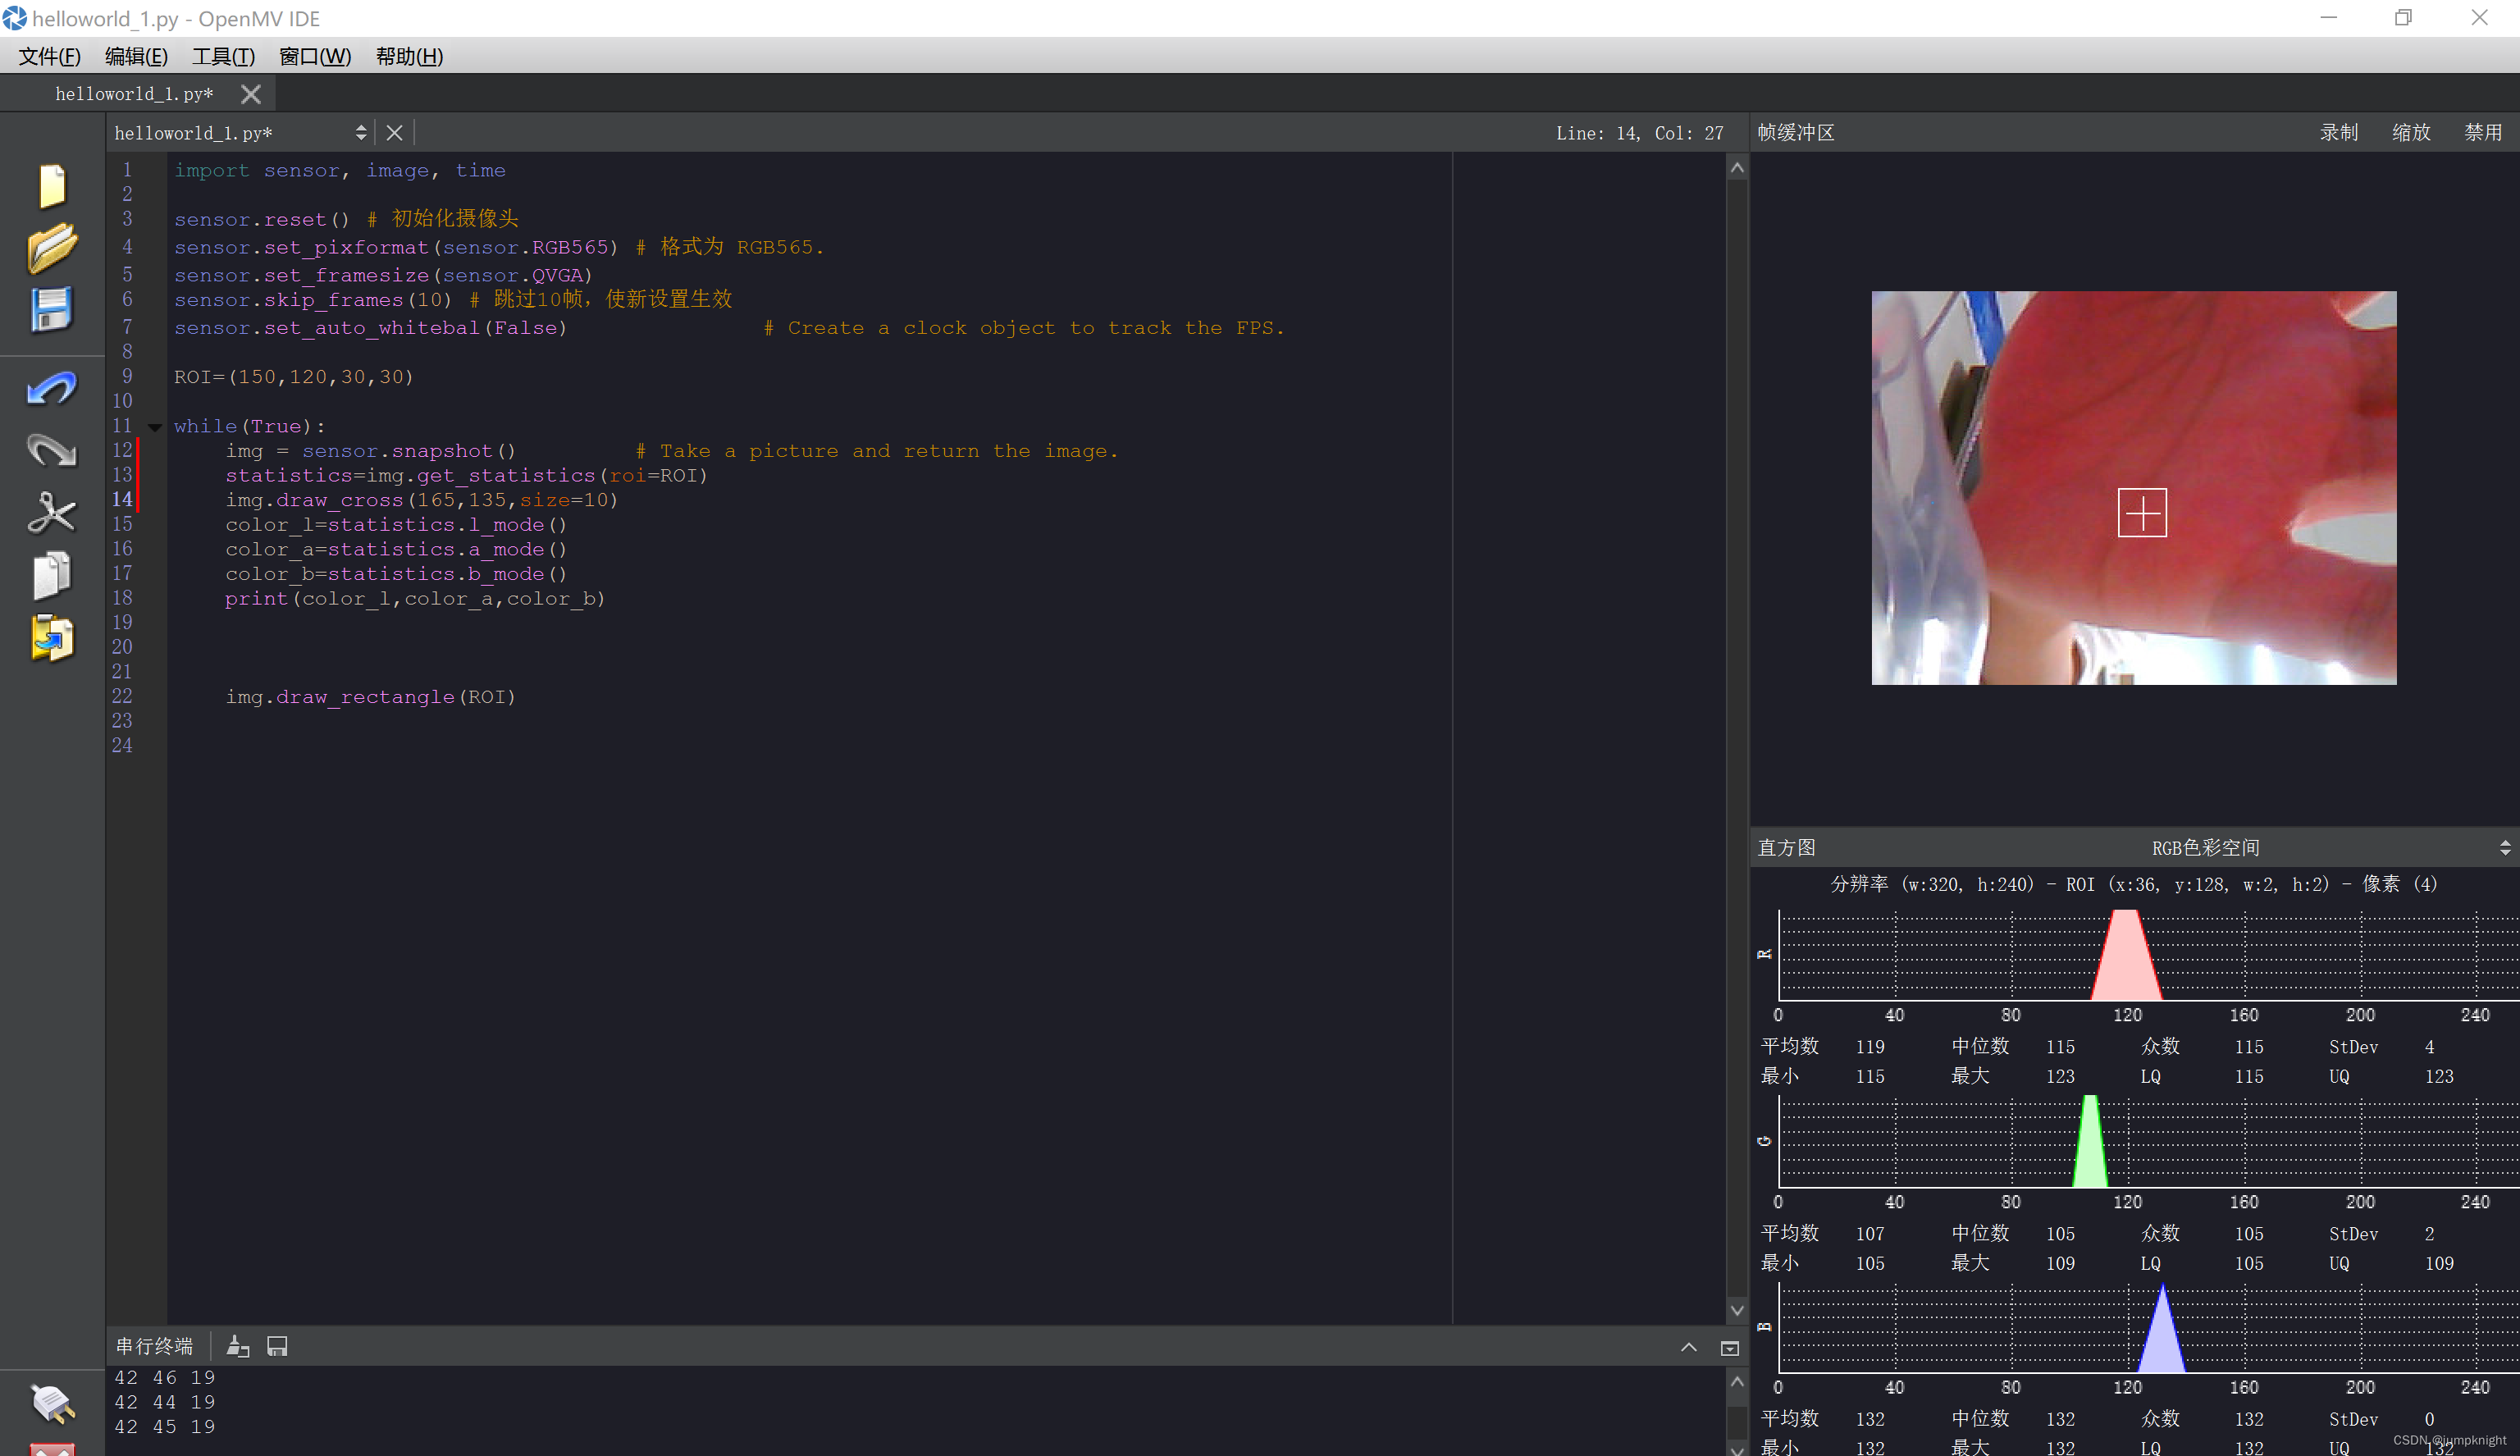
3、使用图像的统计信息

import sensor, image, time

sensor.reset() # 初始化摄像头
sensor.set_pixformat(sensor.RGB565) # 格式为 RGB565.
sensor.set_framesize(sensor.QVGA)
sensor.skip_frames(10) # 跳过10帧,使新设置生效
sensor.set_auto_whitebal(False)               # Create a clock object to track the FPS.

ROI=(80,30,15,15)

while(True):
    img = sensor.snapshot()         # Take a picture and return the image.
    statistics=img.get_statistics(roi=ROI)
    color_l=statistics.l_mode()
    color_a=statistics.a_mode()
    color_b=statistics.b_mode()
    print(color_l,color_a,color_b)
    img.draw_rectangle(ROI)
while里
1、要更改图像必须的函数
2、调入roi里的参数,目标的左端像素点位置x,y,长,宽
3、串口调用LAB的参数
4、在串口中打印参数
5、将roi显示出来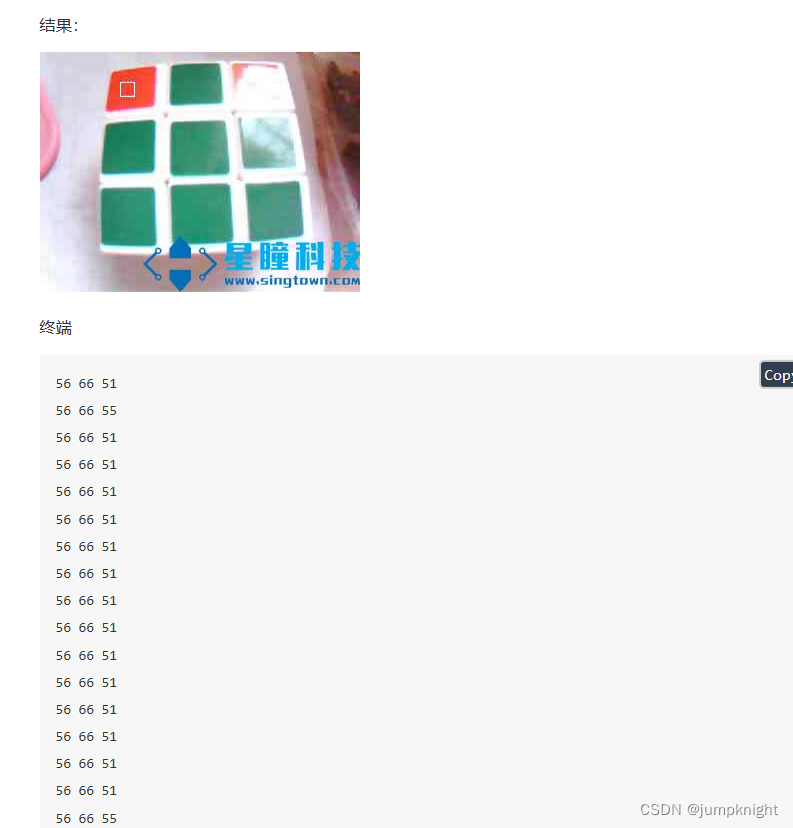
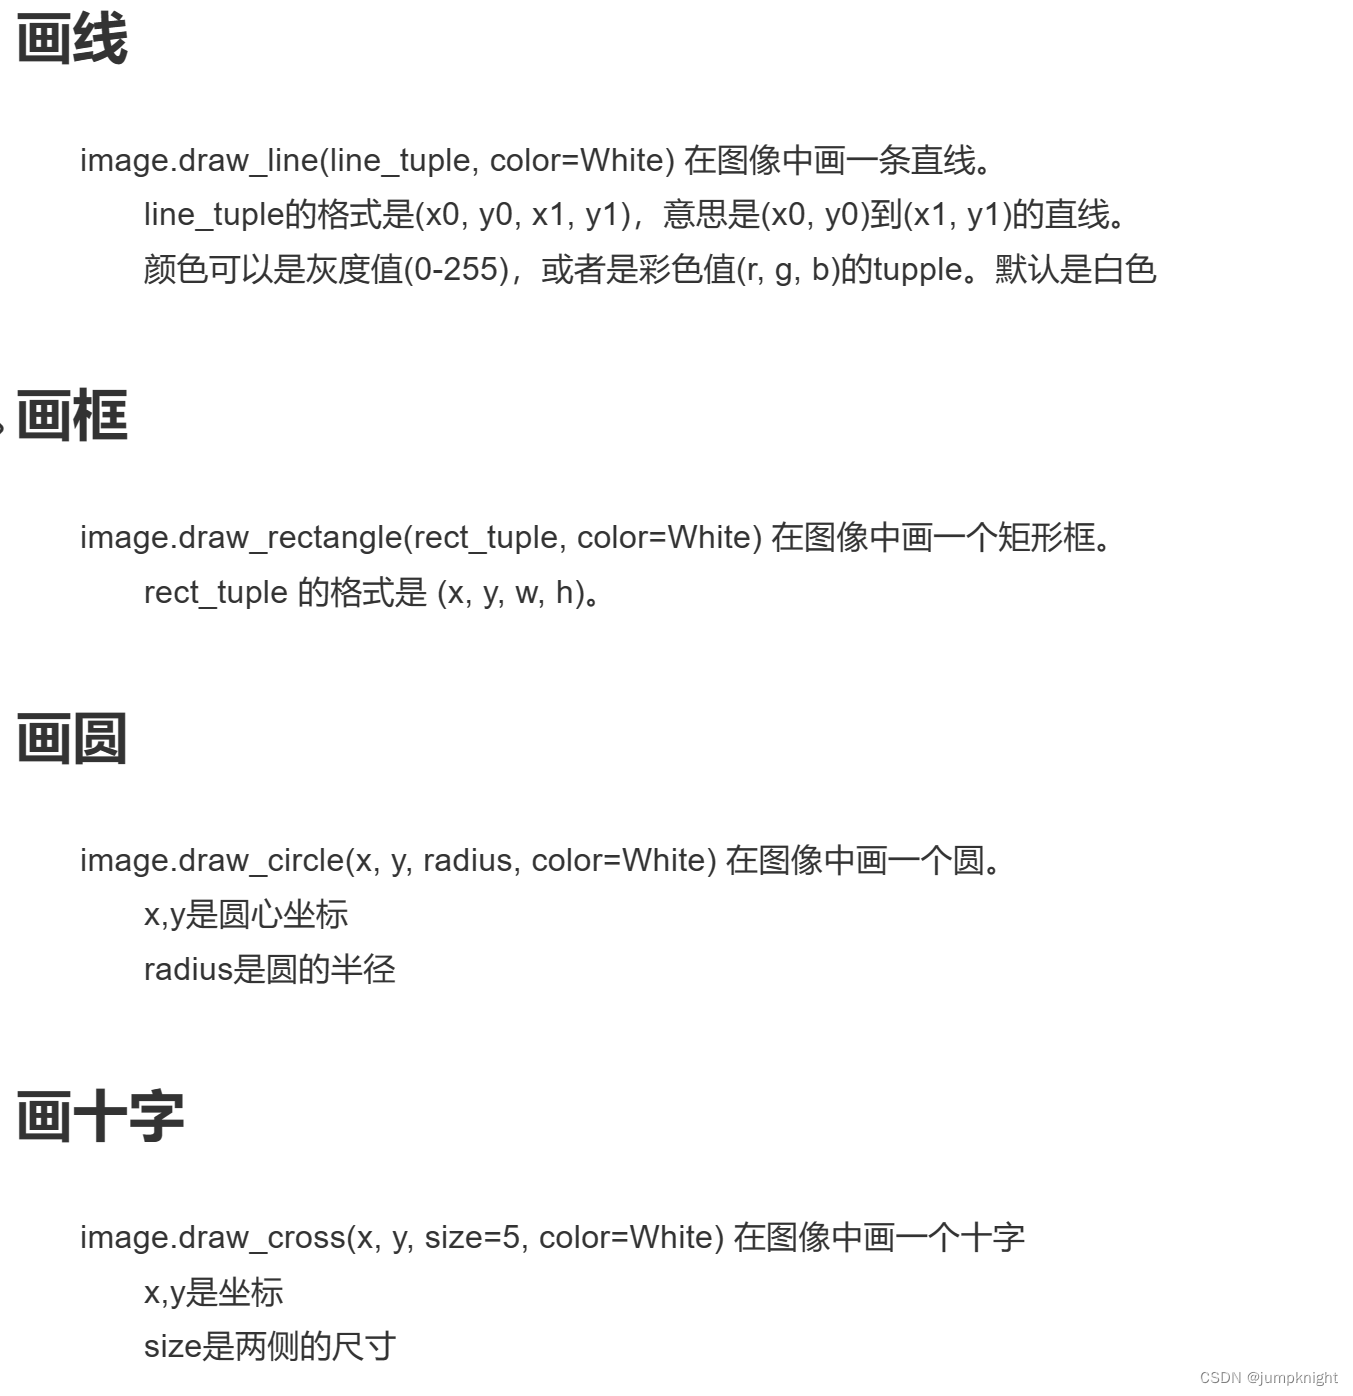
4、画图

# Hello World Example
#
# Welcome to the OpenMV IDE! Click on the green run arrow button below to run the script!
import sensor, image, time
sensor.reset() # 初始化摄像头
sensor.set_pixformat(sensor.RGB565) # 格式为 RGB565.
sensor.set_framesize(sensor.QQVGA)
sensor.skip_frames(10) # 跳过10帧,使新设置生效
while(True):
img = sensor.snapshot() # Take a picture and return the image.
img.draw_line((20, 30, 40, 50))
img.draw_line((80, 50, 100, 100), color=(255,0,0))
img.draw_rectangle((20, 30, 41, 51), color=(255,0,0))
img.draw_circle(50, 50, 30)
img.draw_cross(90,60,size=10)
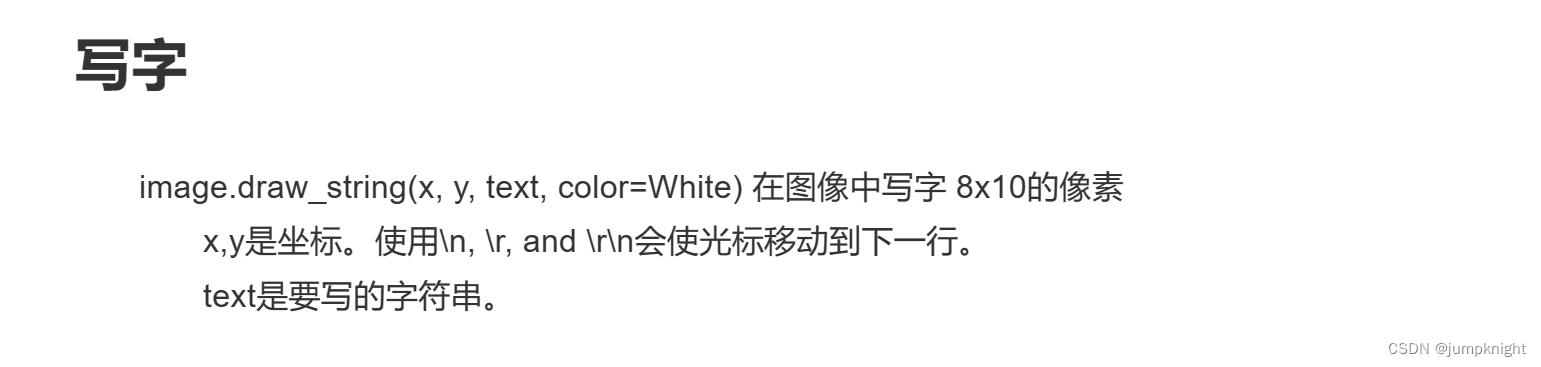
img.draw_string(10,10, "hello world!")
如上代码可以实现十字+框框


 2998
2998


 被折叠的 条评论
为什么被折叠?
被折叠的 条评论
为什么被折叠?
 到【灌水乐园】发言


