


Face++简介:
Face++™是北京旷视科技(Megvii)有限公司旗下的新型视觉服务平台,旨在提供简单易用、功能强大、平台兼容的新一代视觉服务。
随着微软Kinect、谷歌Glass的诞生,机器视觉及人机交互技术将成为下一次IT革命浪潮中的核心驱动力。多媒体信息和视觉技术,已悄然改变人类生活的方方面面。人脸,作为信息量最丰富、用户关联最强的视觉信息,其巨大的价值毋庸置疑。
Face++团队专注于研发世界最好的人脸检测、识别、分析和重建技术,通过融合机器视觉、机器学习、大数据挖掘及3D图形学技术,致力于将最新、性能最好、使用最方便的人脸技术提供给广大开发者和用户。我们通过提供云端API、离线SDK、以及面向用户的自主研发产品形式,将人脸识别技术广泛应用到互联网及移动应用场景中。
官网:
http://www.faceplusplus.com.cn/
一、几个重要的API介绍及简单实用
Face++API介绍地址
http://www.faceplusplus.com.cn/api-overview/
1.1人脸检测API调用
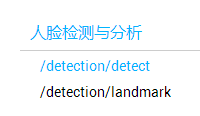
描述
检测给定图片(Image)中的所有人脸(Face)的位置和相应的面部属性目前面部属性包括性别(gender), 年龄(age), 种族(race), 微笑程度(smiling), 眼镜(glass)和姿势(pose)。
官网给出的api调用形式:
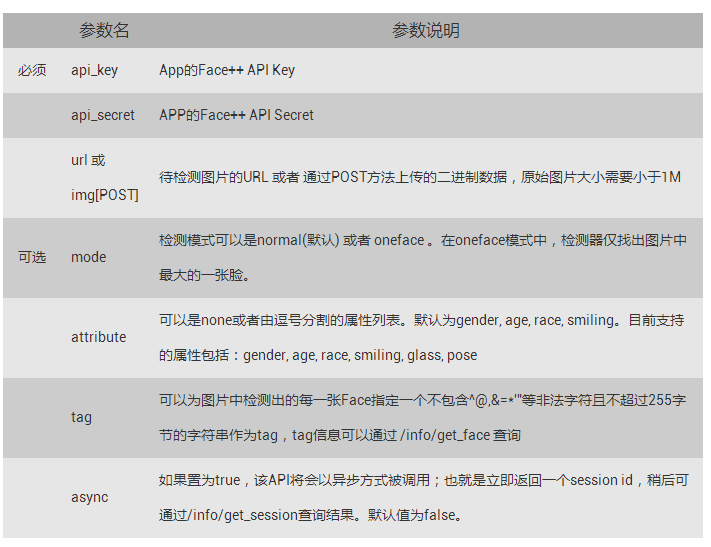
官网在线API对于初次使用者很难看懂,在这里给出在Android中Java代码调用的形式:
HttpRequests httpRequests = new HttpRequests(API_Key,API_Secret,true,true);
//API_KEY,API_SECRET都是在官网注册时,添加应用的时候申请出来的。
//true 表示isCN true 表示isDebug
PostParameters parameters  = new PostParameters();
//array就是你要检测的图片转换为二进制数组上传,这里也可以是一个图片的url地址
parameters.setImg(array);
//调用detect进行检测,成功的话会返回一个json格式的数据。
JSONObject jsonObject = httpRequests.detectionDetect(parameters);
在返回的json格式数据中,会包含有一些人脸的关键信息,比如说人脸中心点,性别,年龄等等。
2.人脸比较API使用方法
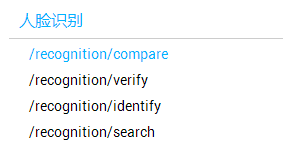
描述
计算两个Face的相似性以及五官相似度
官网给出的api调用形式:
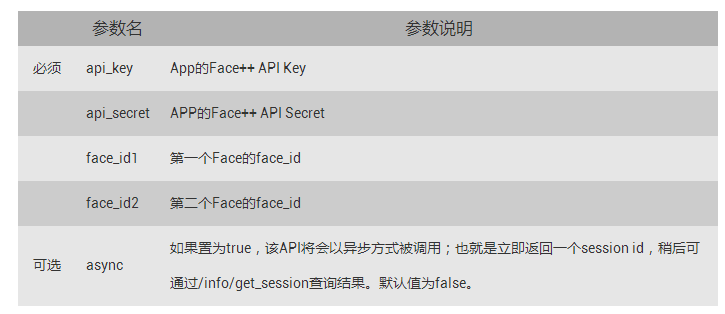
Android中Java代码的调用形式:
HttpRequests httpRequests = new HttpRequests(API_Key,API_Secret,true,true);
PostParameters parameters  = new PostParameters();
//face_id1就是通过detect接口检测出来的第一张人脸的id,face_id2同理
JSONObject compareJsonObject = httpRequests.recognitionCompare(postParameters.setFaceId1("face_id1").setFaceId2("face_id2"));
在返回的Json格式数据中,会有包含一个”similarity”,我们可以根据这个来判断两张脸是不是同一个人的脸。
一、简单Demo,识别两张照片是否为同一个人
案例运行结果:
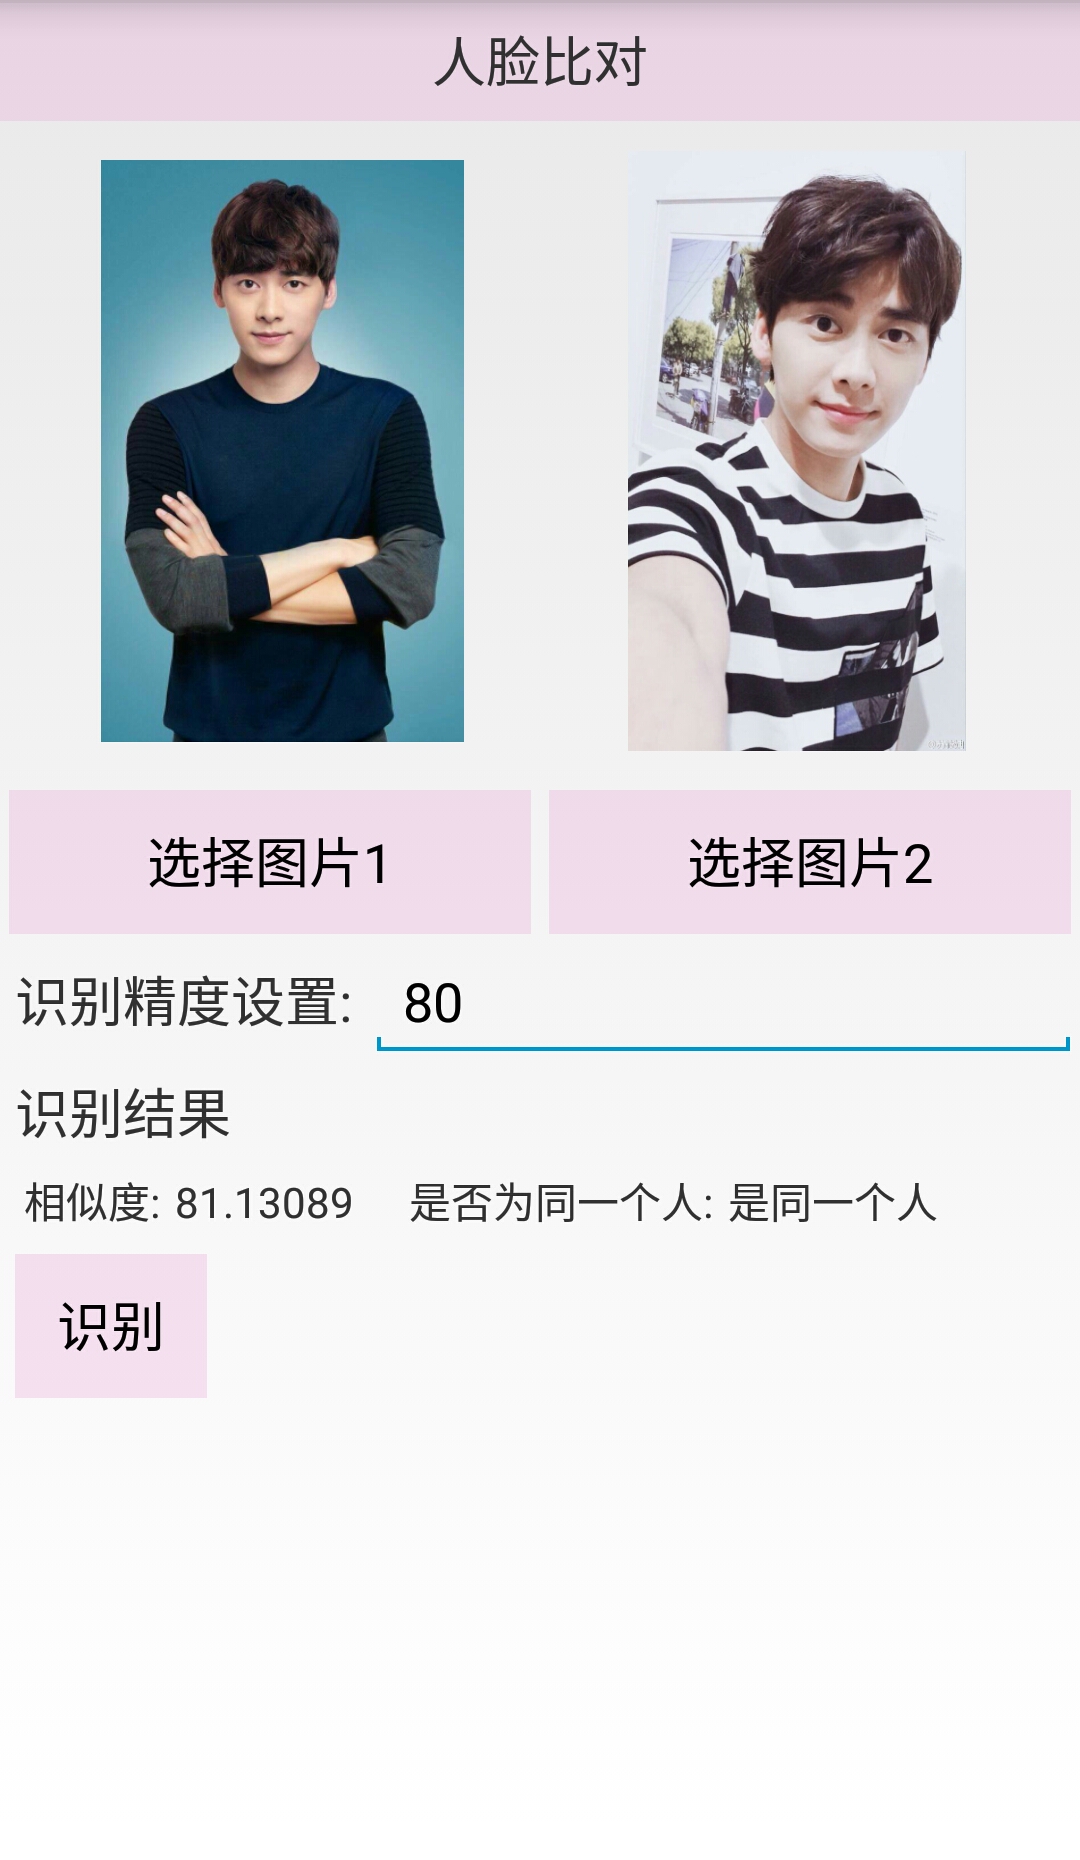
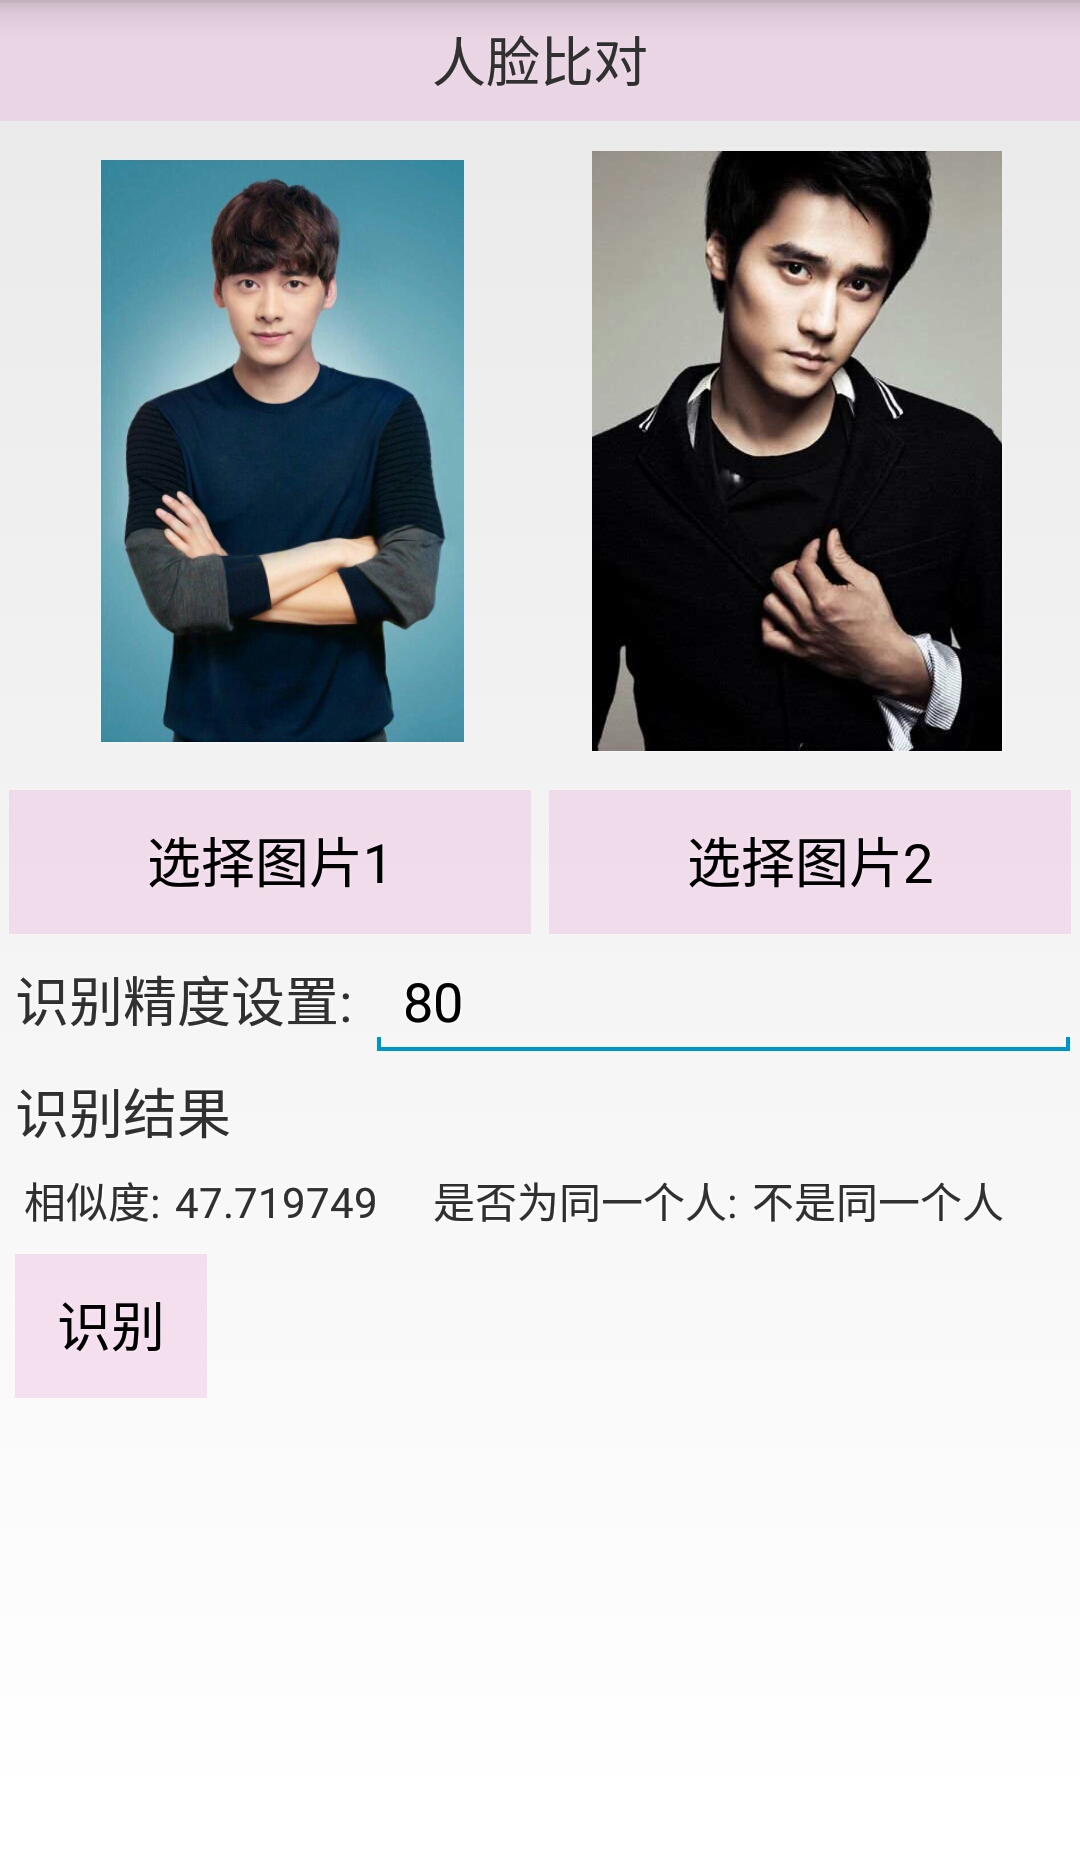
根据案例的运行结果来看,当图片1和图片2为同一个人时,识别结果是同一个人,相似度也是较高。当图片1和图片2不为同一个人时,识别结果是不是同一个人,相似度也就低了。就是运用上述两个Face++API来实现这样的效果。废话不多说,下面给出代码。
1.布局文件编写
<LinearLayout xmlns:android="http://schemas.android.com/apk/res/android"
    xmlns:tools="http://schemas.android.com/tools"
    android:layout_width="match_parent"
    android:layout_height="match_parent"
    android:orientation="vertical"
    tools:context="com.example.compareface.MainActivity" >

    <TextView
        android:layout_width="match_parent"
        android:layout_height="wrap_content"
        android:background="#55eeaadd"
        android:gravity="center"
        android:padding="8dp"
        android:text="人脸比对"
        android:textSize="18sp" />

    <LinearLayout
        android:layout_width="match_parent"
        android:layout_height="wrap_content"
        android:layout_margin="10dp"
        android:orientation="horizontal" >

        <ImageView
            android:id="@+id/iv_img1"
            android:layout_width="0dp"
            android:layout_height="200dp"
            android:layout_weight="1"
            android:src="@drawable/img1"
            android:padding="3dp" />

        <ImageView
            android:id="@+id/iv_img2"
            android:layout_width="0dp"
            android:layout_height="200dp"
            android:layout_marginLeft="3dp"
            android:layout_weight="1"
            android:src="@drawable/img2" />
    </LinearLayout>

    <LinearLayout
        android:layout_width="match_parent"
        android:layout_height="wrap_content"
        android:orientation="horizontal" >

        <Button
            android:id="@+id/btn_choose_img1"
            android:layout_width="0dp"
            android:layout_height="wrap_content"
            android:layout_margin="3dp"
            android:layout_weight="1"
            android:background="#55eeaadd"
            android:text="选择图片1" />

        <Button
            android:id="@+id/btn_choose_img2"
            android:layout_width="0dp"
            android:layout_height="wrap_content"
            android:layout_margin="3dp"
            android:layout_weight="1"
            android:background="#55eeaadd"
            android:text="选择图片2" />
    </LinearLayout>

    <LinearLayout
        android:layout_width="match_parent"
        android:layout_height="wrap_content" >

        <TextView
            android:layout_width="wrap_content"
            android:layout_height="wrap_content"
            android:padding="5dp"
            android:text="识别精度设置:"
            android:textSize="18sp" />

        <EditText
            android:id="@+id/et_similar"
            android:layout_width="match_parent"
            android:layout_height="wrap_content"
            android:hint="请输入识别精度" />
    </LinearLayout>

    <TextView
        android:layout_width="wrap_content"
        android:layout_height="wrap_content"
        android:padding="5dp"
        android:text="识别结果"
        android:textSize="18sp" />

    <LinearLayout
        android:layout_margin="3dp"
        android:layout_width="match_parent"
        android:layout_height="wrap_content"
        android:orientation="horizontal" >

        <TextView
            android:layout_width="wrap_content"
            android:layout_height="wrap_content"
            android:paddingLeft="5dp"
            android:text="相似度:" />

        <TextView
            android:id="@+id/tv_similar"
            android:layout_width="wrap_content"
            android:layout_height="wrap_content"
            android:paddingLeft="5dp"
            android:text="55" />

        <TextView
            android:layout_width="wrap_content"
            android:layout_height="wrap_content"
            android:paddingLeft="5dp"
            android:text="    是否为同一个人:" />

        <TextView
            android:id="@+id/tv_isonperson"
            android:layout_width="wrap_content"
            android:layout_height="wrap_content"
            android:paddingLeft="5dp"
            android:text="是" />
    </LinearLayout>

    <Button
        android:layout_margin="5dp"
        android:padding="5dp"
        android:layout_width="wrap_content"
        android:layout_height="wrap_content"
        android:text="识别"
        android:id="@+id/btn_submit"
        android:background="#55eeaadd"
        />
</LinearLayout>
布局文件相对比较简单就是几个嵌套的线性布局,不过在这里值得注意的是,给imageview设置图片的时候,记得要使用android:src而不能使用android:background,因为如果使用后者,那么在java代码中要将从相册中选择的照片显示到imageview上面去的时候,那么背景图片是不会消失的。不明白的朋友,可以去具体看看src和background的区别。
二.逻辑实现
这里只给出核心逻辑实现,因为在Android4.4以后,从相册中返回图片的Uri发生了改变需要做对应的适配,代码量较多。在本人的其他博文中可以找到相对应的内容,在这里就不再详述了。
在使用Face++API之前需要先从Face++官网下载jar包,拷贝到libs目录下才能进行使用。
下载网址:
http://www.faceplusplus.com.cn/dev-tools-sdks/
1.因为是从本地中获取的图片,所以需要先将本地图片转换为byte[]
代码如下:
/**
     * 将bitmap转换为byte[]
     * @param bitmap 需要转换的bitmap
     * @return 返回byte[]
     */
    private byte[] getArray(Bitmap bitmap){

        ByteArrayOutputStream baos = new ByteArrayOutputStream();
        baos.toByteArray();
        bitmap.compress(CompressFormat.JPEG, 100, baos);
        byte[] array = baos.toByteArray();
        return array;
    }
2.获取byte[]之后,就可以开始detect然后进行compare。
代码如下:
/**
* @param bitmap 第一张人脸图像
* @param bitmap2 第二章人脸图像
*/
private void detectFace(final Bitmap bitmap,final Bitmap bitmap2) {
        new Thread(){
            public void run() {
                try {
                    HttpRequests httpRequests = new HttpRequests(API_key, API_Secret,true, true);

                    PostParameters postParameters = new PostParameters();
                    byte[] array = getArray(bitmap);
                    postParameters.setImg(array);
                    JSONObject detect = httpRequests.detectionDetect(postParameters);
                    JSONArray faceArray = detect.getJSONArray("face");
                    JSONObject jsonObject = faceArray.getJSONObject(0);
                    face_id1 = jsonObject.getString("face_id");

                    PostParameters postParameters2 = new PostParameters();
                    postParameters2.setImg(getArray(bitmap2));
                    JSONObject detect2 = httpRequests.detectionDetect(postParameters2);
                    JSONArray faceArray2 = detect2.getJSONArray("face");
                    JSONObject jsonObject2 = faceArray2.getJSONObject(0);
                    face_id2 = jsonObject2.getString("face_id");

                    JSONObject compareJsonObject = httpRequests.recognitionCompare(new PostParameters().setFaceId1(face_id1).setFaceId2(face_id2));
                    similarity = compareJsonObject.getString("similarity");

                    Message message = Message.obtain();
                    message.what = 1;
                    mHandler.sendMessage(message);

                } catch (FaceppParseException e) {
                    e.printStackTrace();
                } catch (JSONException e) {
                    e.printStackTrace();
                }
            };
        }.start();
    }
最后就可以实现开始的效果了,可以自己设置相似度大于多少时才能认定是同一个人。设置得越高可能识别为同一个人的概率就越小。
这是博主第一次写博客,只是想把自己在日常学习中所学到的知识跟大家一起分享,免得以后有这方面需求的小白,在使用这个API的时候摸不着头脑。
有什么不足之处还请大家多多包含,多多提出意见,我会努力改进!我们一起成长~!
最后贴出源码下载地址:
http://download.csdn.net/detail/jw804022023/9673521


 8024
8024

 被折叠的 条评论
为什么被折叠?
被折叠的 条评论
为什么被折叠?
 到【灌水乐园】发言


