


 本文详述了如何在Android中实现仿QQ消息列表的侧滑删除功能,通过自定义ListView和处理触摸事件,动态改变item的leftMargin以达到滑动显示删除按钮的效果。同时解决了在滑动过程中可能遇到的item点击事件冲突和按钮区域滑动无效的问题。
转载请注明来源:http://blog.csdn.net/kjunchen/article/details/51145737
仿QQ消息列表item横向滑动删除ListView中item侧滑删除
在最近的项目中,我的ListView中item选项是长按删除的效果(Android的通常做法长按或点击),老板觉得这个效果不好,提出要求做类似QQ消息列表横向滑动时删除消息的效果,这种效果确实感觉挺爽的,但是我也没做过,于是就在网上搜索了一番,找到了很多例子,实现了这个效果,但在这个过程中不尽如人意,遇到一些曲折,大多数例子确实实现了效果,但是也存在一些问题没有解决,用着有问题,如item点击无效、item有点击事件时滑动item结束后执行了item的点击事件、item中有按钮时若手指按下在按钮位置时滑动无效等等,自己查了很多终于解决了这些问题,现整理如下供大家参考,如有问题请多多包含。
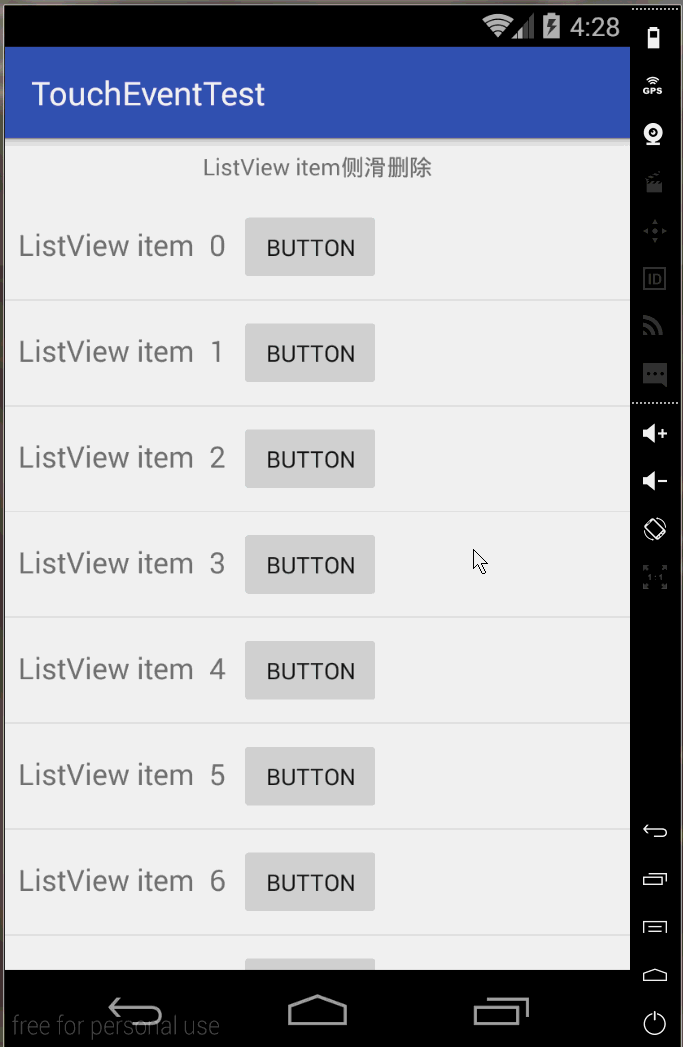
本博文实现思路是在滑动item的过程中修改item的leftMargin实现的。先看下最终效果:
下面就一步步来实现吧。
一、item的布局
ListView中的item布局有讲究,最外层使用的LinearLayout,设置其orientation属性为horizontal。然后里面主要包含两个视图组件,一个是我们正常显示时的布局,另外一个是滑动时出现的视图如删除按钮。正常显示的视图初始的layout_width设置为match_parent,并且滑动时出现的视图必须指定其layout_width,不要使用match_parent或wrap_parent,否则会获取不到宽度。稍后你会明白的。看本博文完整的item布局。
本例完整的item布局文件item.xml
<?xml version="1.0" encoding="utf-8"?>
<LinearLayout xmlns:android="http://schemas.android.com/apk/res/android"
    android:layout_width="match_parent"
    android:layout_height="wrap_content"
    android:descendantFocusability="blocksDescendants"
    android:orientation="horizontal">

    <LinearLayout
        android:layout_width="match_parent"
        android:layout_height="wrap_content"
        android:orientation="horizontal"
        android:padding="8dp">

        <TextView
            android:id="@+id/textView"
            android:layout_width="wrap_content"
            android:layout_height="wrap_content"
            android:textSize="18sp"
            android:text="text" />

        <Button
            android:layout_marginLeft="8dp"
            android:layout_width="wrap_content"
            android:layout_height="wrap_content"
            android:text="Button"/>
    </LinearLayout>

    <!--必须指定宽度-->
    <TextView
        android:id="@+id/txtv_delete"
        android:layout_width="96dp"
        android:layout_height="match_parent"
        android:gravity="center"
        android:textSize="18sp"
        android:background="#e53935"
        android:textColor="#eeeeee"
        android:text="删除" />
</LinearLayout>
二、自定义ListView
需要自定义ListView,继承于ListView。如:
public class SideslipListView extends ListView {

    ...
    public SideslipListView(Context context) {
        super(context);
    }

    public SideslipListView(Context context, AttributeSet attrs) {
        super(context, attrs);
    }

    public SideslipListView(Context context, AttributeSet attrs, int defStyleAttr) {
        super(context, attrs, defStyleAttr);
    }
    ...
}
首先获取屏幕宽度。
private int mScreenWidth;//屏幕的宽度
...
// 获取屏幕宽度
WindowManager wm = (WindowManager) context.getSystemService(Context.WINDOW_SERVICE);
DisplayMetrics dm = new DisplayMetrics();
wm.getDefaultDisplay().getMetrics(dm);
mScreenWidth = dm.widthPixels;
接着重写onTouchEvent(MotionEvent ev)方法,对手指按下、移动、离开分别进行相应处理。如
@Override
public boolean onTouchEvent(MotionEvent ev) {
  //事件响应
    switch (ev.getAction()) {
        case MotionEvent.ACTION_DOWN:
            performActionDown(ev);
            break;
        case MotionEvent.ACTION_MOVE:
            performActionMove(ev);
            break;
        case MotionEvent.ACTION_UP:
            performActionUp(ev);
            break;
    }
    return super.onTouchEvent(ev);
}
当手指按下时我们需要获取到按下时所在的item,得到正常显示时的视图,并设置其宽度为屏幕的宽度;另外还需得到删除组件的宽度。如:
private int mDownX;//手指初次按下的X坐标
private int mDownY;//手指初次按下的Y坐标
private boolean isDeleteShow;//删除组件是否显示
private ViewGroup mPointChild;//手指按下位置的item组件
private int mDeleteWidth;//删除组件的宽度
private LinearLayout.LayoutParams mItemLayoutParams;//手指按
最低0.47元/天 解锁文章


 2888
2888

 被折叠的 条评论
为什么被折叠?
被折叠的 条评论
为什么被折叠?
 到【灌水乐园】发言


