


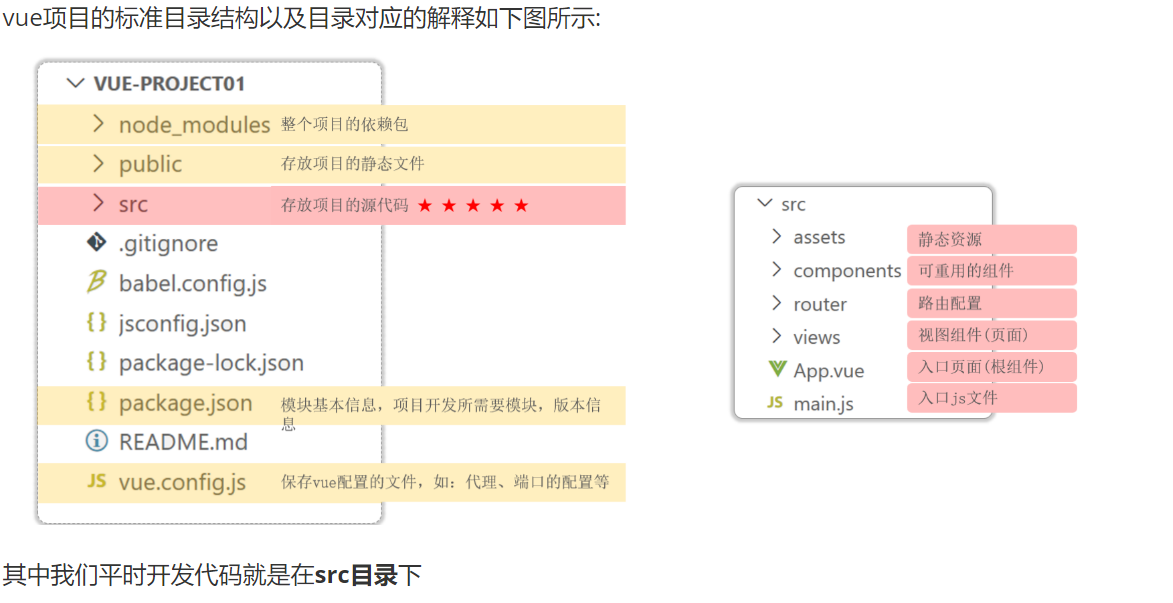
基础项目构建
创建VUE初始工程
确保自己下载了node.js和npm
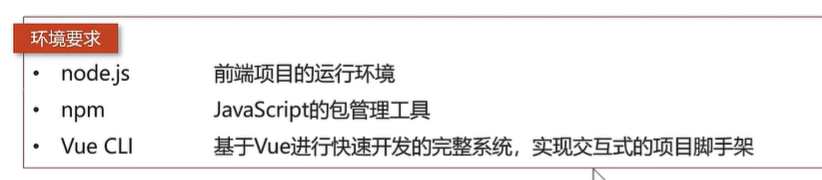
node -v     //查看node.js的版本
npm -v      //查看npm的版本
npm i @vue/cli -g    //安装VUE CLI
创建
以管理员身份运行
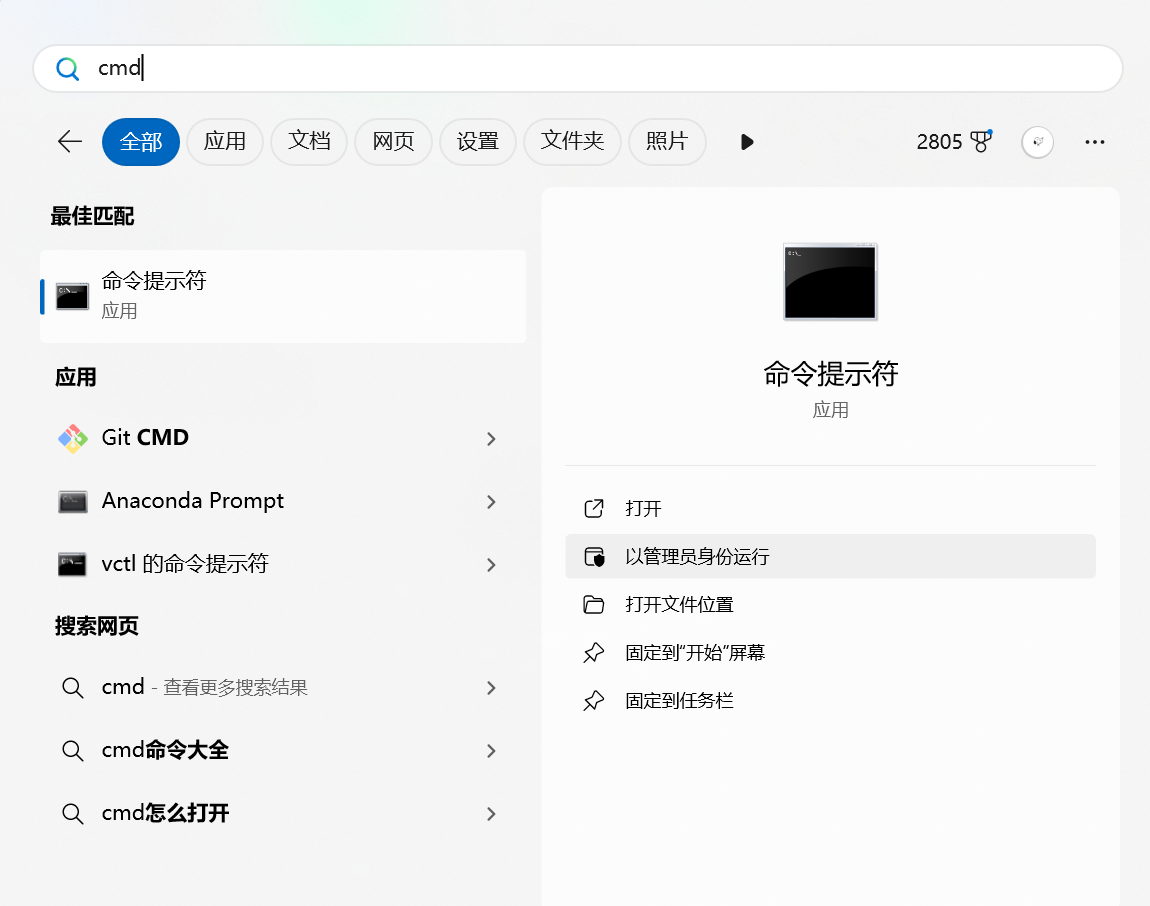
输入:vue ui
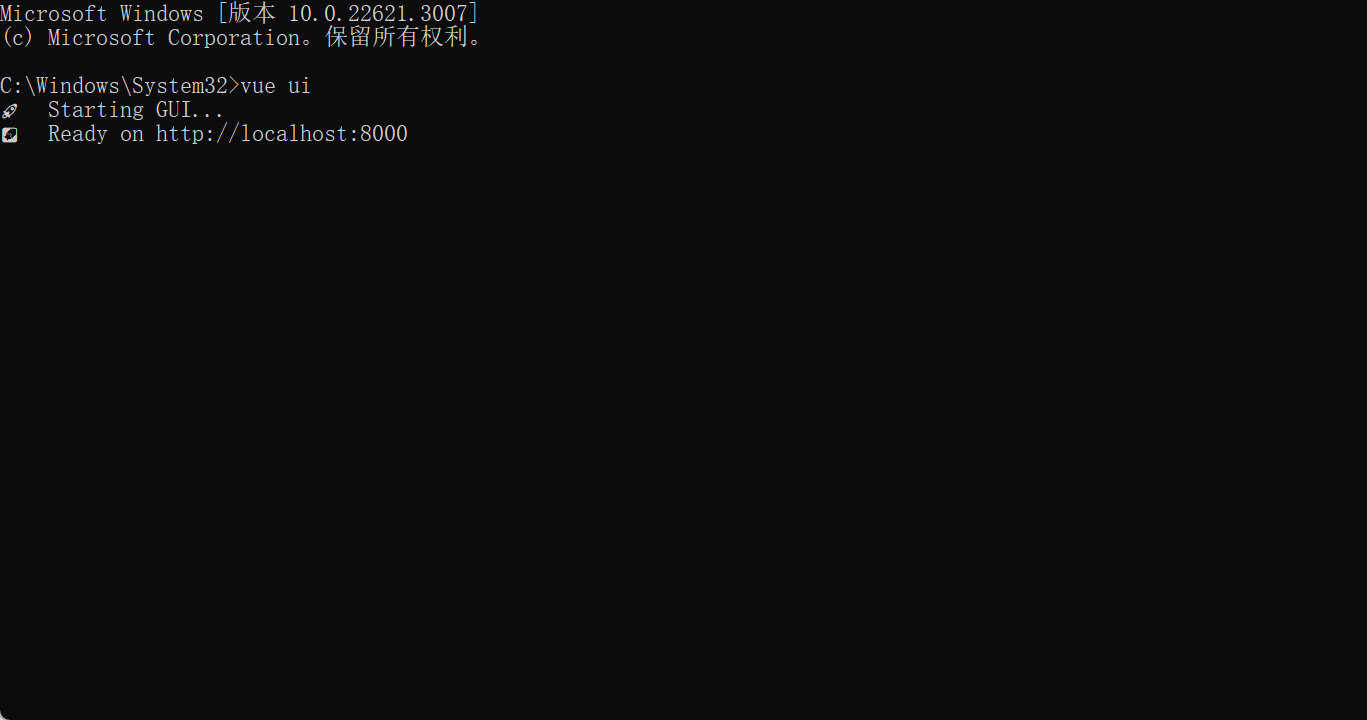
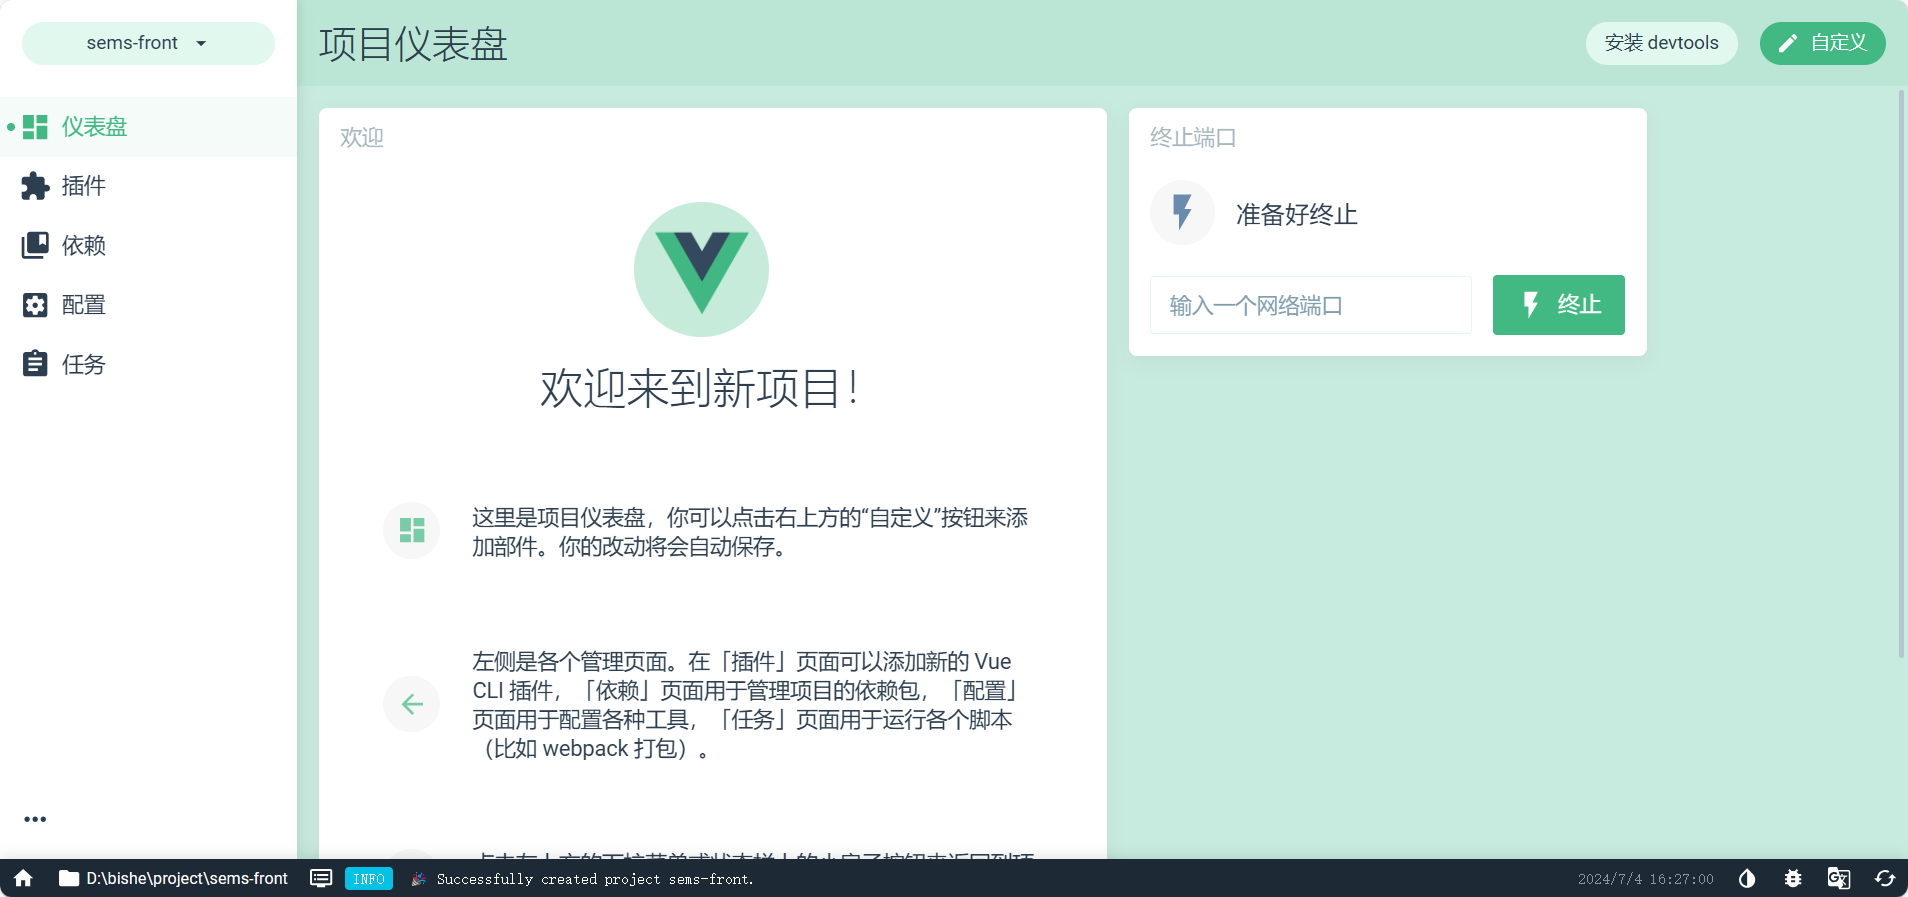
就会进入
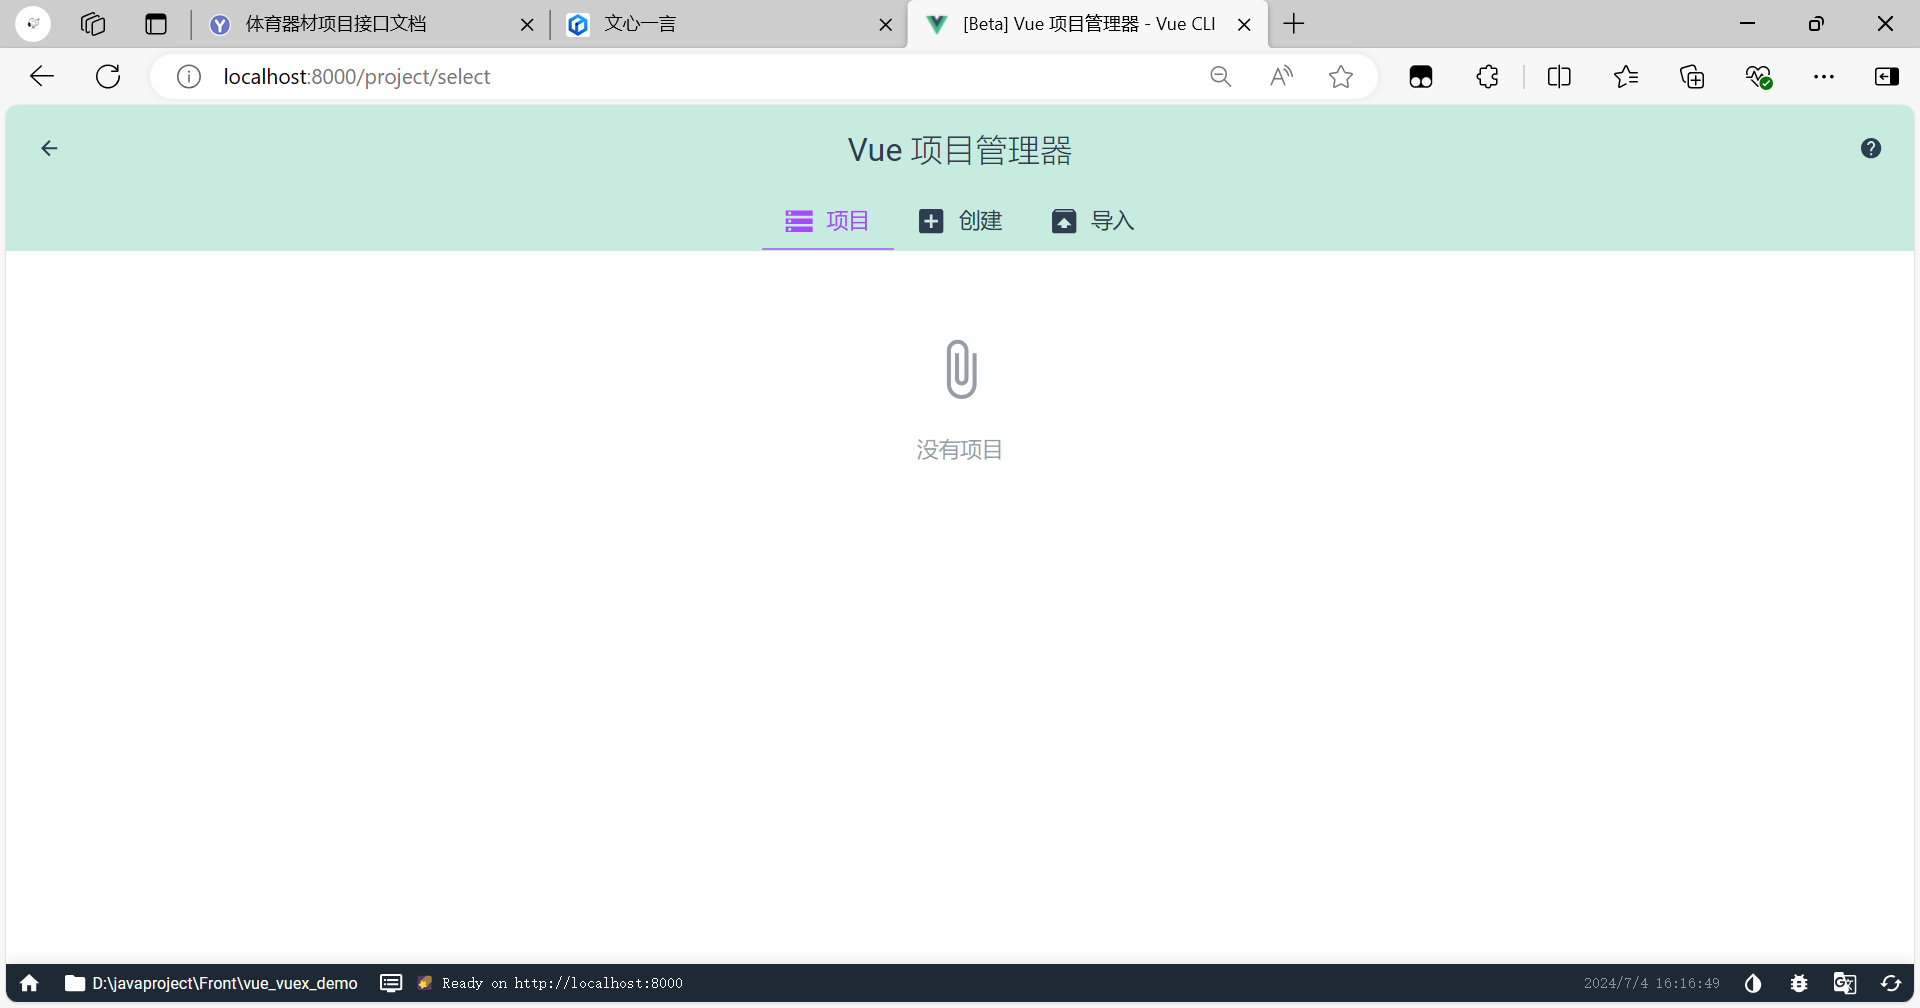
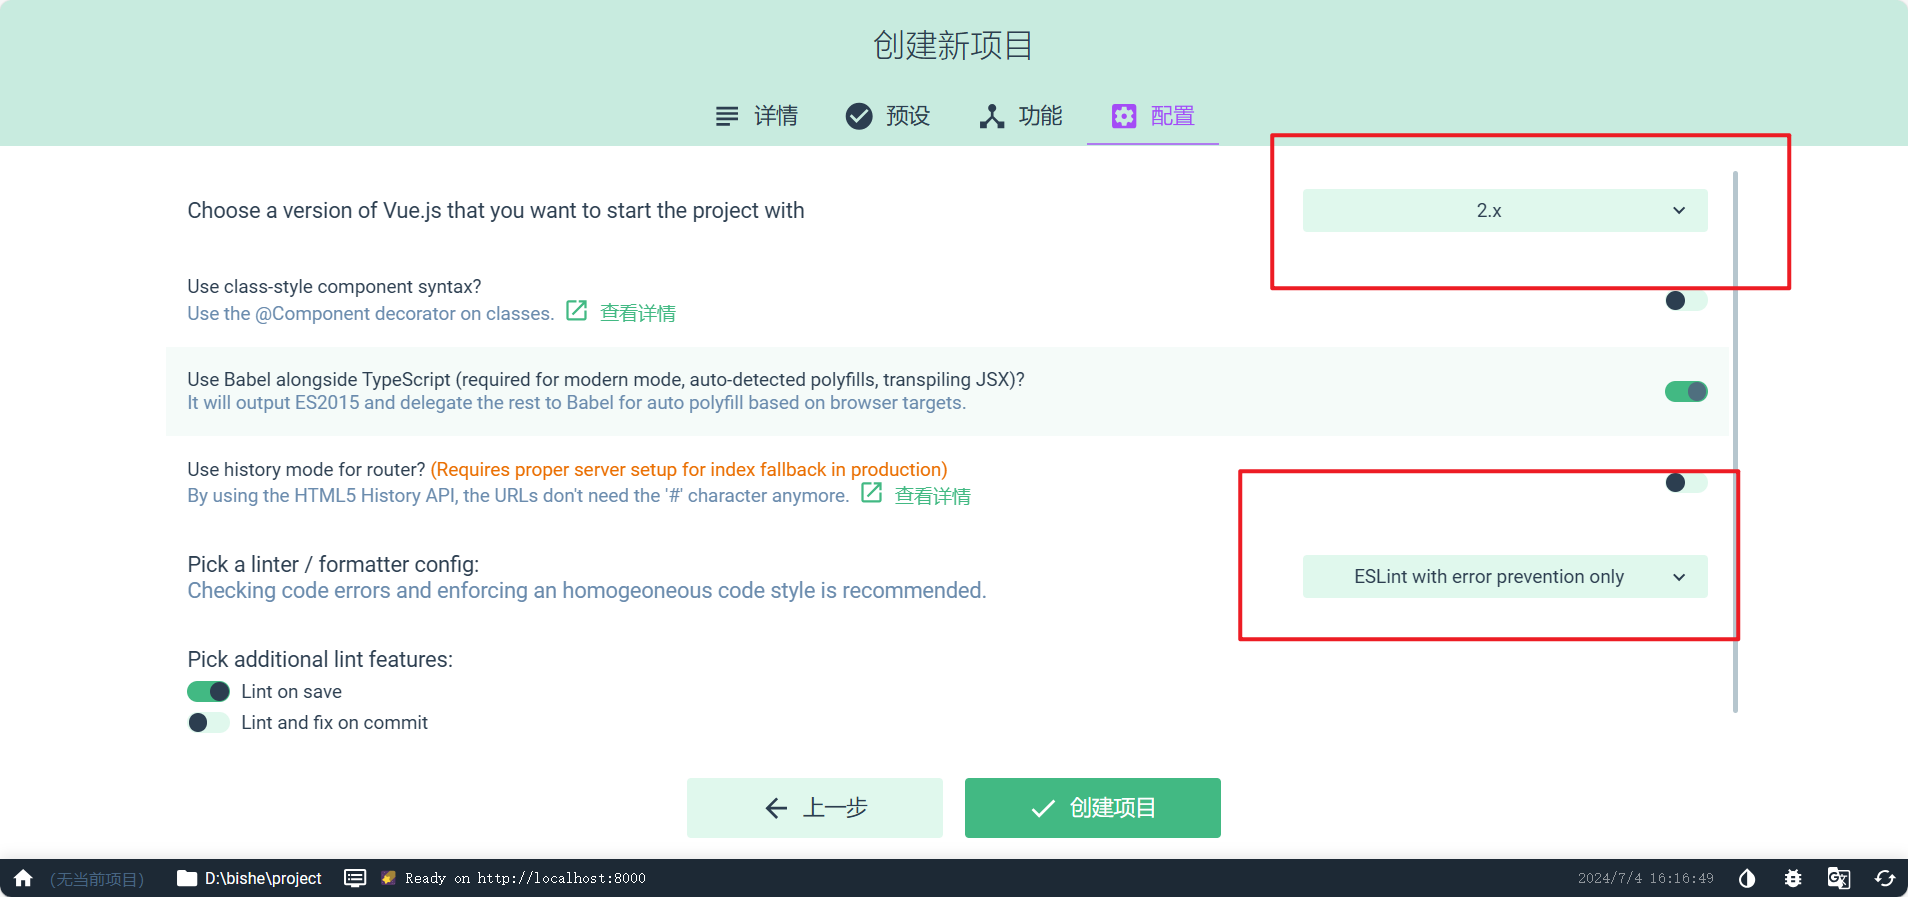
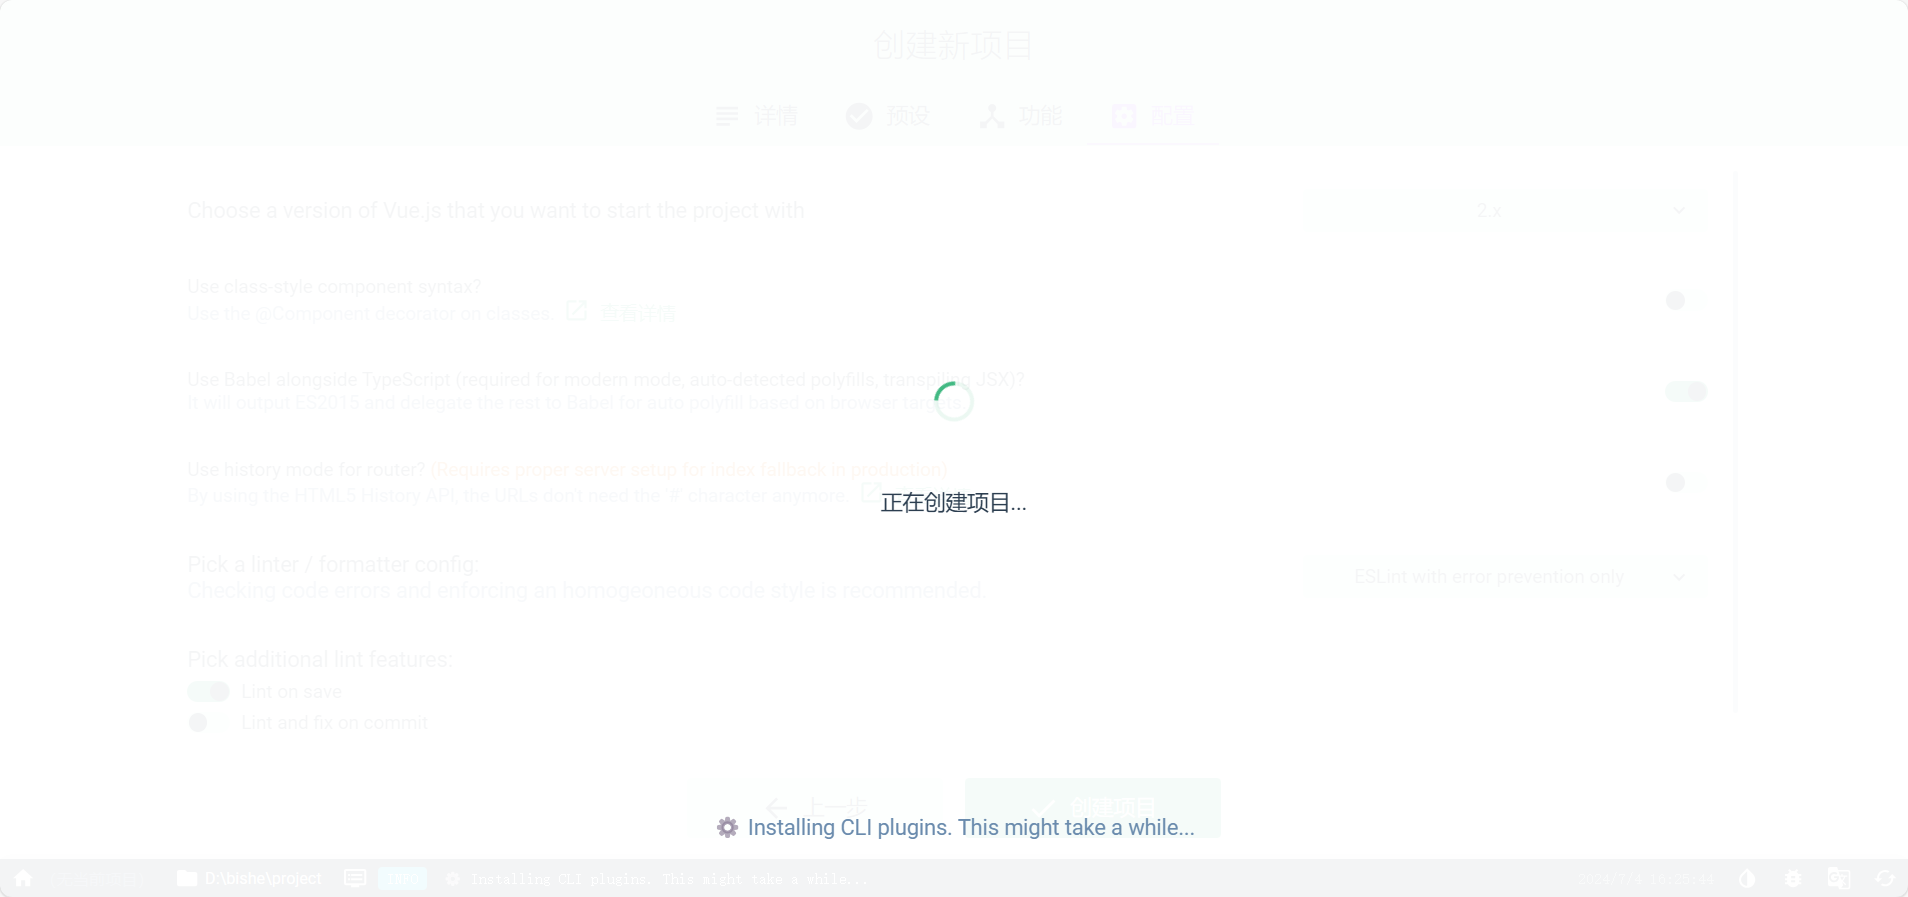
点击创建
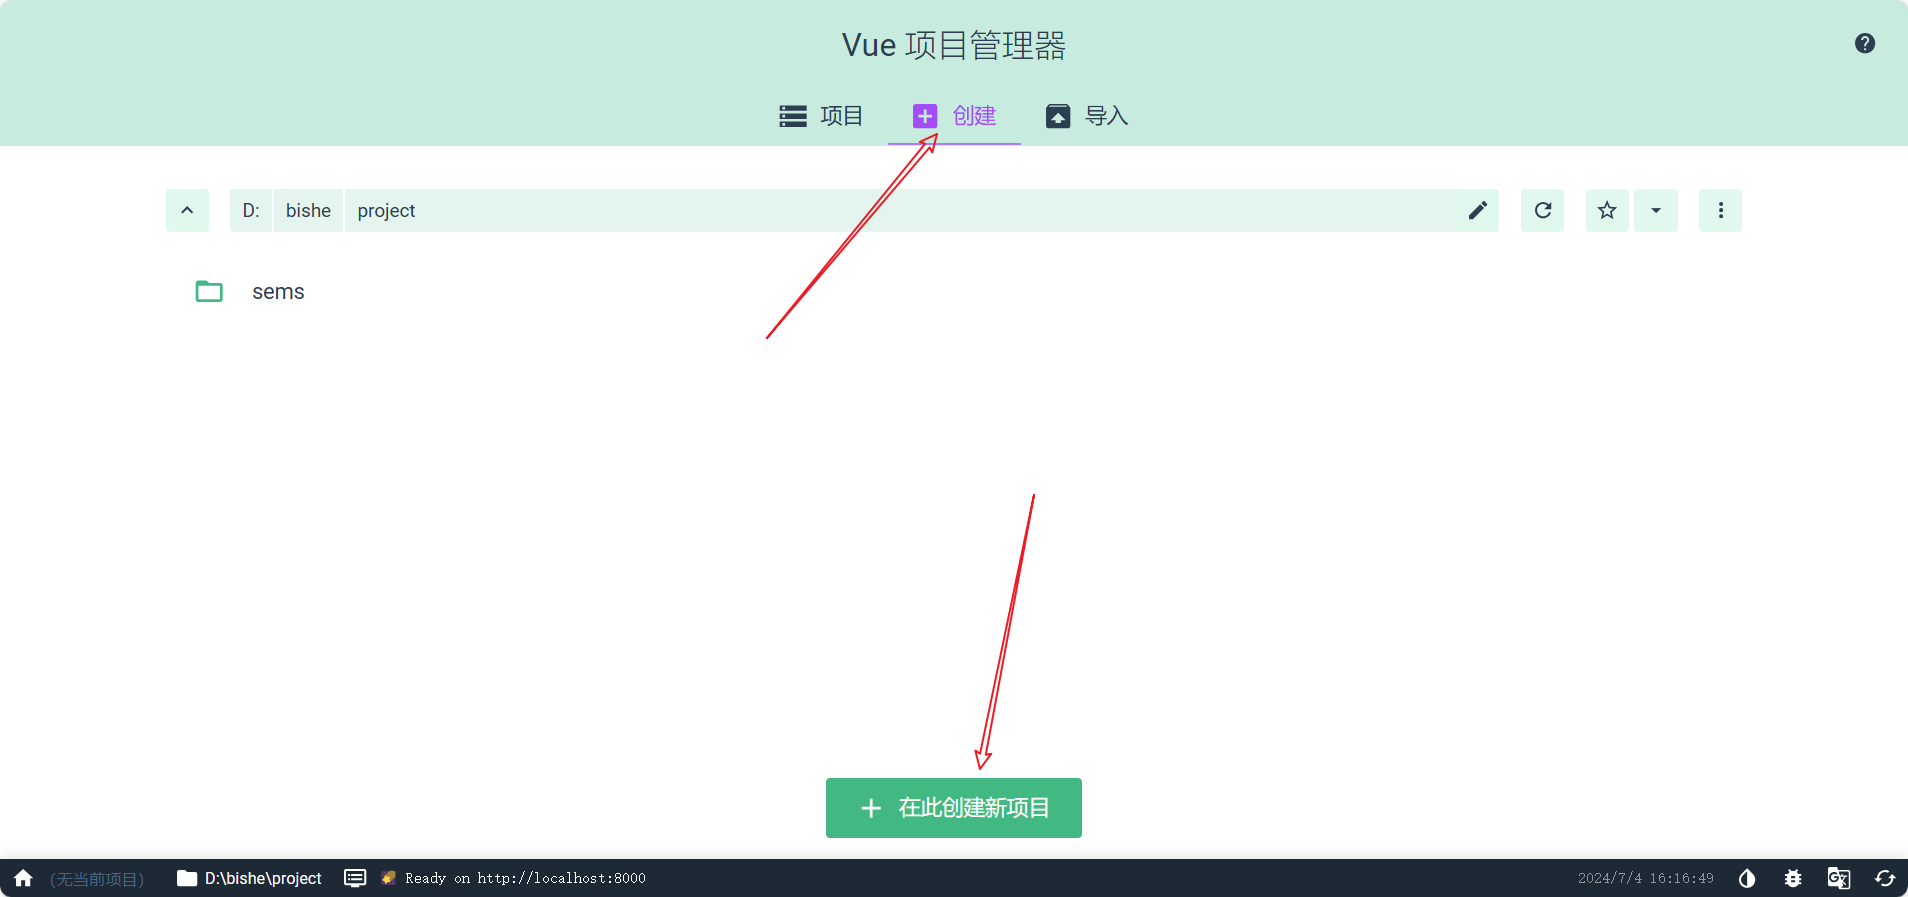
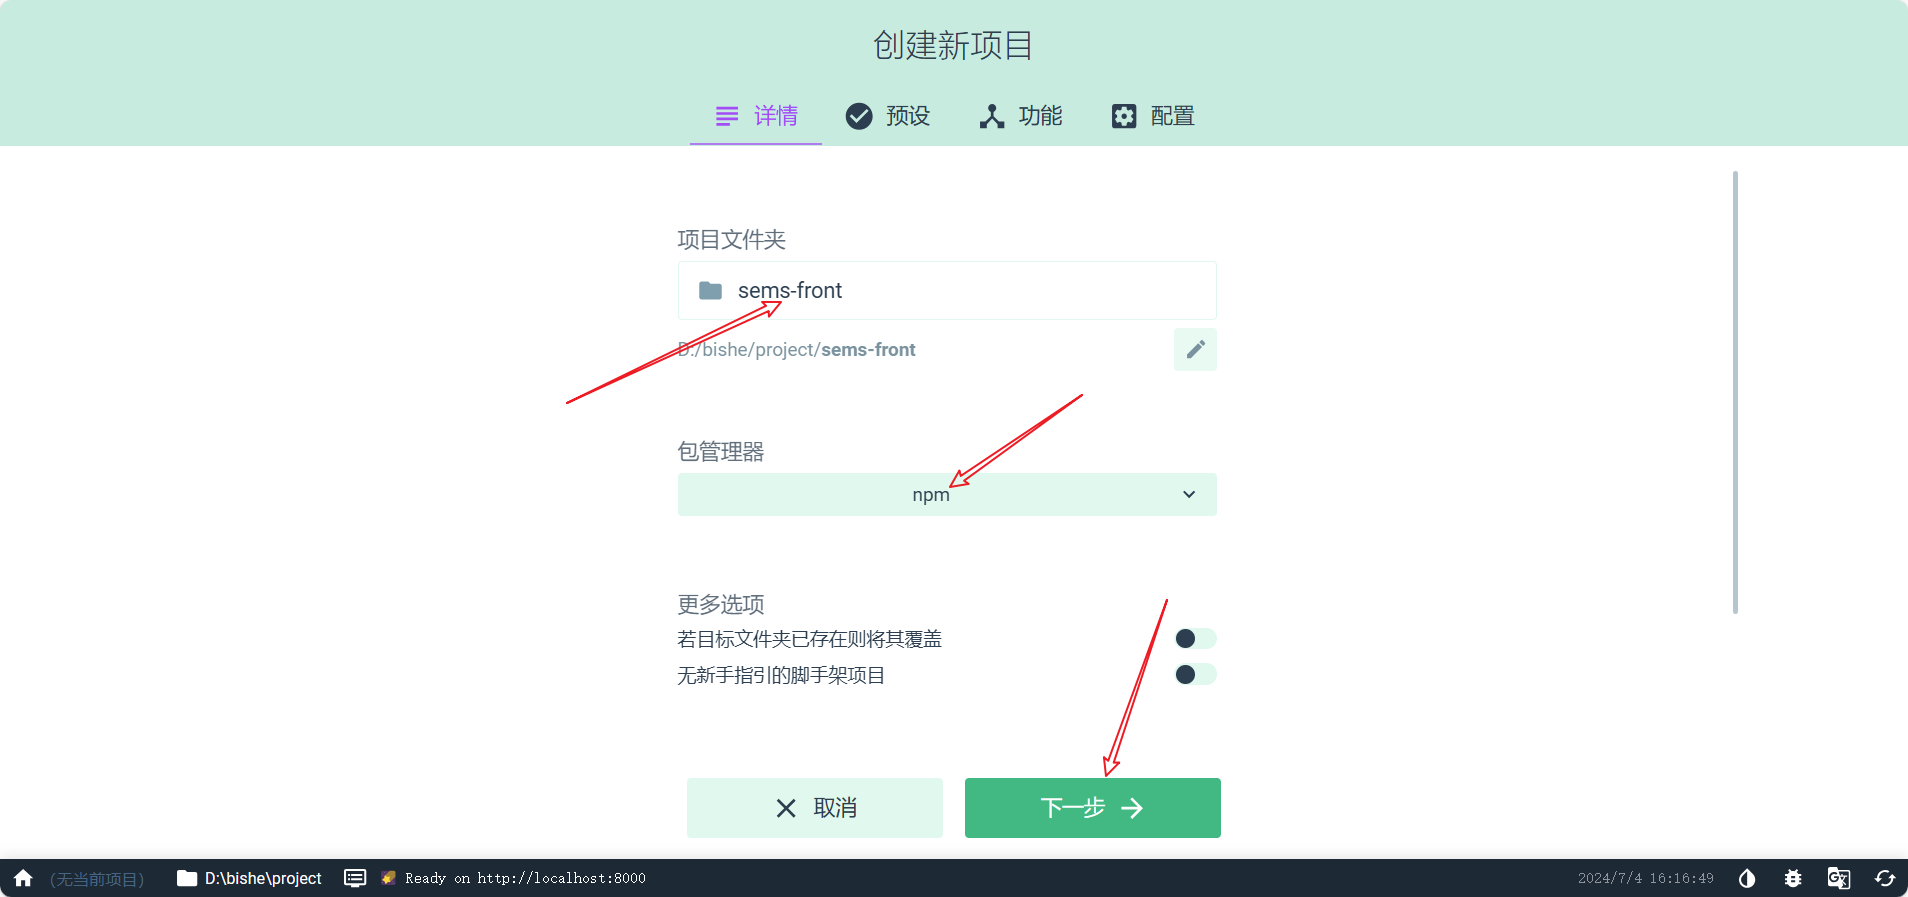
自定义项目名字,选择npm管理
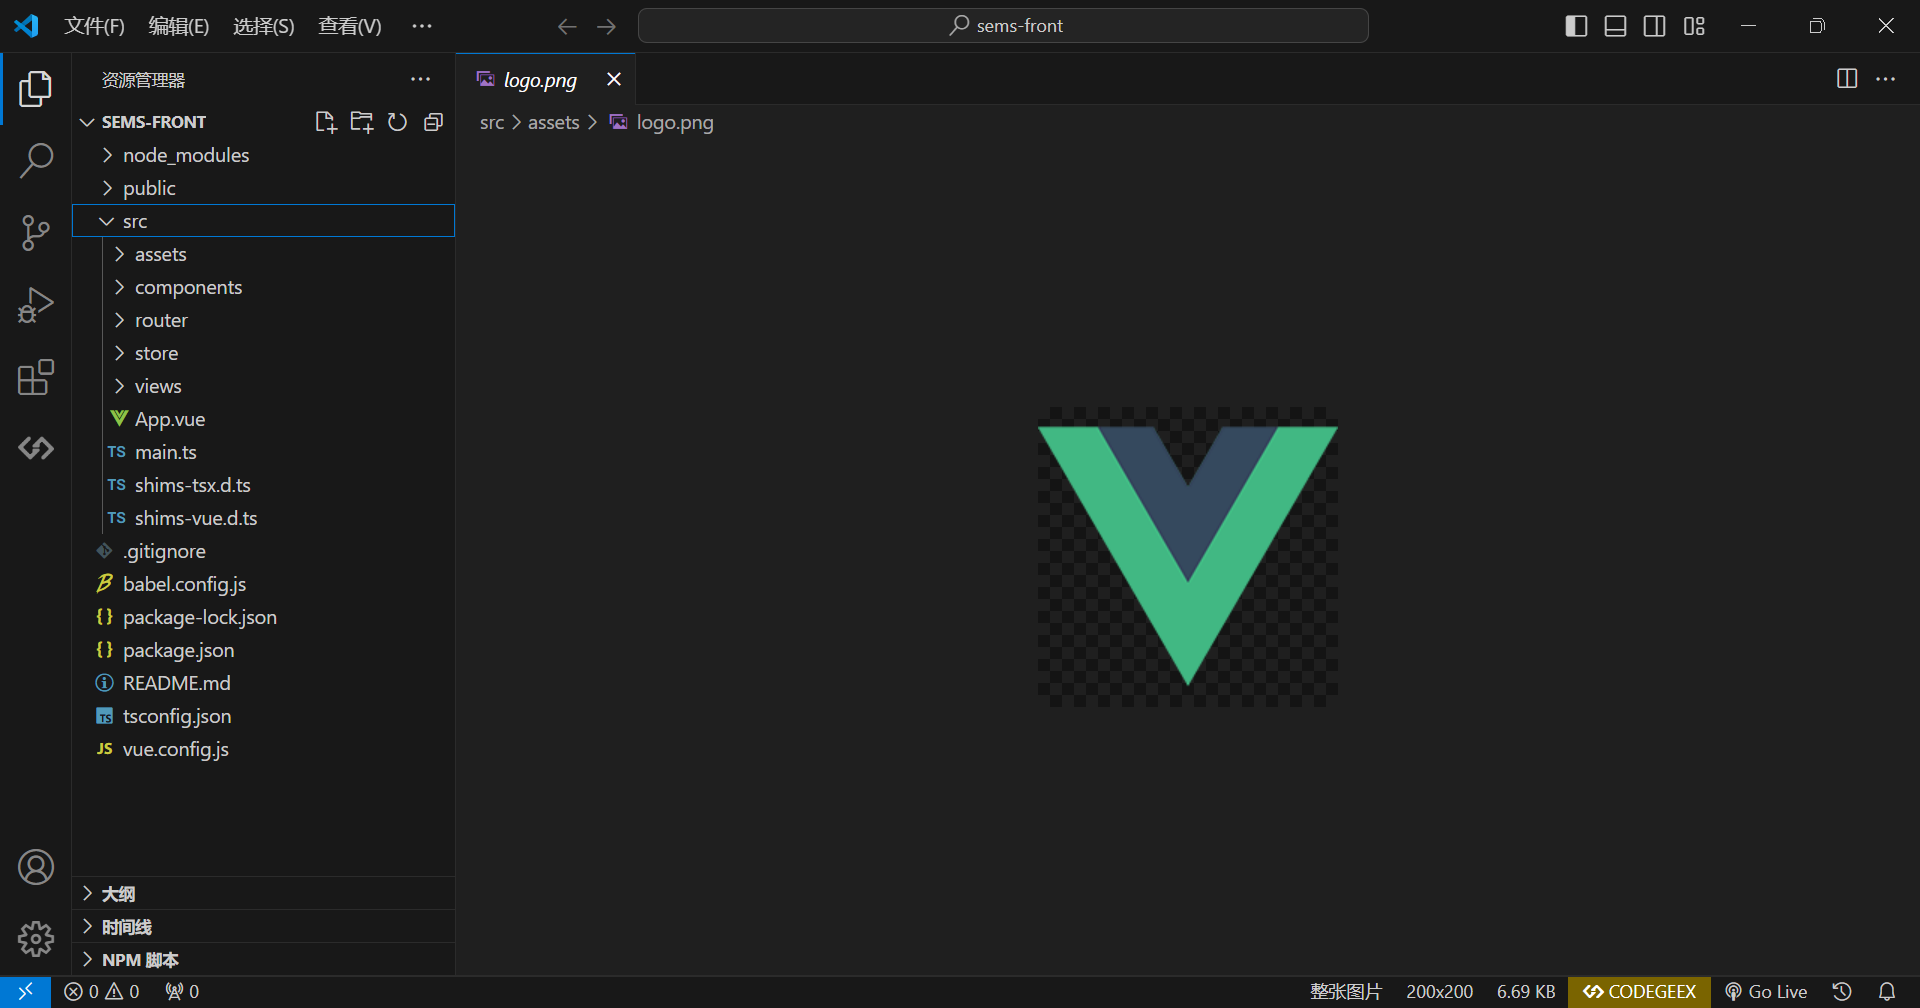
结构
用vscode打开这个项目
运行
打开终端
快捷键:ctrl+j
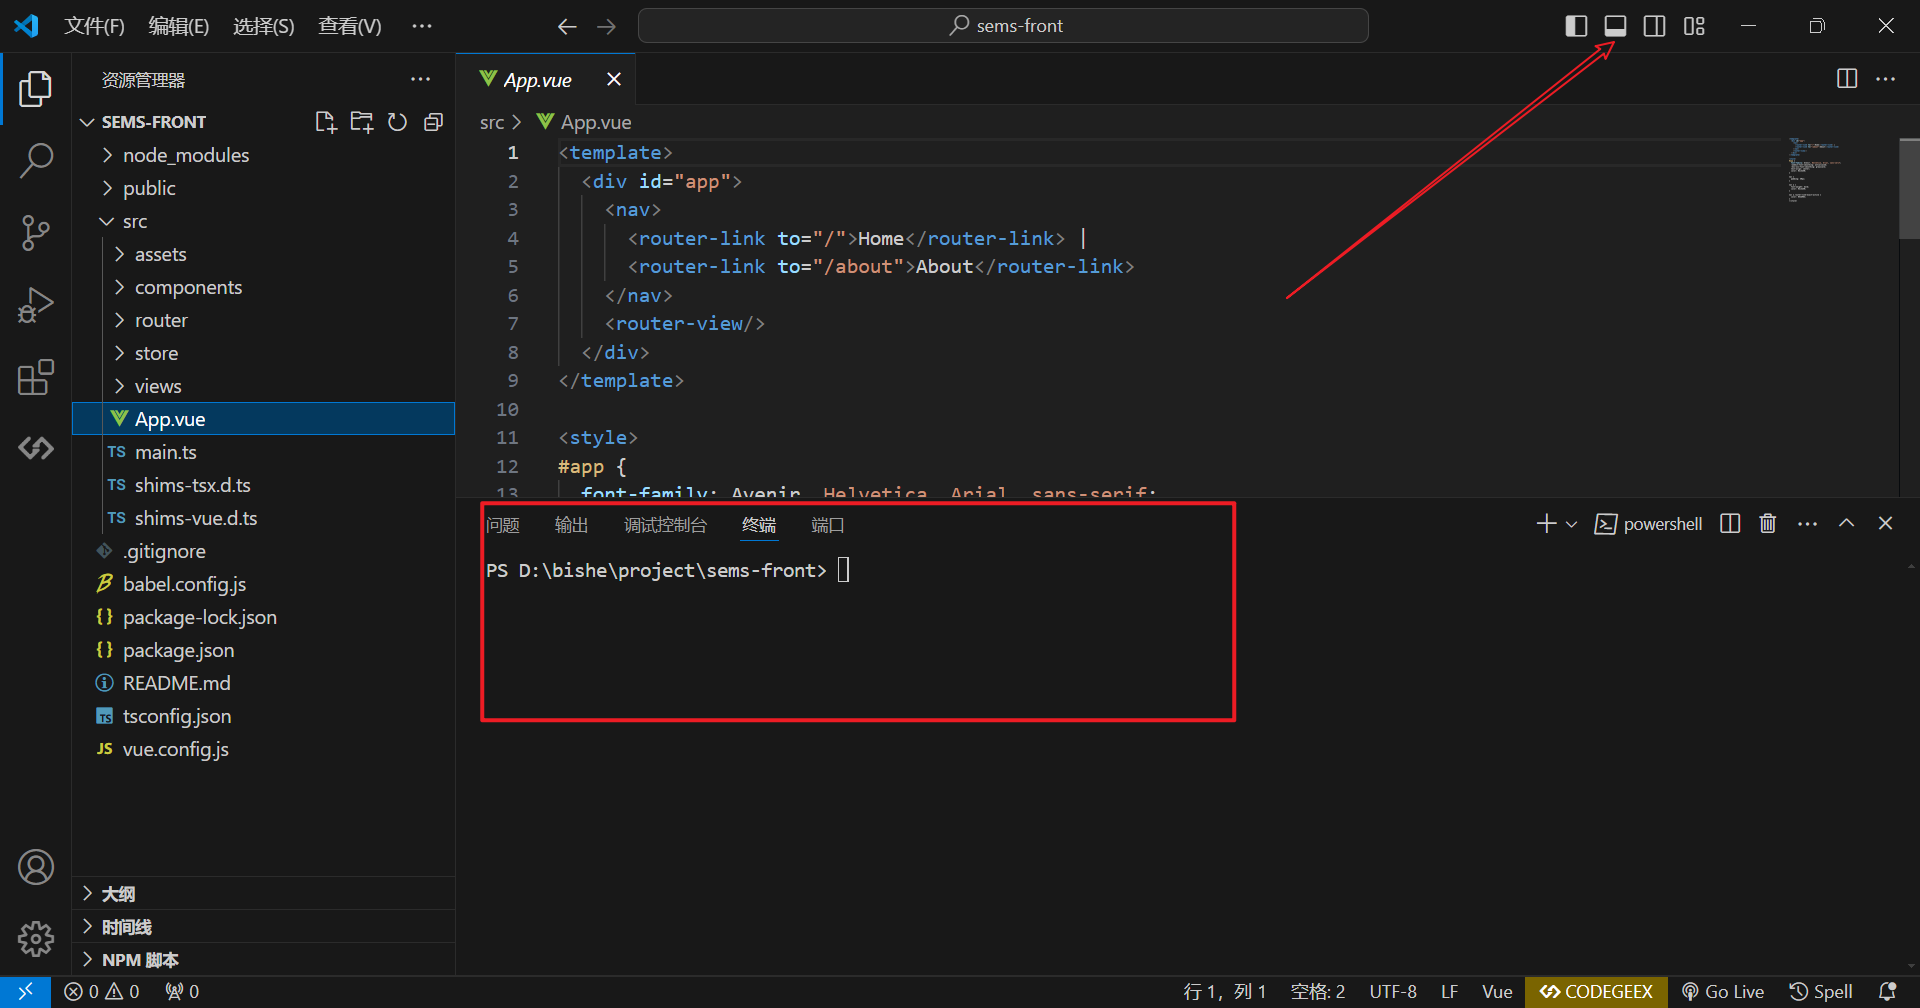
输入npm run serve回车
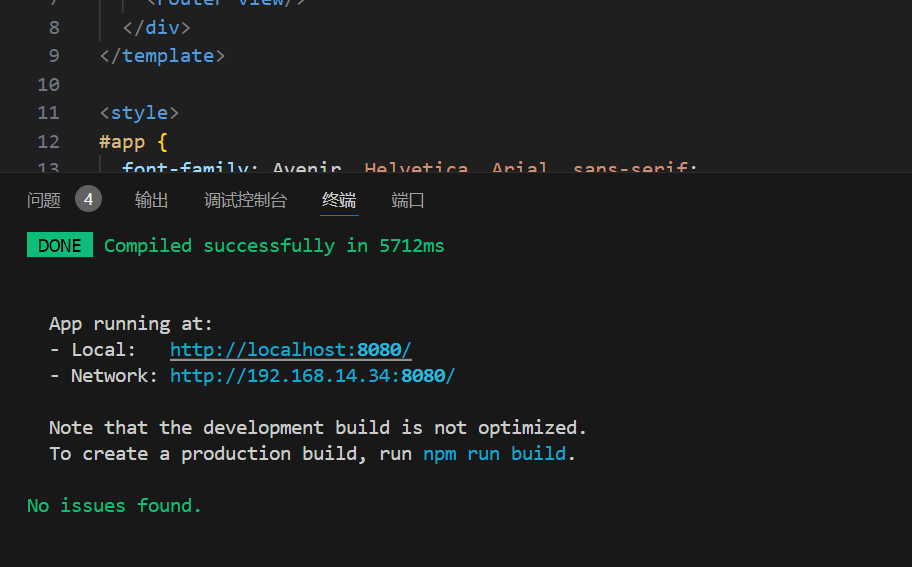
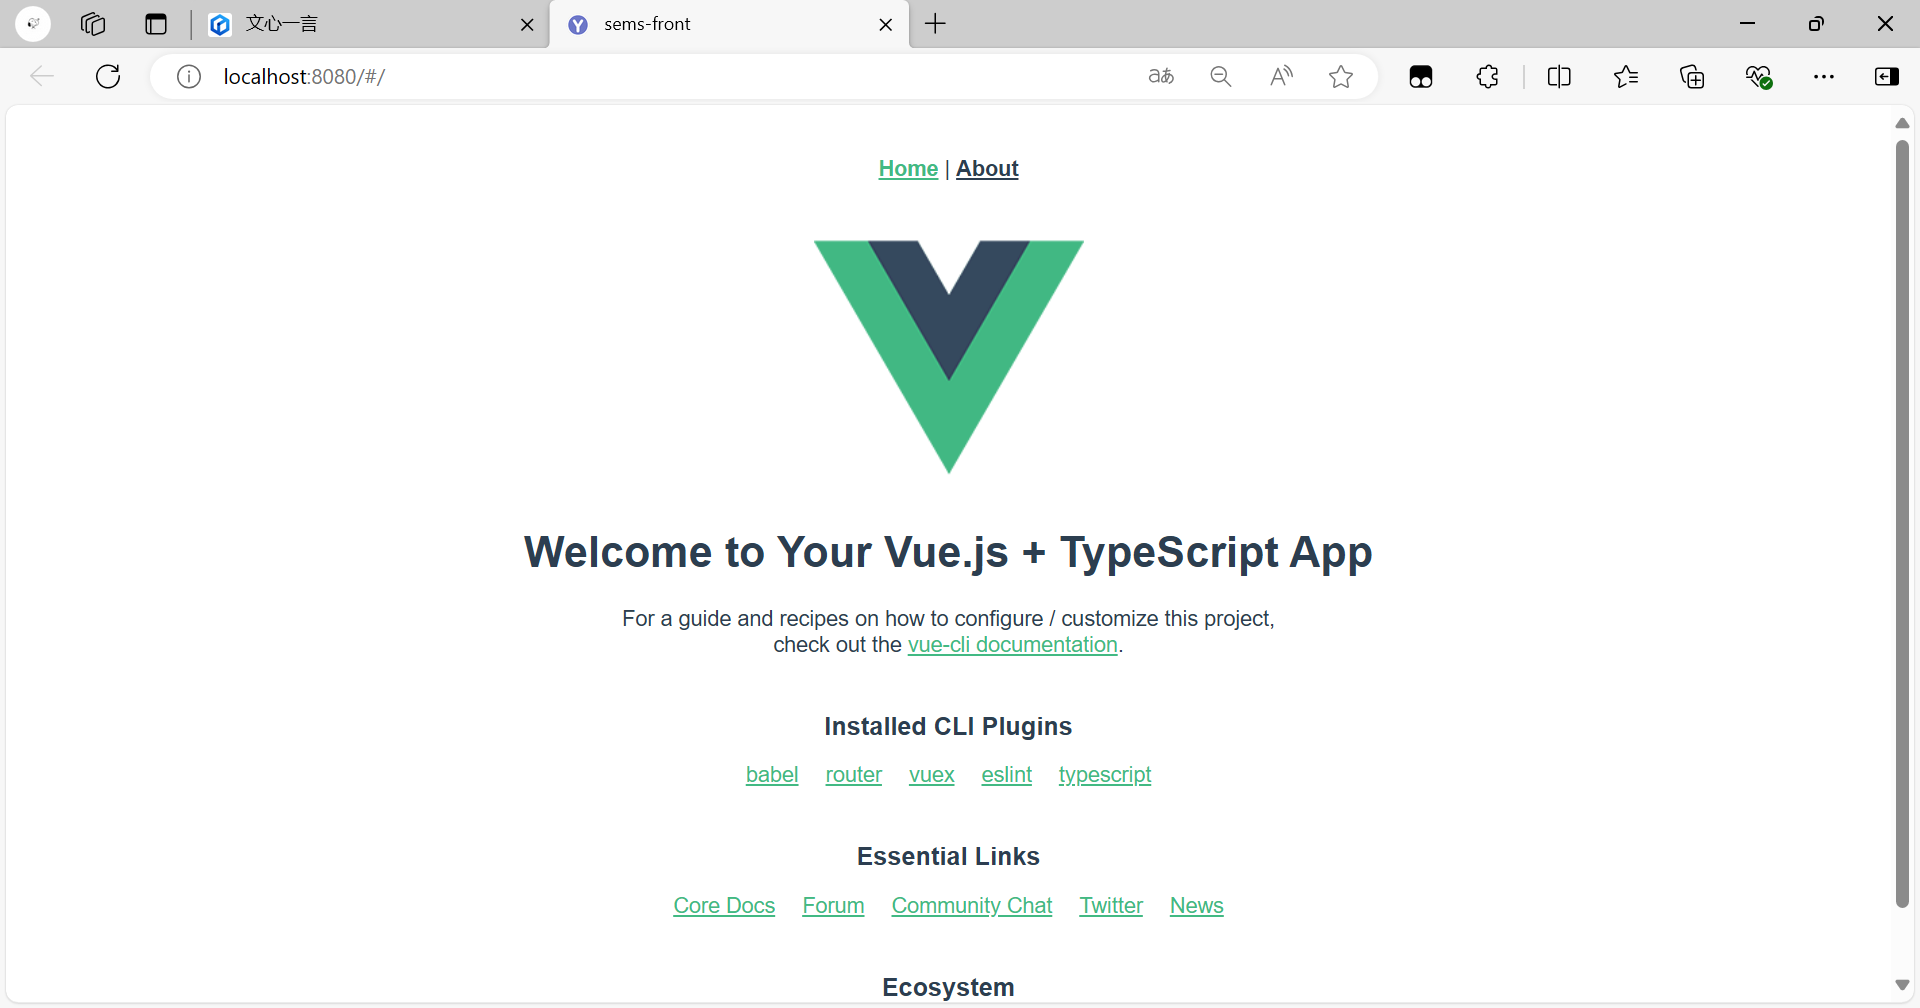
然后进入给的网址
修改端口
vue.config.js
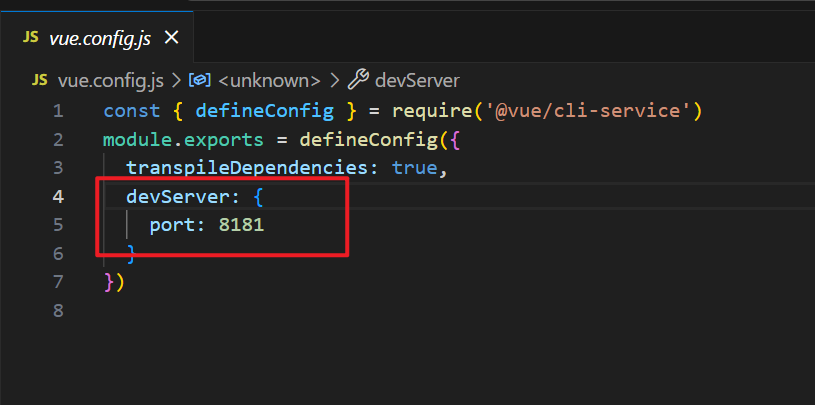
const { defineConfig } = require('@vue/cli-service')
module.exports = defineConfig({
  transpileDependencies: true,
  devServer: {
    port: 8181
  }
})
现在我们就是在这个界面开始编写我们的代码
2024.7.4
学生登录界面
参考这篇文章
Vue 实现登录注册功能(前后端分离完整案例) | 软件研会
参考文章中遇到的一些问题
问题:解决error: Component name “xxx” should always be multi-word.
解决:
问题:import VueAxios from 'vue-axios'中vue-axios找不到报错
解决:
npm i vue-axios问题:点击登录之后,一直网页报错
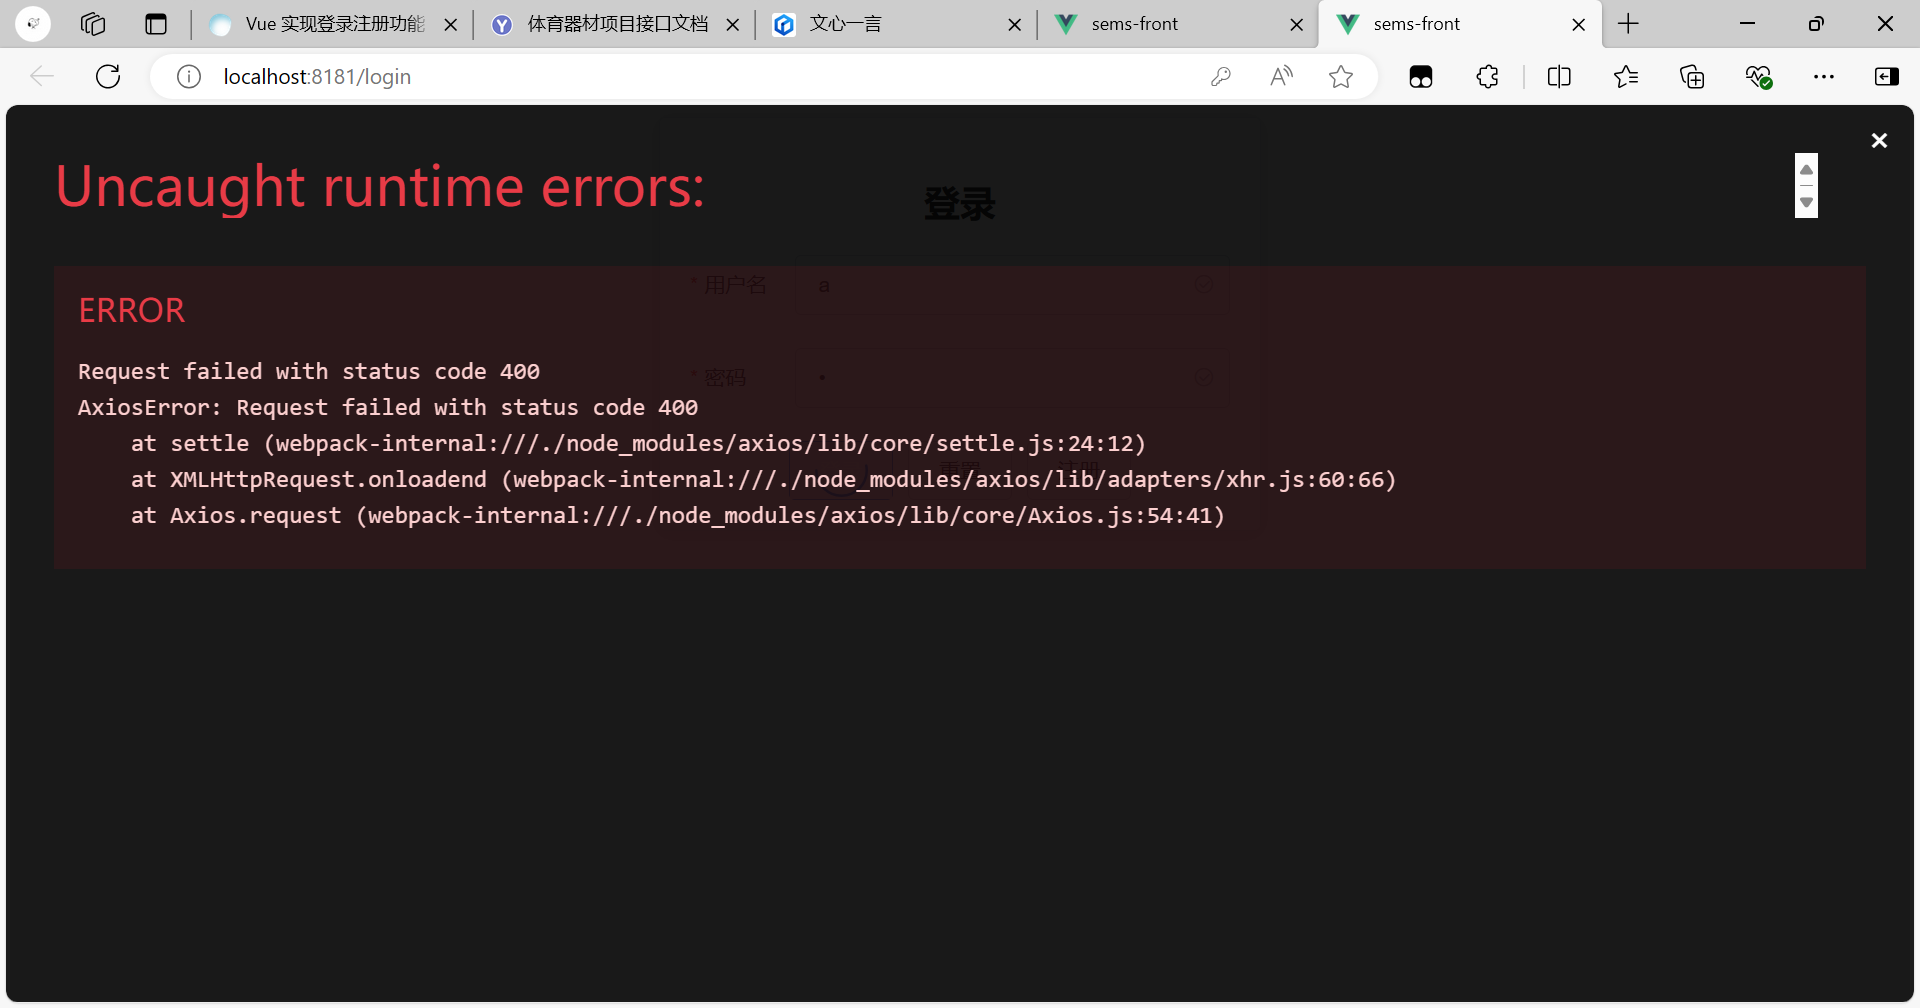
解决措施:(麻了,我各种翻阅资料,居然是这里出错了,气死了!!!!!!!花费了我2小时)
src\views\login\Login.vue
问题基本搞定,还有一些小细节:
我们不需要注册这个版本,所以我没有搞。
基本就ok了
所有的代码:
src\App.vue
<template>
  <div id="app">
    <router-view/>
  </div>
</template>

<script>


export default {
  name: 'App',
  components: {
  }
}
</script>


<style>
#app {
  font-family: Avenir, Helvetica, Arial, sans-serif;
  -webkit-font-smoothing: antialiased;
  -moz-osx-font-smoothing: grayscale;
  text-align: center;
  color: #2c3e50;
}
</style>
src\main.js
import Vue from 'vue'
import App from './App.vue'
import store from './store'

import router from './router'      //路由 2
import VueRouter from 'vue-router' // 路由 1

import ElementUI from 'element-ui';	// Element 1
import 'element-ui/lib/theme-chalk/index.css'; // Element 2

import axios from 'axios'
import VueAxios from 'vue-axios'


// 关闭 Vue 的生产提示
Vue.config.productionTip = false

// 使用插件
Vue.use(ElementUI); // Element 3
Vue.use(VueRouter) // 路由 3
Vue.use(VueAxios, axios) // 使用 axios 插件

// 创建 Vue 实例对象
new Vue({
  router,
  store,
  render: h => h(App)
}).$mount('#app')
vue.config.js
const { defineConfig } = require('@vue/cli-service')
module.exports = defineConfig({
transpileDependencies: true,
lintOnSave: false,
devServer: {
port: 8181,
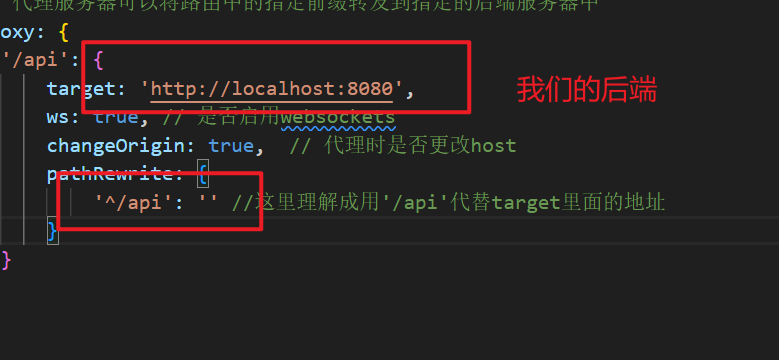
// 代理服务器可以将路由中的指定前缀转发到指定的后端服务器中
proxy: {
'/api': {
target: 'http://localhost:8080',
ws: true, // 是否启用websockets
changeOrigin: true, // 代理时是否更改host
pathRewrite: {
'^/api': '' //这里理解成用'/api'代替target里面的地址
}
}
}
}
})
src\views\login\Login.vue
<template>
<div>
<el-card class="box-card">
<h2>登录</h2>
<el-form
:model="ruleForm"
status-icon
:rules="rules"
ref="ruleForm"
label-position="left"
label-width="70px"
class="login-from"
>
<el-form-item label="用户名" prop="username">
<el-input v-model="ruleForm.username"></el-input>
</el-form-item>
<el-form-item label="密码" prop="password">
<el-input
type="password"
v-model="ruleForm.password"
autocomplete="off"
></el-input>
</el-form-item>
</el-form>
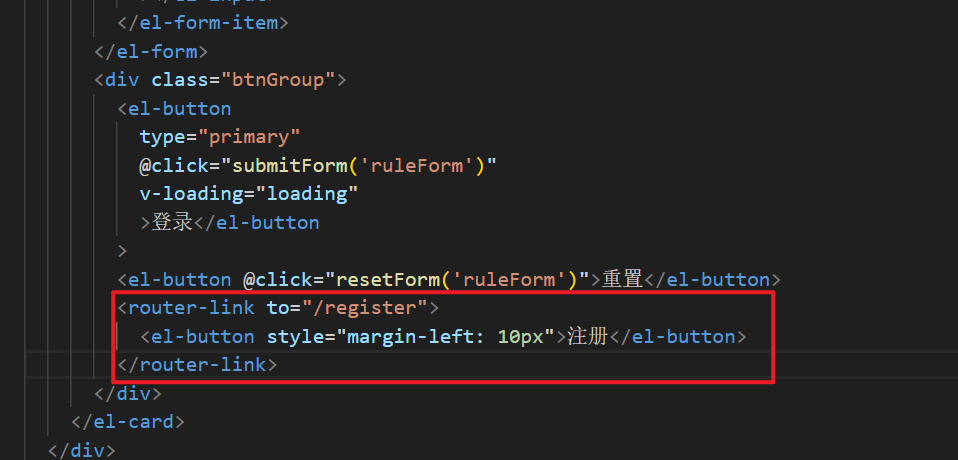
<div class="btnGroup">
<el-button
type="primary"
@click="submitForm('ruleForm')"
v-loading="loading"
>登录</el-button
>
<el-button @click="resetForm('ruleForm')">重置</el-button>
<router-link to="/register">
<el-button style="margin-left: 10px">注册</el-button>
</router-link>
</div>
</el-card>
</div>
</template>
<script>
export default {
data() {
return {
ruleForm: {
username: "",
password: "",
},
rules: {
username: [
{ required: true, message: "用户名不能为空!", trigger: "blur" },
],
password: [
{ required: true, message: "密码不能为空!", trigger: "blur" },
],
},
loading: false, // 是否显示加载动画
};
},
methods: {
submitForm(formName) {
// 验证表单中的账号密码是否有效,因为在上面rules中定义为了必填 required: true
this.$refs[formName].validate((valid) => {
// 点击登录后,让登录按钮开始转圈圈(展示加载动画)
this.loading = true;
// 如果经过校验,账号密码都不为空,则发送请求到后端登录接口
if (valid) {
let _this = this;
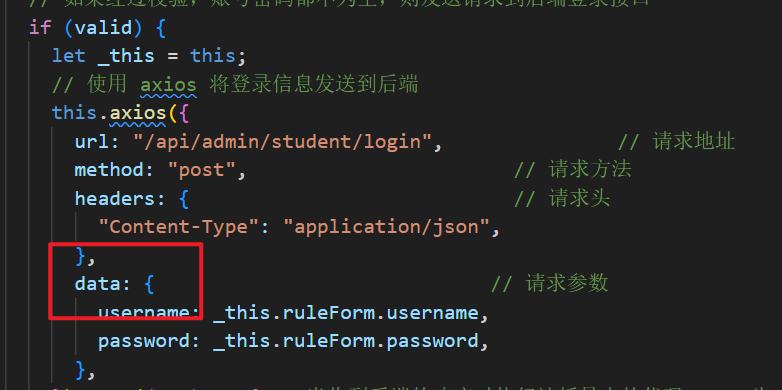
// 使用 axios 将登录信息发送到后端
this.axios({
url: "/api/admin/student/login", // 请求地址
method: "post", // 请求方法
headers: { // 请求头
"Content-Type": "application/json",
},
data: { // 请求参数
username: _this.ruleForm.username,
password: _this.ruleForm.password,
},
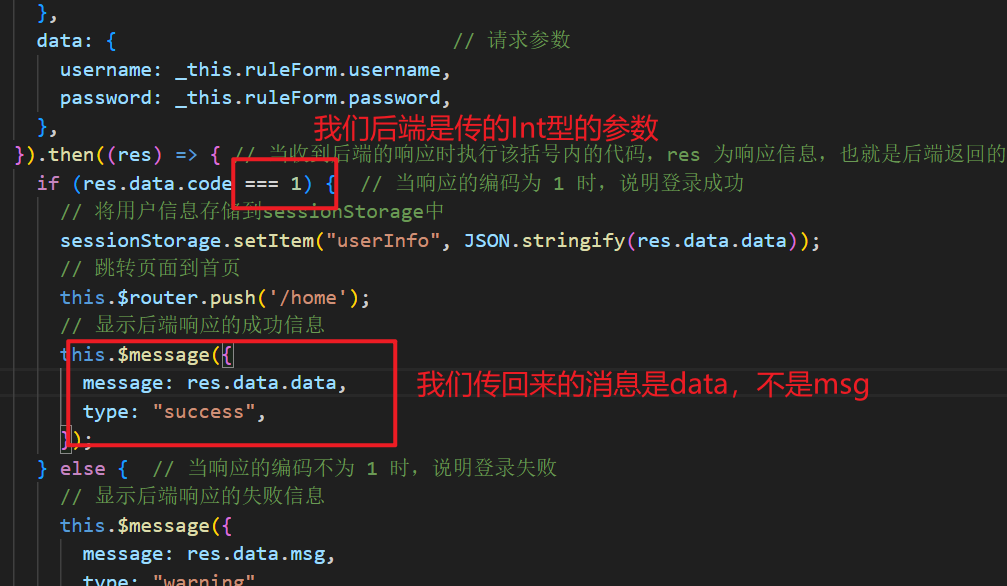
}).then((res) => { // 当收到后端的响应时执行该括号内的代码,res 为响应信息,也就是后端返回的信息
if (res.data.code === 1) { // 当响应的编码为 1 时,说明登录成功
// 将用户信息存储到sessionStorage中
sessionStorage.setItem("userInfo", JSON.stringify(res.data.data));
// 跳转页面到首页
this.$router.push('/home');
// 显示后端响应的成功信息
this.$message({
message: res.data.data,
type: "success",
});
} else { // 当响应的编码不为 1 时,说明登录失败
// 显示后端响应的失败信息
this.$message({
message: res.data.msg,
type: "warning",
});
}
// 不管响应成功还是失败,收到后端响应的消息后就不再让登录按钮显示加载动画了
_this.loading = false;
console.log(res);
});
} else { // 如果账号或密码有一个没填,就直接提示必填,不向后端请求
console.log("error submit!!");
this.loading = false;
return false;
}
});
},
resetForm(formName) {
this.$refs[formName].resetFields();
},
},
};
</script>
<style scoped>
/* 设置登录面板居中,宽度为400px */
.box-card {
margin: auto auto;
width: 400px;
}
/* 设置登录面板中的表单居中 */
.login-from {
margin: auto auto;
}
</style>src\views\home\Home.vue
<template>
  <div>
    <h2>欢迎{{ user.username }}!您的 uid 为{{ user.id }}</h2>
    <el-button @click="logout"> 登出 </el-button>
  </div>
</template>

<script>
export default {
  data() {
    return {
      user: {
        username: "",
        id: null,
      },
    };
  },
  methods: {
    logout(){
      // 移除本地用户登录信息
      sessionStorage.removeItem('userInfo');
      // 跳转页面到登录页
      this.$router.push('/login');
    }
  },
  mounted() {
    if (sessionStorage.getItem('userInfo')) {
      // 将用户信息存储到sessionStorage中
      this.user = JSON.parse(sessionStorage.getItem('userInfo'));
    }
  },
};
</script>

<style scoped>
</style>
src\router\index.js
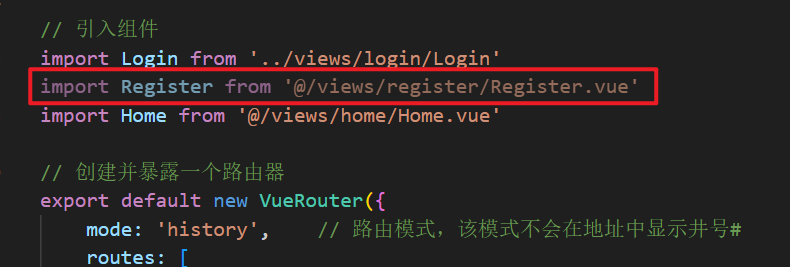
// 此文件专门负责项目的路由
import VueRouter from "vue-router"
// 引入组件
import Login from '../views/login/Login'
import Register from '@/views/register/Register.vue'
import Home from '@/views/home/Home.vue'
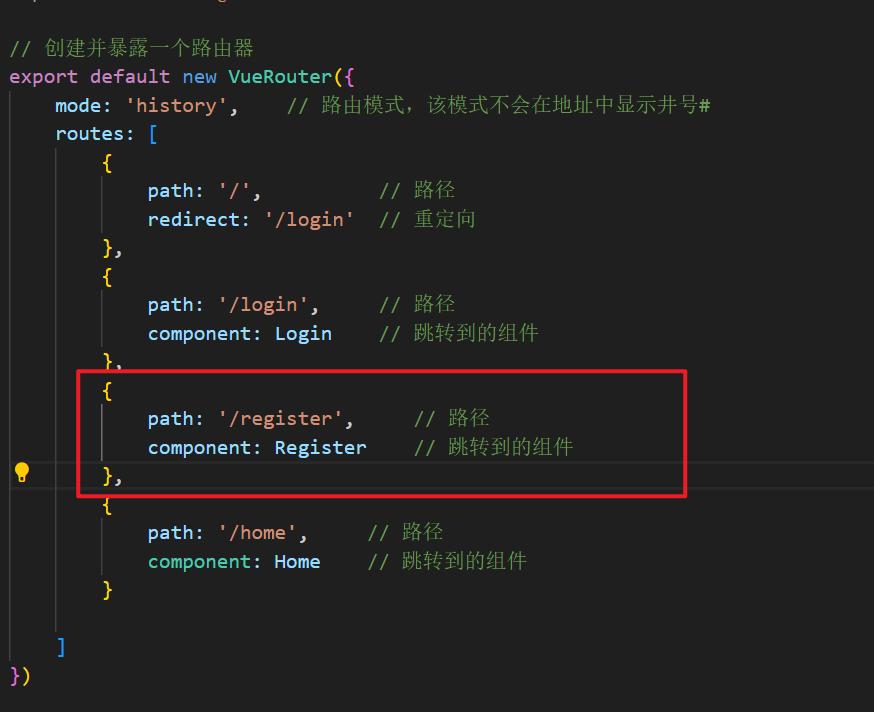
// 创建并暴露一个路由器
export default new VueRouter({
mode: 'history', // 路由模式,该模式不会在地址中显示井号#
routes: [
{
path: '/', // 路径
redirect: '/login' // 重定向
},
{
path: '/login', // 路径
component: Login // 跳转到的组件
},
{
path: '/register', // 路径
component: Register // 跳转到的组件
},
{
path: '/home', // 路径
component: Home // 跳转到的组件
}
]
})修改一下登录界面
去掉注册功能
src\views\login\Login.vue
删除红色框部分
src\views\register

src\router\index.js
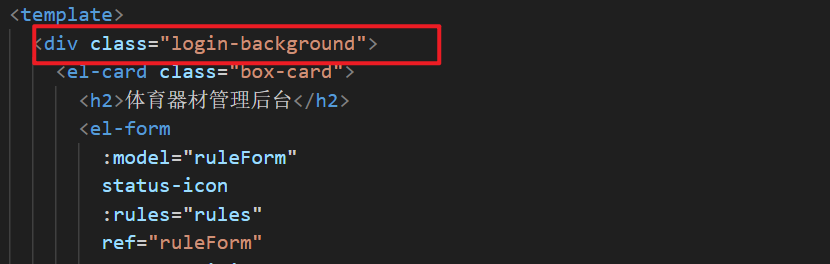
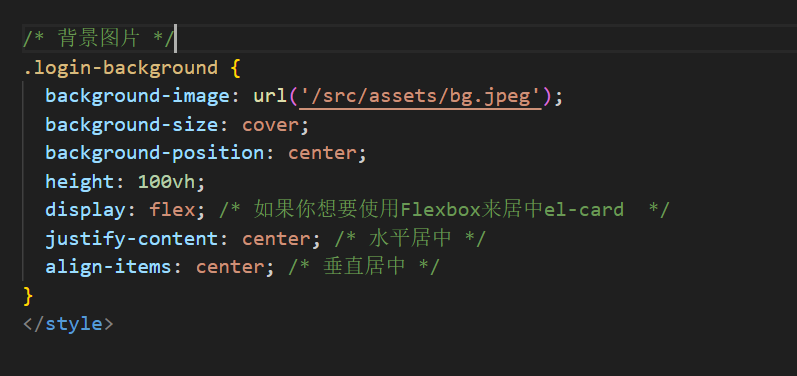
添加背景图片
src\views\login\Login.vue
测试

完整代码
src\views\login\Login.vue
<template>
  <div class="login-background">
    <el-card class="box-card">
      <h2>体育器材管理后台</h2>
      <el-form
        :model="ruleForm"
        status-icon
        :rules="rules"
        ref="ruleForm"
        label-position="left"
        label-width="70px"
        class="login-from"
      >
        <el-form-item label="用户名" prop="username">
          <el-input v-model="ruleForm.username"></el-input>
        </el-form-item>
        <el-form-item label="密码" prop="password">
          <el-input
            type="password"
            v-model="ruleForm.password"
            autocomplete="off"
          ></el-input>
        </el-form-item>
      </el-form>
      <div class="btnGroup">
        <el-button
          type="primary"
          @click="submitForm('ruleForm')"
          v-loading="loading"
          >登录</el-button
        >
        <el-button @click="resetForm('ruleForm')">重置</el-button>
      </div>
    </el-card>
  </div>
</template>

<script>

export default {
  data() {
    return {
      ruleForm: {
        username: "",
        password: "",
      },
      rules: {
        username: [
          { required: true, message: "用户名不能为空!", trigger: "blur" },
        ],
        password: [
          { required: true, message: "密码不能为空!", trigger: "blur" },
        ],
      },
      loading: false, // 是否显示加载动画
    };
  },
  methods: {
    submitForm(formName) {
      // 验证表单中的账号密码是否有效,因为在上面rules中定义为了必填 required: true
      this.$refs[formName].validate((valid) => {
        // 点击登录后,让登录按钮开始转圈圈(展示加载动画)
        this.loading = true;
        // 如果经过校验,账号密码都不为空,则发送请求到后端登录接口
        if (valid) {
          let _this = this;
          // 使用 axios 将登录信息发送到后端
          this.axios({
            url: "/api/admin/student/login",               // 请求地址
            method: "post",                       // 请求方法
            headers: {                            // 请求头
              "Content-Type": "application/json",
            },
            data: {                             // 请求参数
              username: _this.ruleForm.username,
              password: _this.ruleForm.password,
            },
          }).then((res) => { // 当收到后端的响应时执行该括号内的代码,res 为响应信息,也就是后端返回的信息
            if (res.data.code === 1) {  // 当响应的编码为 1 时,说明登录成功
              // 将用户信息存储到sessionStorage中
              sessionStorage.setItem("userInfo", JSON.stringify(res.data.data));
              // 跳转页面到首页
              this.$router.push('/home');
              // 显示后端响应的成功信息
              this.$message({
                message: res.data.data,
                type: "success",
              });
            } else {  // 当响应的编码不为 1 时,说明登录失败
              // 显示后端响应的失败信息
              this.$message({
                message: res.data.msg,
                type: "warning",
              });
            }
            // 不管响应成功还是失败,收到后端响应的消息后就不再让登录按钮显示加载动画了
            _this.loading = false;
            console.log(res);
          });
        } else {  // 如果账号或密码有一个没填,就直接提示必填,不向后端请求
          console.log("error submit!!");
          this.loading = false;
          return false;
        }
      });
    },
    resetForm(formName) {
      this.$refs[formName].resetFields();
    },
  },
};
</script>

<style scoped>
/* 设置登录面板居中,宽度为400px */
.box-card {
  margin: auto auto;
  width: 400px;
}
/* 设置登录面板中的表单居中 */
.login-from {
  margin: auto auto;
}

/* 背景图片 */
.login-background {
  background-image: url('/src/assets/bg.jpeg');
  background-size: cover;
  background-position: center;
  height: 100vh;
  display: flex; /* 如果你想要使用Flexbox来居中el-card  */
  justify-content: center; /* 水平居中 */
  align-items: center; /* 垂直居中 */
}
</style>


 3636
3636


 被折叠的 条评论
为什么被折叠?
被折叠的 条评论
为什么被折叠?
 到【灌水乐园】发言


