一、前言
在跟需求方对接研发的需求,人家说要做一个悬浮在页面的图标,点击完截图然后进入一个新页面,填完一些数据,提交给接口。那么问题来了,怎么制作一个悬浮框,还是可拖拽的悬浮框,还是可拖拽的H5悬浮框?于是,就开始了研发之旅。
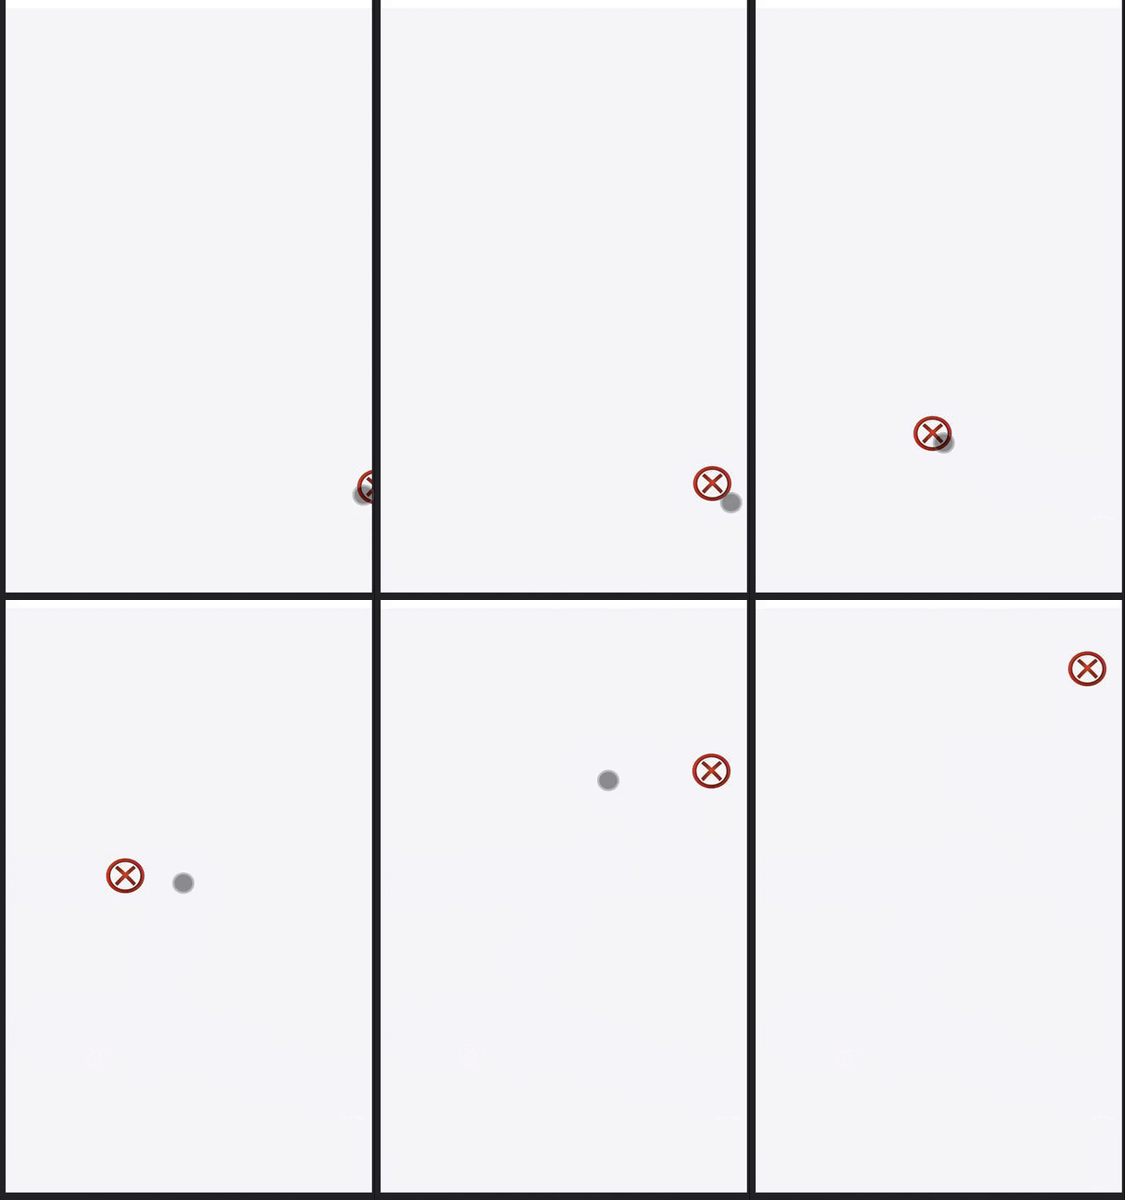
制作之后的效果:

二、总代码
InformErrorHover.tsx悬浮图标总代码:
// 报错悬浮框
const InformErrorHover: FC<InformErrorHoverProps> = (props) => {
  const { visible = false, location } = props;
  const { errorFileList, imgBase64 } = useSelector((state) => state['informError']);
  const dispatch = useDispatch();
  const divRef = useRef<any>();
  const [itemHeight, setItemHeight] = useState<number>(80);
  const [itemWidth, setItemWidth] = useState<number>(80);
  const [left, setLeft] = useState<number>(0);
  const [top, setTop] = useState<number>(0);
  const [clientWidth, setClientWidth] = useState<number>(0);
  const [clientHeight, setClientHeight] = useState<number>(0);
  const [gapWidth, setGapWidth] = useState<number>(30);

  useEffect(() => {
    setClientWidth(document.documentElement.clientWidth);
    setClientHeight(document.documentElement.clientHeight);
    setLeft(document.documentElement.clientWidth - clientWidth - gapWidth);
    setTop(document.documentElement.clientHeight * 0.8);
  }, []);

  /**
   * 开始拖拽
   * @param e
   */
  const dragStart = (e: any) => {
    divRef!.current!.style.transition = 'none';
  };
  /**
   * 结束拖拽
   * @param e
   */
  const dragEnd = (e: any) => {
    divRef!.current!.style.transition = 'all 0.3s';
    if (left > clientWidth / 2) {
      setLeft(clientWidth - itemWidth - gapWidth);
    } else {
      setLeft(gapWidth);
    }
  };

  const touchmove = (e: any) => {
    if (e.targetTouches.length === 1) {
      let touch = e.targetTouches[0];
      setLeft(touch.clientX - itemWidth / 2);
      setTop(touch.clientY - itemHeight / 2);
    }
  };
  /**
   * 将base64转文件
   * @param dataurl
   * @param filename
   * @returns
   */
  const dataURLtoFile = (dataurl: any, filename: any) => {
    var arr = dataurl.split(','),
      mime = arr[0].match(/:(.*?);/)[1],
      bstr = atob(arr[1]),
      n = bstr.length,
      u8arr = new Uint8Array(n);
    while (n--) {
      u8arr[n] = bstr.charCodeAt(n);
    }
    return new File([u8arr], filename, { type: mime });
  };

  const generateImage = async () => {
    // console.log('点击截图');
    Toast.loading('正在截图中...');
    await html2canvas(document.body).then((canvas) => {
      // document.body.appendChild(canvas);
      let url = canvas.toDataURL('image/png');
      // console.log({ url });
      let files = dataURLtoFile(url, '文件1');
      // console.log({ files });
      dispatch!({
        type: 'informError/save',
        payload: {
          errorFileList: [files],
          imgBase64: url,
        },
      });
      Toast.hide();
      history.push({ pathname: '/informError' });
    });
  };

  return (
    <div
      className={styles.informErrorHoverStyle}
      style={{ top: `${itemHeight}px` }}
      // onTouchMove={(e) => {
      //   console.log(e);
      // }}=
    >

        <div
          className={styles.imgDiv}
          ref={divRef}
          style={{
            backgroundImage: `url(${require('@/assets/images/inforErrorPng.png')})`,
            width: `${itemWidth}px`,
            height: `${itemHeight}px`,
            left: `${left}px`,
            // right: '0px',
            top: `${top}px`,
          }}
          onClick={() => {
            generateImage();
          }}
          onTouchStart={(e) => {
            dragStart(e);
          }}
          onTouchEnd={(e) => {
            dragEnd(e);
          }}
          onTouchMove={(e) => {
            touchmove(e);
          }}
        >

        </div>

    </div>
  );
};
less样式代码:
.informErrorHoverStyle{
  .imgDiv{
    position: fixed;
    right: 20px;
    z-index: 9999;
    width: 40px;
    height: 40px;
    white-space: nowrap;
    background-size: 100% 100%;
    transition: all 0.3s;
  }
  .imgStyle{
    width: 40px;
    height: 40px;
  }
}
三、详解:
1、需要定义的数据
  // 图标的ref
  const divRef = useRef<any>();
  // 图标的高度
  const [itemHeight, setItemHeight] = useState<number>(80);
  // 图标的宽度
  const [itemWidth, setItemWidth] = useState<number>(80);
  // 向左移动的距离
  const [left, setLeft] = useState<number>(0);
  // 向上移动的距离
  const [top, setTop] = useState<number>(0);
  // 获取浏览器窗口文档显示区域的宽度
  const [clientWidth, setClientWidth] = useState<number>(0);
  // 获取浏览器窗口文档显示区域的宽高度
  const [clientHeight, setClientHeight] = useState<number>(0);
  // 图标距离边距的距离
  const [gapWidth, setGapWidth] = useState<number>(30);
2、需要定义的方法
  /**
   * 开当按下手指时,触发
   * @param e
   */
  const dragStart = (e: any) => {
    divRef!.current!.style.transition = 'none';
  };

  /**
   * 当移走手指时,触发
   * @param e
   */
  const dragEnd = (e: any) => {
    divRef!.current!.style.transition = 'all 0.3s';
    if (left > clientWidth / 2) {
      setLeft(clientWidth - itemWidth - gapWidth);
    } else {
      setLeft(gapWidth);
    }
  };

  /**
   * 当移动手指时,触发
   * @param e
   */
  const touchmove = (e: any) => {
    if (e.targetTouches.length === 1) {
      let touch = e.targetTouches[0];
      setLeft(touch.clientX - itemWidth / 2);
      setTop(touch.clientY - itemHeight / 2);
    }
  };
3、dom节点内容
   return (
    <div
      className={styles.informErrorHoverStyle}
      style={{ top: `${itemHeight}px` }}
      // onTouchMove={(e) => {
      //   console.log(e);
      // }}=
    >
        <div
          className={styles.imgDiv}
          ref={divRef}
          style={{
            // 图片
            backgroundImage: `url(${require('@/assets/images/inforErrorPng.png')})`,
            // 初始化宽度
            width: `${itemWidth}px`,
            // 初始化高度
            height: `${itemHeight}px`,
            // 距左边的距离
            left: `${left}px`,
            // 距上面的距离
            top: `${top}px`,
          }}
          onClick={() => {
            generateImage();
          }}
          // 开当按下手指时,触发
          onTouchStart={(e) => {
            dragStart(e);
          }}
          // 当移走手指时,触发
          onTouchEnd={(e) => {
            dragEnd(e);
          }}
          // 当移动手指时,触发
          onTouchMove={(e) => {
            touchmove(e);
          }}
        >
          {/* <img src={img ? img : InforErrorPng} className={styles.imgStyle} /> */}
        </div>
    </div>
  );


 4591
4591


 被折叠的 条评论
为什么被折叠?


