


- (二)视图和视图控制器
1,界面之间的切换
IOS应用是由一个一个的视图控制器(ViewController)组成的,感觉和Android的Activity差不多。
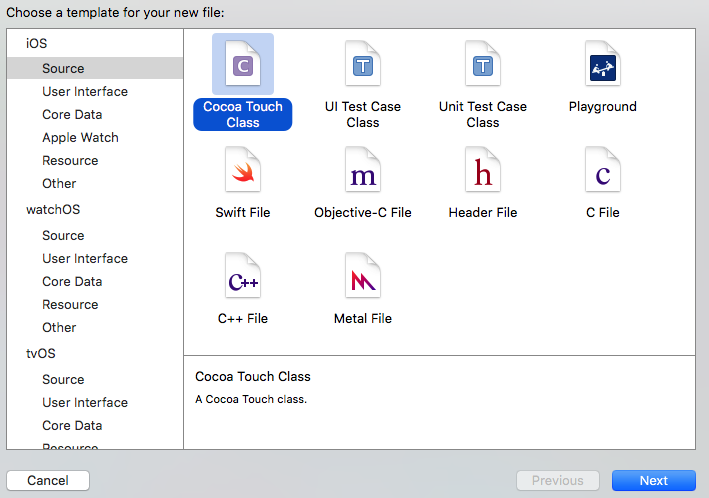
新建工程时已经默认创建了一个视图控制器,再新建一个视图控制器来实现两个界面之间的切换。
效果如下图:
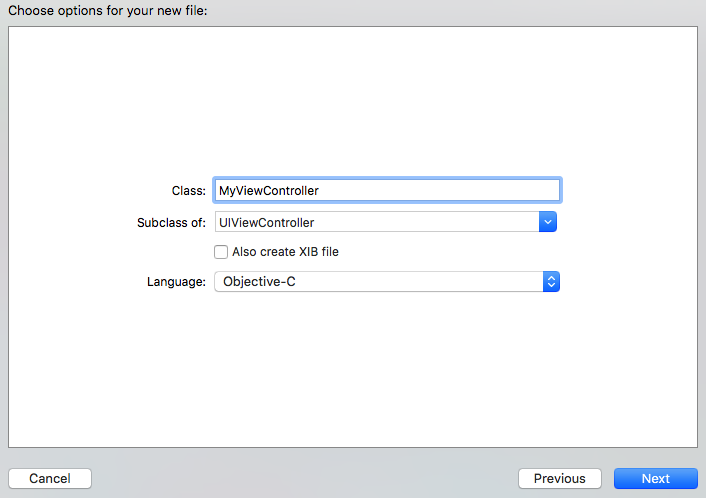
新建一个类命名为MyViewController,继承自ViewController:
在ViewController.m中导入新建的类的头文件
添加一个UILabel和UIButton
- (void)viewDidLoad {//视图加载完成
[super viewDidLoad];//初始化一个label标识第一个ViewController
UILabel * label =[[UILabel alloc]initWithFrame:CGRectMake(0, 20, CGRectGetWidth(self.view.bounds), 45)];
label.backgroundColor=[UIColor grayColor];
label.textColor=[UIColor blackColor];
label.textAlignment=NSTextAlignmentCenter;
label.font=[UIFont systemFontOfSize:30];
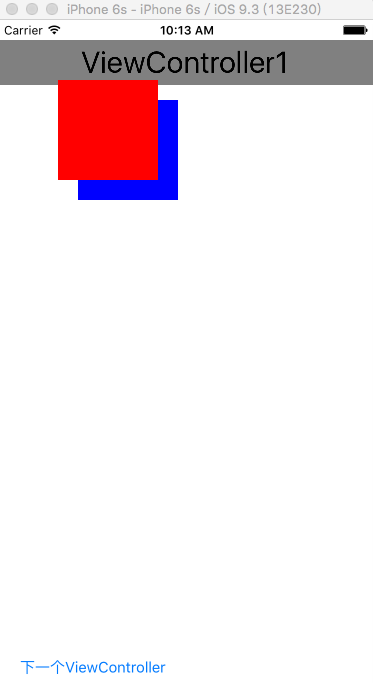
label.text=@"ViewController1";
[self.view addSubview:label];
UIButton * button =[UIButton buttonWithType:UIButtonTypeSystem];//初始化一个按钮用于点击它切换到下一个试图控制器。
button.frame=CGRectMake(20, CGRectGetHeight(self.view.bounds)-30, 150, 20);
[button setTitle:@"下一个ViewController" forState:UIControlStateNormal];
[button addTarget:self action:@selector(onButtonClick:) forControlEvents:UIControlEventTouchUpInside];
[self.view addSubview:button];
}- 实现按钮的点击事件方法
-(void) onButtonClick:(UIButton *)sender{
    //初始化即将推送的视图控制器
    MyViewController * secendController=[[MyViewController alloc] init];
    //模态推送
    [self presentViewController:secendController animated:YES completion:^{
        //推送完成后会执行这个Block里的代码
        NSLog(@"推送成功了!");
    }];
}- 在ViewController.m中添加一个UILabel和UIButton
- (void)viewDidLoad {
    [super viewDidLoad];//初始化一个label标识第二个ViewController
    self.view.backgroundColor=[UIColor whiteColor];//修改背景颜色,默认是黑色
    UILabel * label =[[UILabel alloc]initWithFrame:CGRectMake(0, 20, CGRectGetWidth(self.view.bounds), 45)];
    label.backgroundColor=[UIColor grayColor];
    label.textColor=[UIColor blackColor];
    label.textAlignment=NSTextAlignmentCenter;
    label.font=[UIFont systemFontOfSize:30];
    label.text=@"ViewController2";
    [self.view addSubview:label];
    UIButton * backButton =[UIButton buttonWithType:UIButtonTypeSystem];//初始化一个按钮用于点击它返回上一个试图控制器。
    backButton.frame=CGRectMake(20, CGRectGetHeight(self.view.bounds)-30, 150, 20);
    [backButton setTitle:@"上一个ViewController" forState:UIControlStateNormal];
    [backButton addTarget:self action:@selector(onBackButtonClick:) forControlEvents:UIControlEventTouchUpInside];
    [self.view addSubview:backButton];

}

-(void) onBackButtonClick:(UIButton *)sender{
    //返回上一个试图控制器
    [self.presentingViewController dismissViewControllerAnimated:YES completion:nil];//第一个参数为是否显示动画,第二个参数为完成后执行的Block
}- 在ViewController.m中导入新建的类的头文件
添加一个UILabel和UIButton
- (void)viewDidLoad {//视图加载完成
    [super viewDidLoad];//初始化一个label标识第一个ViewController
    UILabel * label =[[UILabel alloc]initWithFrame:CGRectMake(0, 20, CGRectGetWidth(self.view.bounds), 45)];
    label.backgroundColor=[UIColor grayColor];
    label.textColor=[UIColor blackColor];
    label.textAlignment=NSTextAlignmentCenter;
    label.font=[UIFont systemFontOfSize:30];
    label.text=@"ViewController1";
    [self.view addSubview:label];
    UIButton * button =[UIButton buttonWithType:UIButtonTypeSystem];//初始化一个按钮用于点击它切换到下一个试图控制器。
    button.frame=CGRectMake(20, CGRectGetHeight(self.view.bounds)-30, 150, 20);
    [button setTitle:@"下一个ViewController" forState:UIControlStateNormal];
    [button addTarget:self action:@selector(onButtonClick:) forControlEvents:UIControlEventTouchUpInside];
    [self.view addSubview:button];

}- 实现按钮的点击事件方法
-(void) onButtonClick:(UIButton *)sender{
//初始化即将推送的视图控制器
MyViewController * secendController=[[MyViewController alloc] init];
/*
* 转场动画 加上这一句会有神奇的效果(^_^)
* secendController.modalTransitionStyle=UIModalTransitionStyleFlipHorizontal;
*/
//推送到下一个视图控制器
[self presentViewController:secendController animated:YES completion:^{
//推送完成后会执行这个Block里的代码
NSLog(@"推送成功了!");
}];
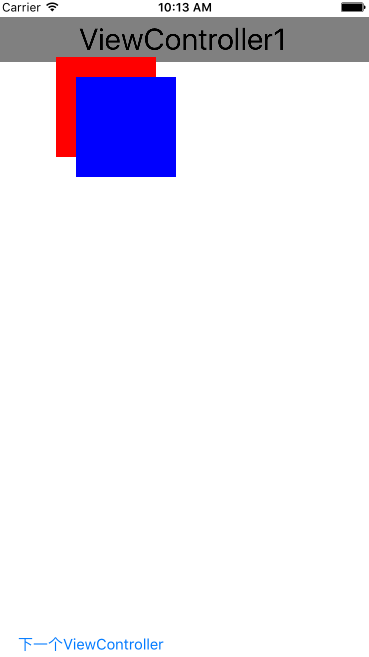
}2,视图的层级
IOS中的视图(View)是有层次的,就像Photoshop里的图层一样,有先后顺序,后添加进来的视图总是在上面,我们也可以手动的调整视图的层次。
    UIView * view1=[[UIView alloc] initWithFrame:CGRectMake(60, 60, 100, 100)];
    view1.backgroundColor=[UIColor redColor];
    UIView * view2=[[UIView alloc] initWithFrame:CGRectMake(80, 80, 100, 100)];
    view2.backgroundColor=[UIColor blueColor];
    [self.view addSubview:view1];
    [self.view addSubview:view2];
在viewController上添加两个View (View类是大多数控件的父类,只能显示一个色块,如UITextView和UIImageView)
这两个View显示效果如图
通过父视图的这两个方法可以将视图置于底层或顶层:
    [self.view bringSubviewToFront:view1];//将指定视图置于顶层
    [self.view sendSubviewToBack:view1];//将指定视图置于底层
调整之后,变成了下面这样:
3,图片视图控件UIImageView和多行文本控件UITextView
UIImageView可以显示一张图片,UITextView可以显示多行文本,文字过多超出的部分可以上下滑动来查看,同时可以编辑其中的文本。
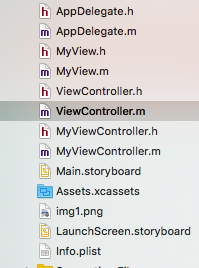
首先,拖一张图片到工程文件夹,如图中的img1.png
然后是代码。
UIImageView * img=[[UIImageView alloc] initWithFrame:CGRectMake(30, 200, 200, 200)];

    img.image=[UIImage imageNamed:@"img1"];//!!如果是JPEG或其他格式的图片需要带后缀名
    img.layer.borderWidth=10;//边框宽
    img.layer.borderColor=[[UIColor blueColor] CGColor];//边框颜色
    img.layer.shadowColor=[[UIColor blackColor] CGColor];//阴影颜色
    img.layer.shadowOffset=CGSizeMake(10, 10);//阴影大小
    img.layer.shadowOpacity=0.9;//阴影不透明度
    [self.view addSubview:img];
    UITextView * textView =[[UITextView alloc]initWithFrame:CGRectMake(30, 400, 300, 80)];
    textView.text=@"测试文字--胡乱的打字--爱空间的划分空间就爱好的反馈教哈可理解和覅US还打飞机嘎哈空间和地方科技非航空局科技会打款发货给为略和认购款计划书卡拉季后赛的空间发挥科技大会覆盖了空间和认购卡换地方刚看见好看的设计费安科技是对方开黑UR和高科技的哈佛高科技哈地方卡脚后跟IEUR个奥斯卡登记后覅uehrkgjkjdshfakjhiuahgkjhaksjdhg爱离开时UR额空间和顾客是否就好贵而航空发动机盖hi";
    textView.editable=NO;//禁用文本编辑
    [self.view addSubview:textView];
效果如图:


 1033
1033


 被折叠的 条评论
为什么被折叠?
被折叠的 条评论
为什么被折叠?
 到【灌水乐园】发言


