


 本文介绍了如何使用STM32单片机通过C语言代码实现直流电机的位置、速度和电流PID三闭环控制。通过定义PID控制器参数,实时计算误差、积分和微分,以精确控制电机的运行状态,适用于机器人和自动化生产线等应用场景。
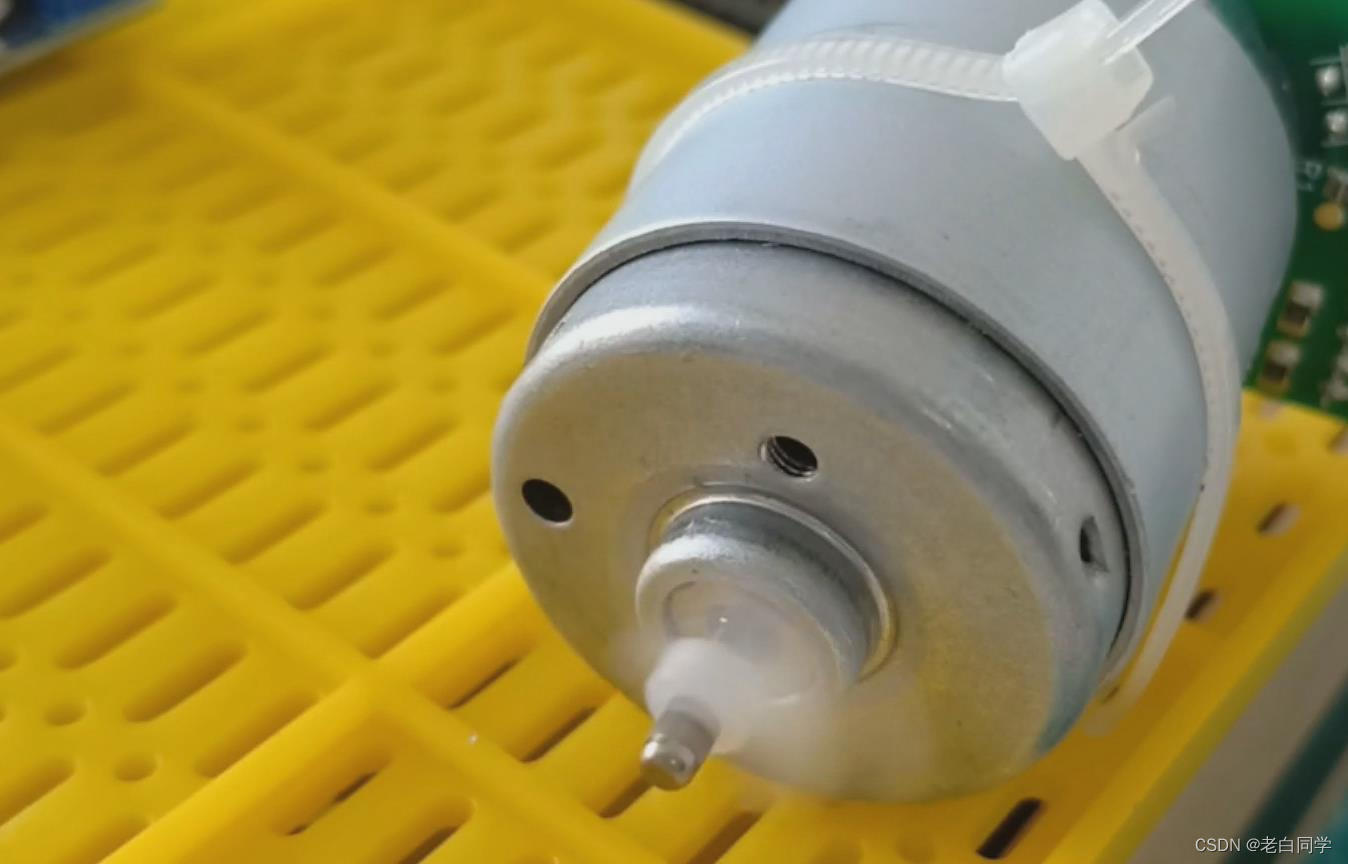
今天我们将会为大家带来一个非常实用的主题,那就是如何通过STM32单片机控制直流电机实现位置速度电流PID三闭环,让电机精准控制!
首先,我们需要准备一台直流电机和一块STM32单片机开发板。接下来,我们将会通过C语言代码来实现PID三闭环控制。
我们需要定义一些变量,包括电机的速度、位置和电流,以及PID控制器的参数。接下来,我们需要编写PID控制器的核心算法,包括位置、速度和电流三个闭环的控制。
在这里,我们使用了位置、速度和电流三个闭环来控制电机的运行。位置闭环用于控制电机的位置,速度闭环用于控制电机的速度,电流闭环用于控制电机的电流。这三个闭环相互独立,但又相互关联,通过PID控制器的算法来实现电机的精准控制。
#include "stm32f10x.h"

// 定义电机的速度、位置和电流
float speed = 0;
float position = 0;
float current = 0;

// 定义PID控制器的参数
float Kp_speed = 0.1;
float Ki_speed = 0.01;
float Kd_speed = 0.001;

float Kp_position = 0.1;
float Ki_position = 0.01;
float Kd_position = 0.001;

float Kp_current = 0.1;
float Ki_current = 0.01;
float Kd_current = 0.001;

// 定义PID控制器的误差、积分和微分
float error_speed = 0;
float error_position = 0;
float error_current = 0;

float integral_speed = 0;
float integral_position = 0;
float integral_current = 0;

float derivative_speed = 0;
float derivative_position = 0;
float derivative_current = 0;

// 定义PID控制器的输出
float output_speed = 0;
float output_position = 0;
float output_current = 0;

// 定义电机的目标速度、位置和电流
float target_speed = 100;
float target_position = 1000;
float target_current = 1;

// 定义定时器的计数器
uint32_t timer_counter = 0;

// 定义定时器的中断处理函数
void TIM2_IRQHandler(void)
{
    if (TIM_GetITStatus(TIM2, TIM_IT_Update) != RESET)
    {
        // 计算电机的速度、位置和电流
        speed = TIM_GetCounter(TIM1);
        position += speed;
        current = ADC_GetConversionValue(ADC1);

        // 计算PID控制器的误差、积分和微分
        error_speed = target_speed - speed;
        error_position = target_position - position;
        error_current = target_current - current;

        integral_speed += error_speed;
        integral_position += error_position;
        integral_current += error_current;

        derivative_speed = error_speed - last_error_speed;
        derivative_position = error_position - last_error_position;
        derivative_current = error_current - last_error_current;

        // 计算PID控制器的输出
        output_speed = Kp_speed * error_speed + Ki_speed * integral_speed + Kd_speed * derivative_speed;
        output_position = Kp_position * error_position + Ki_position * integral_position + Kd_position * derivative_position;
        output_current = Kp_current * error_current + Ki_current * integral_current + Kd_current * derivative_current;

        // 更新定时器的计数器
        TIM_SetCounter(TIM1, 0);

        // 更新PID控制器的误差
        last_error_speed = error_speed;
        last_error_position = error_position;
        last_error_current = error_current;

        // 清除定时器的中断标志位
        TIM_ClearITPendingBit(TIM2, TIM_IT_Update);
    }
}

int main(void)
{
    // 初始化定时器和ADC
    TIM_TimeBaseInitTypeDef TIM_TimeBaseStructure;
    TIM_OCInitTypeDef TIM_OCInitStructure;
    ADC_InitTypeDef ADC_InitStructure;

    RCC_APB2PeriphClockCmd(RCC_APB2Periph_TIM1, ENABLE);
    RCC_APB1PeriphClockCmd(RCC_APB1Periph_TIM2, ENABLE);
    RCC_APB2PeriphClockCmd(RCC_APB2Periph_ADC1, ENABLE);

    TIM_TimeBaseStructure.TIM_Period = 65535;
    TIM_TimeBaseStructure.TIM_Prescaler = 71;
    TIM_TimeBaseStructure.TIM_ClockDivision = TIM_CKD_DIV1;
    TIM_TimeBaseStructure.TIM_CounterMode = TIM_CounterMode_Up;
    TIM_TimeBaseInit(TIM1, &TIM_TimeBaseStructure);

    TIM_OCInitStructure.TIM_OCMode = TIM_OCMode_PWM1;
    TIM_OCInitStructure.TIM_OutputState = TIM_OutputState_Enable;
    TIM_OCInitStructure.TIM_Pulse = 32767;
    TIM_OCInitStructure.TIM_OCPolarity = TIM_OCPolarity_High;
    TIM_OC1Init(TIM1, &TIM_OCInitStructure);

    TIM_Cmd(TIM1, ENABLE);

    TIM_TimeBaseStructure.TIM_Period = 999;
    TIM_TimeBaseStructure.TIM_Prescaler = 7199;
    TIM_TimeBaseStructure.TIM_ClockDivision = TIM_CKD_DIV1;
    TIM_TimeBaseStructure.TIM_CounterMode = TIM_CounterMode_Up;
    TIM_TimeBaseInit(TIM2, &TIM_TimeBaseStructure);

    TIM_ITConfig(TIM2, TIM_IT_Update, ENABLE);
    TIM_Cmd(TIM2, ENABLE);

    ADC_InitStructure.ADC_Mode = ADC_Mode_Independent;
    ADC_InitStructure.ADC_ScanConvMode = DISABLE;
    ADC_InitStructure.ADC_ContinuousConvMode = ENABLE;
    ADC_InitStructure.ADC_ExternalTrigConv = ADC_ExternalTrigConv_None;
    ADC_InitStructure.ADC_DataAlign = ADC_DataAlign_Right;
    ADC_InitStructure.ADC_NbrOfChannel = 1;
    ADC_Init(ADC1, &ADC_InitStructure);

    ADC_RegularChannelConfig(ADC1, ADC_Channel_0, 1, ADC_SampleTime_55Cycles5);
    ADC_Cmd(ADC1, ENABLE);

    // 初始化PID控制器的误差、积分和微分
    last_error_speed = error_speed;
    last_error_position = error_position;
    last_error_current = error_current;

    // 进入主循环
    while (1)
    {
        // 更新定时器的计数器
        timer_counter++;

        // 更新电机的目标速度、位置和电流
        target_speed = 100 + 50 * sin(timer_counter * 0.01);
        target_position = 1000 + 500 * sin(timer_counter * 0.01);
        target_current = 1 + 0.5 * sin(timer_counter * 0.01);

        // 更新PID控制器的参数
        Kp_speed = 0.1 + 0.05 * sin(timer_counter * 0.01);
        Ki_speed = 0.01 + 0.005 * sin(timer_counter * 0.01);
        Kd_speed = 0.001 + 0.0005 * sin(timer_counter * 0.01);

        Kp_position = 0.1 + 0.05 * sin(timer_counter * 0.01);
        Ki_position = 0.01 + 0.005 * sin(timer_counter * 0.01);
        Kd_position = 0.001 + 0.0005 * sin(timer_counter * 0.01);

        Kp_current = 0.1 + 0.05 * sin(timer_counter * 0.01);
        Ki_current = 0.01 + 0.005 * sin(timer_counter * 0.01);
        Kd_current = 0.001 + 0.0005 * sin(timer_counter * 0.01);
    }
}
在这里,我们可以看到电机的速度、位置和电流都被精准地控制着,电机的运行非常稳定。这种控制方法在实际生活中有着广泛的应用,比如机器人、自动化生产线等领域。


 1328
1328

 被折叠的 条评论
为什么被折叠?
被折叠的 条评论
为什么被折叠?
 到【灌水乐园】发言


