


1 整体思路
- 数字模板图像处理:先将数字模板图像中的10个数字分别用矩形包围框(对应
boundingRect函数)给包起来,然后对轮廓排序,之后将每个矩形框的大小调整为宽57高88大小,最后用一个字典将所有的数字模板存储起来,这个字典的key为数字模板对应的数字,value为数字模板。 - 信用卡图像处理:通过礼帽、
Sobel梯度、闭操作、阈值处理等操作将文字区域显示出来,然后通过调用findContours找出所有的轮廓,接着依次遍历每个轮廓,留下长宽比在2.54.0之间且宽度在4055之间高度在10~20之间的轮廓。 - 信用卡数字匹配:遍历每个保留下来的数字整体轮廓位置,对每个数字整体轮廓再使用矩形包围框(对应
boundingRect函数)给包起来,假设其为roi,然后将每个矩形框roi的大小调整为宽57高88大小,之后使用模板匹配的方法,将每个roi与数字模板图像进行比对,得分最高的数字模板对应的key即为roi对应的数字。 - 展示匹配结果:将
roi对应的数字收集起来,就可以得到信用卡对应的数字。
2 相关包和工具函数
import cv2
from matplotlib import pyplot as plt
from imutils import contours
import numpy as np

def resize(image, width=None, height=None, inter=cv2.INTER_AREA):
    """
    调整图像大小并保持纵横比。

    :param image: 要调整大小的原始图像。
    :param width: 新图像的宽度。如果未指定,则根据高度自动计算。
    :param height: 新图像的高度。如果未指定,则根据宽度自动计算。
    :param inter: 插值方法,默认为cv2.INTER_AREA,适用于图像缩小。
    :return: 调整大小后的图像。
    """
    dim = None
    (h, w) = image.shape[:2]

    # 如果未指定宽度和高度,返回原始图像
    if width is None and height is None:
        return image

    # 计算新的尺寸并保持纵横比
    if width is None:
        r = height / float(h)
        dim = (int(w * r), height)
    else:
        r = width / float(w)
        dim = (width, int(h * r))

    # 调整图像大小
    resized = cv2.resize(image, dim, interpolation=inter)
    return resized

def cv_show(name, image):
    """
    使用Matplotlib显示图像。

    :param name: 图像的标题。
    :param image: 要显示的图像。假设图像是OpenCV的BGR格式。
    """
    image_rgb = cv2.cvtColor(image, cv2.COLOR_BGR2RGB)
    fig, ax = plt.subplots()
    ax.set_xticks([])  # 移除x轴刻度
    ax.set_yticks([])  # 移除y轴刻度
    plt.title(name)   # 设置图像标题
    plt.imshow(image_rgb)  # 显示RGB格式的图像
    plt.show()
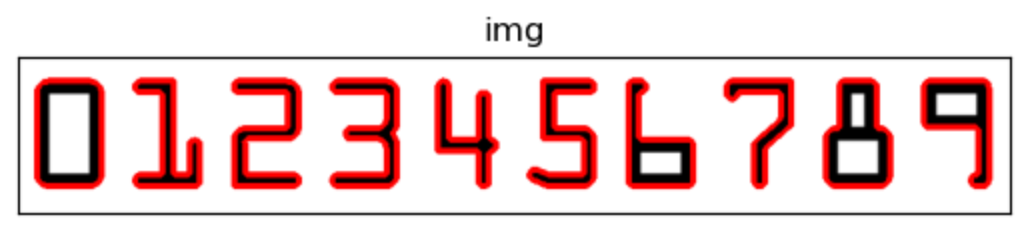
3 数字模板处理
img = cv2.imread('./images/ocr_a_reference.png')
cv_show('img',img)

# 灰度图
ref = cv2.cvtColor(img, cv2.COLOR_BGR2GRAY)
cv_show('ref',ref)

ref = cv2.threshold(ref, 10, 255, cv2.THRESH_BINARY_INV)[1]
cv_show('ref',ref)

# 计算轮廓
#cv2.findContours()函数接受的参数为二值图,即黑白的(不是灰度图),cv2.RETR_EXTERNAL只检测外轮廓,cv2.CHAIN_APPROX_SIMPLE只保留终点坐标
#返回的list中每个元素都是图像中的一个轮廓

refCnts, hierarchy = cv2.findContours(ref.copy(), cv2.RETR_EXTERNAL,cv2.CHAIN_APPROX_SIMPLE)

cv2.drawContours(img,refCnts,-1,(0,0,255),3)
cv_show('img',img)
print("轮廓数为:"+len(refCnts))
轮廓数为:10
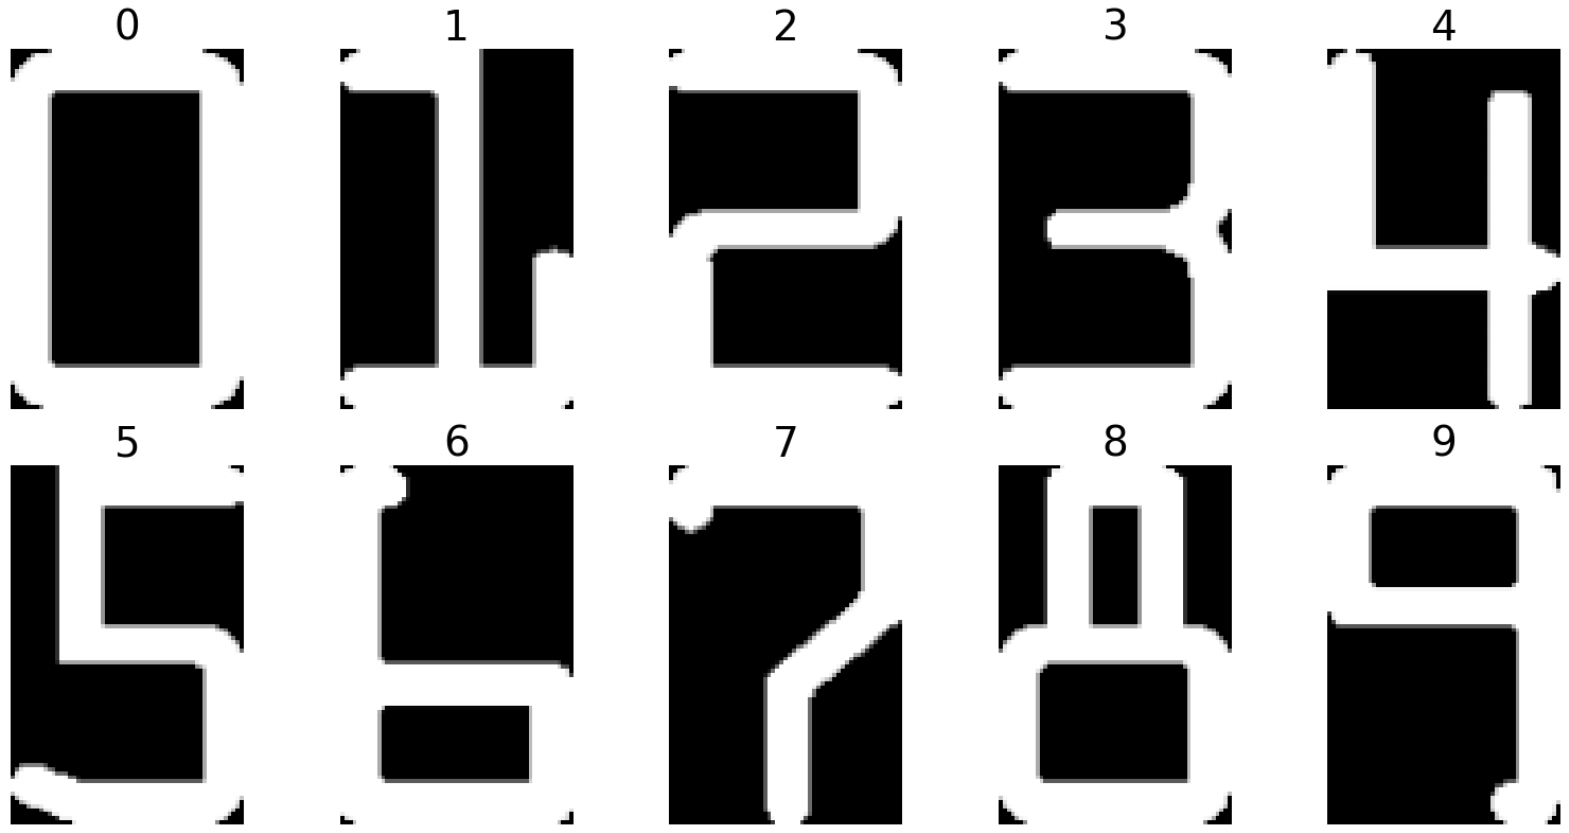
refCnts = contours.sort_contours(refCnts, method="left-to-right")[0] #排序,从左到右,从上到下
digits = {}
rows = 2
cols = 5
fig, axs = plt.subplots(rows, cols, figsize=(16, 8))
# 遍历每一个轮廓
for (i, c) in enumerate(refCnts):

	# 计算外接矩形并且resize成合适大小
	(x, y, w, h) = cv2.boundingRect(c)
	roi = ref[y:y + h, x:x + w]
	roi = cv2.resize(roi, (57, 88))
	row = i // cols
	col = i % cols

    # 显示子图
	axs[row, col].imshow(roi, cmap='gray')
	axs[row, col].set_title(str(i), fontsize=28)  # 设置标题为轮廓序号
	axs[row, col].axis('off')  # 关闭坐标轴
	# 每一个数字对应每一个模板
	digits[i] = roi
plt.tight_layout()
plt.show()
4 信用卡处理
# 初始化卷积核
rectKernel = cv2.getStructuringElement(cv2.MORPH_RECT, (9, 3))
sqKernel = cv2.getStructuringElement(cv2.MORPH_RECT, (5, 5))

#读取输入图像,预处理
image = cv2.imread('./images/credit_card_01.png')
cv_show('image',image)

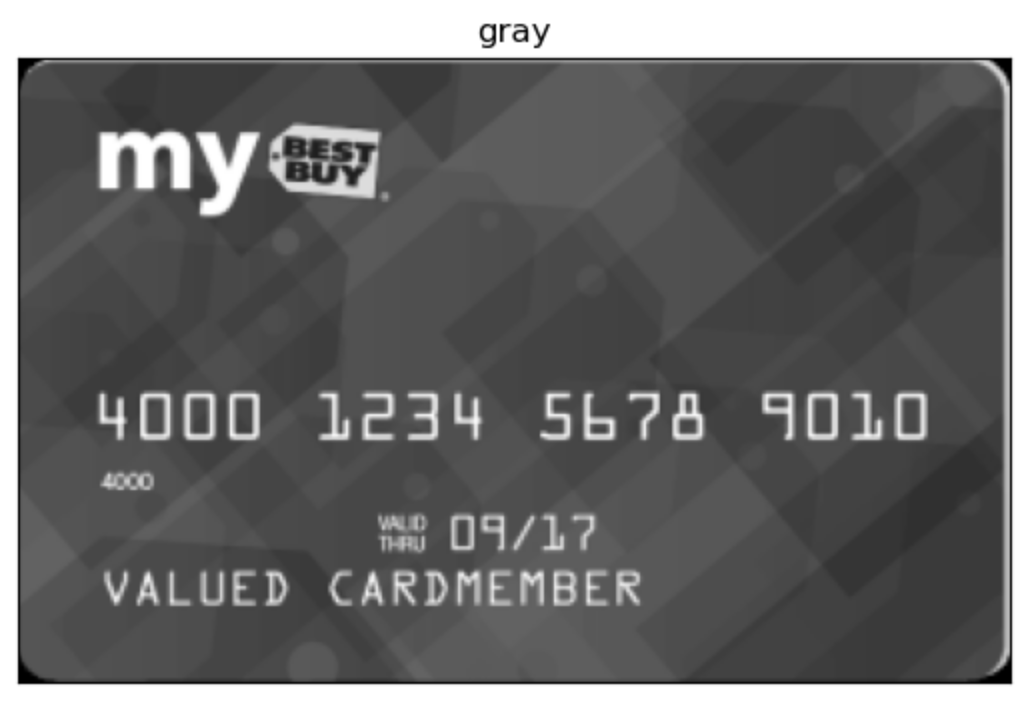
image = resize(image, width=300)
gray = cv2.cvtColor(image, cv2.COLOR_BGR2GRAY)
cv_show('gray',gray)
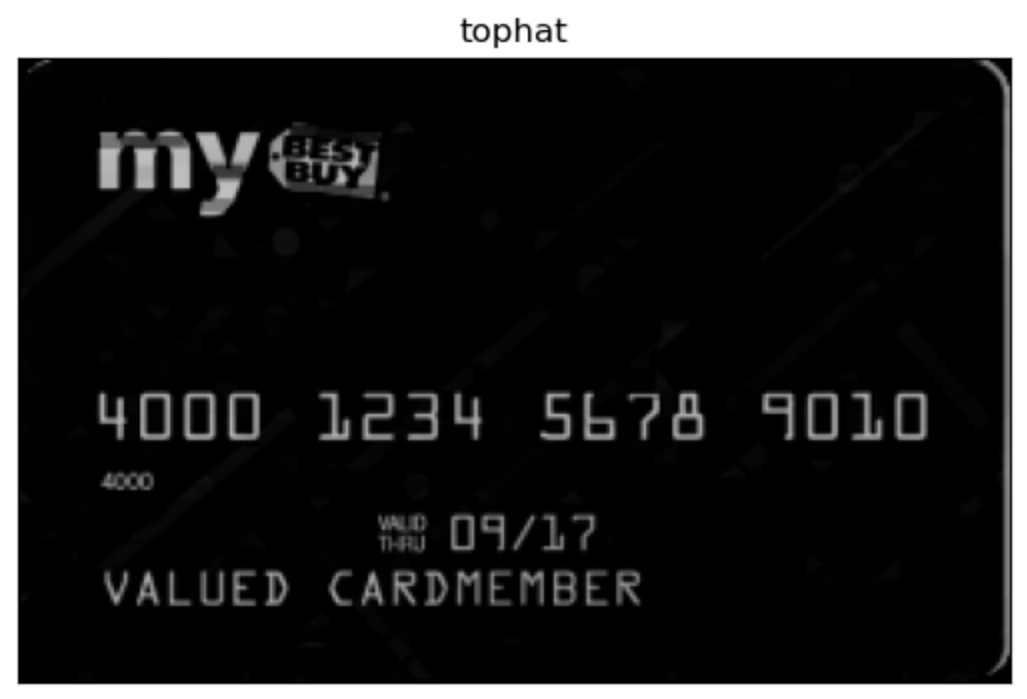
#礼帽操作,突出更明亮的区域
tophat = cv2.morphologyEx(gray, cv2.MORPH_TOPHAT, rectKernel)
cv_show('tophat',tophat)
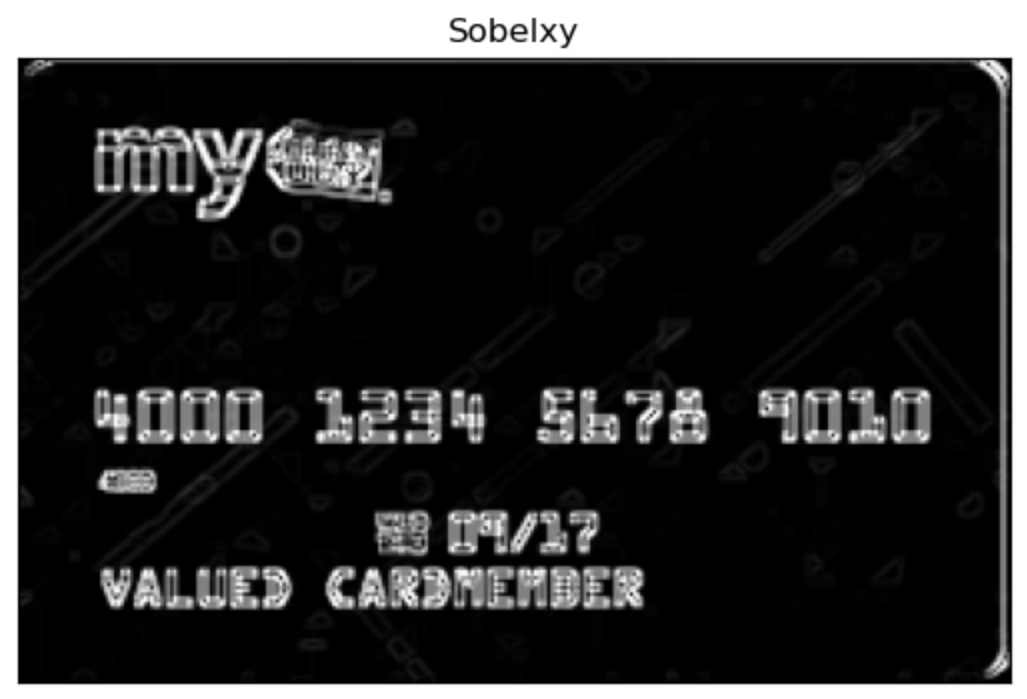
Sobelx = cv2.Sobel(tophat, cv2.CV_64F,1,0)
Sobely = cv2.Sobel(tophat, cv2.CV_64F,0,1)
Sobelx = cv2.convertScaleAbs(Sobelx)
Sobely = cv2.convertScaleAbs(Sobely)
Sobelxy =  cv2.addWeighted(Sobelx,0.5, Sobely,0.5,0)
cv_show('Sobelxy',Sobelxy)
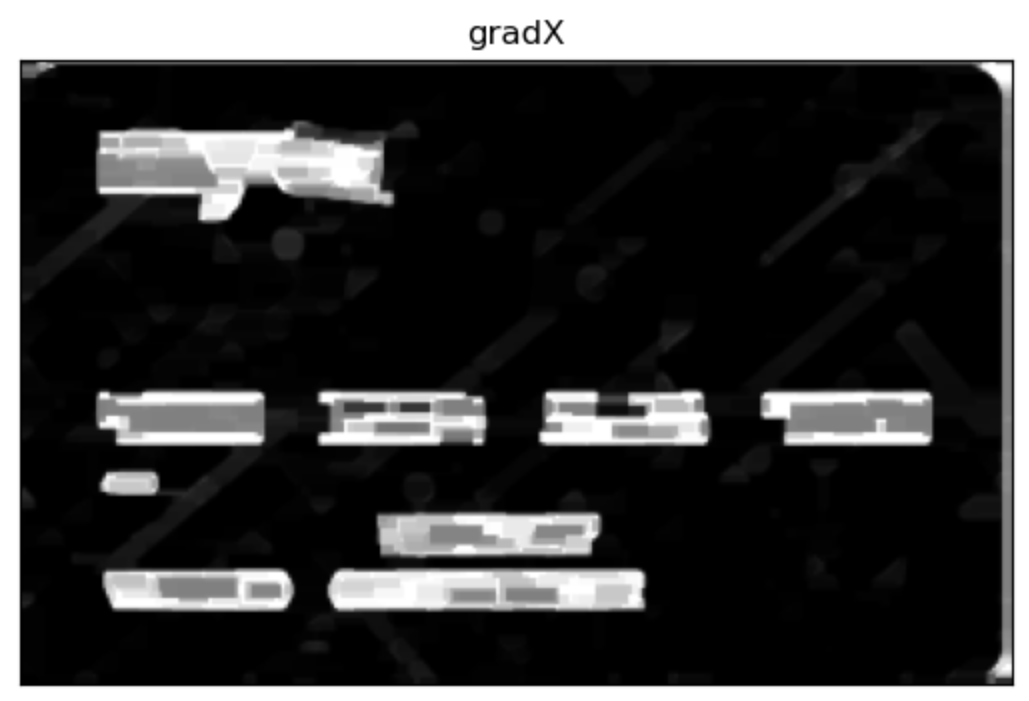
#通过闭操作(先膨胀,再腐蚀)将数字连在一起
gradX = cv2.morphologyEx(Sobelxy, cv2.MORPH_CLOSE, rectKernel)
cv_show('gradX',gradX)
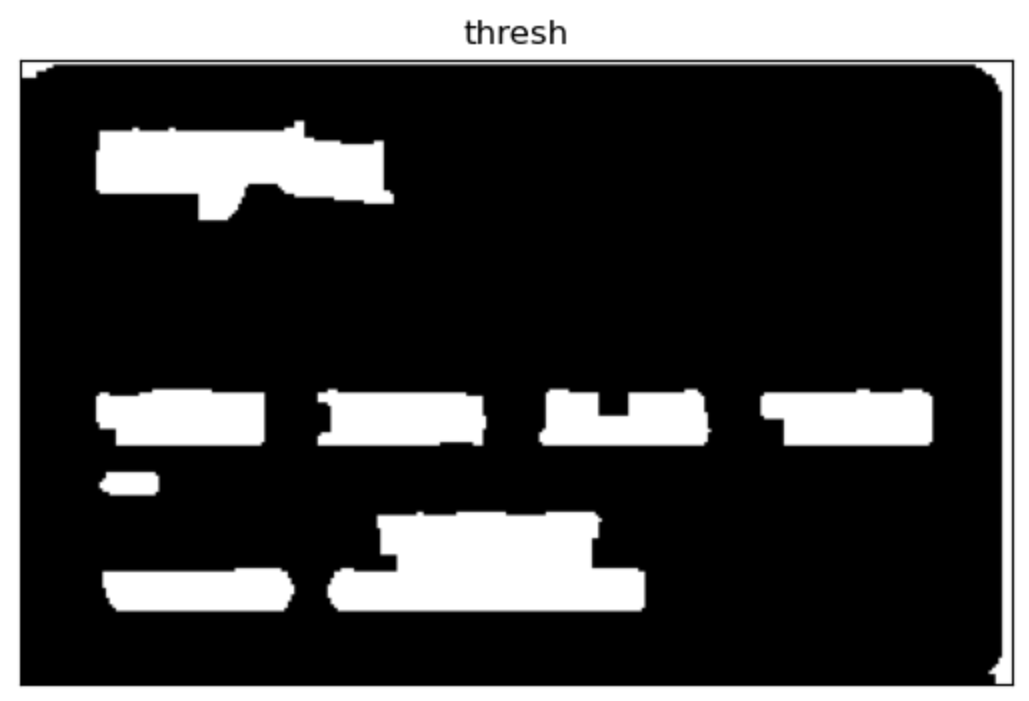
#THRESH_OTSU会自动寻找合适的阈值,适合双峰,需把阈值参数设置为0
thresh = cv2.threshold(gradX, 0, 255, cv2.THRESH_BINARY | cv2.THRESH_OTSU)[1]
cv_show('thresh',thresh)

#再来一个闭操作

thresh = cv2.morphologyEx(thresh, cv2.MORPH_CLOSE, sqKernel) #再来一个闭操作
cv_show('thresh',thresh)
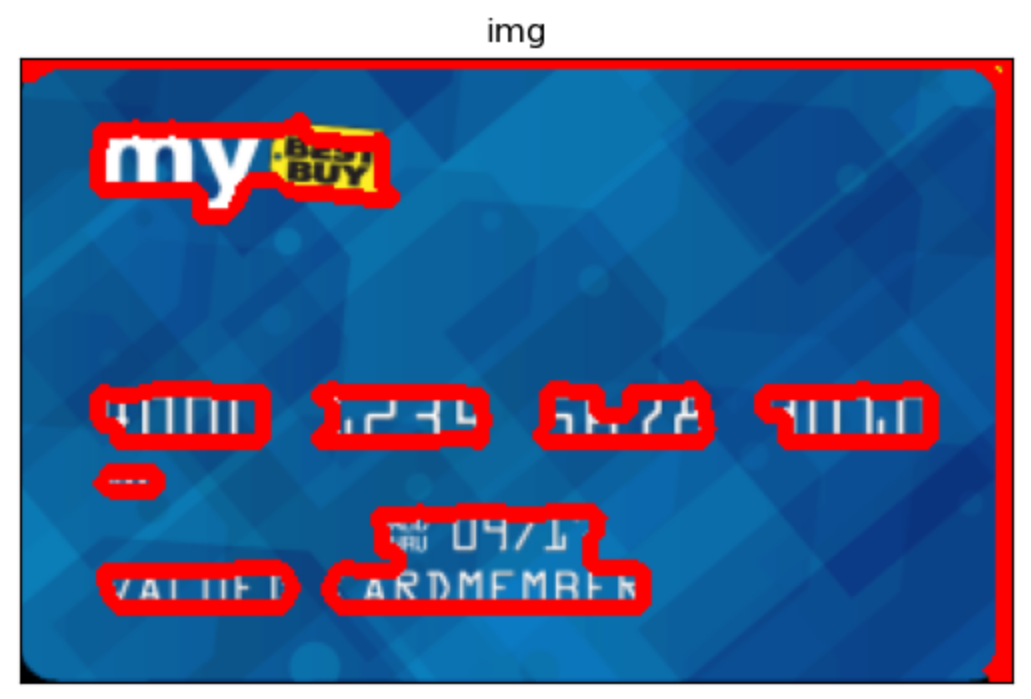
# 计算轮廓

threshCnts, hierarchy = cv2.findContours(thresh.copy(), cv2.RETR_EXTERNAL, cv2.CHAIN_APPROX_SIMPLE)

cnts = threshCnts
cur_img = image.copy()
cv2.drawContours(cur_img,cnts,-1,(0,0,255),3)
cv_show('img',cur_img)
5 信用卡数字匹配
locs = []
# 遍历轮廓
for (i, c) in enumerate(cnts):
# 计算矩形
(x, y, w, h) = cv2.boundingRect(c)
ar = w / float(h)
# 选择合适的区域,根据实际任务来,这里的基本都是四个数字一组
if ar > 2.5 and ar < 4.0:
if (w > 40 and w < 55) and (h > 10 and h < 20):
#符合的留下来
locs.append((x, y, w, h))
# 将符合的轮廓从左到右排序
locs = sorted(locs, key=lambda x:x[0])
output = []
# 遍历每一个轮廓中的数字
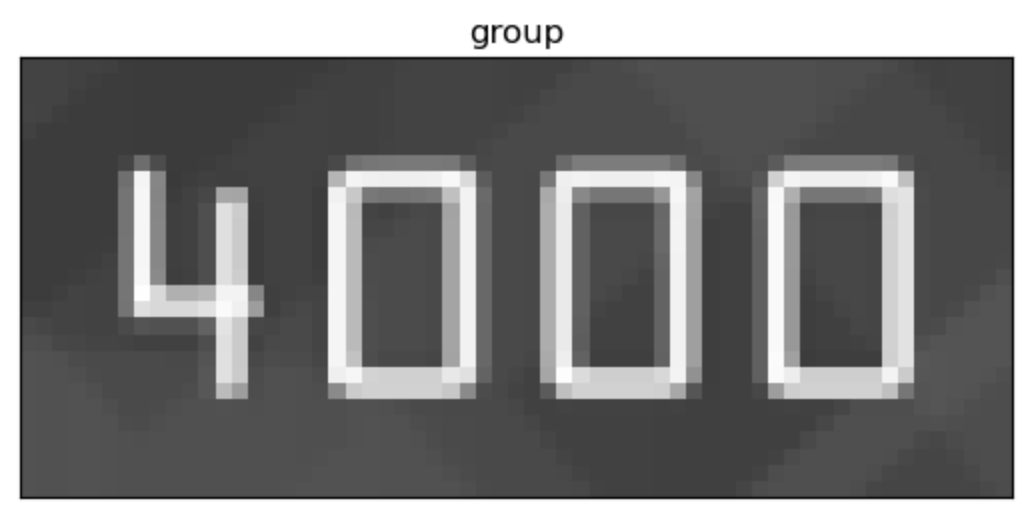
for (i, (gX, gY, gW, gH)) in enumerate(locs):
# initialize the list of group digits
groupOutput = []
# 根据坐标提取每一个组
group = gray[gY - 5:gY + gH + 5, gX - 5:gX + gW + 5]
cv_show('group',group)
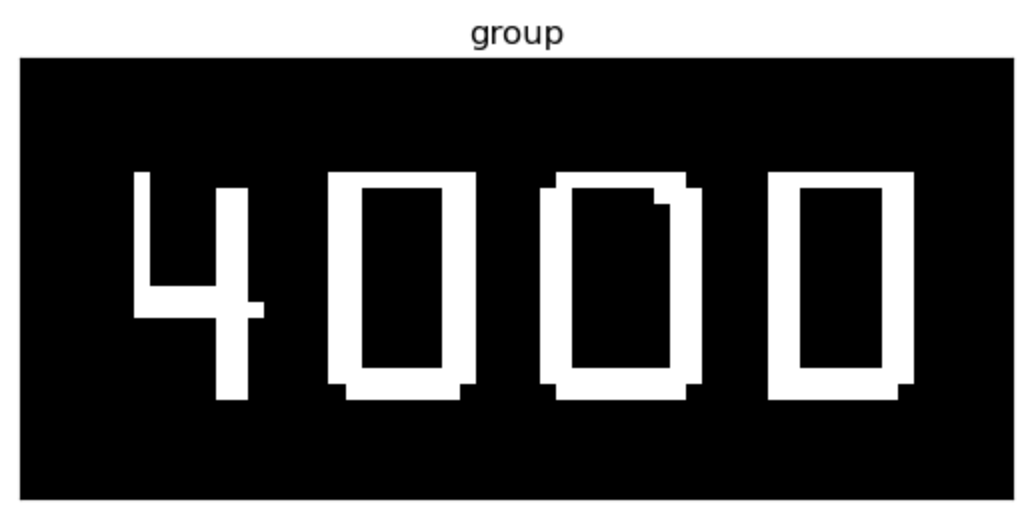
# 预处理
group = cv2.threshold(group, 0, 255,
cv2.THRESH_BINARY | cv2.THRESH_OTSU)[1]
cv_show('group',group)
# 计算每一组的轮廓
digitCnts,hierarchy = cv2.findContours(group.copy(), cv2.RETR_EXTERNAL,
cv2.CHAIN_APPROX_SIMPLE)
digitCnts = contours.sort_contours(digitCnts,
method="left-to-right")[0]
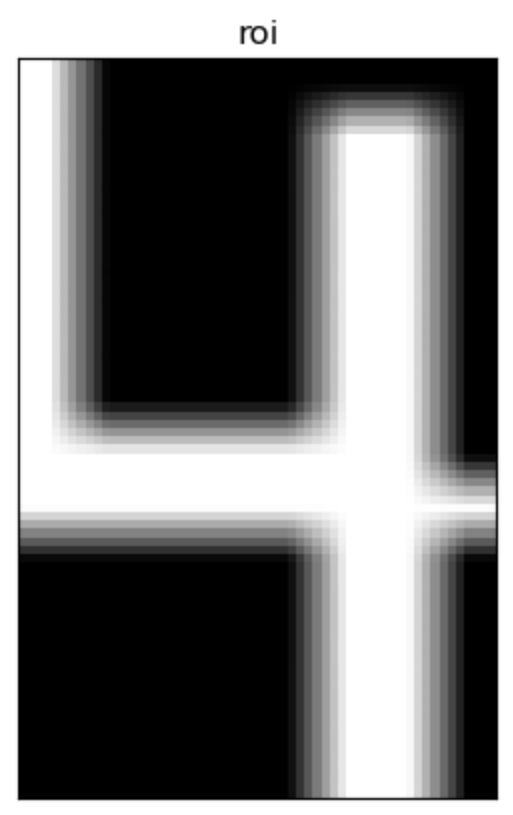
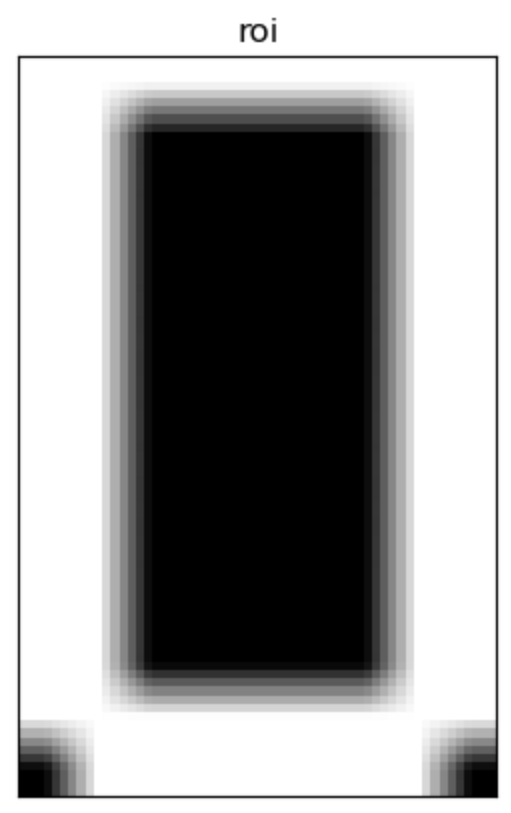
# 计算每一组中的每一个数值
for c in digitCnts:
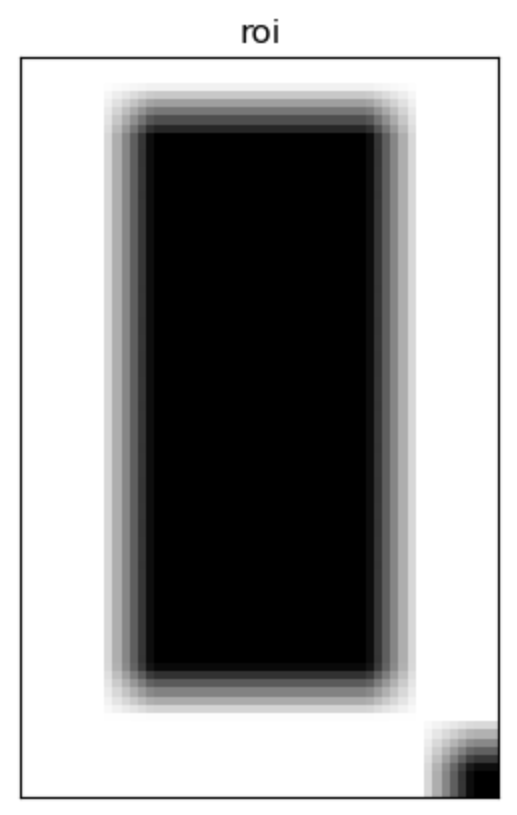
# 找到当前数值的轮廓,resize成合适的的大小
(x, y, w, h) = cv2.boundingRect(c)
roi = group[y:y + h, x:x + w]
roi = cv2.resize(roi, (57, 88))
cv_show('roi',roi)
# 计算匹配得分
scores = []
# 在模板中计算每一个得分
for (digit, digitROI) in digits.items():
# 模板匹配
result = cv2.matchTemplate(roi, digitROI,
cv2.TM_CCOEFF)
(_, score, _, _) = cv2.minMaxLoc(result)
scores.append(score)
print(scores)
print("最大分数的索引为:"+ str(np.argmax(scores)))
# 得到最合适的数字
groupOutput.append(str(np.argmax(scores)))
# 画出来
cv2.rectangle(image, (gX - 5, gY - 5),
(gX + gW + 5, gY + gH + 5), (0, 0, 255), 1)
cv2.putText(image, "".join(groupOutput), (gX, gY - 15),
cv2.FONT_HERSHEY_SIMPLEX, 0.65, (0, 0, 255), 2)
# 得到结果
output.extend(groupOutput)
[-4182007.25, -17584746.0, -7006532.5, -5838328.0, 48703036.0, -14565888.0, 14520973.0, -5111222.5, -1669509.75, -1378032.125]
最大分数的索引为:4
[60324688.0, 255238.34375, 33025072.0, 30227486.0, 13670484.0, 12007651.0, 34056056.0, 8450211.0, 9934947.0, 30924364.0]
最大分数的索引为:0

[64481688.0, 3487170.5, 34764428.0, 32162430.0, 10000470.0, 13646384.0, 35208812.0, 7919825.5, 13613242.0, 31187082.0]
最大分数的索引为:0
[60497356.0, 1452328.125, 34448520.0, 31327738.0, 12722555.0, 11564593.0, 35273016.0, 7656688.5, 10062867.0, 29857338.0]
最大分数的索引为:0
6 展示匹配结果
print("Credit Card Type: American Express")
print("Credit Card #: {}".format("".join(output)))
cv_show("Image", image)
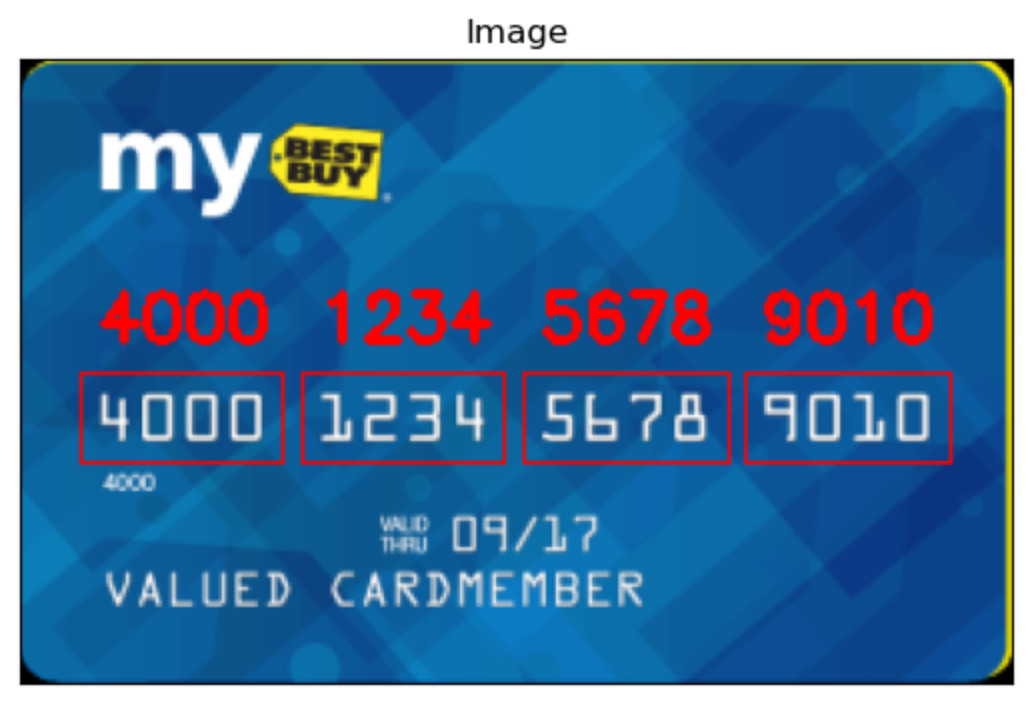
Credit Card Type: American Express
Credit Card #: 4000123456789010


 1万+
1万+


 被折叠的 条评论
为什么被折叠?
被折叠的 条评论
为什么被折叠?
 到【灌水乐园】发言


