


第一部分
举一个简单的例子:有一个老板,他需要给他的员工发工资了。那么他不自己干这件事情,而是将这件事情交给他的秘书去做。
Boss.h文件
//协议方法
@protocol payOffDelegate <NSObject>
- (void)payOff;
@end

@interface Boss : NSObject
@property (nonatomic, retain) id <payOffDelegate> delegate;
@end
Secretary.h文件
#import <Foundation/Foundation.h>
//引入老板并遵守老板的协议
#import "Boss.h"
@interface Secretary : NSObject<payOffDelegate>
@end
Secretary.m文件
#import "Secretary.h"
@implementation Secretary
//实现协议方法
- (void)payOff{
    NSLog(@"我是秘书,我替老板发工资了");
}
@end
main文件中调用
Boss *boss = [[Boss alloc] init];
    Secretary *secretary = [[Secretary alloc] init];
    boss.delegate = secretary;  //important 老板的代理设置为小蜜
    [boss.delegate payOff];     //important 由他的代理执行方法
最后打印的结果为:
2015-09-13 02:41:44.033 MyProtocol[45815:1086775] 我是秘书,我替老板发工资了
第二部分
至此,代理最基础的用法已经完成,下面的例子完成用代理传值。
代理传值最重要的就是在协议方法中添加一个参数,在delegate执行协议中的方法的时候把参数传过去,再由其delegate执行方法中的其他操作。
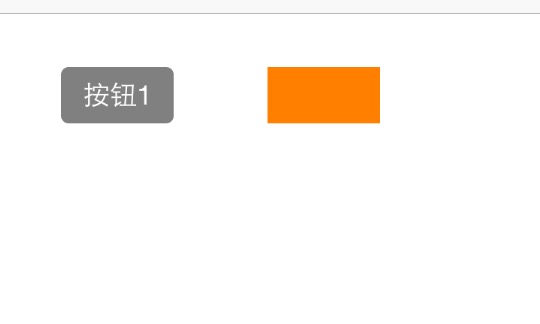
摘要:两个试图控制器,前一个push到后面一个,在后面的视图控制器控件testFiled中输入字符串,然后在前一个试图控制器中显示。
ViewController.h
#import "ViewController.h"
#import "NextViewController.h"
@interface ViewController ()<passValueDelagate>//这里需要遵循这个协议
@property (nonatomic, strong) UIButton *button;
@property (nonatomic, strong) UILabel *label;
@end
@implementation ViewController
- (void)viewDidLoad {
[super viewDidLoad];
self.button = [UIButton buttonWithType:UIButtonTypeCustom];
self.button.frame = CGRectMake(50, 100, SCREEN_WIDTH / 5, SCREEN_WIDTH / 10);
self.button.backgroundColor = [UIColor grayColor];
self.button.layer.cornerRadius = 5.0f;
[self.button setTitle:@"按钮1" forState:UIControlStateNormal];
[self.button addTarget:self action:@selector(handleBtn) forControlEvents:UIControlEventTouchUpInside];
[self.view addSubview:self.button];
self.label = [[UILabel alloc] init];
self.label.frame = CGRectMake(SCREEN_WIDTH / 2, 100, SCREEN_WIDTH / 5, SCREEN_WIDTH / 10);
[self.label.layer setCornerRadius:4];
self.label.backgroundColor = [UIColor orangeColor];
[self.view addSubview:self.label];
}
//点击事件
- (void)handleBtn{
NextViewController *nextVC = [[NextViewController alloc] init];
nextVC.deleagte = self;//这里比较重要,设置后一个视图控制器的代理为此是视图控制器
[self.navigationController pushViewController:nextVC animated:YES];
}
//代理方法
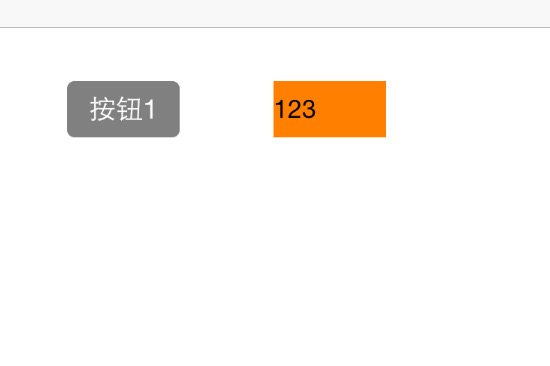
- (void)passValue:(NSString *)string{
self.label.text = string;
}
NextViewController.h的内容:
//这里是声明协议
@protocol  passValueDelagate <NSObject>
- (void)passValue:(NSString *)string;
@end

@interface NextViewController : UIViewController

@property (nonatomic, retain) id<passValueDelagate>deleagte;
@end
NextViewController.m的内容:
@interface NextViewController ()

@property (nonatomic, strong) UIButton *nextButton;
@property (nonatomic, strong) UITextField *textFiled;
@end

@implementation NextViewController

- (void)viewDidLoad {
    [super viewDidLoad];
    self.view.backgroundColor = [UIColor whiteColor];
    self.nextButton = [UIButton buttonWithType:UIButtonTypeCustom];
    self.nextButton.frame = CGRectMake(50, 200, SCREEN_WIDTH / 5, SCREEN_WIDTH / 10);
    self.nextButton.backgroundColor = [UIColor grayColor];
    self.nextButton.layer.cornerRadius = 7;
    //[self.nextButton.layer setCornerRadius:5];
    [self.nextButton setTitle:@"按钮2" forState:UIControlStateNormal];
    [self.nextButton addTarget:self action:@selector(handleNextBtn) forControlEvents:UIControlEventTouchUpInside];
    [self.view addSubview:self.nextButton];


    self.textFiled = [[UITextField alloc] initWithFrame:CGRectMake(50, 100, (SCREEN_WIDTH - 50) / 2, SCREEN_WIDTH / 10)];
    self.textFiled.borderStyle = UITextBorderStyleRoundedRect;
    [self.view addSubview:self.textFiled];

}
- (void)handleNextBtn{
    [self.deleagte passValue:self.textFiled.text];//这里让他的代理执行协议方法
    NSLog(@"%@",self.textFiled.text);
    [self.navigationController popViewControllerAnimated:YES];
}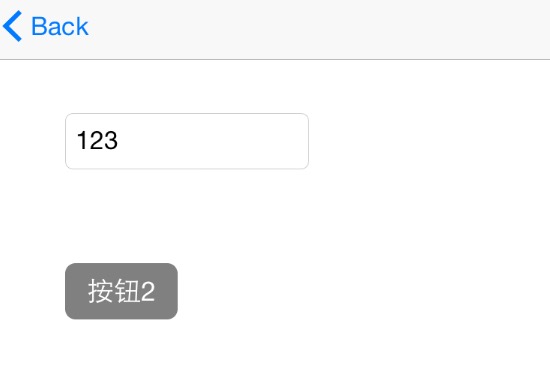
在textFiled中输入123,点击按钮2,最后得到结果


 95
95

 被折叠的 条评论
为什么被折叠?
被折叠的 条评论
为什么被折叠?
 到【灌水乐园】发言


