


CentOS 8部署安装Zabbix6.0
Part1查看Linux内核版本命令(2种方法)
-
cat /proc/version

-
uname -a

Part2查看Linux系统版本的命令(2种方法)
-
lsb_release -a,即可列出所有版本信息,这个命令适用于所有的Linux发行版,包括RedHat、SUSE、Debian…等发行版;
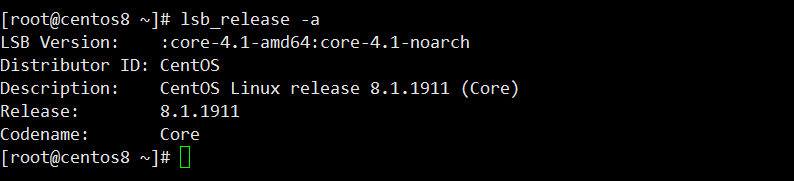
-
cat /etc/redhat-release,这种方法只适合Redhat系的Linux。

Part3切换CentOS 8源为阿里源
CentOS 8操作系统版本结束了生命周期(EOL),Linux社区已不再维护该操作系统版本,建议将CentOS 8的源切换到阿里源。
1.以root用户打开/etc/yum.repos.d文件夹,找到三个文件CentOS-AppStream.repo、CentOS-Base.repo、CentOS-Extras.repo ;
2.使用#注释掉原有的mirrorlist 和 baseurl,新建baseurl切换到阿里源,其他的内容保持不变,如下:
(1)CentOS-AppStream.repo文件的baseurl=https://mirrors.aliyun.com/centos/
basearch/os/ 
(2)CentOS-Base.repo文件的baseurl=https://mirrors.aliyun.com/centos/
basearch/os/ 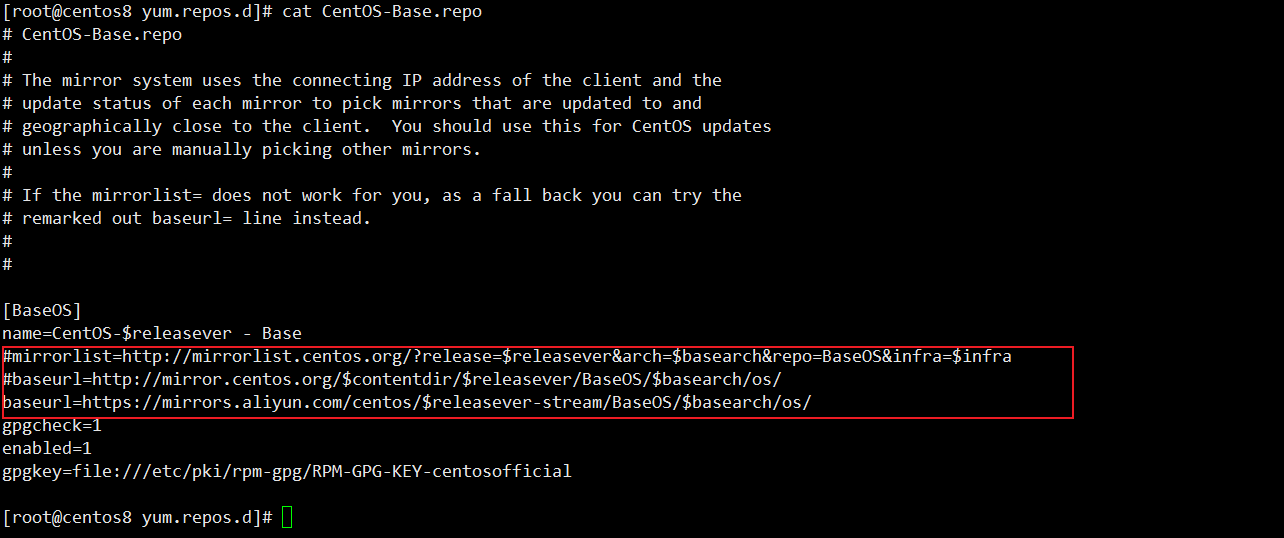
(3)CentOS-Extras.repo文件的baseurl=https://mirrors.aliyun.com/centos/
basearch/os/ 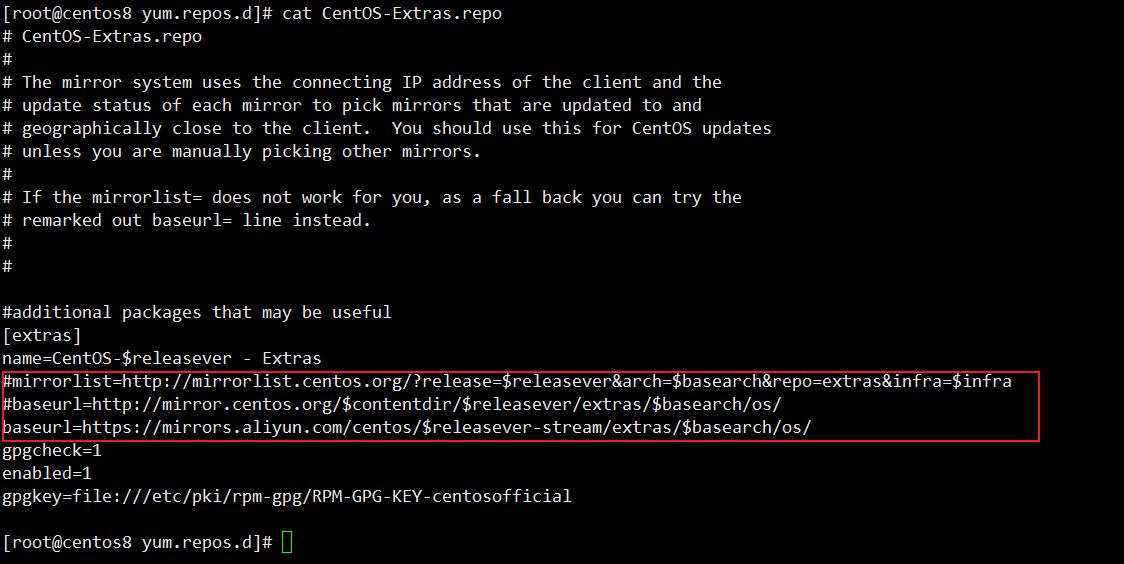
-
清除yum缓存;
yum clean all
-
重新生成yum缓存。
yum makecache
yum命令 yum是Centos自带的交互式包管理工具。它能够安装、删除、更新指定的包,智能分析并处理包依赖,也能够查询可安装的及已经安装的包。
命令格式 yum [options] [command] [package ...]
常用选项
-
-h, --help 显示帮助信息 -
-y, --assumeyes 所有提问按yes执行,可以免去很多手动输入的烦恼
常用命令
-
yum install 会安装最新版本的包并自动解决包依赖问题。 -
yum list yum list命令提供了一些选项,常用选项如下: -
yum list all 列出所有可用和已安装的包。 -
yum list available 列出所有可安装的包。 -
yum list updates 列出所有可更新的包。 -
yum list installed 可以直接使用,后面也可以跟包名,不跟包名时会列出所有已安装的包。 如yum list installed、yum list installed git、yum list installed geo*
Part4关闭防火墙,SELINUX
-
关闭防火墙,SELINUX;
systemctl stop firewalld.service
systemctl disable firewalld.service
setenforce 0
sed -i "s/SELINUX=enforcing/SELINUX=disabled/g" /etc/selinux/config
-
关闭之后,查看状态;
systemctl status firewalld
systemctl status selinux-autorelabel
Part5安装MYSQL数据库
-
安装MYSQL
yum remove -y mysql  //卸载之前安装的mysql
find / -name mysql  //查询mysql相关文件
rm -rf   XXX           //刪除残留mysq文件
wget https://dev.mysql.com/get/mysql80-community-release-el8-1.noarch.rpm
yum install mysql80-community-release-el8-1.noarch.rpm
yum module disable mysql
yum install mysql-community-server --nogpgcheck
-
此时在/etc/yum.repos.d下会生成mysql-community.repo和mysql-community-source.repo文件,修改mysql-community.repo文件中的baseurl修改为清华源(或阿里源)
[root@centos8 yum.repos.d]# cat mysql-community.repo
[mysql80-community]
name=MySQL 8.0 Community Server
#baseurl=http://repo.mysql.com/yum/mysql-8.0-community/el/8/$basearch/
baseurl=https://mirrors.tuna.tsinghua.edu.cn/mysql/yum/mysql-8.0-community-el7-x86_64/
enabled=1
gpgcheck=1
gpgkey=file:///etc/pki/rpm-gpg/RPM-GPG-KEY-mysql

[mysql-connectors-community]
name=MySQL Connectors Community
#baseurl=http://repo.mysql.com/yum/mysql-connectors-community/el/8/$basearch/
baseurl=https://mirrors.tuna.tsinghua.edu.cn/mysql/yum/mysql-connectors-community-el7-x86_64/
enabled=1
gpgcheck=1
gpgkey=file:///etc/pki/rpm-gpg/RPM-GPG-KEY-mysql

[mysql-tools-community]
name=MySQL Tools Community
#baseurl=http://repo.mysql.com/yum/mysql-tools-community/el/8/$basearch/
baseurl=https://mirrors.tuna.tsinghua.edu.cn/mysql/yum/mysql-tools-community-el7-x86_64/
enabled=1
gpgcheck=1
gpgkey=file:///etc/pki/rpm-gpg/RPM-GPG-KEY-mysql

[mysql-tools-preview]
name=MySQL Tools Preview
baseurl=http://repo.mysql.com/yum/mysql-tools-preview/el/8/$basearch/
enabled=0
gpgcheck=1
gpgkey=file:///etc/pki/rpm-gpg/RPM-GPG-KEY-mysql

[mysql-cluster-8.0-community]
name=MySQL Cluster 8.0 Community
baseurl=http://repo.mysql.com/yum/mysql-cluster-8.0-community/el/8/$basearch/
enabled=0
gpgcheck=1
gpgkey=file:///etc/pki/rpm-gpg/RPM-GPG-KEY-mysql
[root@centos8 yum.repos.d]#
-
初始配置MYSQL
vim /etc/my.cnf  //修改etc下的my.cnf
default-authentication-plugin=mysql_native_password //把这一行的注释去掉,没有的直接加上

mysql -V  // 查看mysql版本
rpm -qa | grep mysql  //查看mysql是否安装

systemctl restart mysqld //重启mysql
service mysqld status //查看mysql运行状态
-
MYSQL密码配置,修改root密码
# 查找默认密码
grep 'temporary password' /var/log/mysqld.log  //查找默认密码
aoidM4xiey?Z //默认密码

# 连接数据库,并修改#修改密码格式
mysql -u root -p //连接数据库,使用aoidM4xiey?Z连接

ALTER USER 'root'@'localhost' IDENTIFIED BY 'root_21ROOT';   //第一步需要先创建一个复杂一点的密码root_21ROOT
SHOW VARIABLES LIKE 'validate_password%';    //查看、修改密码策略

set global validate_password.policy=0;
set global validate_password.mixed_case_count=0;
set global validate_password.number_count=0;
set global validate_password.special_char_count=0;
set global validate_password.length=0;
SHOW VARIABLES LIKE 'validate_password%'; //查看、修改密码策略

ALTER USER 'root'@'localhost' IDENTIFIED BY '123456';   //修改root密码为123456
create user 'root'@'%' identified by '123456';
grant all privileges on . to 'root'@'%' with grant option;
Part6安装Zabbix6.0
# 1、安装zabbix仓库
rpm -Uvh https://repo.zabbix.com/zabbix/6.0/rhel/8/x86_64/zabbix-release-6.0-4.el8.noarch.rpm

# 2、清除缓存
dnf clean all

# 3、配置zabbix.repo文件仓库
[root@centos8 yum.repos.d]# cat zabbix.repo
[zabbix]
name=Zabbix Official Repository - $basearch
#baseurl=https://repo.zabbix.com/zabbix/6.0/rhel/8/$basearch/
baseurl=https://mirrors.tuna.tsinghua.edu.cn/zabbix/zabbix/6.0/rhel/8/x86_64/ # zabbix清华源
enabled=1
gpgcheck=1
gpgkey=file:///etc/pki/rpm-gpg/RPM-GPG-KEY-ZABBIX-A14FE591

[zabbix-non-supported]
name=Zabbix Official Repository (non-supported) - $basearch
#baseurl=https://repo.zabbix.com/non-supported/rhel/8/$basearch/
baseurl=https://mirrors.tuna.tsinghua.edu.cn/zabbix/non-supported/rhel/8/x86_64/ # zabbix-non-supported清华源
enabled=1
gpgkey=file:///etc/pki/rpm-gpg/RPM-GPG-KEY-ZABBIX
gpgcheck=1

[zabbix-unstable]
name=Zabbix Official Repository (unstable) - $basearch
baseurl=https://repo.zabbix.com/zabbix/5.5/rhel/8/$basearch/
enabled=0
gpgcheck=1
gpgkey=file:///etc/pki/rpm-gpg/RPM-GPG-KEY-ZABBIX-A14FE591

[root@centos8 yum.repos.d]#

# 4、配置zabbix-agent2-plugins.repo文件仓库
[root@centos8 yum.repos.d]# cat zabbix-agent2-plugins.repo
[zabbix-agent2-plugins]
name=Zabbix Official Repository (Agent2 Plugins) - $basearch
#baseurl=https://repo.zabbix.com/zabbix-agent2-plugins/1/rhel/8/$basearch/
baseurl=https://mirrors.tuna.tsinghua.edu.cn/zabbix/zabbix-agent2-plugins/1/rhel/8/x86_64/ # agent2清华源
enabled=1
gpgkey=file:///etc/pki/rpm-gpg/RPM-GPG-KEY-ZABBIX
gpgcheck=1
[root@centos8 yum.repos.d]#

 # 安装Zabbix server,Web前端,agent
 dnf install zabbix-server-mysql zabbix-web-mysql zabbix-apache-conf zabbix-sql-scripts zabbix-selinux-policy zabbix-agent2 //注意这里安装的是agent2
Part7创建初始数据库
# 1、连接数据库
mysql -u root -p
密码:123456

mysql> create database zabbix character set utf8mb4 collate utf8mb4_bin; # 创建zabbix数据库

mysql> create user zabbix@localhost identified WITH sha256_password BY 'password'; #创建zabbix数据库密码password

mysql> grant all privileges on zabbix.* to zabbix@localhost;

mysql> set global log_bin_trust_function_creators = 1;

mysql>use mysql;

mysql>delete from user where user=' ';

mysql>flush privileges;

mysql> quit;

# 2、导入初始架构和数据,系统将提示您输入新创建的密码。
zcat /usr/share/zabbix-sql-scripts/mysql/server.sql.gz | mysql --default-character-set=utf8mb4 -uzabbix -p zabbix

password # zabbix数据库密码

#导入表完成之后禁用mysql以下功能

mysql -u root -p

123456 #mysql数据库连接密码

mysql> set global log_bin_trust_function_creators = 0;

mysql> quit;

# 3、为Zabbix server配置数据库
# 编辑zabbix_server.conf配置文件

vim /etc/zabbix/zabbix_server.conf

DBPassword=password #DBPassword密码为password
Part8启动Zabbix server和agent进程
systemctl restart zabbix-server zabbix-agent2 httpd php-fpm
systemctl enable zabbix-server zabbix-agent2 httpd php-fpm
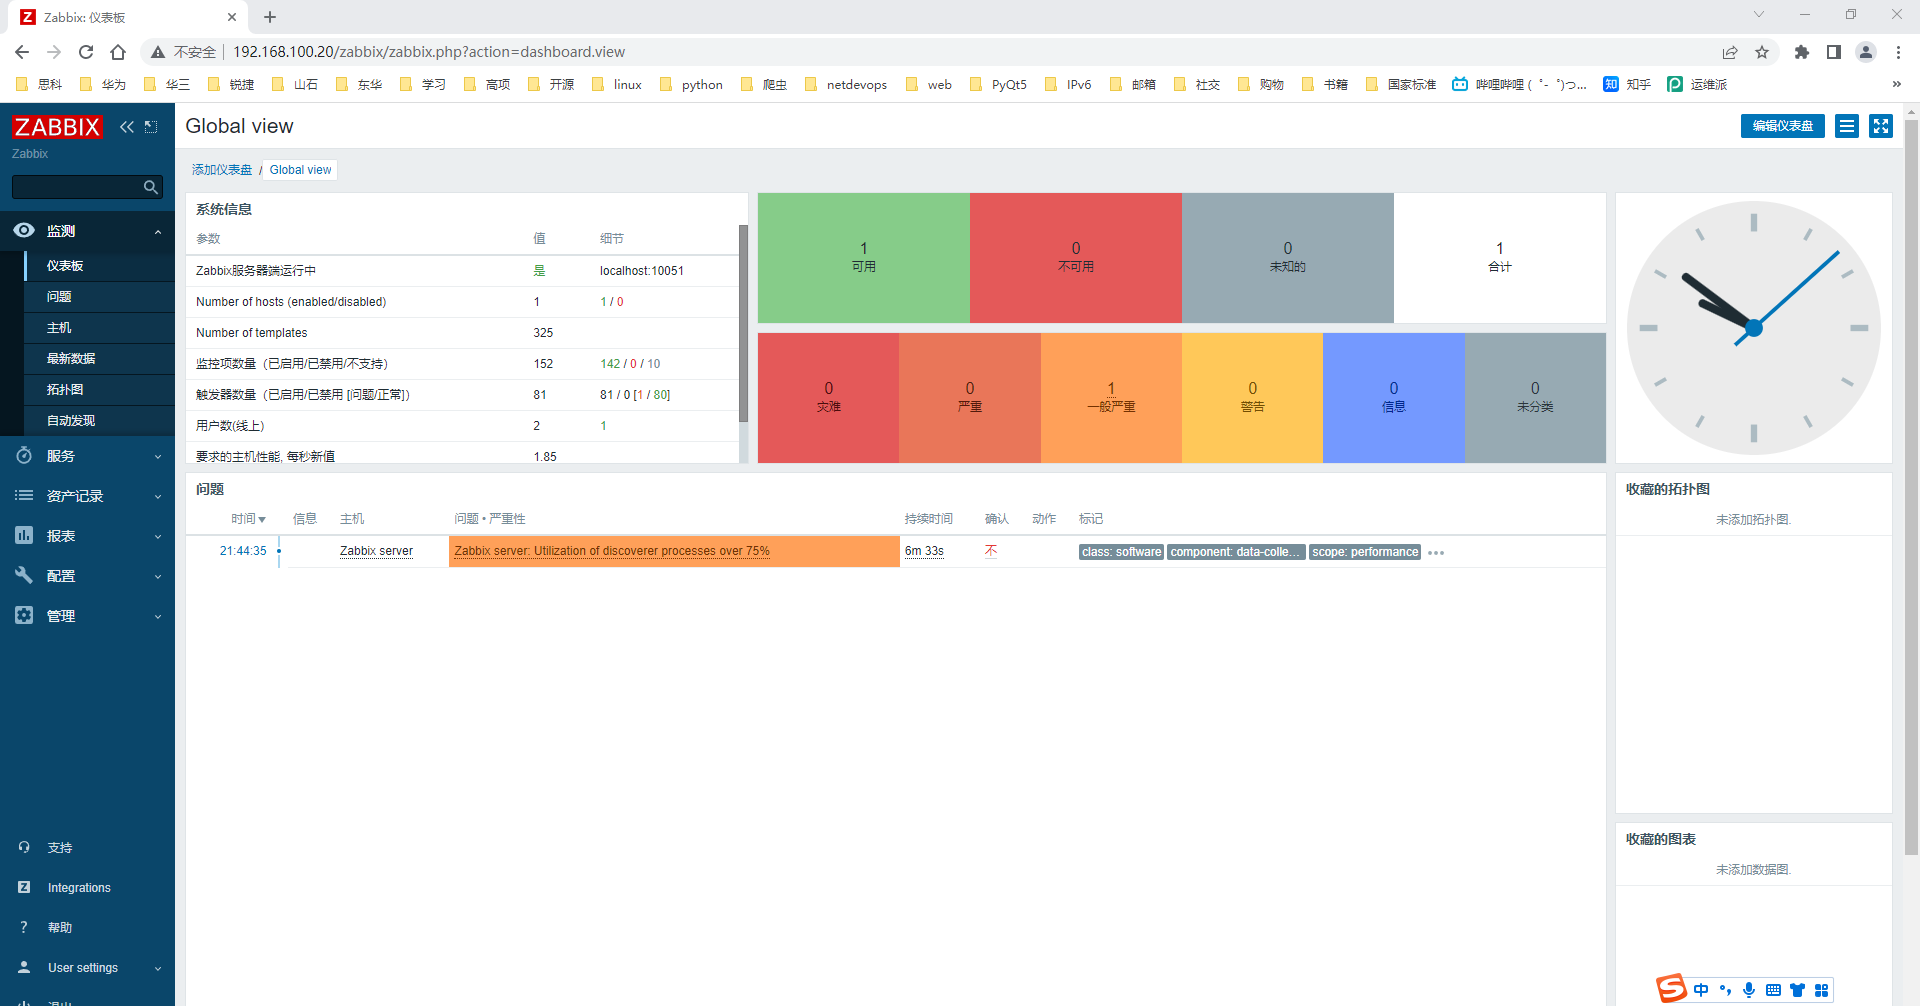
Part9登录Zabbix
http://192.168.100.20/zabbix
用户名:Admin
密码:zabbix 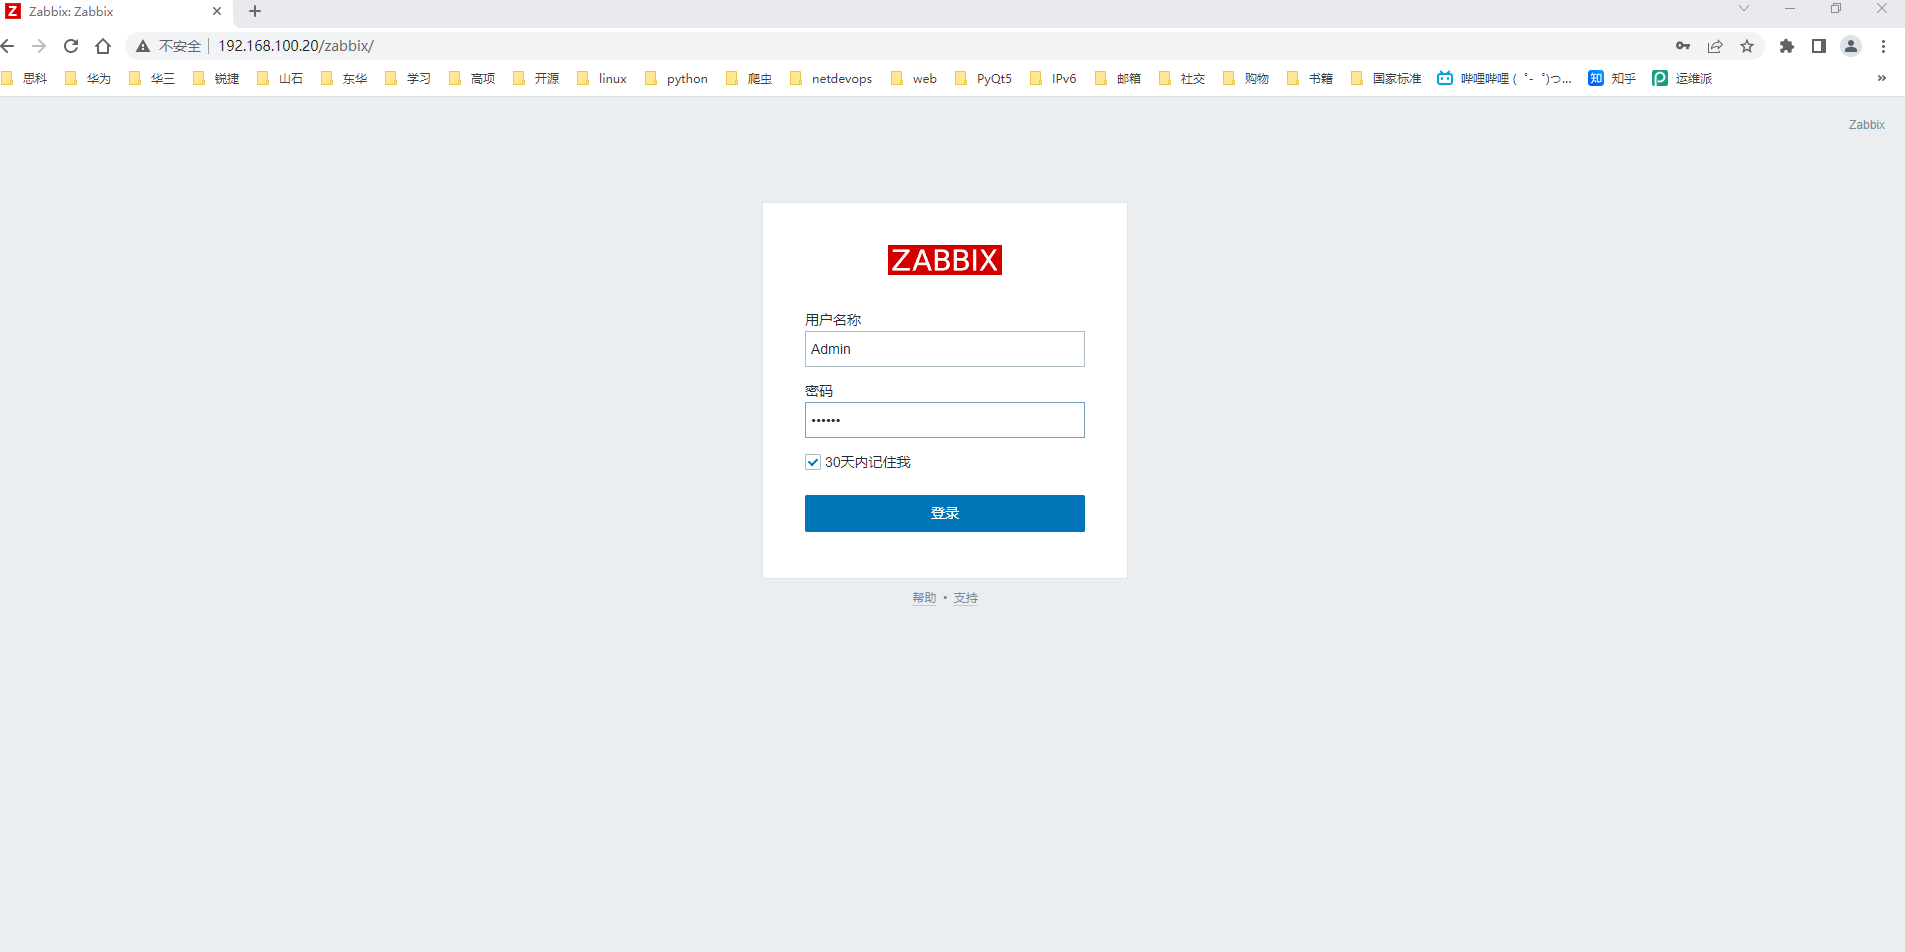
本文由 mdnice 多平台发布


 8360
8360

 被折叠的 条评论
为什么被折叠?
被折叠的 条评论
为什么被折叠?
 到【灌水乐园】发言


