


装饰基础项目
通过上篇文章Step by Step 搭建SpringMVC项目[2]-创建动态项目创建完成后,这一篇开始我们开始添加我们的web项目的主角SpringMVC框架了。
Web项目转Maven项目
想要使用Maven管理我们的项目,就需要将我们的项目转换一下。当然也可以直接下载jar包放到项目内。不过为了多学习一些就不要省事儿了。
右键项目--》Configurae--》Convert to Maven Project
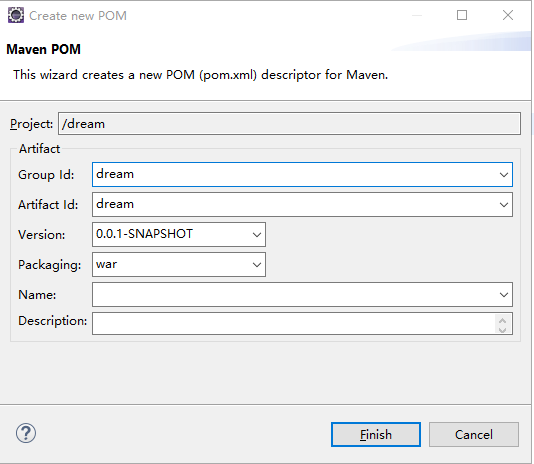
这里做一些解释:
groupid和artifactId被统称为“坐标”是为了保证项目唯一性而提出的,如果你要把你项目弄到maven本地仓库去,你想要找到你的项目就必须根据这两个id去查找。
groupId一般分为多个段,这里我只说两段,第一段为域,第二段为公司名称。域又分为org、com、cn等等许多,其中org为非营利组织,com为商业组织。举个apache公司的tomcat项目例子:这个项目的groupId是org.apache,它的域是org(因为tomcat是非营利项目),公司名称是apache,artigactId是tomcat。
artifactId设置为dream,表示你这个项目的名称是dream
建议例如包名为org.apache.springmvc .
那么groupId改写成类似 org.apache 项目包名,artifactId 为项目名springmvc
类似这样的写法。不过都是根据个人习惯。
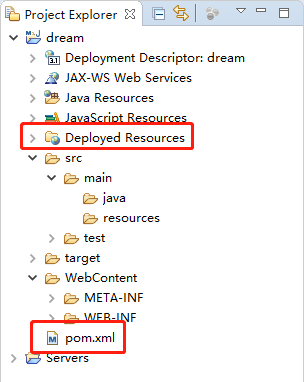
项目转换完成后,会多出如上图文件。暂时不用管,进行下一步,在我们的src/main下创建webapp文件夹。并将WebContent文件夹内的META-INF与WEB-INF文件复制到该目录。
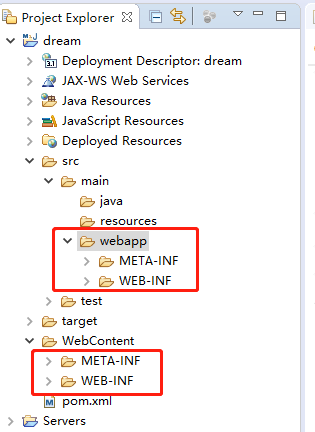
删除WebContent文件夹。右键项目--》Properties--》Deployment Assembly
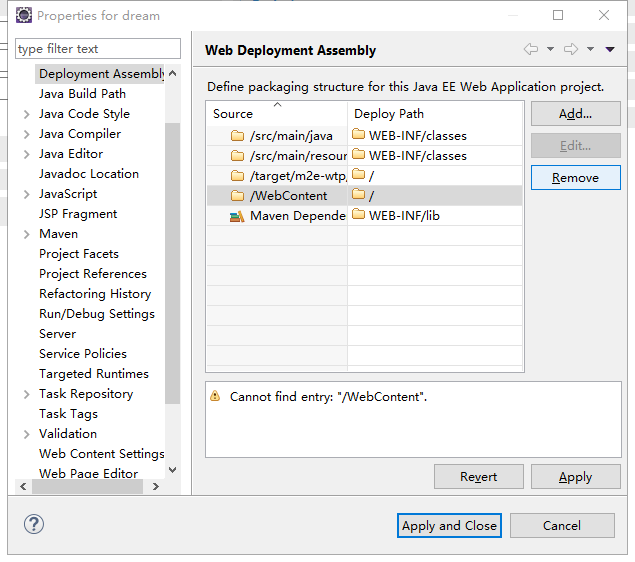
选中/WebContent点击Remove将其移除
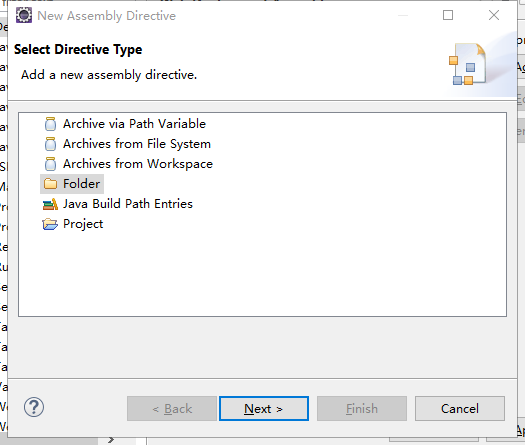
点击Add… 选择Folder
Next,展开文件夹列表,找到webapp
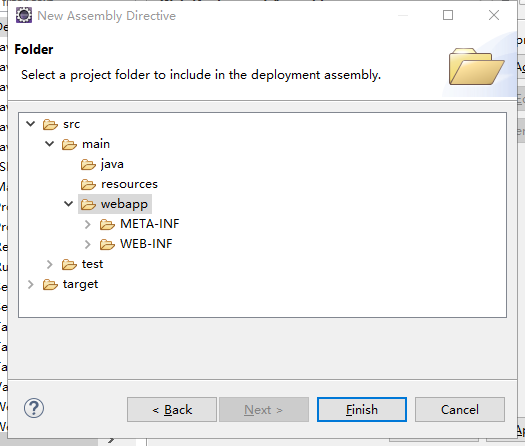
选中webapp文件夹,点击Finish。
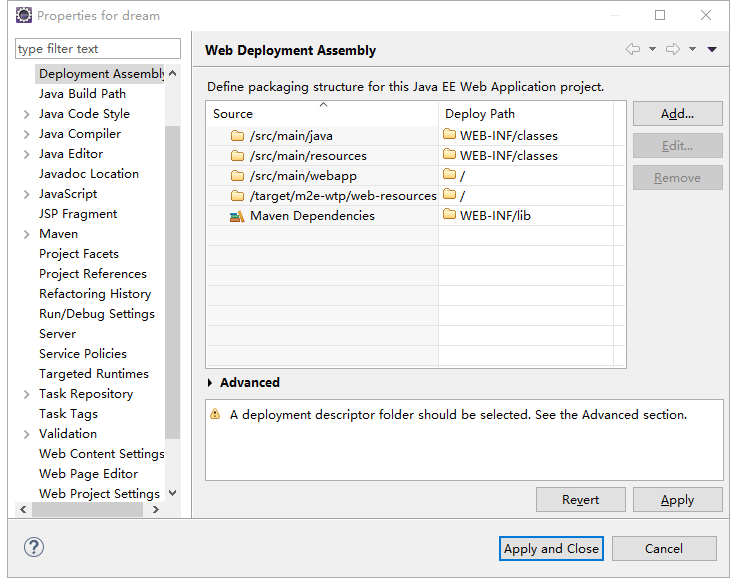
添加完成,Apply and Close。
Run as--》Run on Server
发布项目到服务。
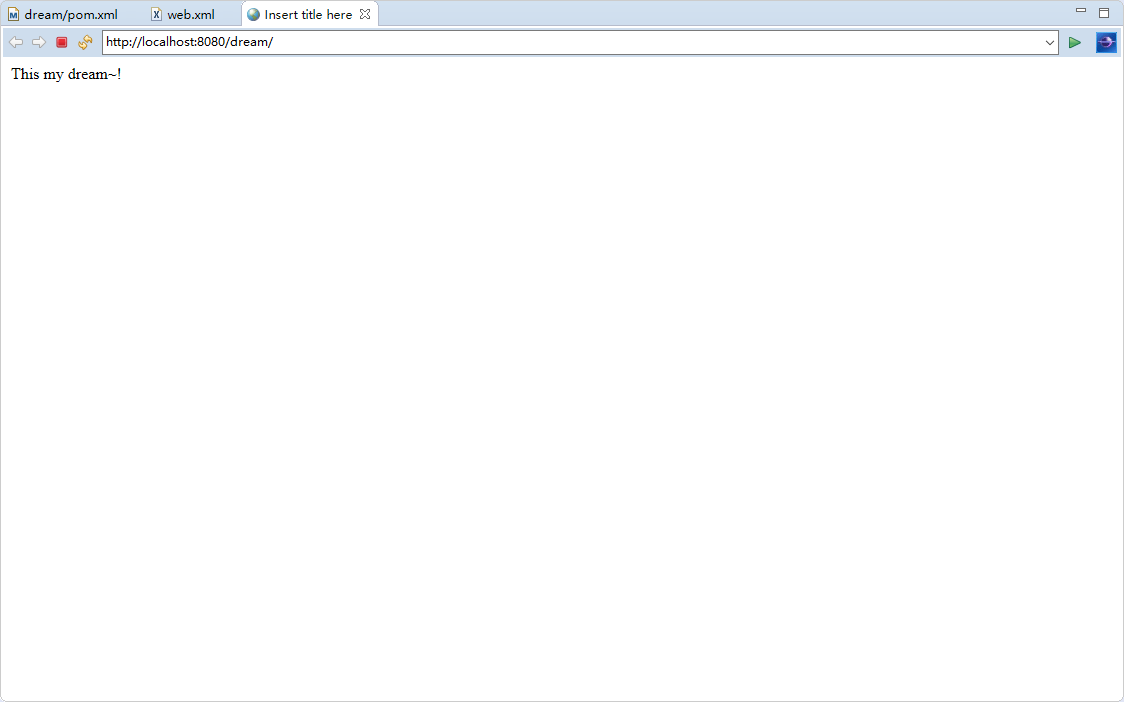
发现没毛病,完美运行。
下面使用Maven下载我们的SpringMVC相关类库。
打开pom.xml内容如下。
<project xmlns="http://maven.apache.org/POM/4.0.0" xmlns:xsi="http://www.w3.org/2001/XMLSchema-instance" xsi:schemaLocation="http://maven.apache.org/POM/4.0.0 http://maven.apache.org/xsd/maven-4.0.0.xsd">
  <modelVersion>4.0.0</modelVersion>
  <groupId>pers.wtt</groupId>
  <artifactId>dream</artifactId>
  <version>0.0.1-SNAPSHOT</version>
  <packaging>war</packaging>
  <build>
    <plugins>
      <plugin>
        <artifactId>maven-compiler-plugin</artifactId>
        <version>3.7.0</version>
        <configuration>
          <source>1.8</source>
          <target>1.8</target>
        </configuration>
      </plugin>
      <plugin>
        <artifactId>maven-war-plugin</artifactId>
        <version>3.0.0</version>
        <configuration>
          <warSourceDirectory>WebContent</warSourceDirectory>
        </configuration>
      </plugin>
    </plugins>
  </build>
</project>
我们所有Maven都在这里添加。首先我们到maven仓库找到。 SpringMVC库
这里我下载的是 4.3.14版本。
<!-- https://mvnrepository.com/artifact/org.springframework/spring-webmvc -->
<dependency>
    <groupId>org.springframework</groupId>
    <artifactId>spring-webmvc</artifactId>
    <version>4.3.14.RELEASE</version>
</dependency>
<project xmlns="http://maven.apache.org/POM/4.0.0" xmlns:xsi="http://www.w3.org/2001/XMLSchema-instance" xsi:schemaLocation="http://maven.apache.org/POM/4.0.0 http://maven.apache.org/xsd/maven-4.0.0.xsd">
  <modelVersion>4.0.0</modelVersion>
  <groupId>pers.wtt</groupId>
  <artifactId>dream</artifactId>
  <version>0.0.1-SNAPSHOT</version>
  <packaging>war</packaging>
  <dependencies>
	 <!-- https://mvnrepository.com/artifact/org.springframework/spring-webmvc -->
	<dependency>
	    <groupId>org.springframework</groupId>
	    <artifactId>spring-webmvc</artifactId>
	    <version>4.3.14.RELEASE</version>
	</dependency>
  </dependencies>
  <build>
    <plugins>
      <plugin>
        <artifactId>maven-compiler-plugin</artifactId>
        <version>3.7.0</version>
        <configuration>
          <source>1.8</source>
          <target>1.8</target>
        </configuration>
      </plugin>
      <plugin>
        <artifactId>maven-war-plugin</artifactId>
        <version>3.0.0</version>
        <configuration>
          <warSourceDirectory>WebContent</warSourceDirectory>
        </configuration>
      </plugin>
    </plugins>
  </build>
</project>
添加<dependencies></dependencies>标签,将代码复制到这个标签之间。
鼠标右键--》Run as --》 Maven install 等待安装完成即可。
配置web.xml
<?xml version="1.0" encoding="UTF-8"?>
<web-app xmlns:xsi="http://www.w3.org/2001/XMLSchema-instance" xmlns="http://xmlns.jcp.org/xml/ns/javaee" xsi:schemaLocation="http://xmlns.jcp.org/xml/ns/javaee http://xmlns.jcp.org/xml/ns/javaee/web-app_3_1.xsd" id="WebApp_ID" version="3.1">
  <display-name>dream</display-name>

  <servlet>
  	<servlet-name>springmvc</servlet-name>
  	<servlet-class>org.springframework.web.servlet.DispatcherServlet</servlet-class>
  	<load-on-startup>1</load-on-startup>
  </servlet>

  <servlet-mapping>
  	<servlet-name>springmvc</servlet-name>
  	<url-pattern>/</url-pattern>
  </servlet-mapping>

  <welcome-file-list>
    <welcome-file>index.html</welcome-file>
    <welcome-file>index.htm</welcome-file>
    <welcome-file>index.jsp</welcome-file>
    <welcome-file>default.html</welcome-file>
    <welcome-file>default.htm</welcome-file>
    <welcome-file>default.jsp</welcome-file>
    <welcome-file>/WEB-INF/index.jsp</welcome-file>
  </welcome-file-list>
</web-app>
右键项目 Run as --》Run on Server
配置完成,事跑两步试试。
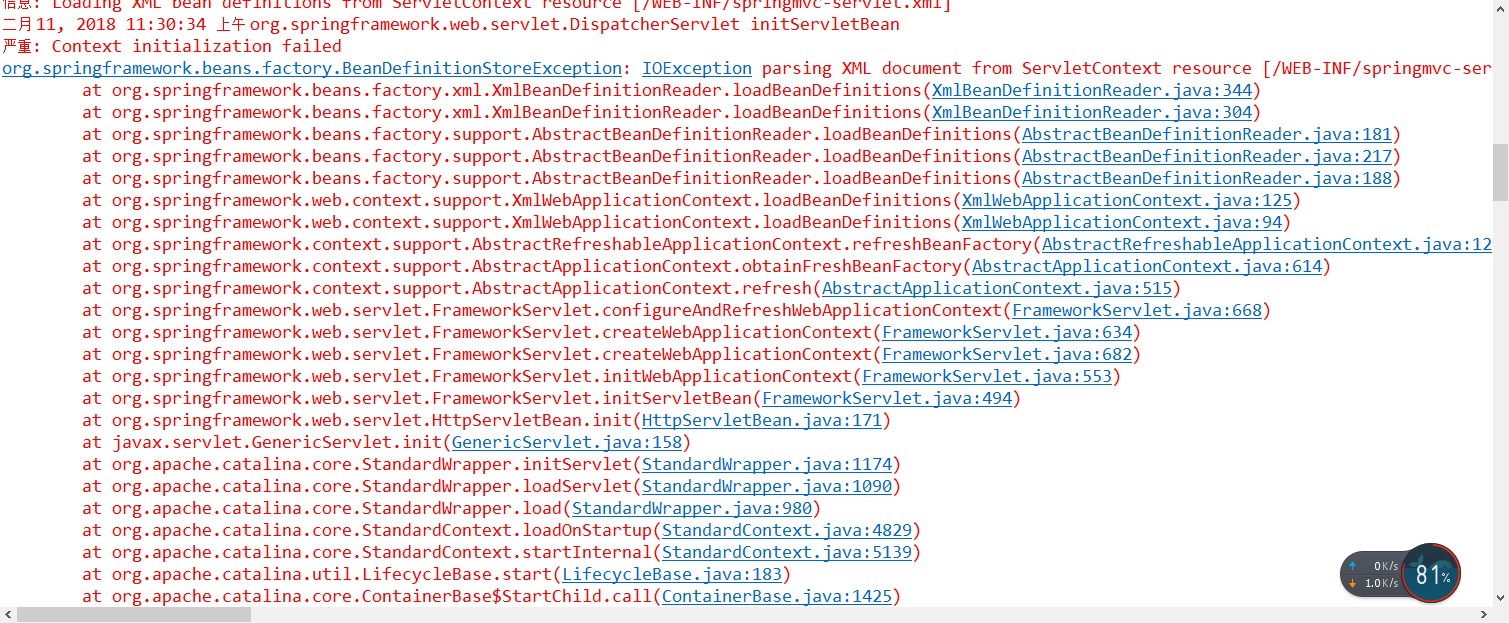
哎呀抛了异常了
org.springframework.beans.factory.BeanDefinitionStoreException: IOException parsing XML document from ServletContext resource [/WEB-INF/springmvc-servlet.xml]; nested exception is java.io.FileNotFoundException: Could not open ServletContext resource [/WEB-INF/springmvc-servlet.xml] 这一看是没有找到 /WEB-INF/springmvc-servlet.xml配置文件
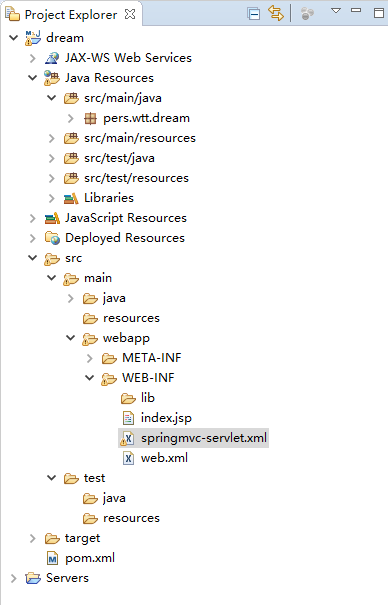
那就创建一个
既然创建了配置文件,那就顺便配置一下。
到spring官网查看文档。
https://docs.spring.io/spring/docs/current/spring-framework-reference/web.html#mvc
<?xml version="1.0" encoding="UTF-8"?>
<beans xmlns="http://www.springframework.org/schema/beans"
    xmlns:xsi="http://www.w3.org/2001/XMLSchema-instance"
    xmlns:p="http://www.springframework.org/schema/p"
    xmlns:context="http://www.springframework.org/schema/context"
    xsi:schemaLocation="
        http://www.springframework.org/schema/beans
        http://www.springframework.org/schema/beans/spring-beans.xsd
        http://www.springframework.org/schema/context
        http://www.springframework.org/schema/context/spring-context.xsd">
    <!-- ... -->

</beans>
先补全 springmvc-servlet.xml文件,然后重新跑一下看看效果。
很好这次没有异常出现了。接下来开始配置我们的springmvc-servlet.xml。


 被折叠的 条评论
为什么被折叠?
被折叠的 条评论
为什么被折叠?
 到【灌水乐园】发言


