


概要
- 前端页面实现
- 后端与数据库相连
- 主要功能讲解
前端页面实现
提示:这里可以添加技术架构
例如:
在语言模型中,编码器和解码器都是由一个个的 Transformer 组件拼接在一起形成的。
**
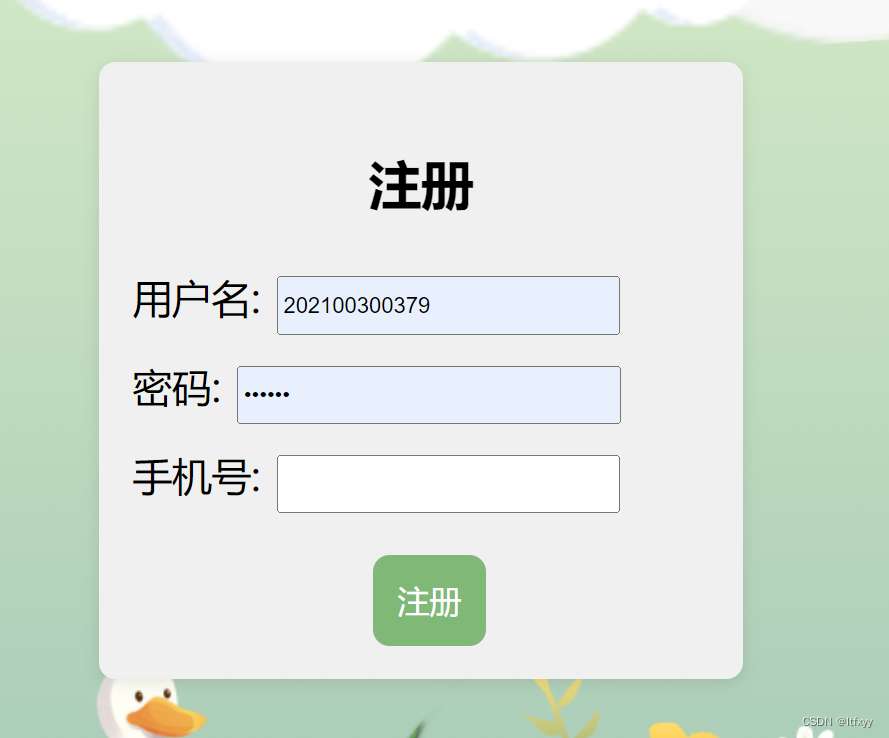
前端页面实现
**

 {
return {
username: '',
password: '',
phone: '',
message: ''
};
},
methods: {
async handleRegister() {
// Check if username, password, and phone are not empty
if (this.username && this.password && this.phone) {
try {
const response = await axios.post(`${API_ENDPOINT}/register`, {
username: this.username,
password: this.password,
phone: this.phone
});
this.message = response.data.message;
if (response.status === 201) {
this.$router.push({ name: 'Home' });
}
} catch (error) {
if (error.response && error.response.data) {
this.message = error.response.data.message;
} else {
this.message = '注册失败,请重试';
}
}
}
}
}
};
</script>
<style scoped>
/* Add some basic styling for better appearance */
.container {
position: relative;
display: flex;
flex-direction: column;
align-items: center;
justify-content: center;
height: 100vh; /* Full height to center vertically */
background-image: url('注册.png'); /* 设置背景图片 */
background-size: cover; /* 背景图片覆盖整个容器 */
background-position: center; /* 背景图片居中 */
background-repeat: no-repeat; /* 背景图片不重复 */
}
.container::before {
content: '';
position: absolute;
top: 0;
left: 0;
width: 100%;
height: 100%;
background-color: #a3bf61;
z-index: -1; /* Place it behind the form-box */
}
.form-box {
position: relative;
background-color: #f0f0f0;
box-shadow: 0 0 10px rgba(0, 0, 0, 0.1);
padding: 20px;
border-radius: 10px;
box-shadow: 0 2px 10px rgba(0, 0, 0, 0.1);
width: 350px;
text-align: center;
z-index: 1; /* Ensure it stays on top */
}
.form-box h3{
font-size: 2em;
}
.form-group {
margin-bottom: 15px; /* Adjust this value to control the spacing */
text-align: left; /* 左对齐 */
}
.form-group label{
font-size: 1.5em;
margin-right: 10px;
}
.form-button {
margin-top: 10px; /* Adjust this value to control the spacing */
padding: 15px;
background-color: #81b975;
color: white;
border: none;
border-radius: 10px;
cursor: pointer;
font-size: 1.2em;
}
.form-button:hover {
background-color: #4a6a43e4;
}
</style>
- ``登录`
<template>
<div class="container">
<div class="form-box">
<h3>登录</h3>
<form @submit.prevent="handleLogin">
<div class="form-group">
<label for="username">用户名:</label>
<input type="text" v-model="username" id="username" required style="width: 200px; height: 30px;"/>
</div>
<div class="form-group">
<label for="password">密码:</label>
<input type="password" v-model="password" id="password" required style="width: 225px; height: 30px;"/>
</div>
<button type="submit" class="form-button">进入</button>
</form>
<p v-if="message">{{ message }}</p>
</div>
</div>
</template>
<script>
import axios from 'axios';
import { API_ENDPOINT } from '@/config'; // 引入配置文件
export default {
name: 'LoginPage',
data() {
return {
username: '',
password: '',
message: ''
};
},
methods: {
async handleLogin() {
// Check if username and password are not empty
if (this.username && this.password) {
try {
const response = await axios.post(`${API_ENDPOINT}/login`, {
username: this.username,
password: this.password
});
this.message = response.data.message;
if (response.status === 200) {
this.$router.push({ name: 'Home' });
}
} catch (error) {
if (error.response && error.response.data) {
this.message = error.response.data.message;
} else {
this.message = '登录失败,请重试';
}
}
}
}
}
};
</script>
<style scoped>
/* Add some basic styling for better appearance */
.container {
position: relative;
display: flex;
flex-direction: column;
align-items: center;
justify-content: center;
height: 100vh; /* Full height to center vertically */
background-image: url('登录.png'); /* 设置背景图片 */
background-size: cover; /* 背景图片覆盖整个容器 */
background-position: center; /* 背景图片居中 */
background-repeat: no-repeat; /* 背景图片不重复 */
}
.container::before {
content: '';
position: absolute;
top: 0;
left: 0;
width: 100%;
height: 100%;
background-color: #a3bf61;
z-index: -1; /* Place it behind the form-box */
}
.form-box {
position: relative;
background-color: #f0f0f0;
box-shadow: 0 0 10px rgba(0, 0, 0, 0.1);
padding: 20px;
border-radius: 10px;
box-shadow: 0 2px 10px rgba(0, 0, 0, 0.1);
width: 300px;
text-align: center;
z-index: 1; /* Ensure it stays on top */
}
.form-box h3{
font-size: 2em;
}
.form-group {
margin-bottom: 15px; /* Adjust this value to control the spacing */
text-align: left; /* 左对齐 */
align-items: center; /* 垂直居中按钮和文字 */
}
.form-group label{
font-size: 1.5em;
margin-right: 10px;
}
.form-button {
margin-top: 10px; /* Adjust this value to control the spacing */
padding: 15px;
background-color: #81b975;
color: white;
border: none;
border-radius: 10px;
cursor: pointer;
font-size: 1.2em;
}
.form-button:hover {
background-color: #4a6a43e4;
}
</style>
后端和数据库相连
` 将前端数据传到后端数据库
注册用户
改写后端代码使它可以将数据传到前端,并根据数据库里的数据去判断账号是否被注册,是否注册成功等
```css
@app.route('/register', methods=['POST'])
def register():
    data = request.json
    username = data['username']
    password = data['password']

    conn = get_db_connection()
    cursor = conn.cursor()

    cursor.execute("SELECT * FROM users WHERE username=?", (username,))
    existing_user = cursor.fetchone()
    if existing_user:
        return jsonify({"message": "该用户名已被注册"}), 400

    hashed_password = hashlib.sha256(password.encode()).hexdigest()
    cursor.execute("INSERT INTO users (username, password) VALUES (?, ?)", (username, hashed_password))
    conn.commit()

    cursor.close()
    conn.close()

    return jsonify({"message": "用户注册成功"}), 201
登录账户
改写登录数据库代码,使它可以和前端相连,并根据数据库里的已有数据实现登录
# 登录用户
@app.route('/login', methods=['POST'])
def login():
    data = request.json
    username = data['username']
    password = data['password']

    hashed_password = hashlib.sha256(password.encode()).hexdigest()

    conn = get_db_connection()
    cursor = conn.cursor()

    cursor.execute("SELECT * FROM users WHERE username=? AND password=?", (username, hashed_password))
    user = cursor.fetchone()

    cursor.close()
    conn.close()

    if user:
        return jsonify({"message": "登录成功"}), 200
    else:
        return jsonify({"message": "用户名或密码错误"}), 401
后端数据库查询如图

实现功能
如果用户已被注册过,就会报注册失败

如果用户登录密码和用户名错误,或者用户从未注册,就会报登录失败


 399
399

 被折叠的 条评论
为什么被折叠?
被折叠的 条评论
为什么被折叠?
 到【灌水乐园】发言


