


目录
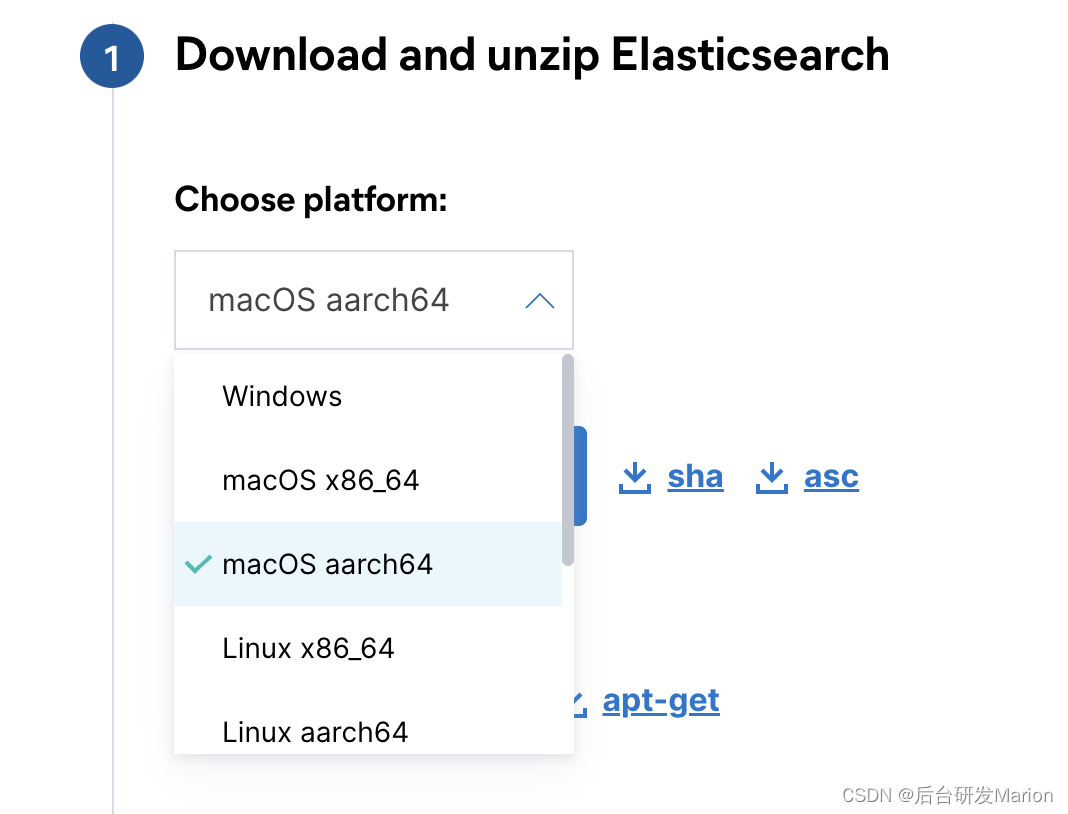
一、下载ES单机安装
1. 下载地址:Download Elasticsearch | Elastic
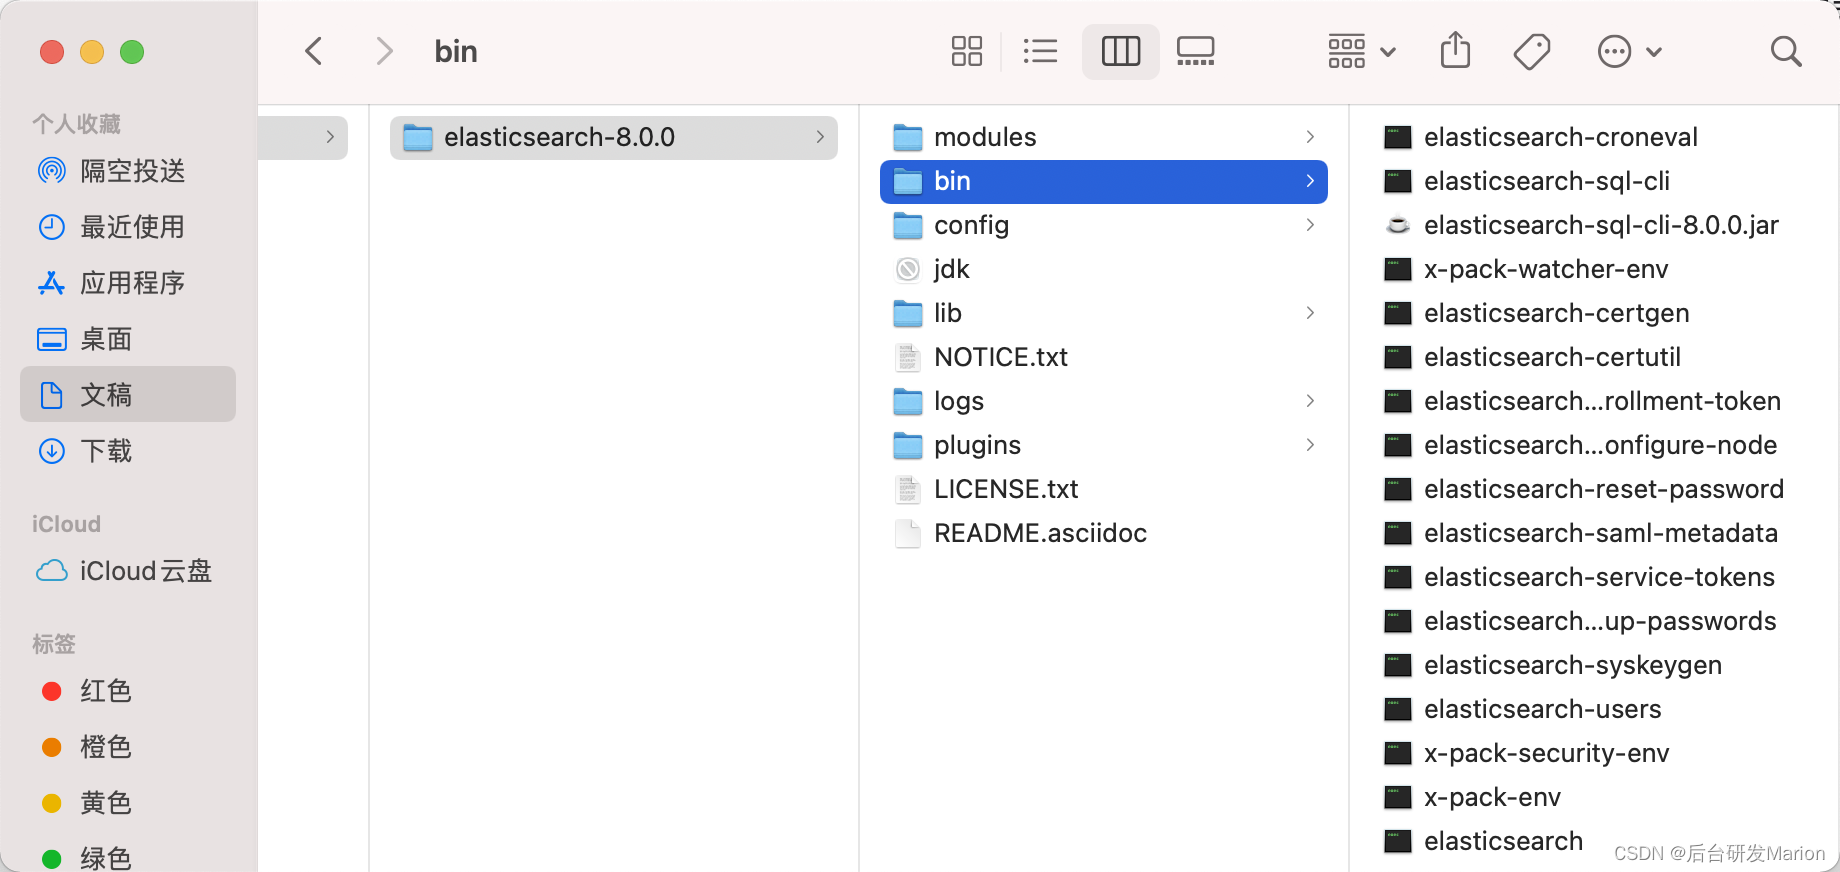
2. 下载后目录说明
3. 启动报错

high disk watermark [90%] exceeded on
ElasticSerach 出现 high disk watermark [90%] exceeded on_weixiao_920的博客-CSDN博客
Elasticsearch:High disk watermark_Elastic 中国社区官方博客-CSDN博客

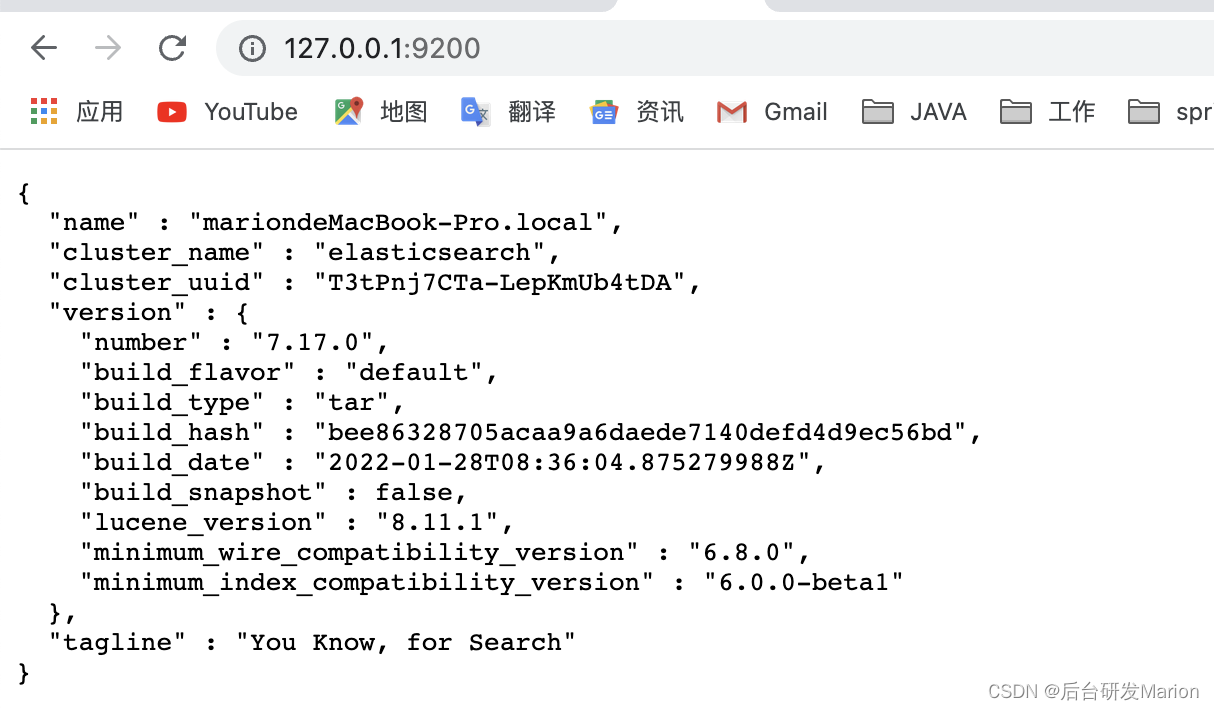
上述操作依旧失败,8.0 arch64启动失败,所以改成7.17.0成功
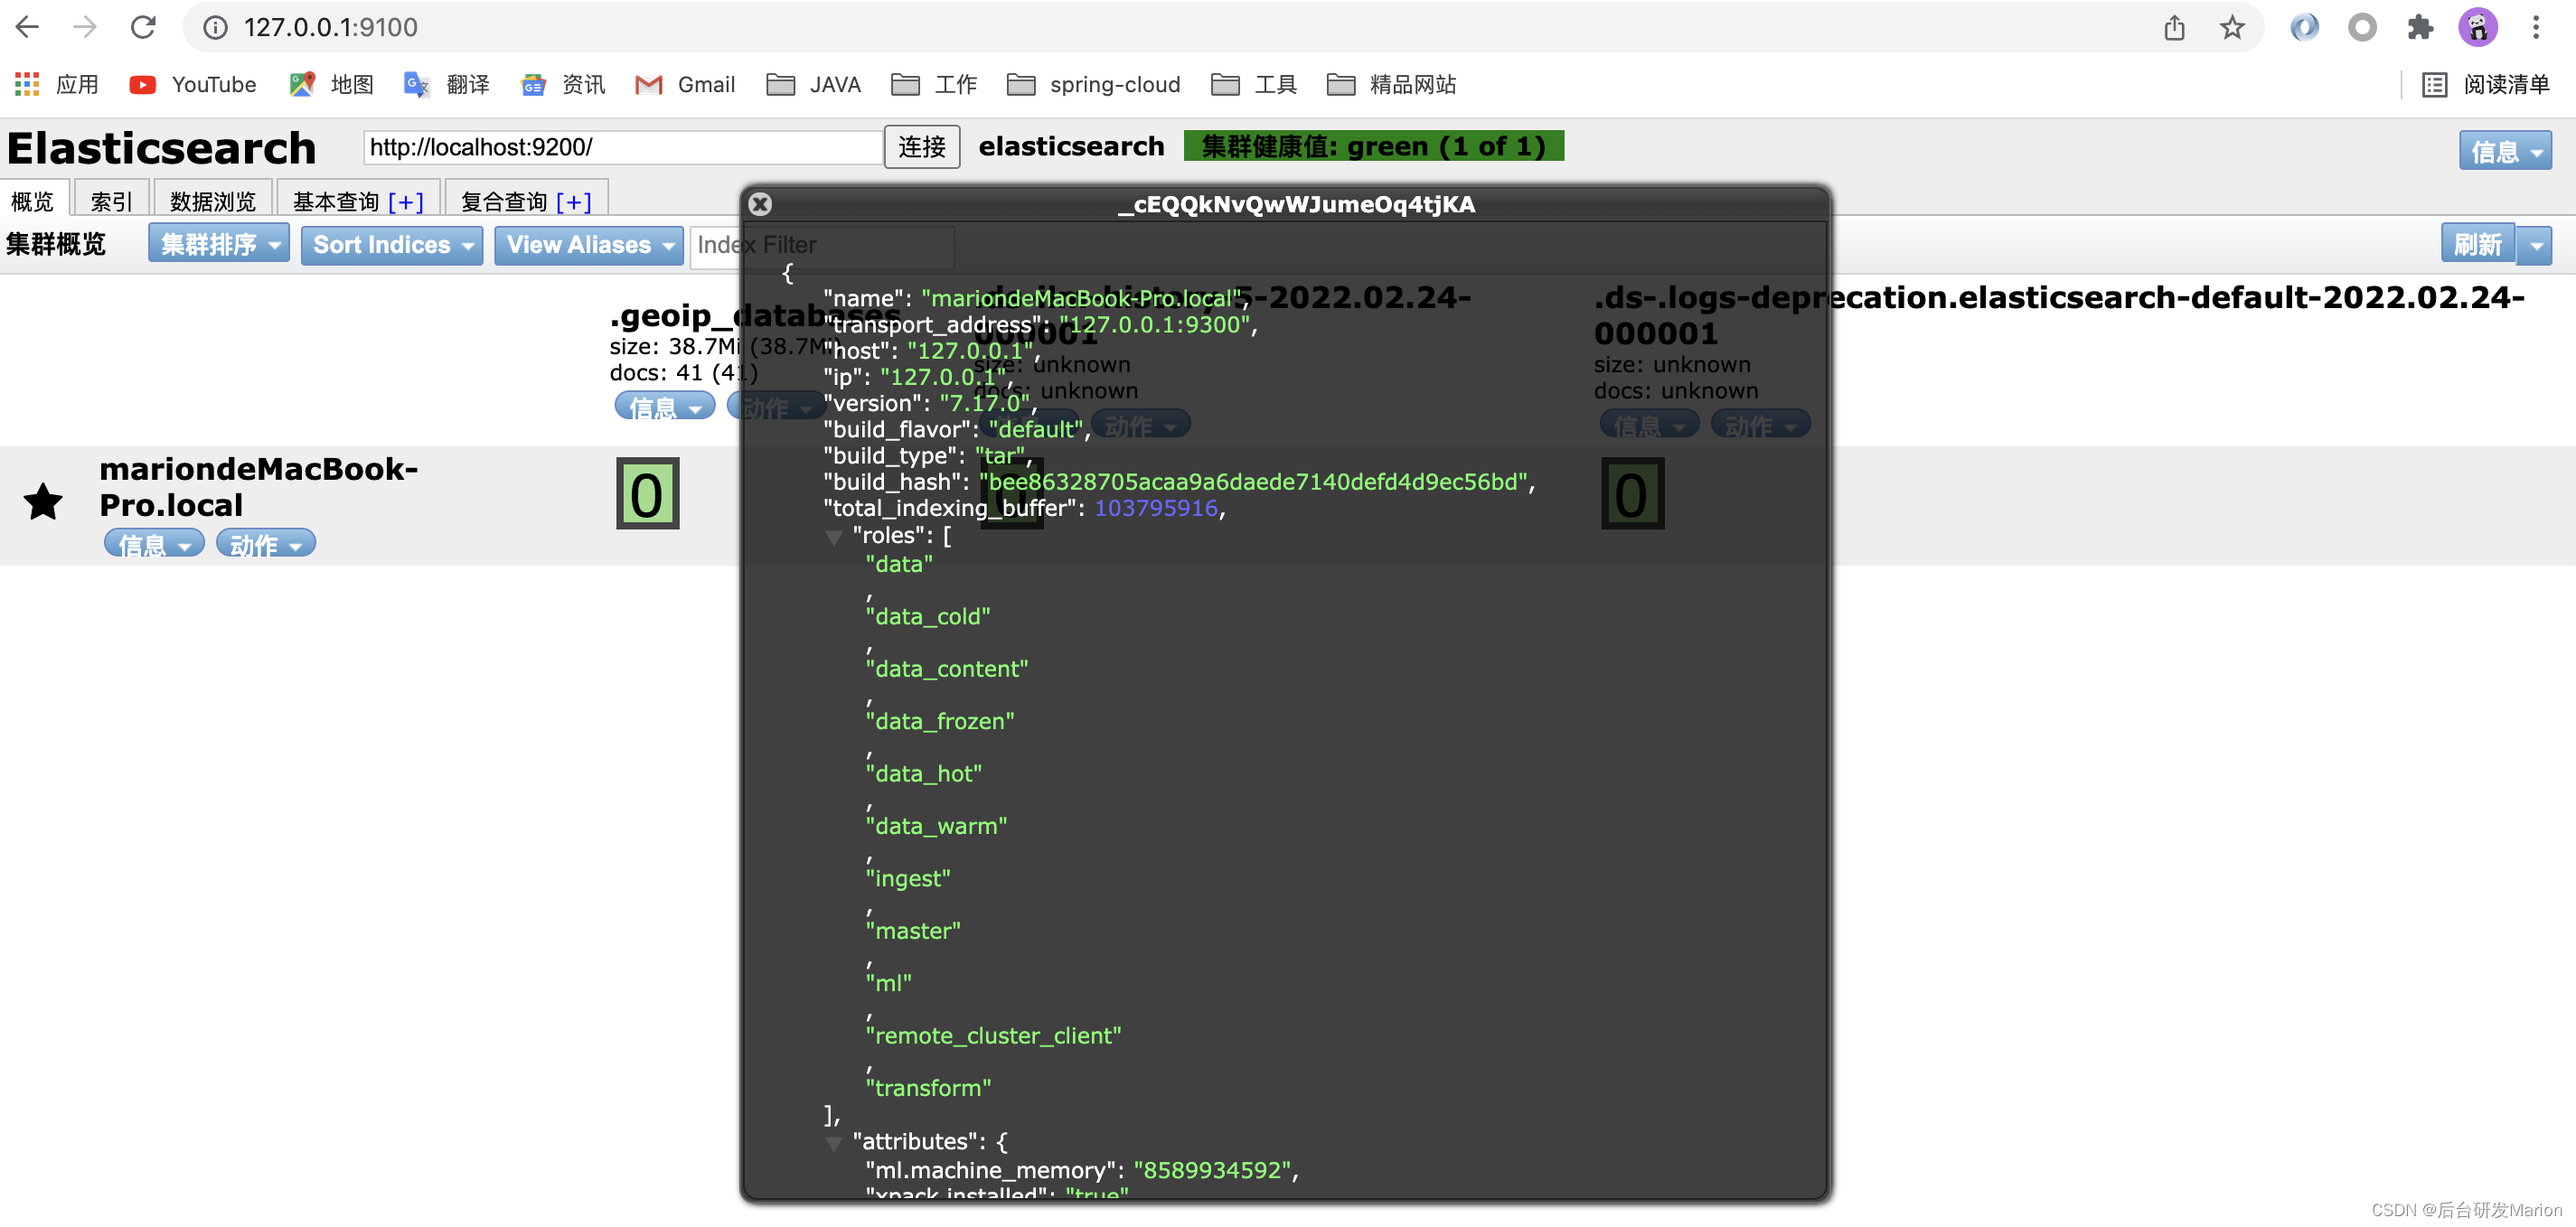
二、安装插件
1. 下载插件:GitHub - mobz/elasticsearch-head: A web front end for an elastic search cluster
2. 修改 elasticsearch.yml
# 磁盘高水位分片
cluster.routing.allocation.disk.threshold_enabled: false

# 解决跨域问题
http.cors.enabled: true
http.cors.allow-origin: "*"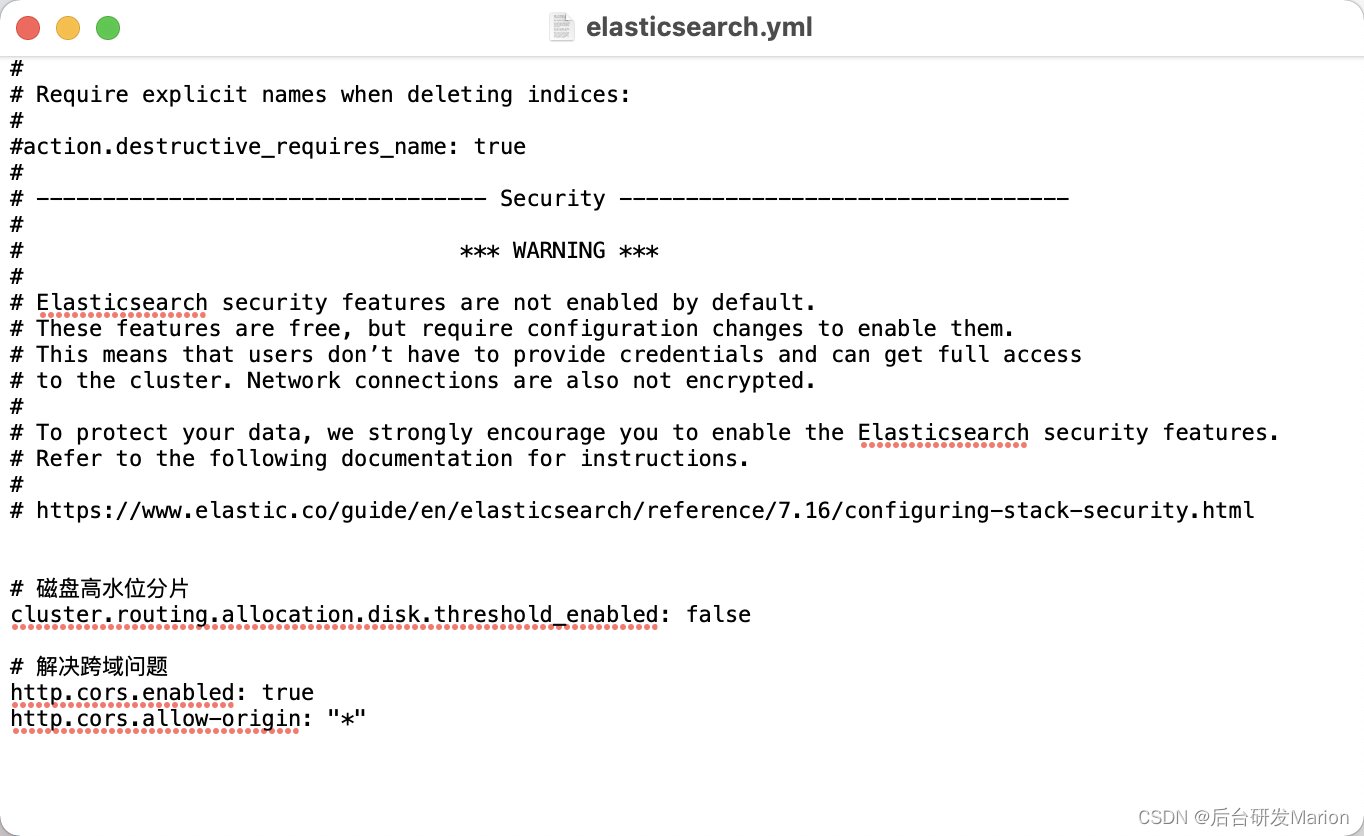
3. 启动elasticsearch-head和es,需要配置JAVA_HOME为JDK11启动
export JAVA_HOME=/opt/homebrew/opt/openjdk@11
export PATH=$PATH:$JAVA_HOME/bin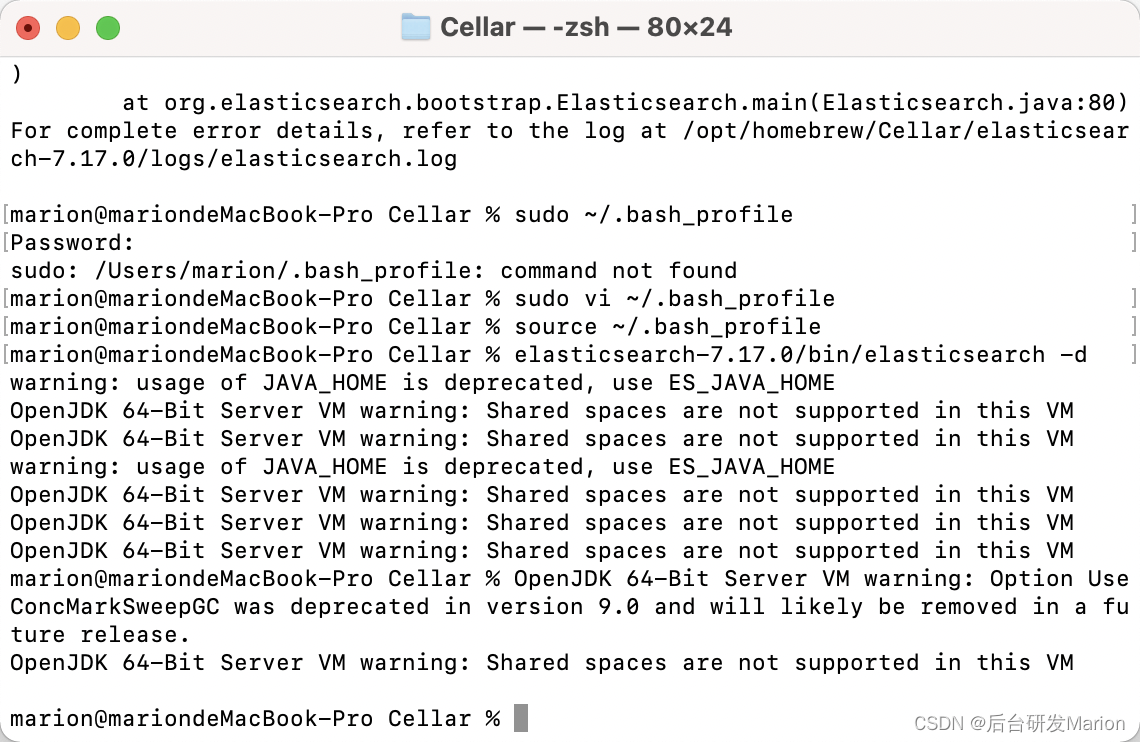
4. 此时后台启动ElasticSearch,输入命令 :./bin/elasticsearch -d
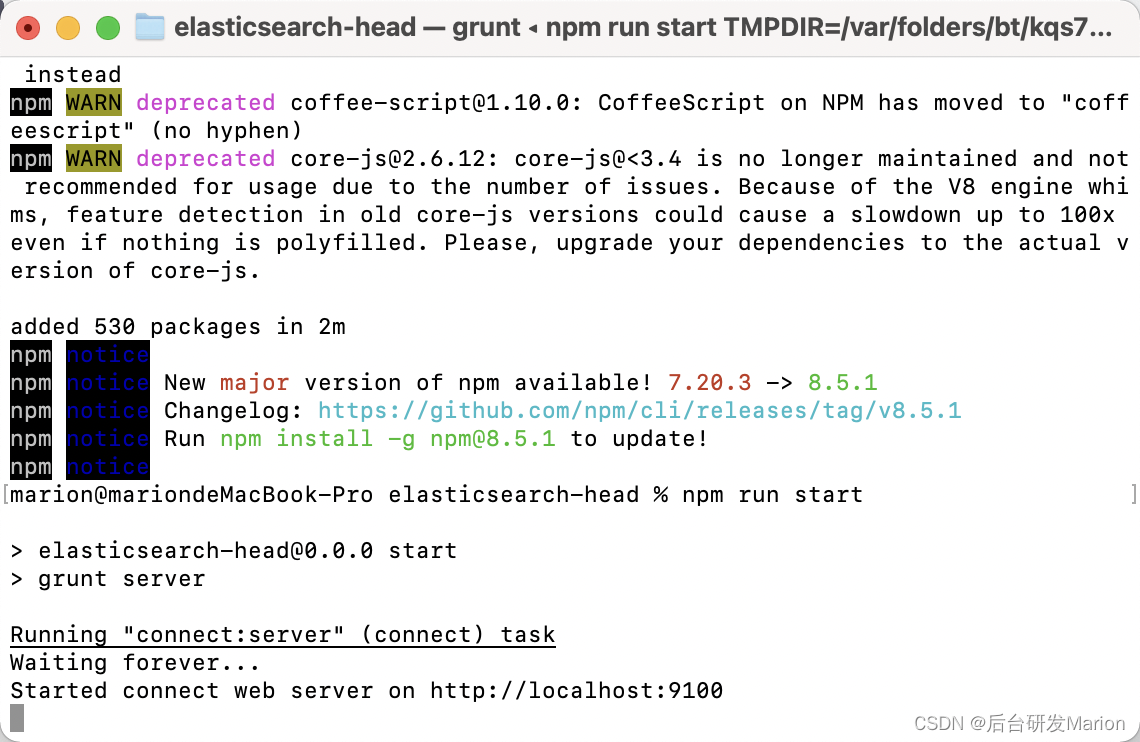
5. 再次开启head插件,在elasticsearch-head-master目录下, 输入命令: npm run start
 三、分布式安装
参考下面资料
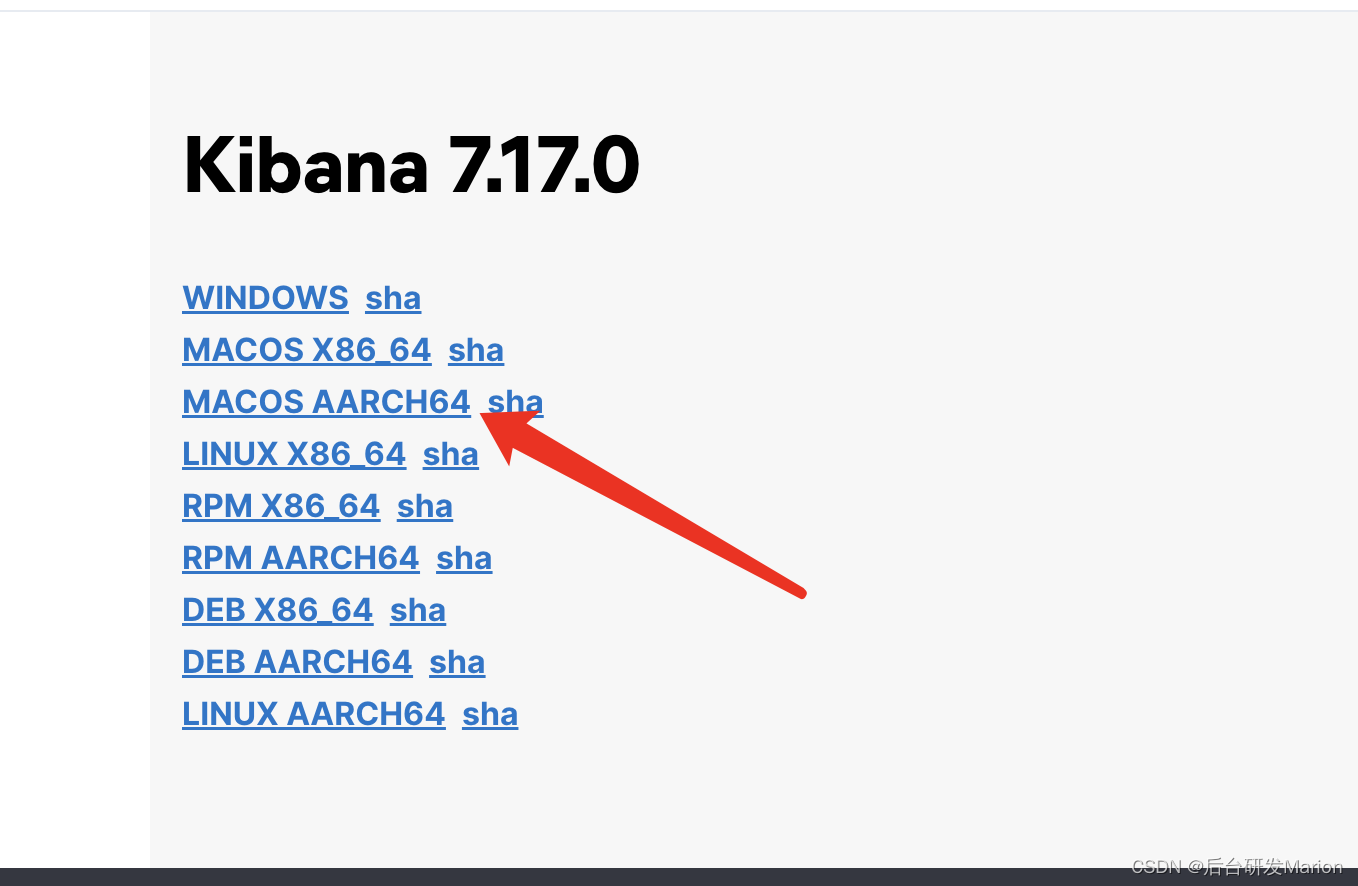
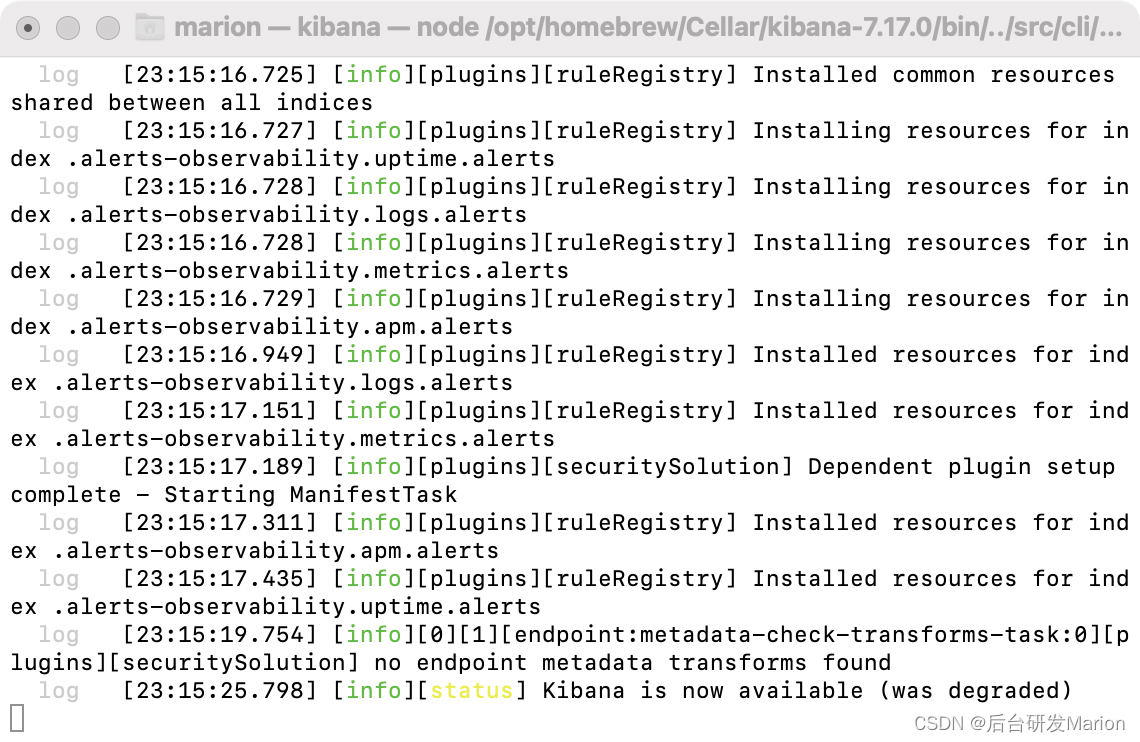
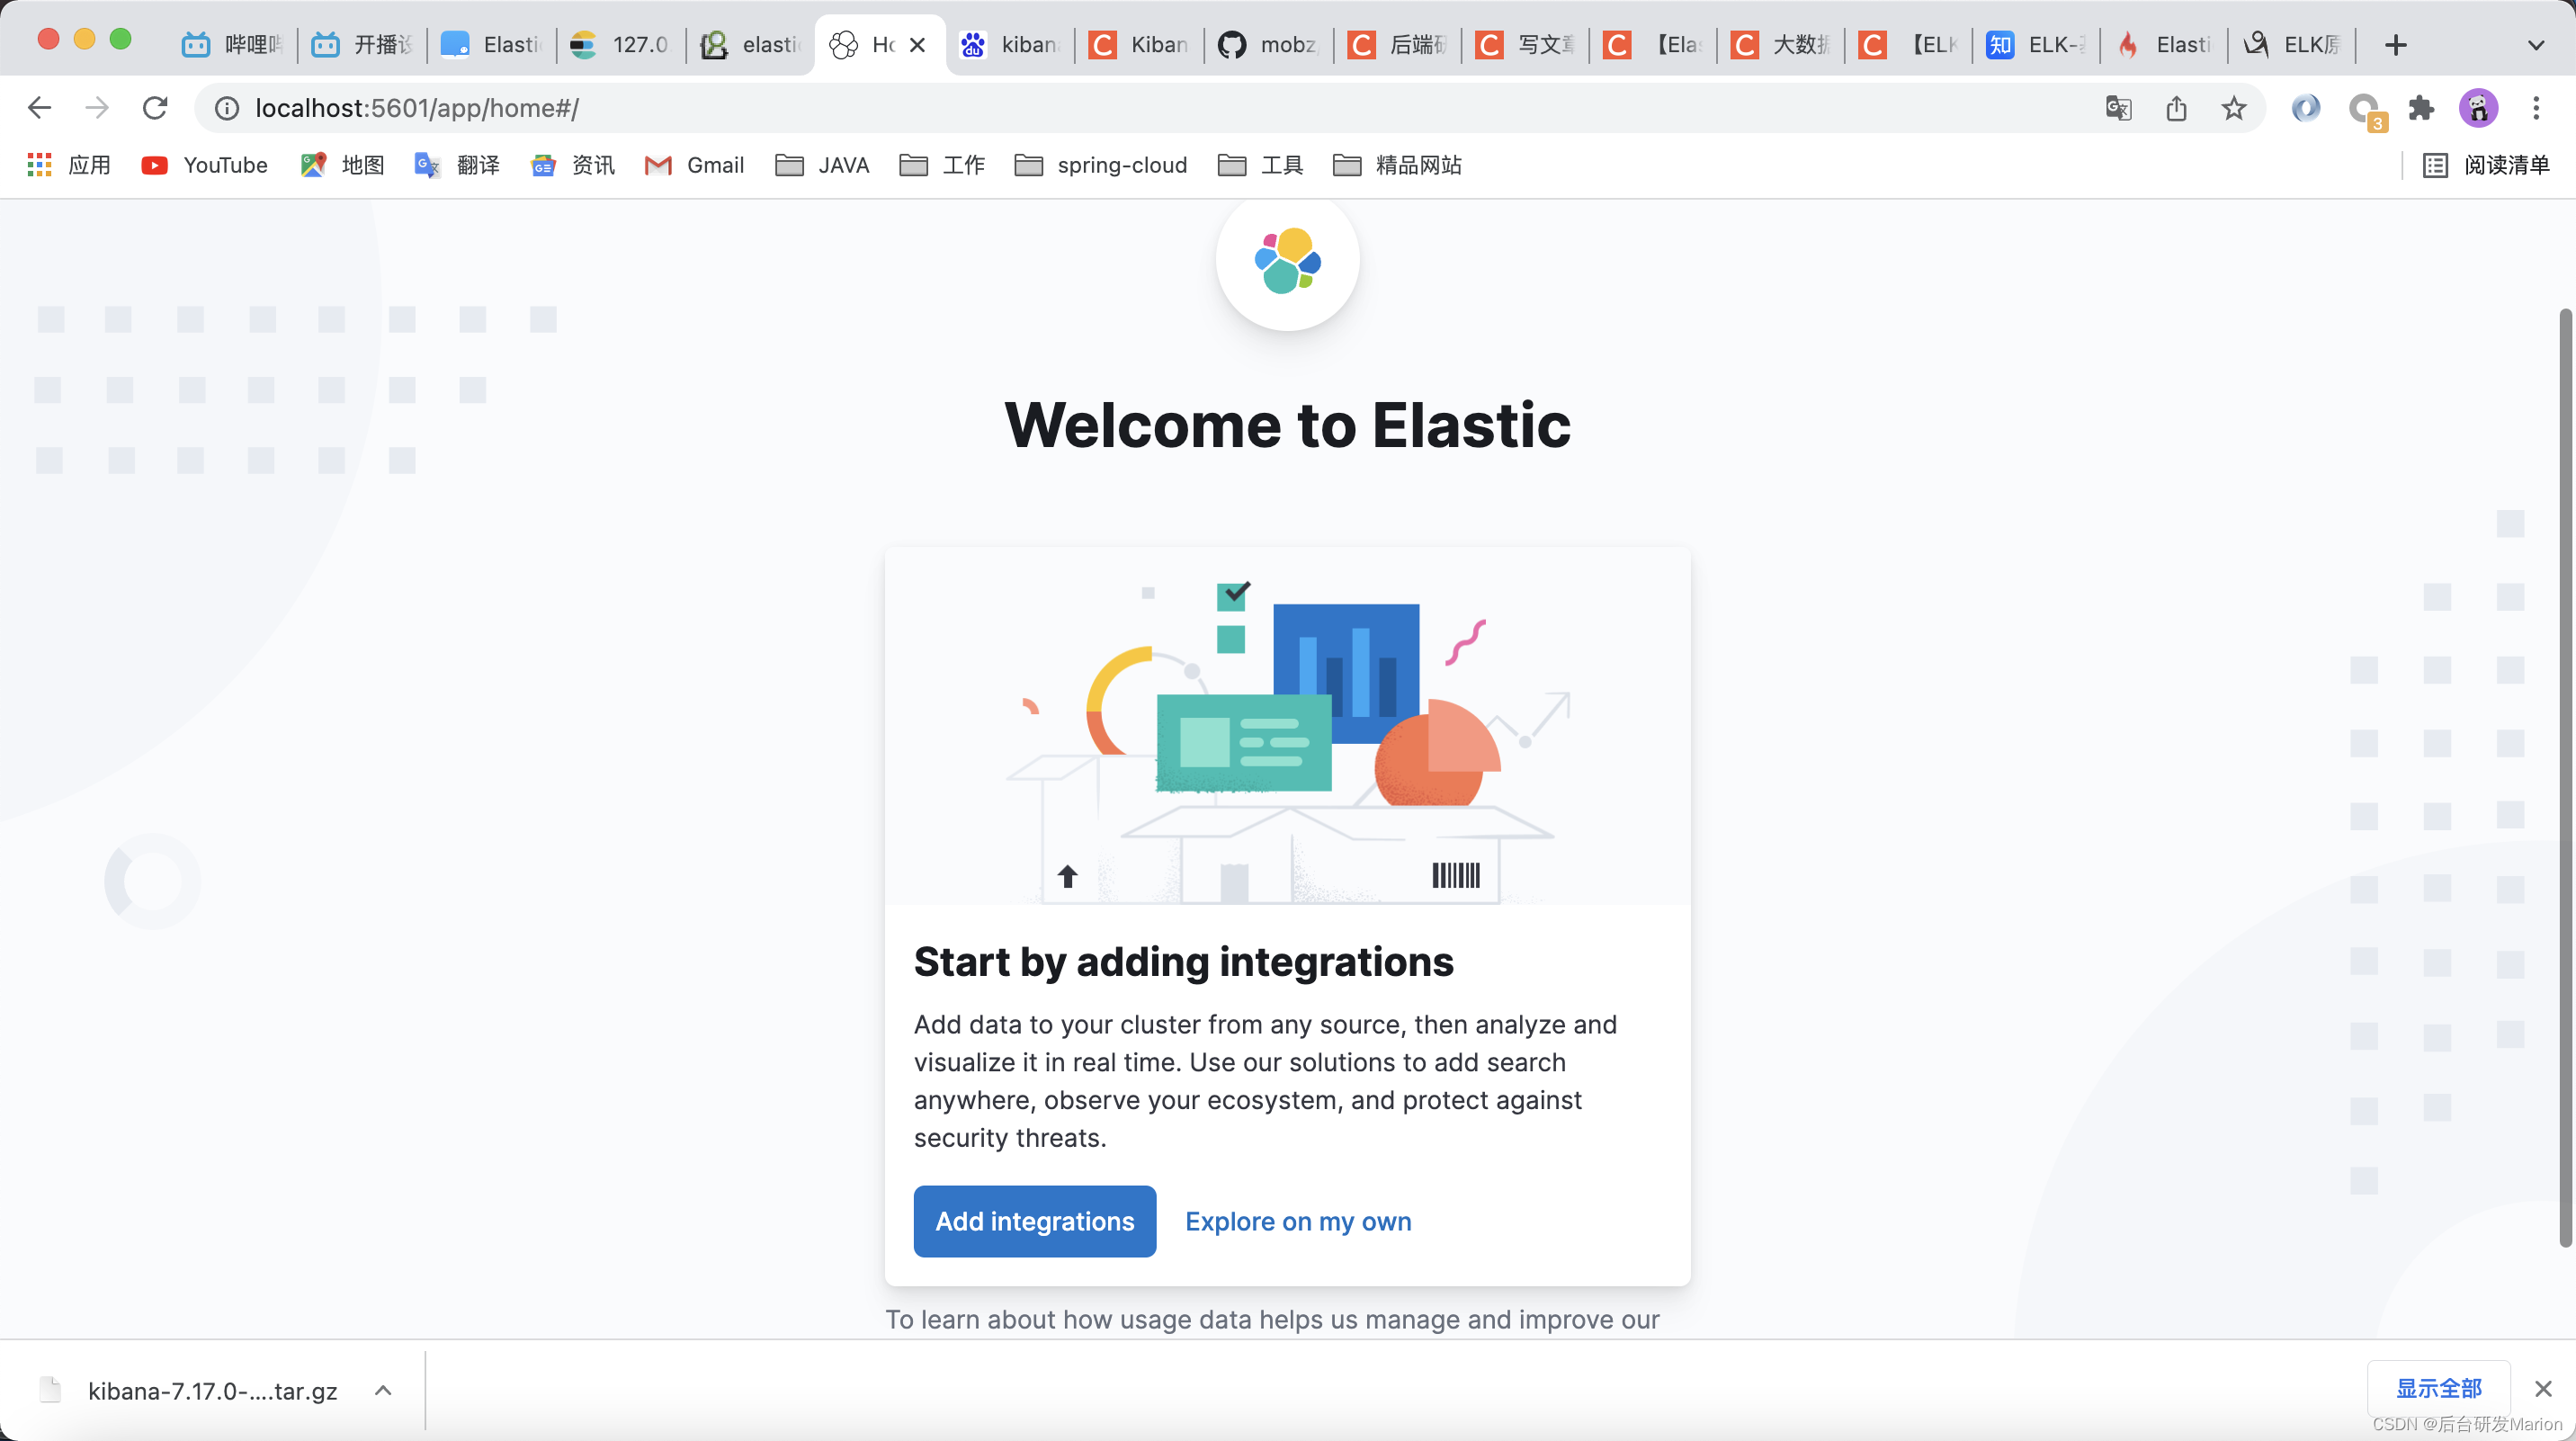
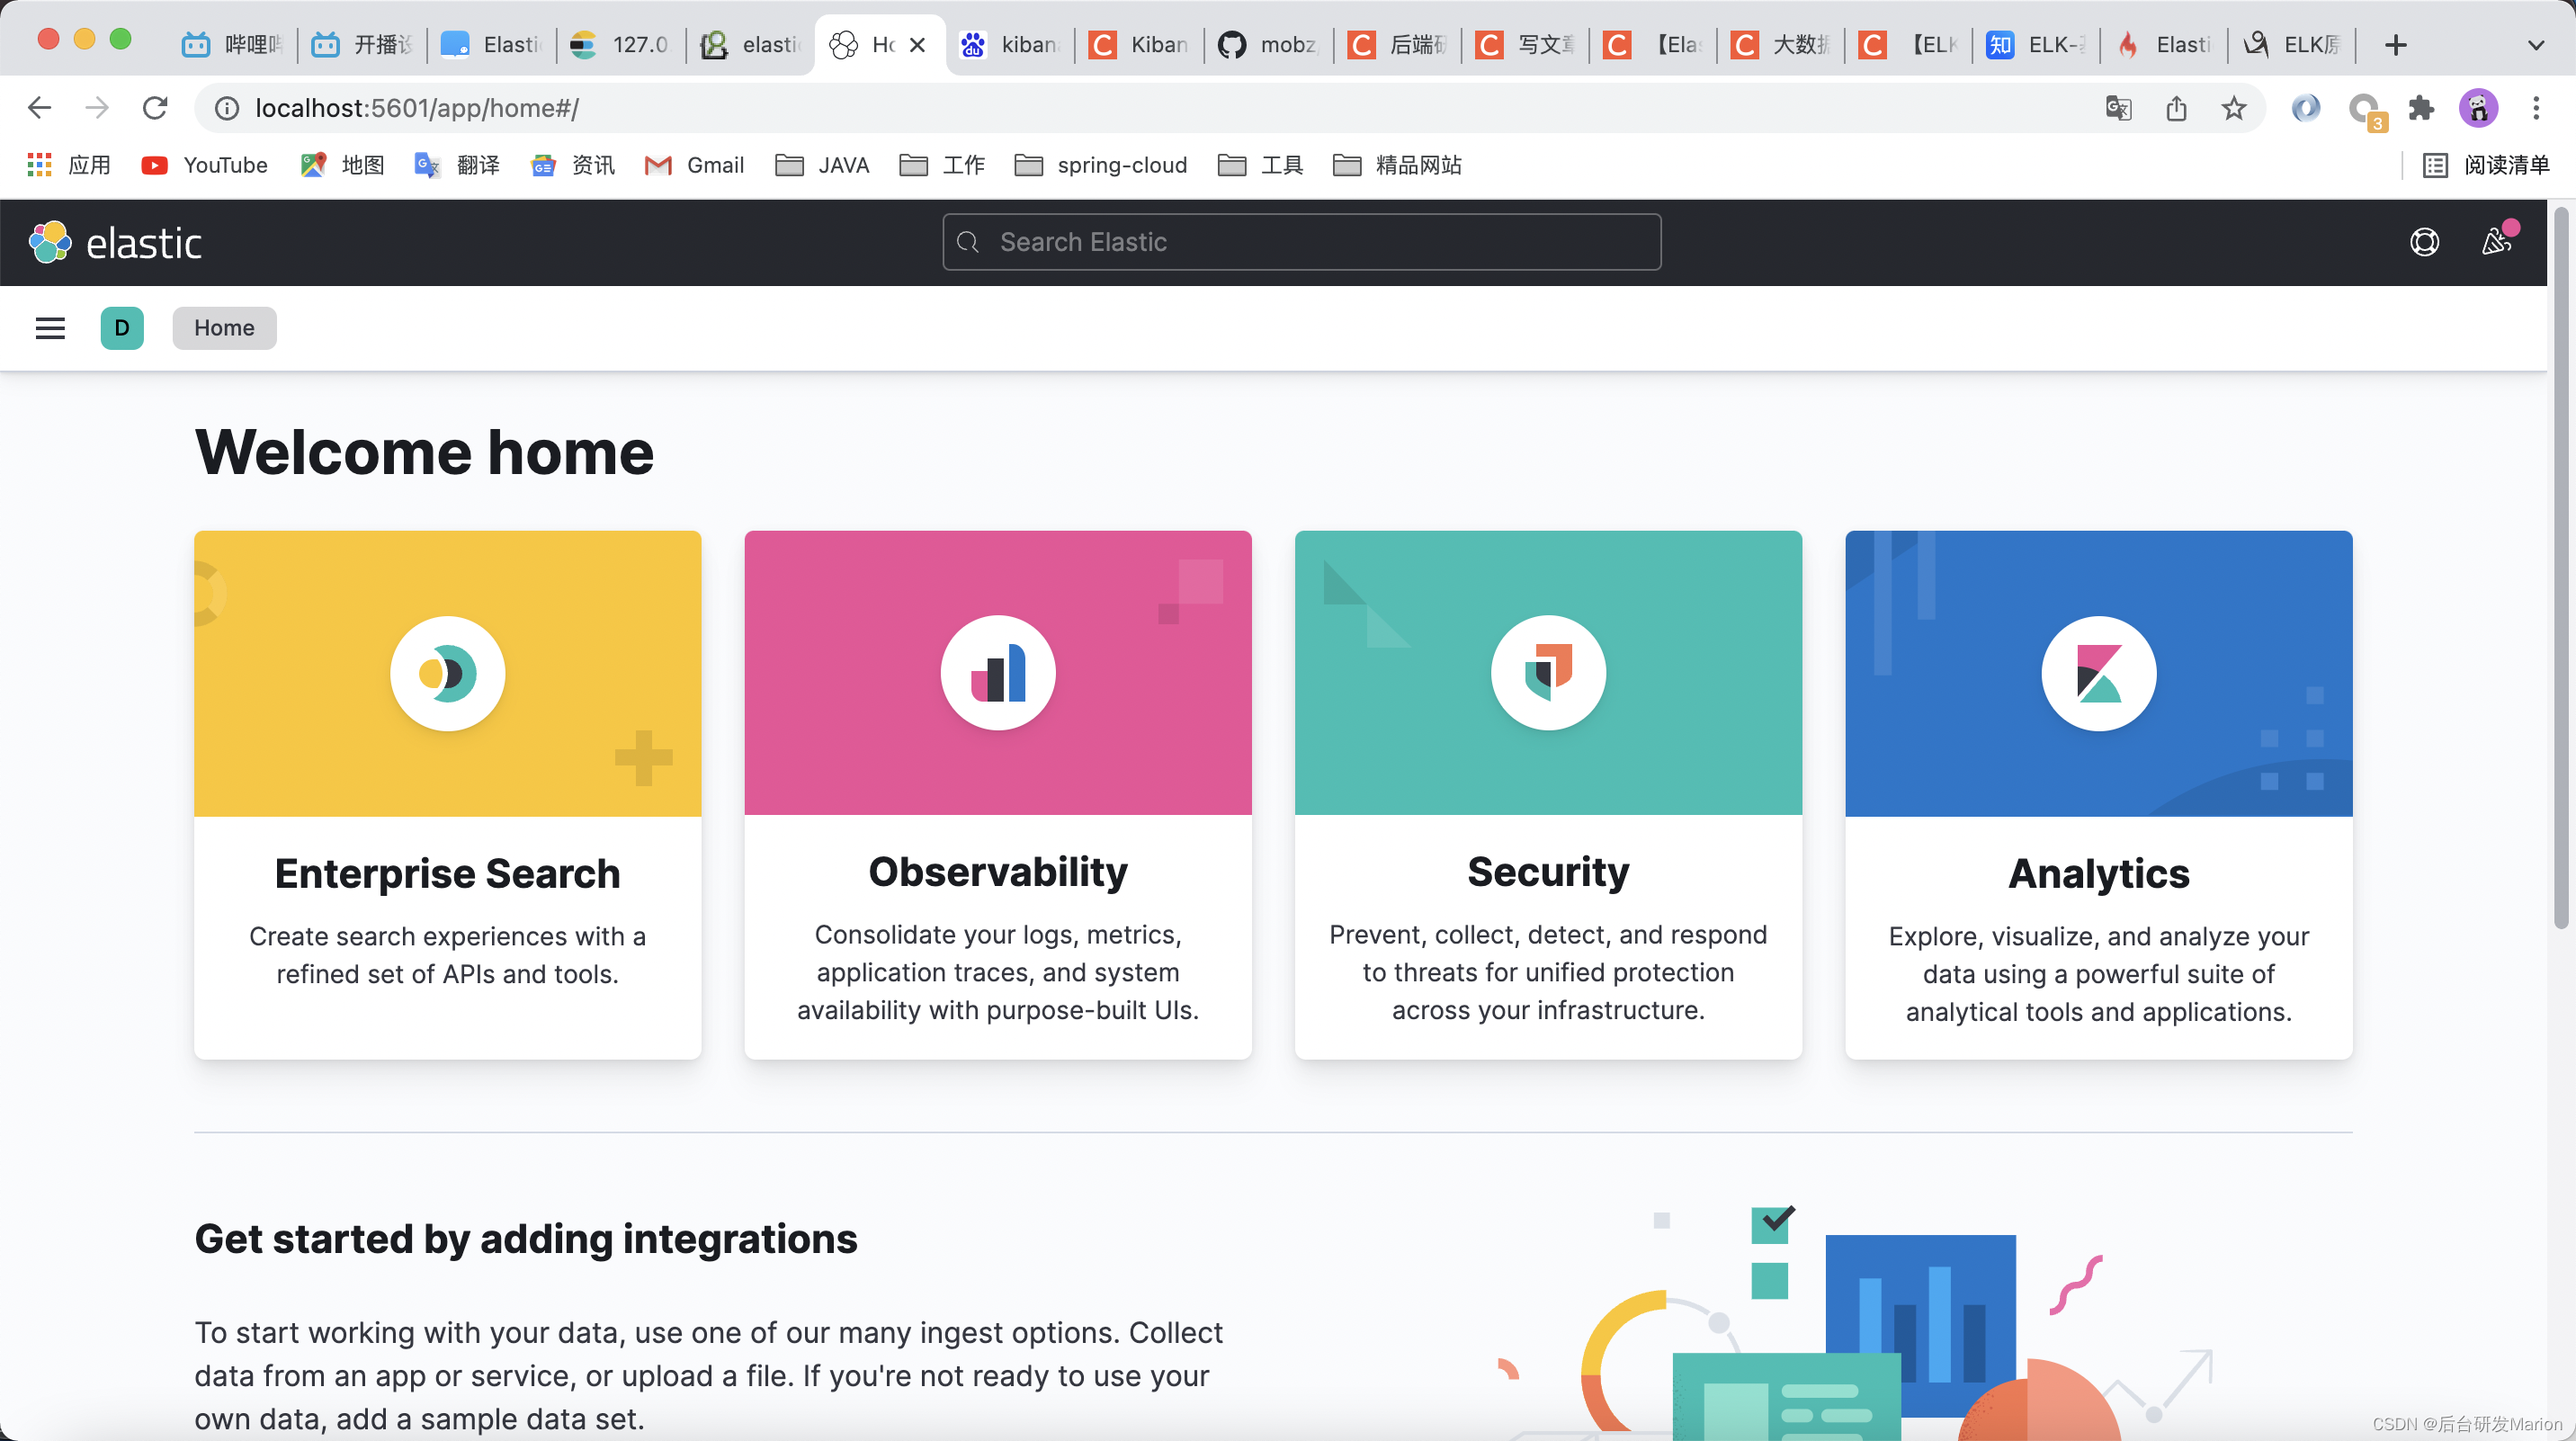
四、Kibana安装
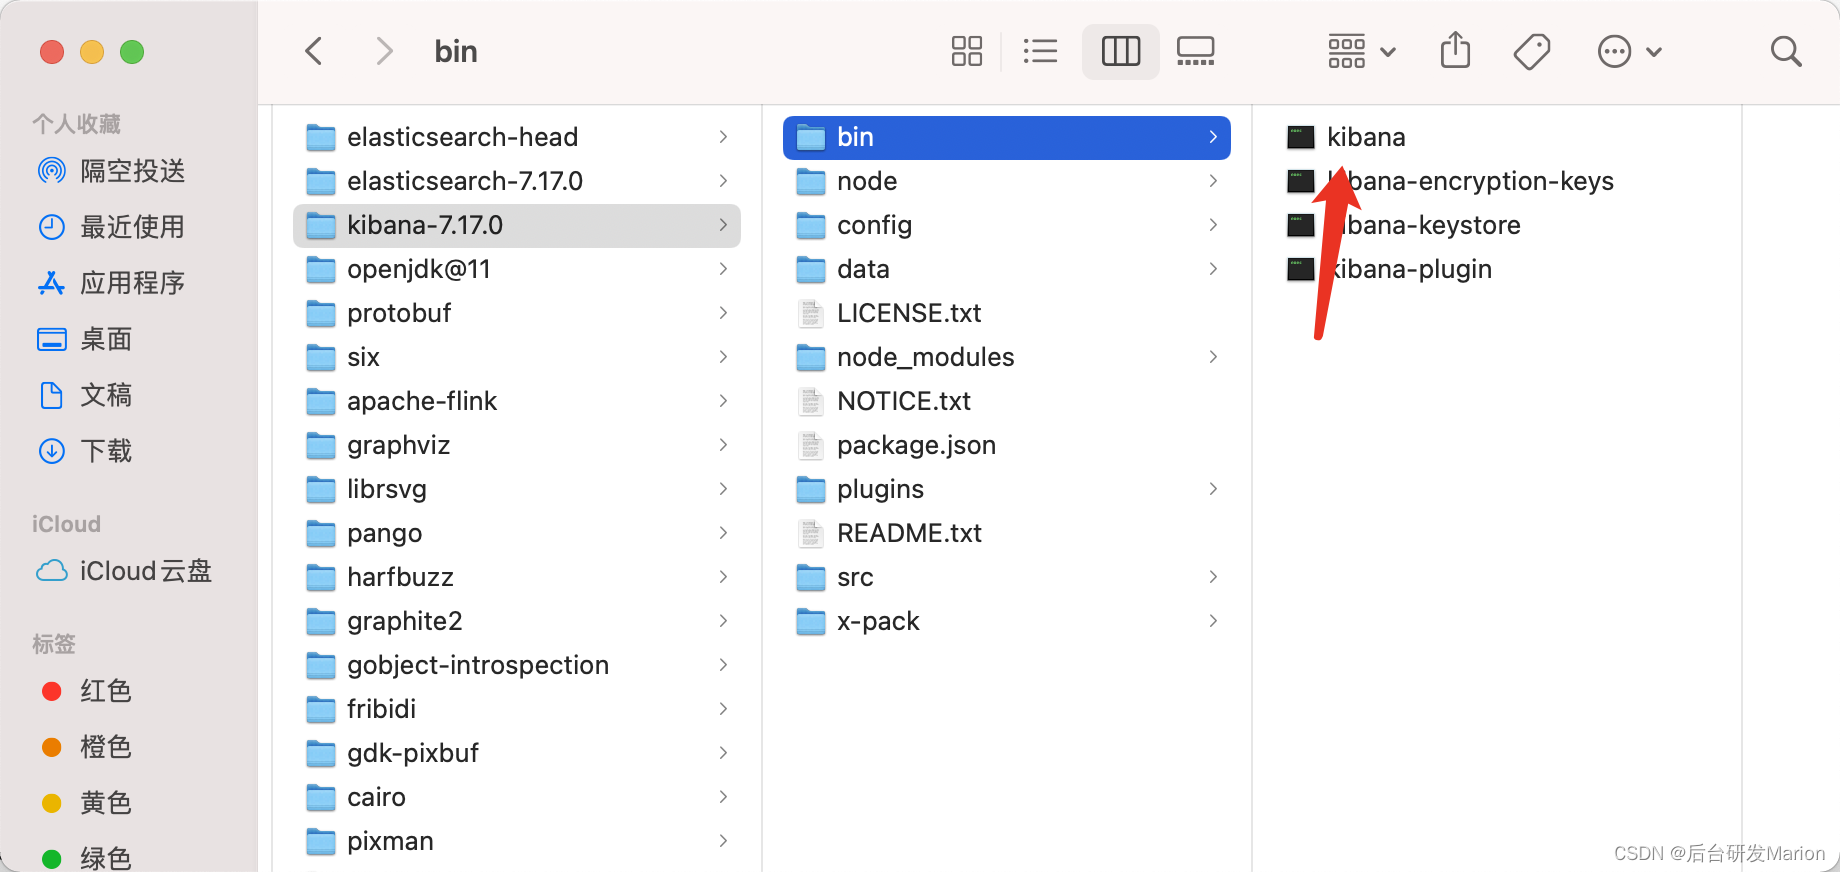
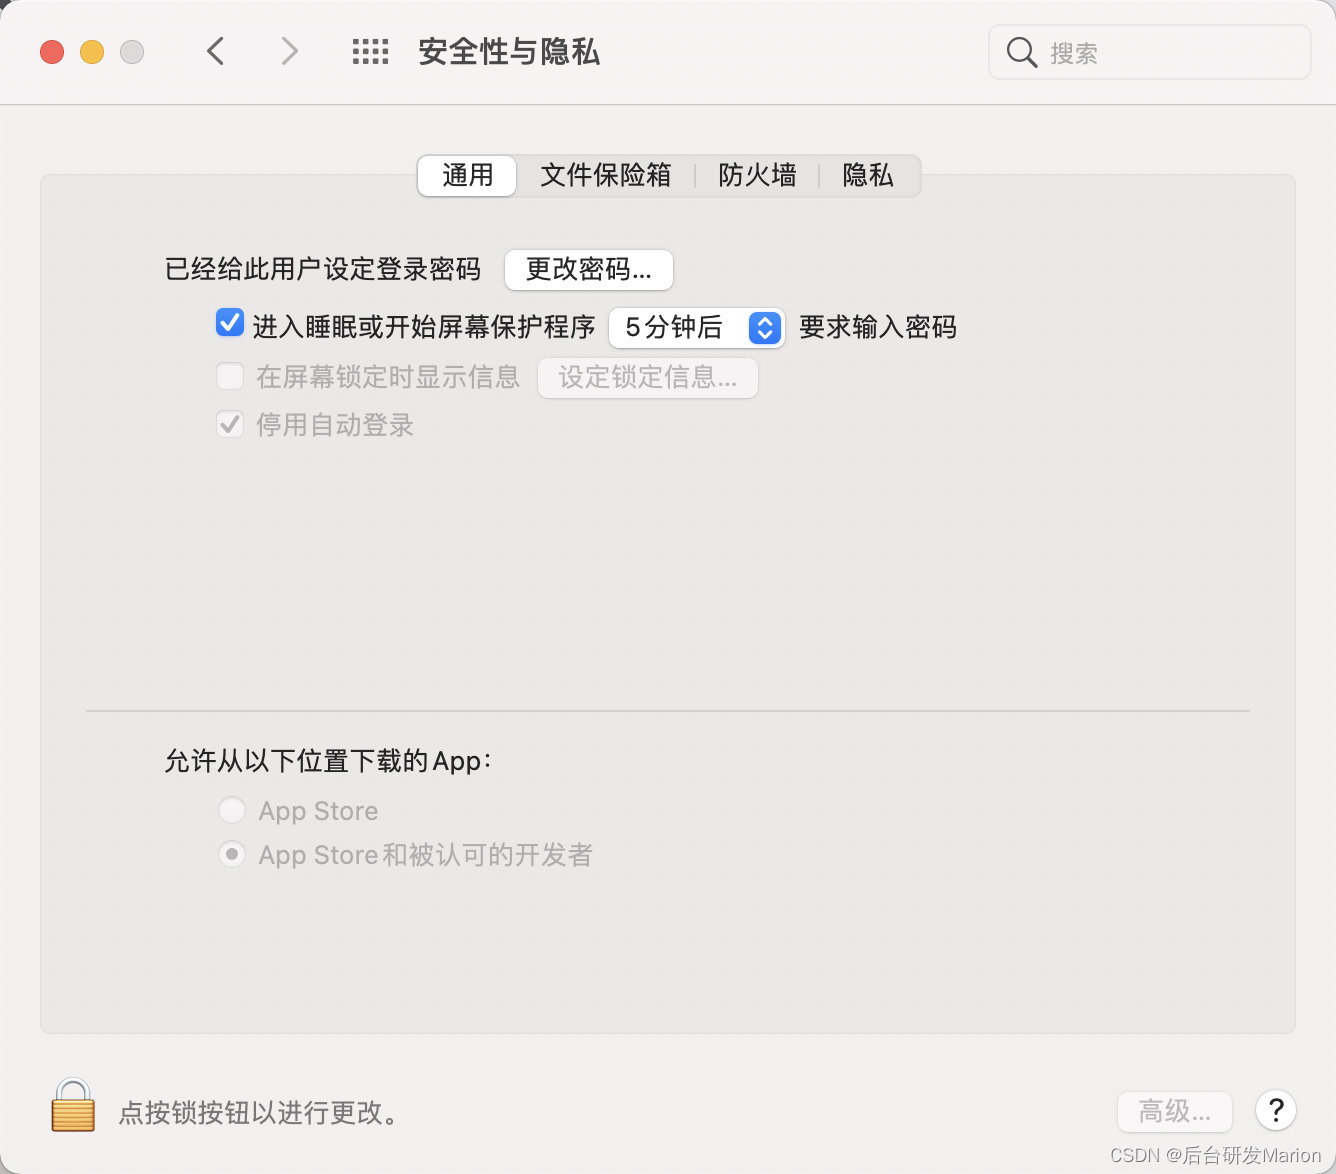
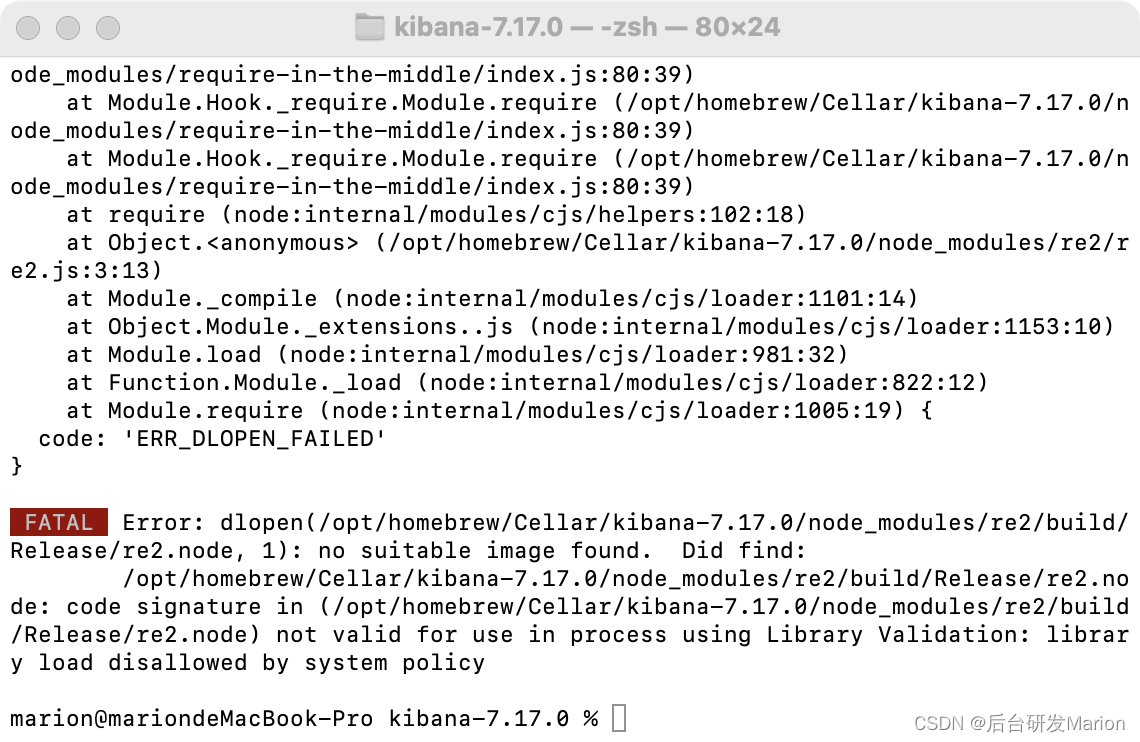
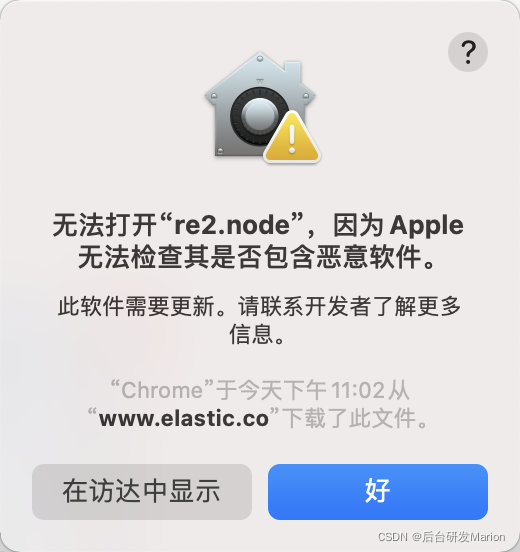
从安全性和隐私-通用开启权限
2. 监控es
Metricbeat quick start: installation and configuration | Metricbeat Reference [7.17] | Elastic
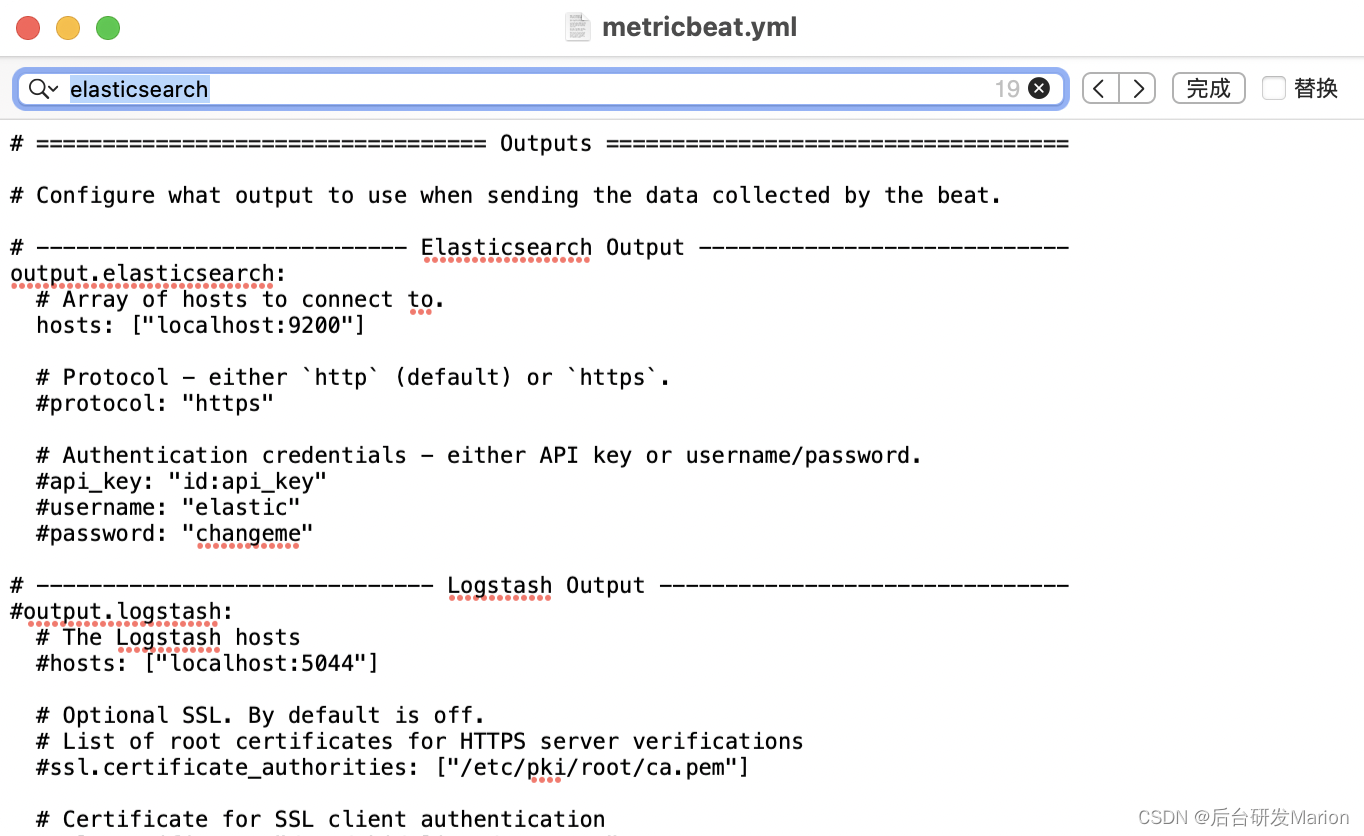
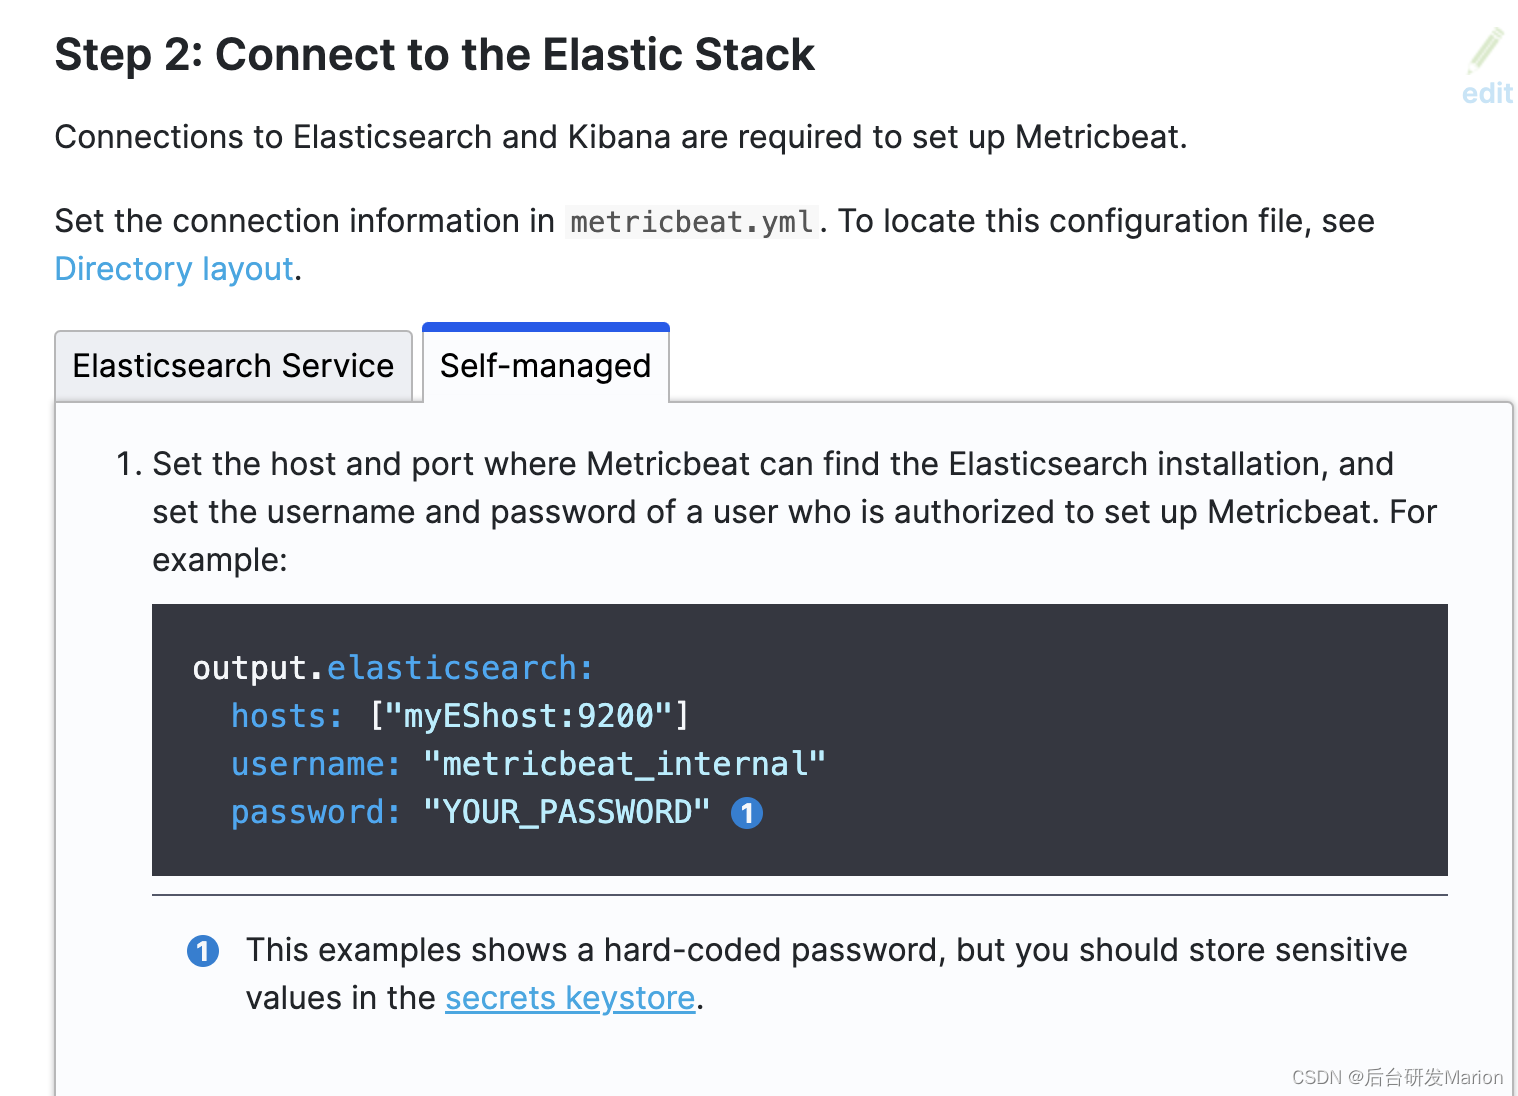
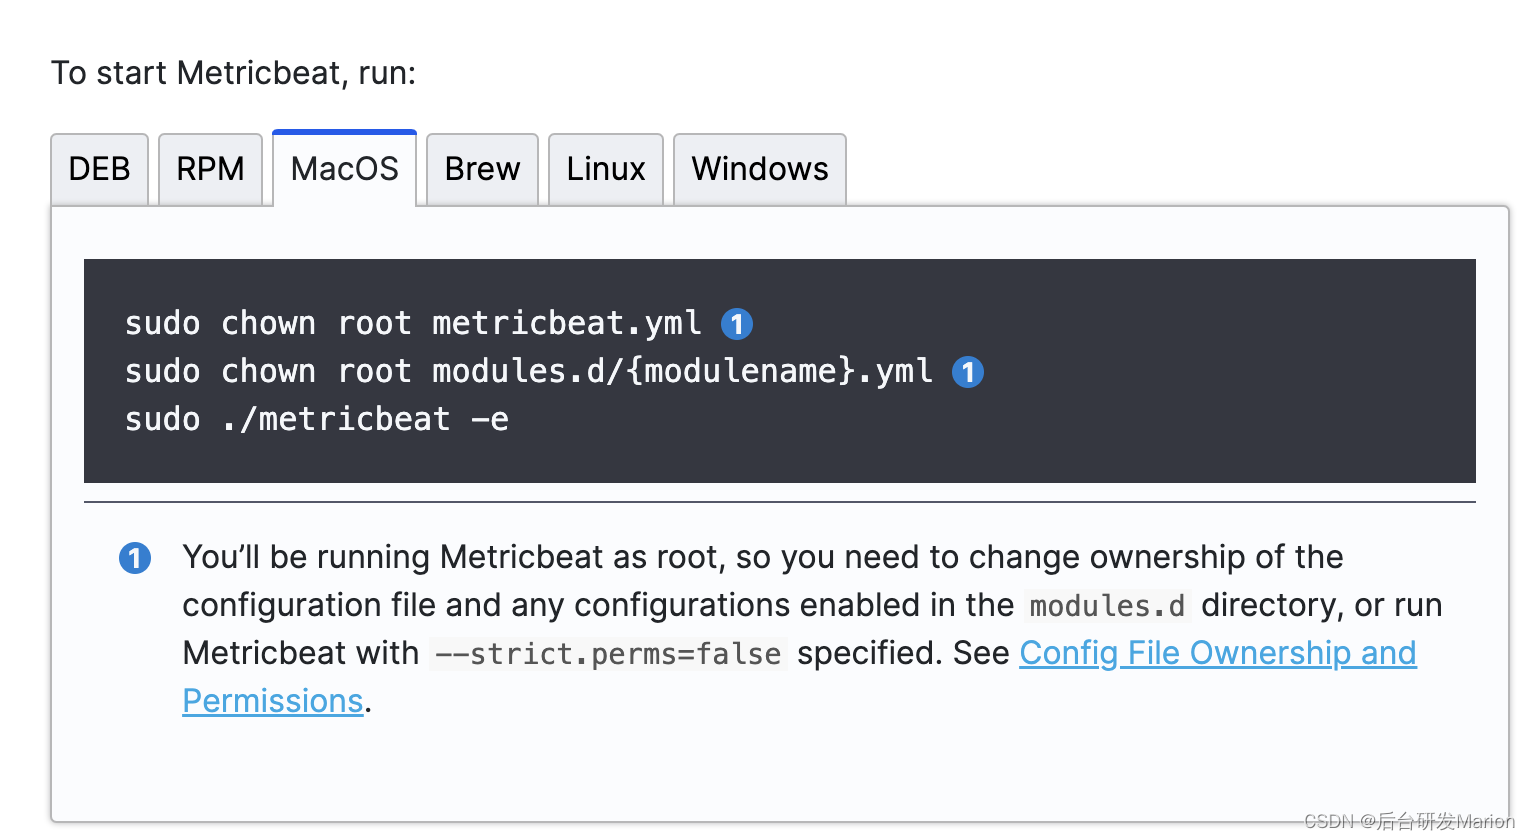
sudo chown root metricbeat.yml
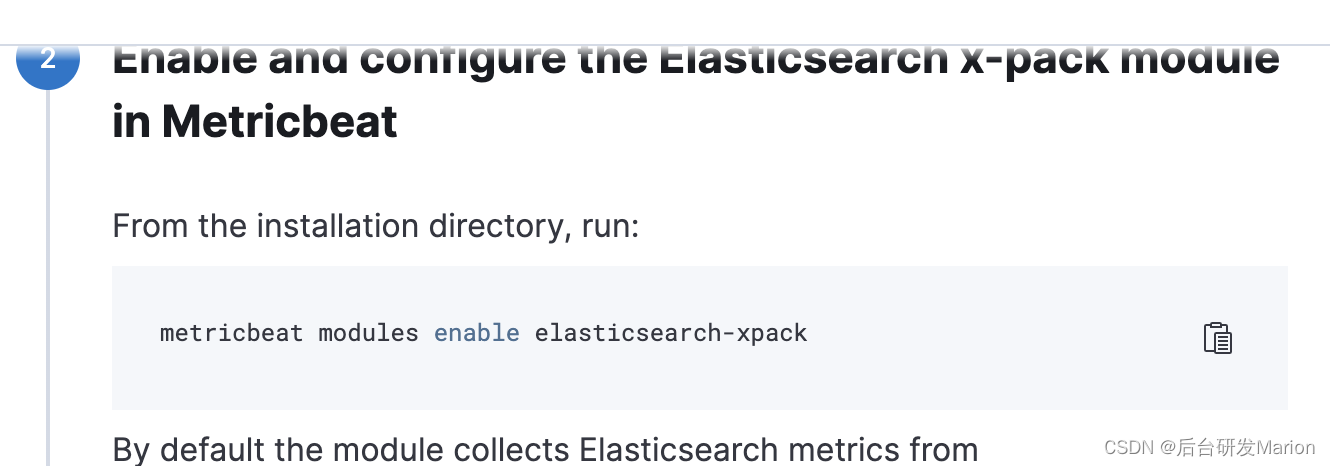
sudo ./metricbeat modules enable elasticsearch-xpack
sudo ./metricbeat -e 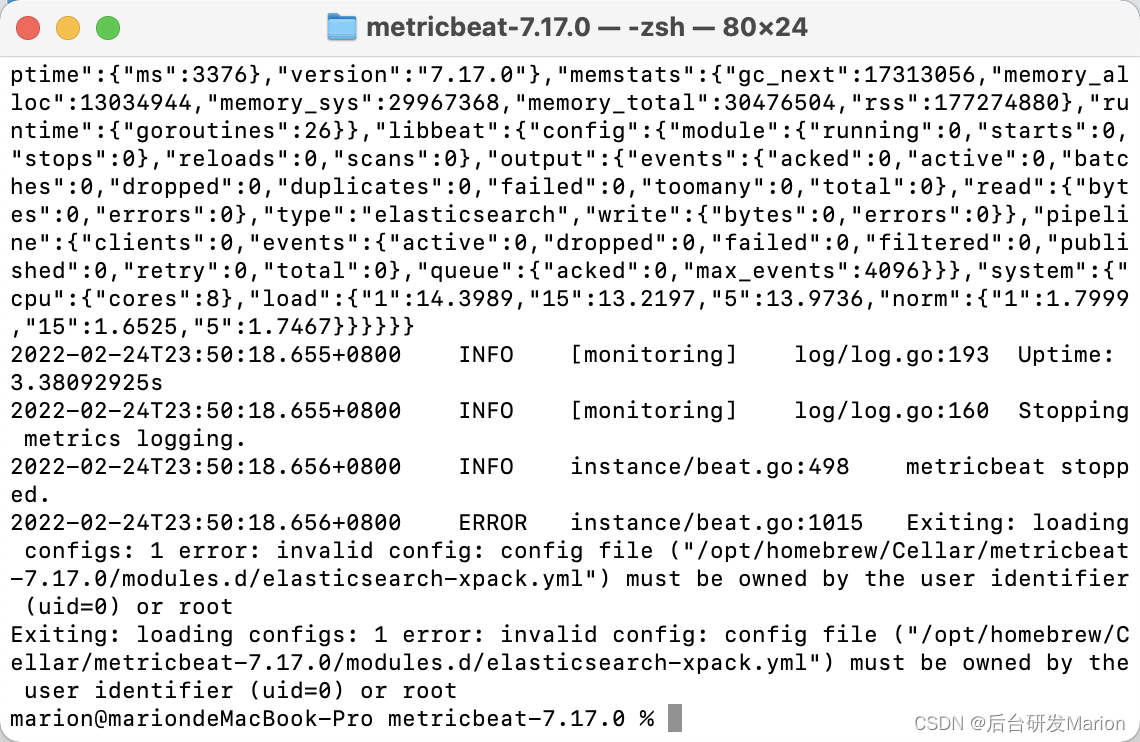
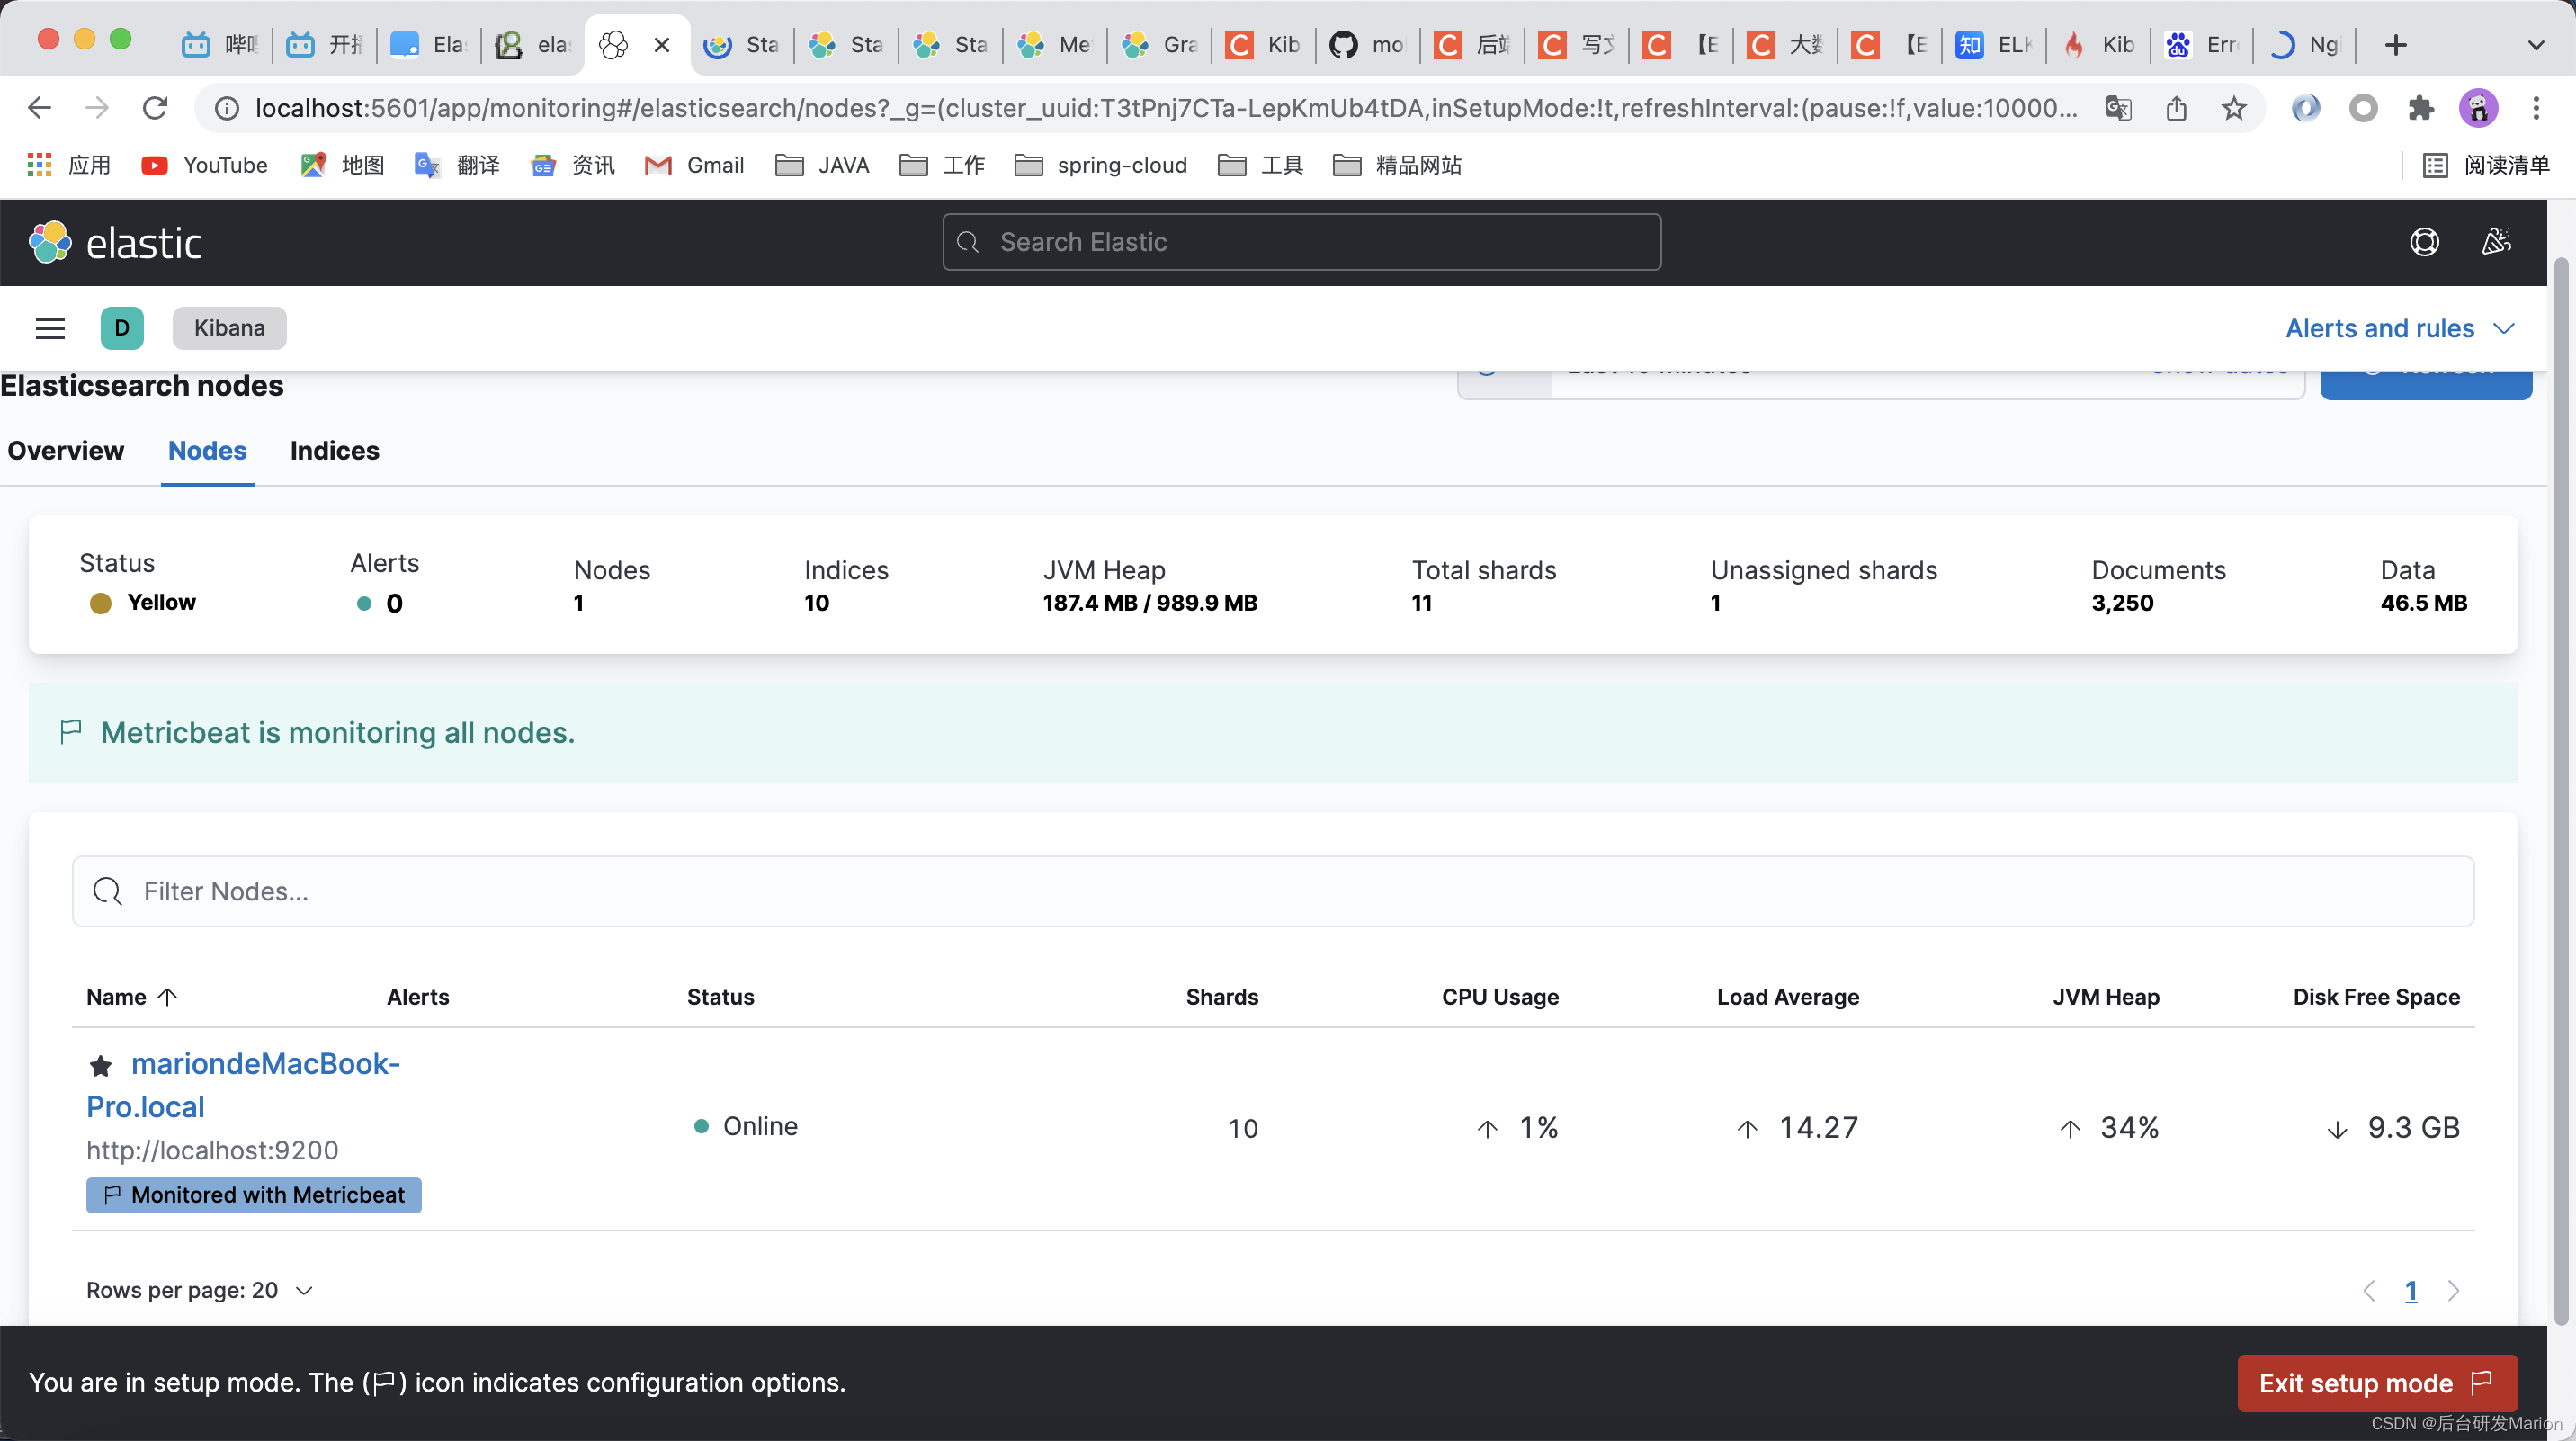
sudo chown root /opt/homebrew/Cellar/metricbeat-7.17.0/modules.d/elasticsearch-xpack.yml监控成功
sudo ./metricbeat modules enable kibana-xpack
sudo chown root /opt/homebrew/Cellar/metricbeat-7.17.0/modules.d/kibana-xpack.yml
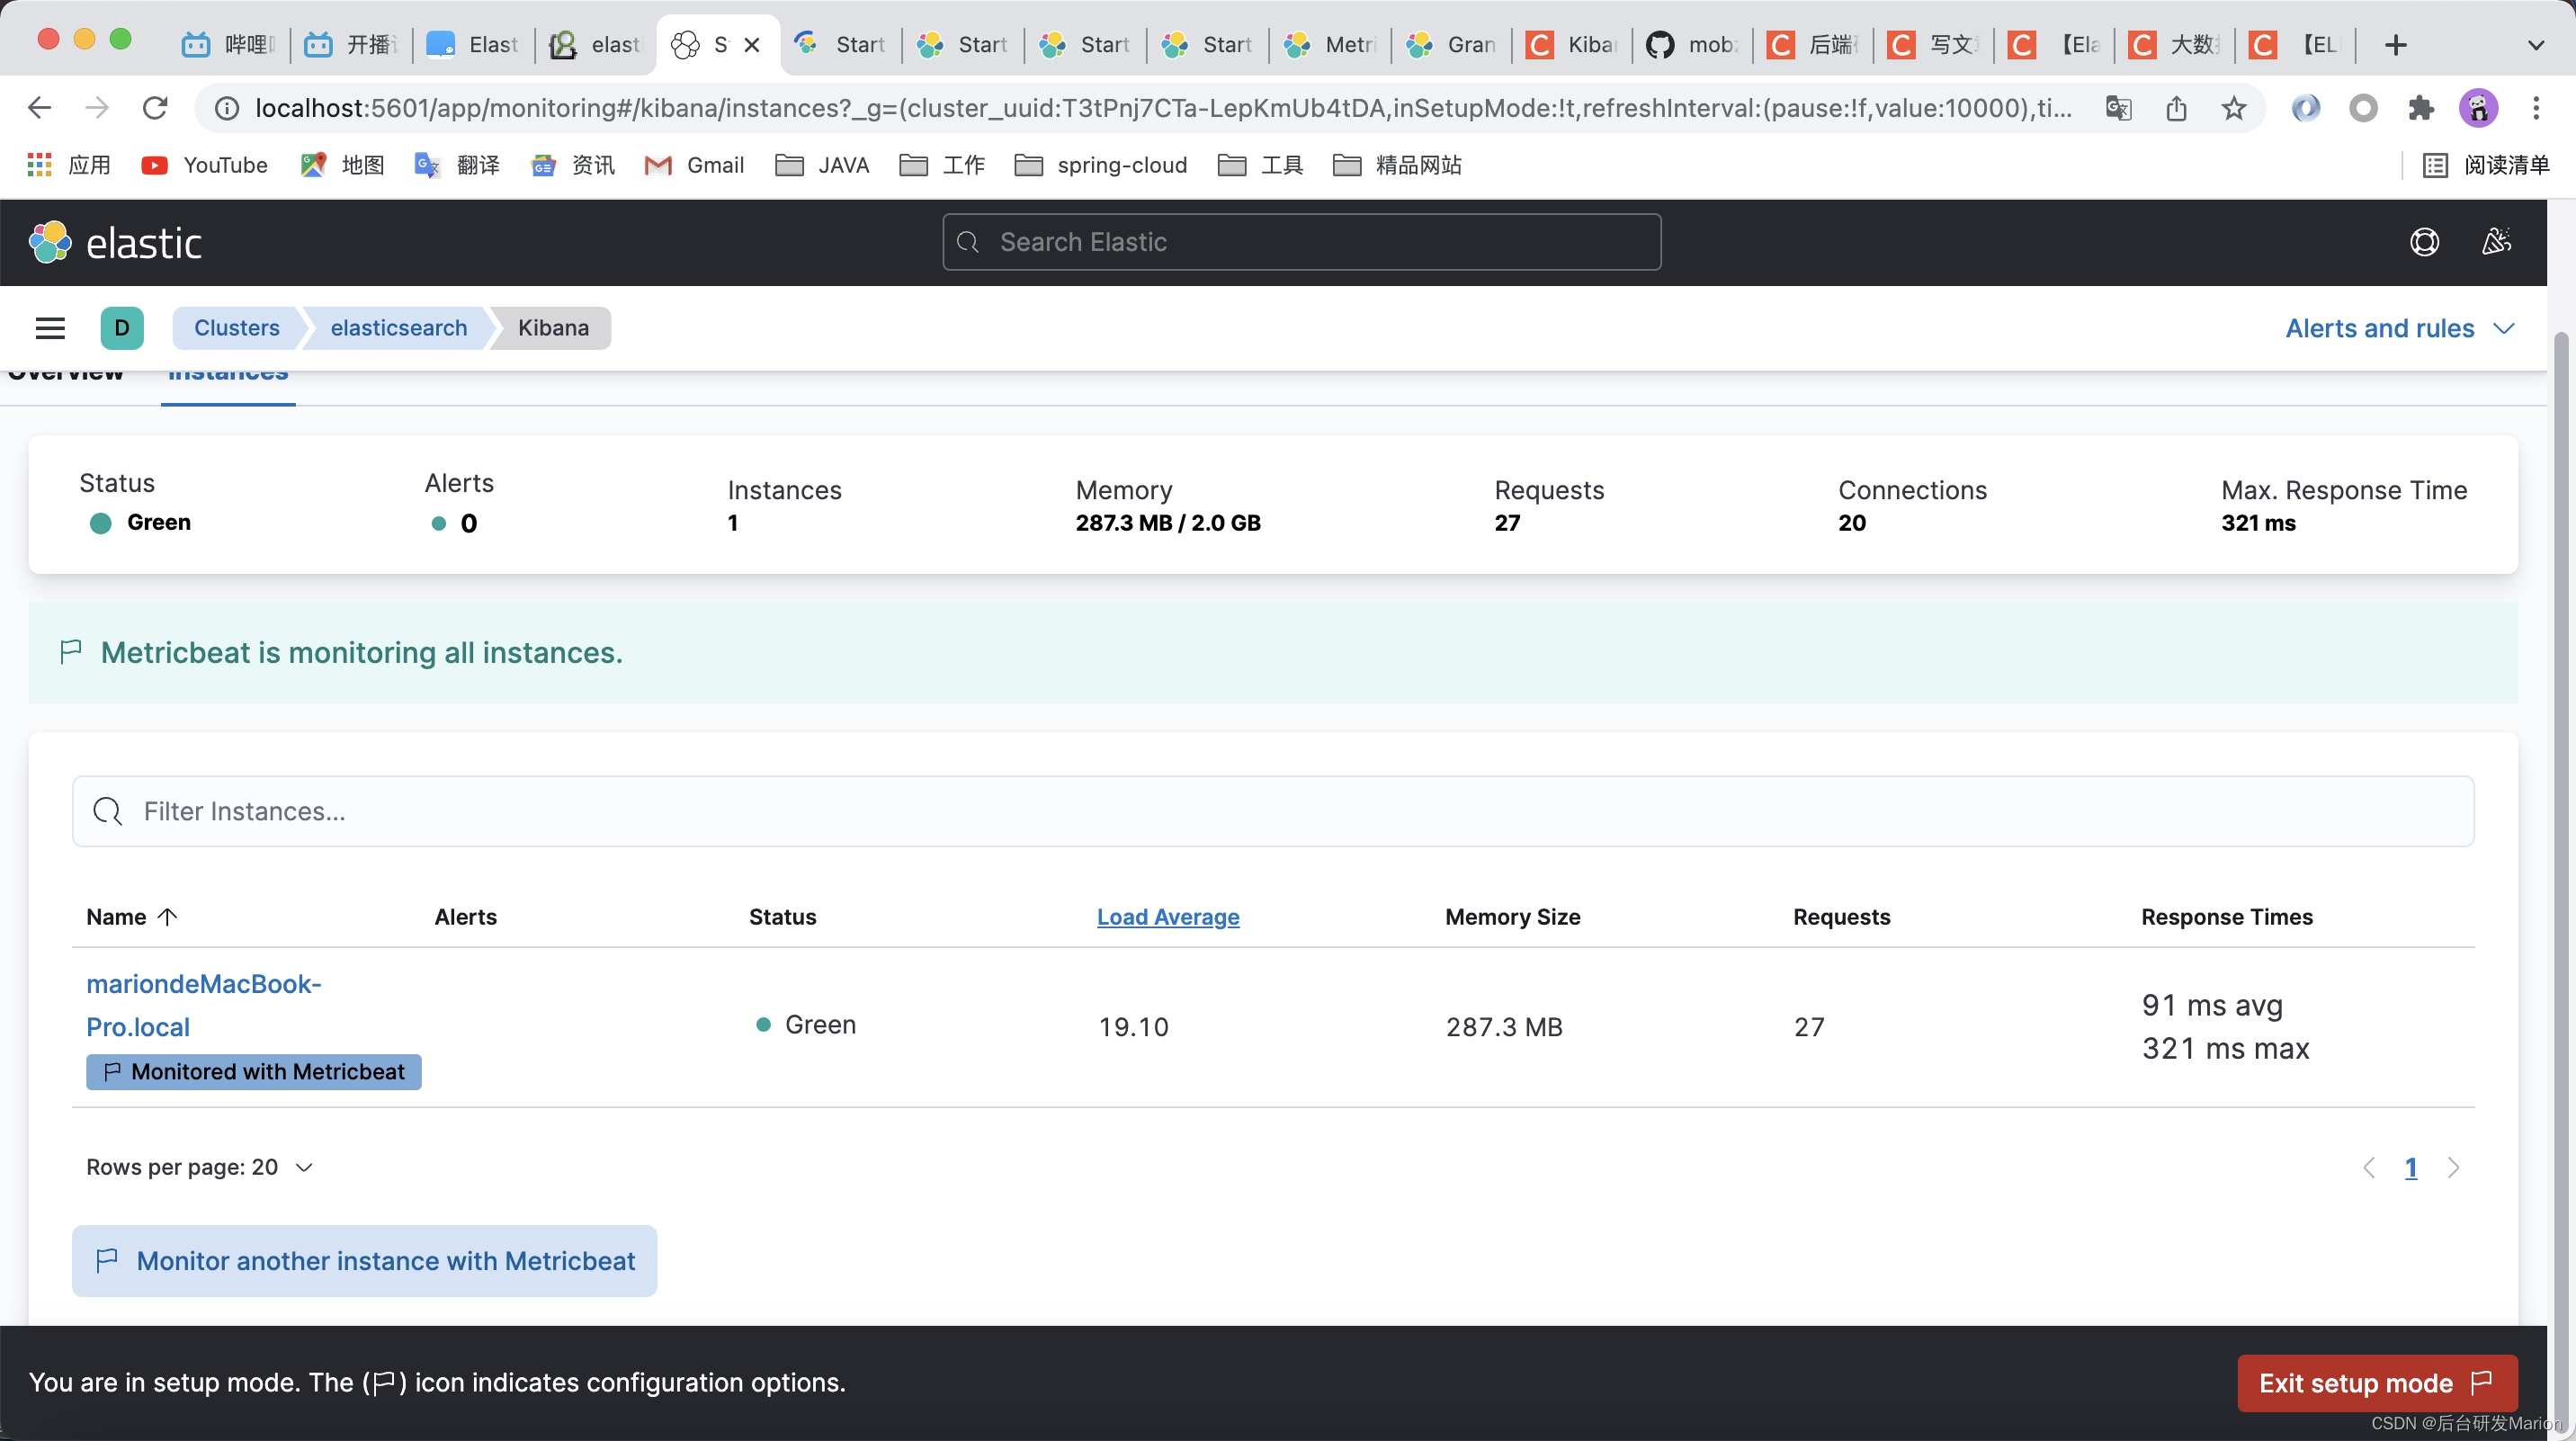
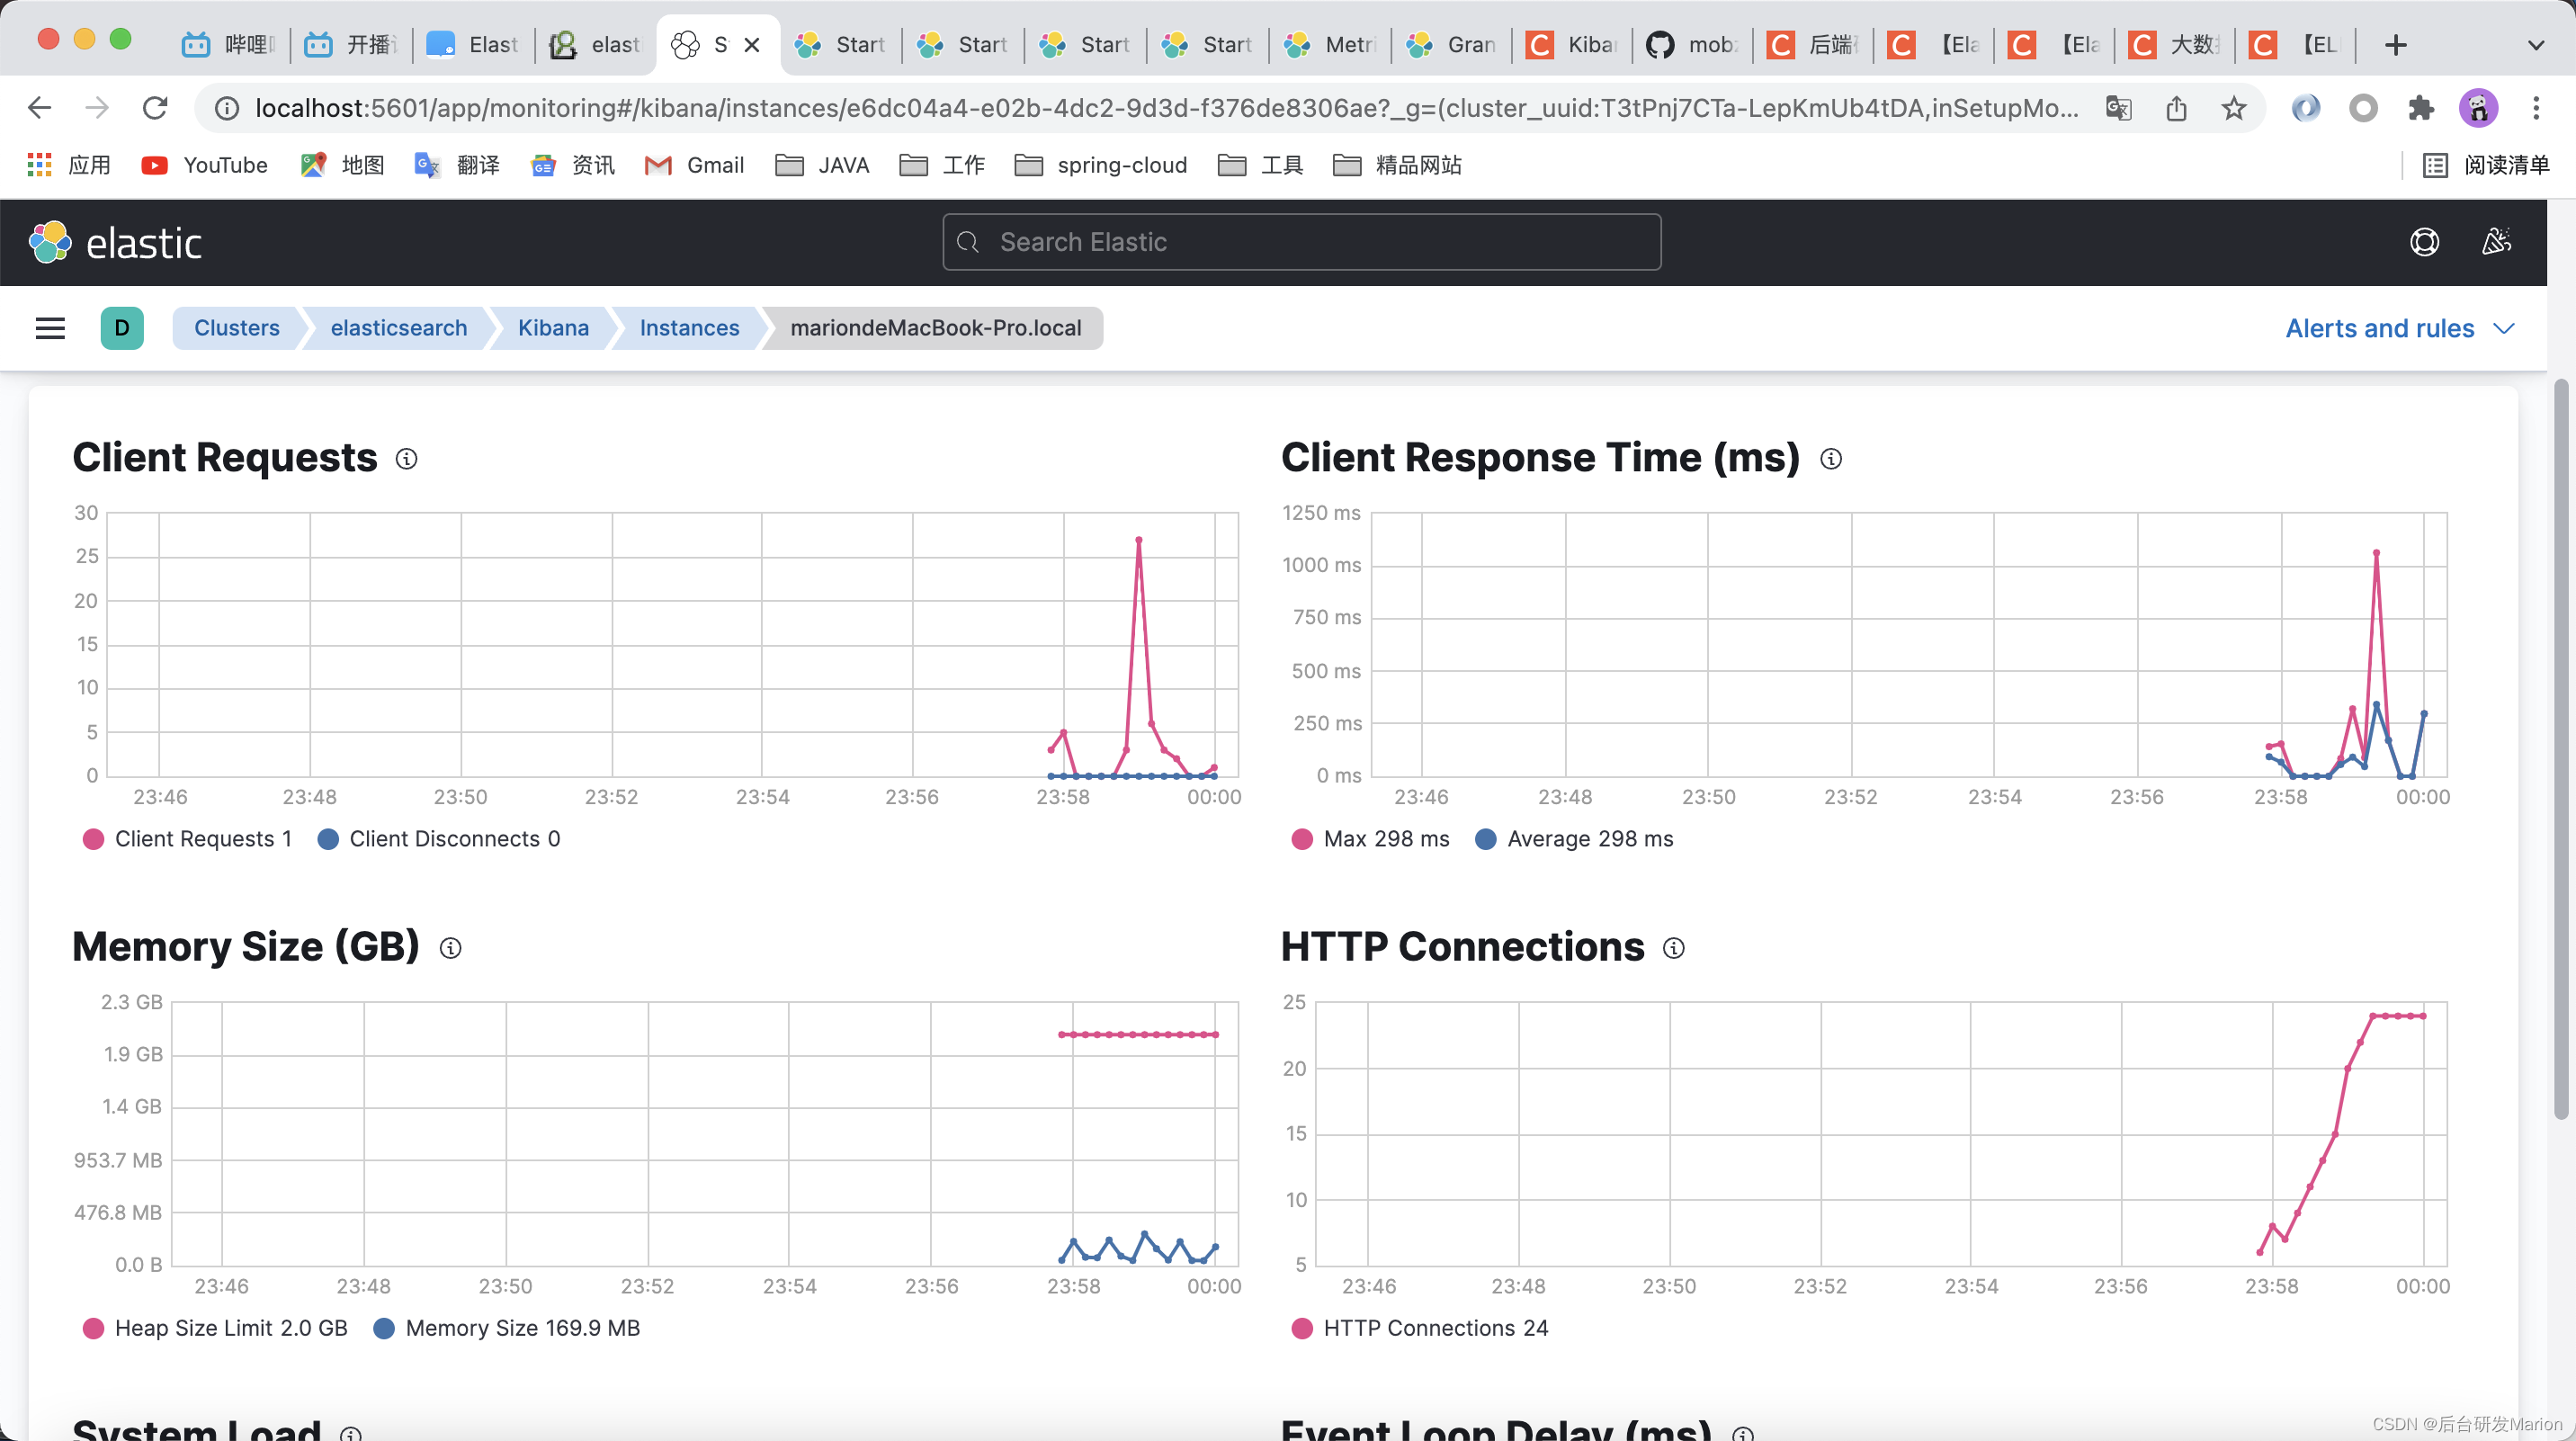
sudo ./metricbeat -ekibana监控显示


 173万+
173万+

 被折叠的 条评论
为什么被折叠?
被折叠的 条评论
为什么被折叠?
 到【灌水乐园】发言


