


一:下载、安装、运行Sentinel
1.window
下载:
GitHub上面的官方下载地址:Releases · alibaba/Sentinel · GitHub
或 sentinel-dashboard-1.7.0.jar:百度网盘 请输入提取码 提取码:0rlf
安装:在Sentinel的jar包目录地址栏中输入cmd,点击回车打开DOS窗口,如下图:
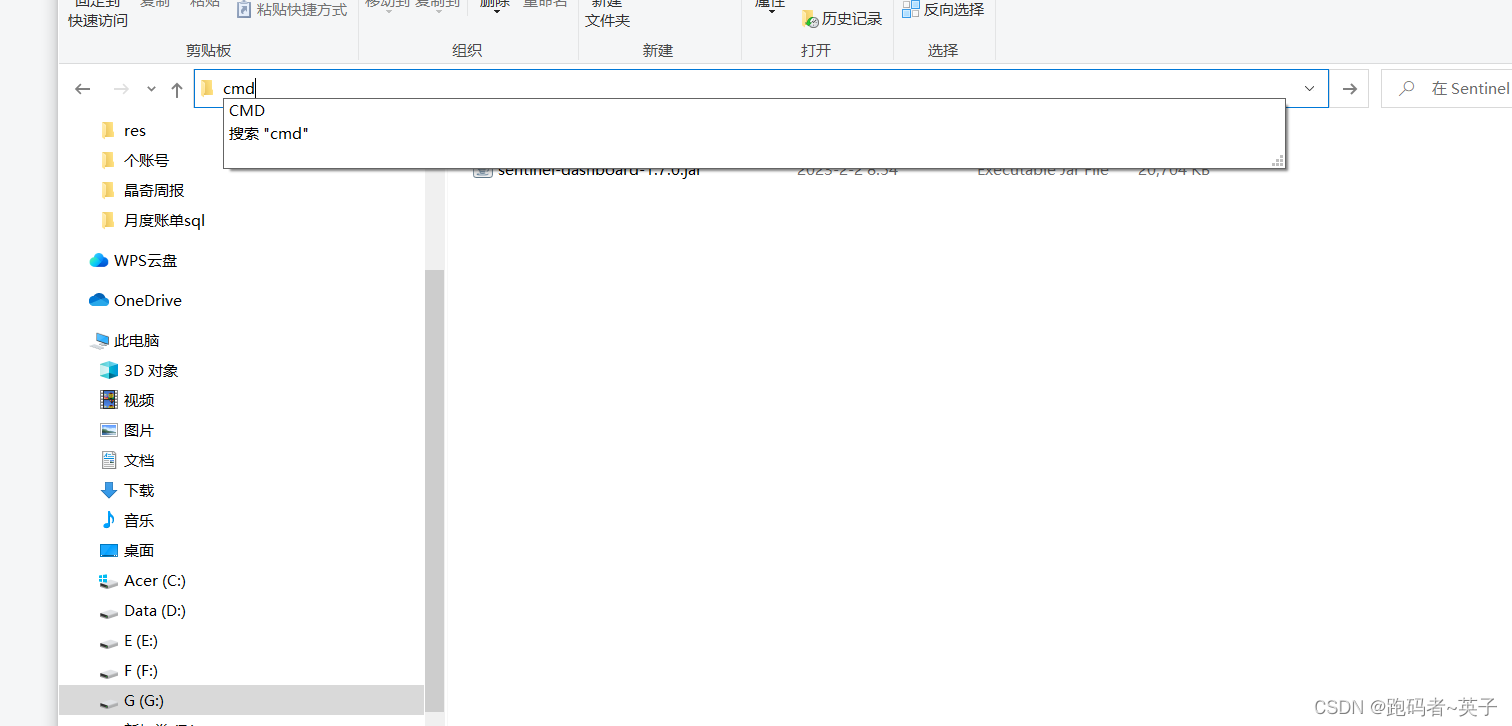
输入java -jar Sentinel的jar包名称,回车之后就启动了Sentinel,如下图:
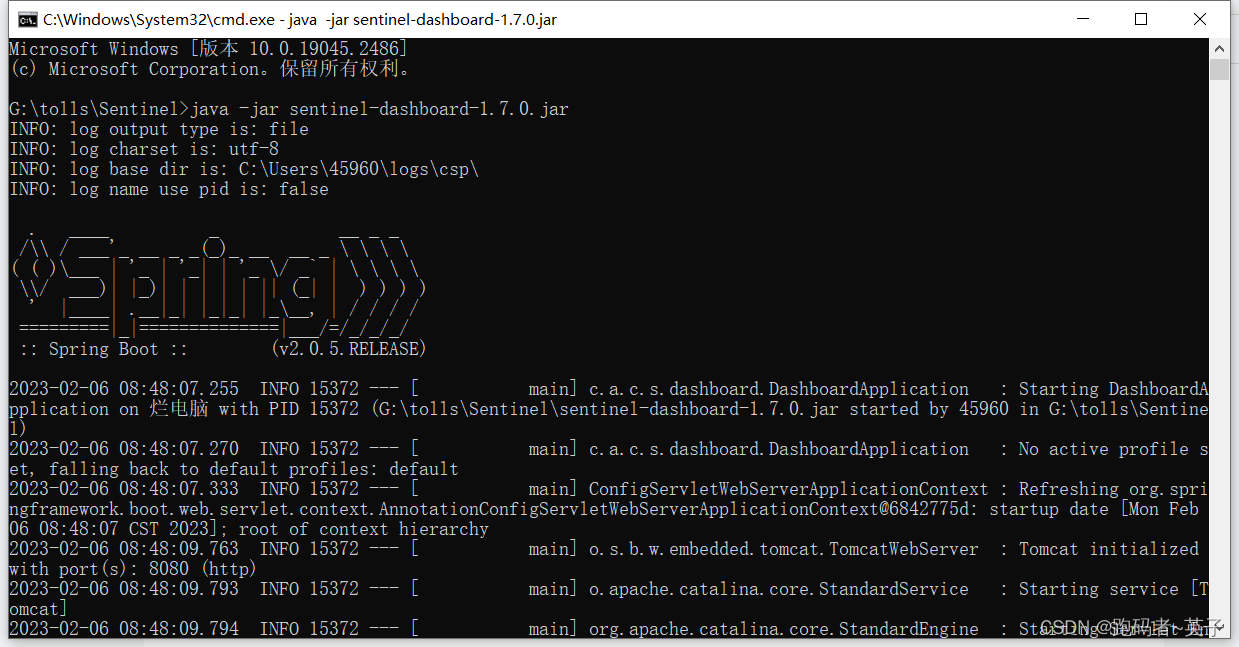
如果出现端口已经被占用的提示,那就需要指定端口启动,即输入java -jar Sentinel的jar包名称 --server.port=端口号,点击回车就可以启动sentinel了
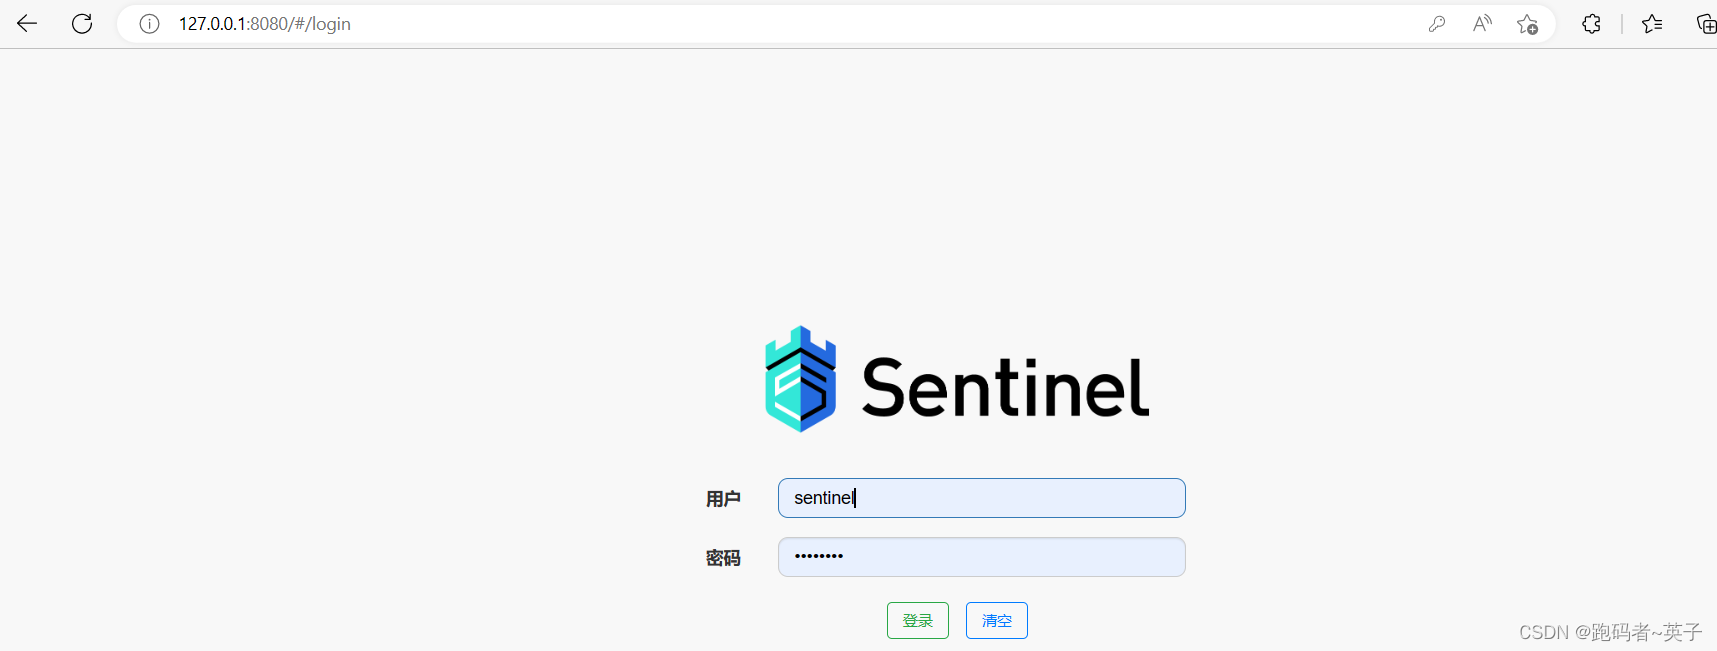
访问:
在地址栏输入http://localhost:端口号(默认是8080)就可以访问了,初始用户名和密码都是sentinel,如下图:
进入操作台:
2.linux
下载:

启动
执行 nohup java -jar sentinel-dashboard-1.7.1.jar & 命令,后台启动 Sentinel 控制台。通过查看 nohup.out 日志输入,如果有如下内容,说明启动成功:

二:添加项目
1.在 pom.xml 文件中,引入相关依赖
<?xml version="1.0" encoding="UTF-8"?>
<project xmlns="http://maven.apache.org/POM/4.0.0"
         xmlns:xsi="http://www.w3.org/2001/XMLSchema-instance"
         xsi:schemaLocation="http://maven.apache.org/POM/4.0.0 http://maven.apache.org/xsd/maven-4.0.0.xsd">
    <parent>
        <groupId>org.springframework.boot</groupId>
        <artifactId>spring-boot-starter-parent</artifactId>
        <version>2.2.2.RELEASE</version>
        <relativePath/> <!-- lookup parent from repository -->
    </parent>
    <modelVersion>4.0.0</modelVersion>

    <artifactId>lab-46-sentinel-demo</artifactId>

    <dependencies>
        <!-- 实现对 SpringMVC 的自动化配置 -->
        <dependency>
            <groupId>org.springframework.boot</groupId>
            <artifactId>spring-boot-starter-web</artifactId>
        </dependency>

        <!-- Sentinel 核心库 -->
        <dependency>
            <groupId>com.alibaba.csp</groupId>
            <artifactId>sentinel-core</artifactId>
            <version>1.7.1</version>
        </dependency>
        <!-- Sentinel 接入控制台 -->
        <dependency>
            <groupId>com.alibaba.csp</groupId>
            <artifactId>sentinel-transport-simple-http</artifactId>
            <version>1.7.1</version>
        </dependency>
        <!-- Sentinel 对 SpringMVC 的支持 -->
        <dependency>
            <groupId>com.alibaba.csp</groupId>
            <artifactId>sentinel-spring-webmvc-adapter</artifactId>
            <version>1.7.1</version>
        </dependency>
        <!-- Sentinel 对【热点参数限流】的支持 -->
        <dependency>
            <groupId>com.alibaba.csp</groupId>
            <artifactId>sentinel-parameter-flow-control</artifactId>
            <version>1.7.1</version>
        </dependency>
        <!-- Sentinel 对 Spring AOP 的拓展 -->
        <dependency>
            <groupId>com.alibaba.csp</groupId>
            <artifactId>sentinel-annotation-aspectj</artifactId>
            <version>1.7.1</version>
        </dependency>
    </dependencies>

</project>
2.Sentinel 配置文件
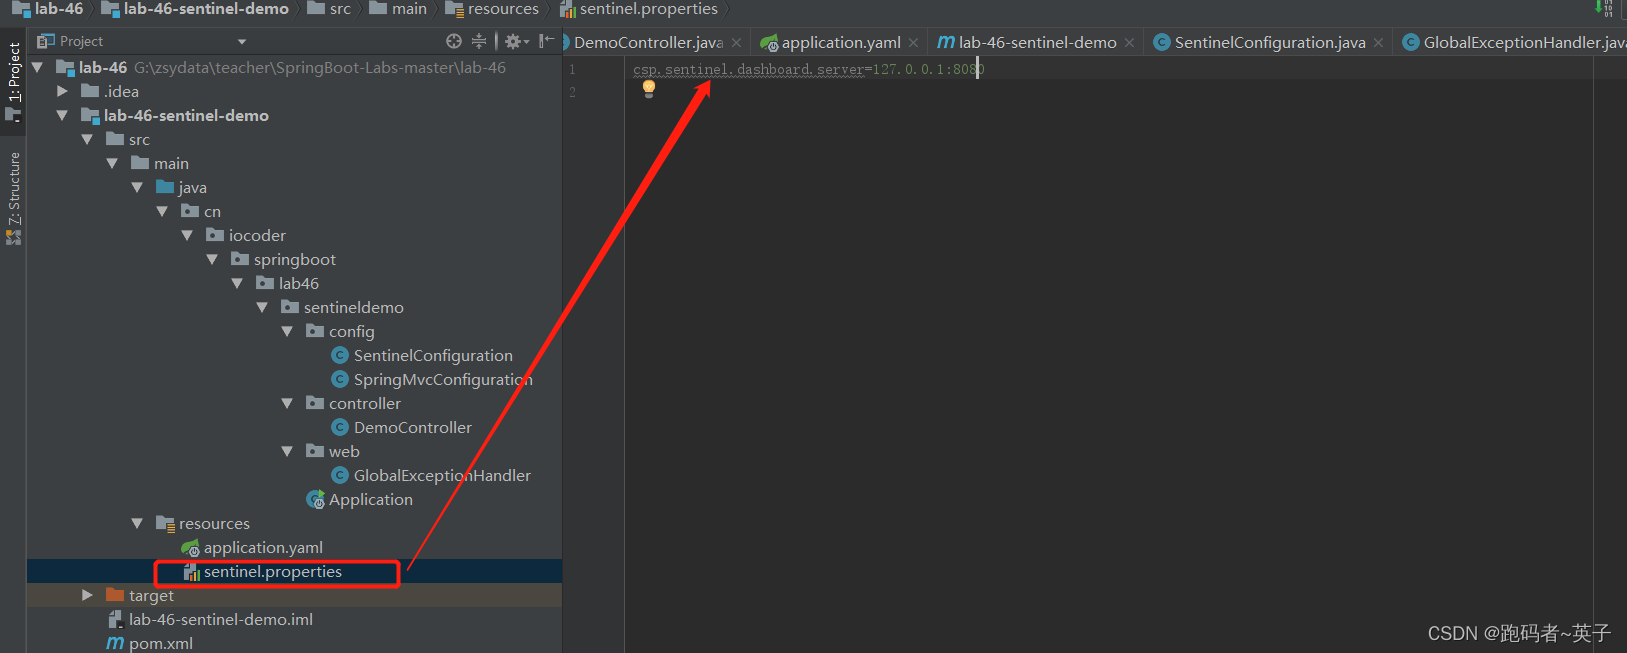
在 resources 目录下,创建 Sentinel 自定义的sentinel.properties 配置文件。内容如下:
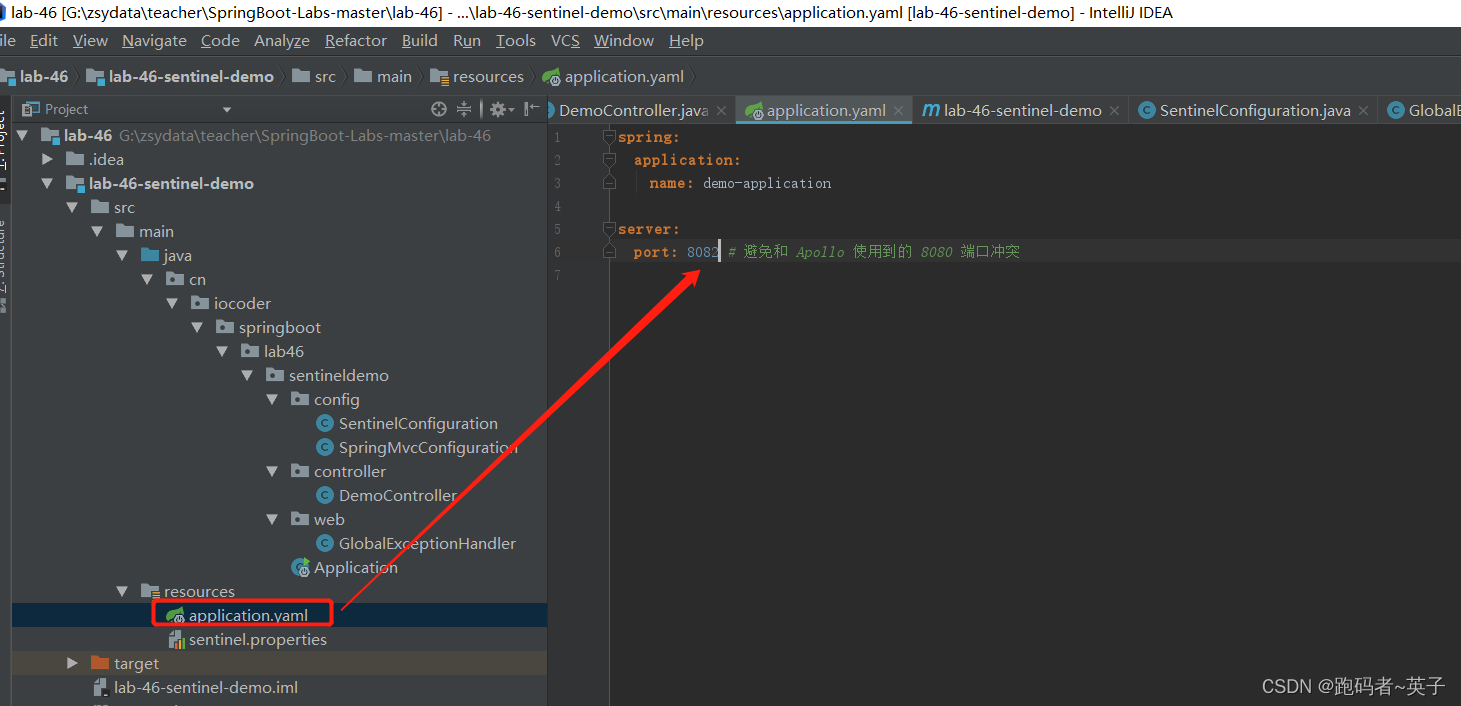
3.配置项目启动端口。内容如下:
4.Application
创建 Application.java 类,配置 @SpringBootApplication 注解即可。代码如下:
package cn.iocoder.springboot.lab46.sentineldemo;

import org.springframework.boot.SpringApplication;
import org.springframework.boot.autoconfigure.SpringBootApplication;

@SpringBootApplication
public class Application {

    public static void main(String[] args) {
        // 设置系统属性 project.name,提供给 Sentinel 读取
        System.setProperty("project.name", "demo-application");

        // 启动 Spring Boot 应用
        SpringApplication.run(Application.class, args);
    }

}
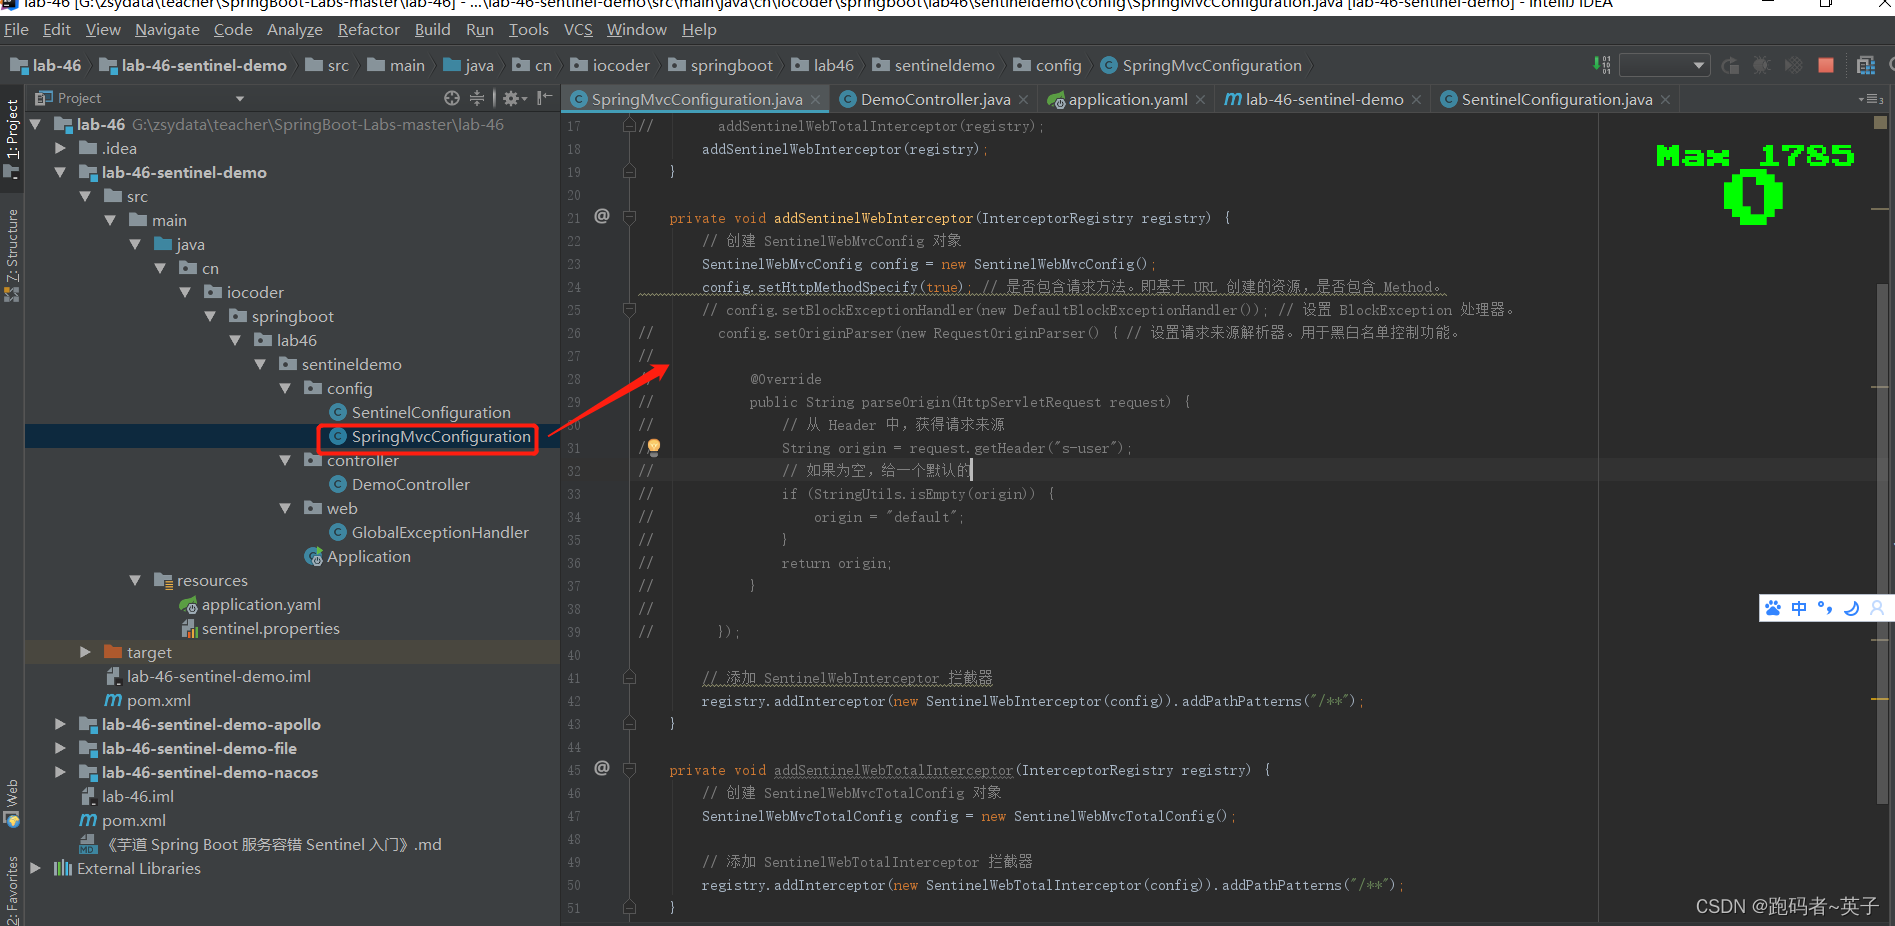
5.SpringMvcConfiguration
在 cn.iocoder.springboot.lab46.sentineldemo.config 包下,创建 SpringMvcConfiguration 配置类,自定义 sentinel-spring-webmvc-adapter 提供的拦截器。代码如下:
package cn.iocoder.springboot.lab46.sentineldemo.config;

import com.alibaba.csp.sentinel.adapter.spring.webmvc.SentinelWebInterceptor;
import com.alibaba.csp.sentinel.adapter.spring.webmvc.SentinelWebTotalInterceptor;
import com.alibaba.csp.sentinel.adapter.spring.webmvc.config.SentinelWebMvcConfig;
import com.alibaba.csp.sentinel.adapter.spring.webmvc.config.SentinelWebMvcTotalConfig;
import org.springframework.context.annotation.Configuration;
import org.springframework.web.servlet.config.annotation.InterceptorRegistry;
import org.springframework.web.servlet.config.annotation.WebMvcConfigurer;

@Configuration
public class SpringMvcConfiguration implements WebMvcConfigurer {

    @Override
    public void addInterceptors(InterceptorRegistry registry) {
        // Add Sentinel interceptor
//        addSentinelWebTotalInterceptor(registry);
        addSentinelWebInterceptor(registry);
    }

    private void addSentinelWebInterceptor(InterceptorRegistry registry) {
        // 创建 SentinelWebMvcConfig 对象
        SentinelWebMvcConfig config = new SentinelWebMvcConfig();
        config.setHttpMethodSpecify(true); // 是否包含请求方法。即基于 URL 创建的资源,是否包含 Method。
        // config.setBlockExceptionHandler(new DefaultBlockExceptionHandler()); // 设置 BlockException 处理器。
//        config.setOriginParser(new RequestOriginParser() { // 设置请求来源解析器。用于黑白名单控制功能。
//
//            @Override
//            public String parseOrigin(HttpServletRequest request) {
//                // 从 Header 中,获得请求来源
//                String origin = request.getHeader("s-user");
//                // 如果为空,给一个默认的
//                if (StringUtils.isEmpty(origin)) {
//                    origin = "default";
//                }
//                return origin;
//            }
//
//        });

        // 添加 SentinelWebInterceptor 拦截器
        registry.addInterceptor(new SentinelWebInterceptor(config)).addPathPatterns("/**");
    }

    private void addSentinelWebTotalInterceptor(InterceptorRegistry registry) {
        // 创建 SentinelWebMvcTotalConfig 对象
        SentinelWebMvcTotalConfig config = new SentinelWebMvcTotalConfig();

        // 添加 SentinelWebTotalInterceptor 拦截器
        registry.addInterceptor(new SentinelWebTotalInterceptor(config)).addPathPatterns("/**");
    }

}
结构如下:
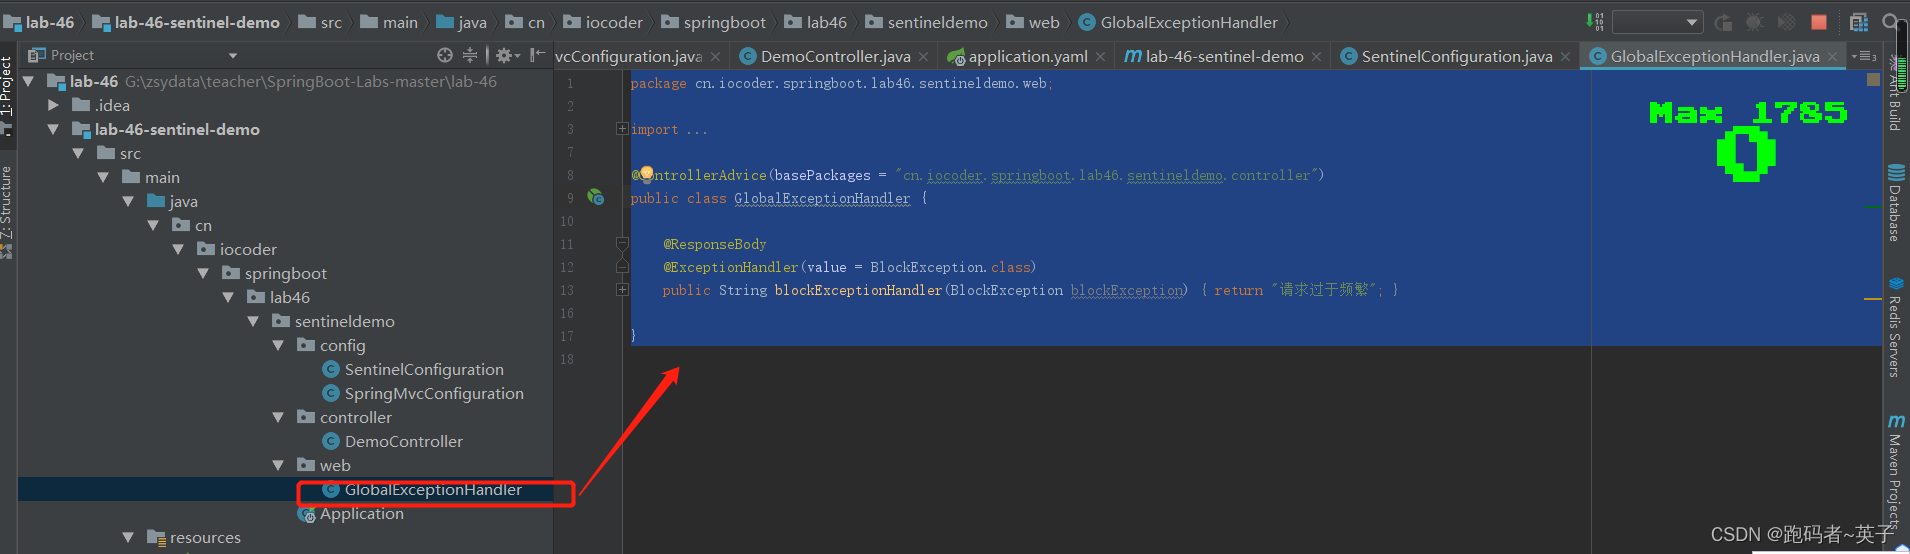
6.GlobalExceptionHandler
在 cn.iocoder.springboot.lab46.sentineldemo.web 包下,创建 GlobalExceptionHandler 配置类,自定义 sentinel-spring-webmvc-adapter 提供的拦截器。代码如下:
package cn.iocoder.springboot.lab46.sentineldemo.web;

import com.alibaba.csp.sentinel.slots.block.BlockException;
import org.springframework.web.bind.annotation.ControllerAdvice;
import org.springframework.web.bind.annotation.ExceptionHandler;
import org.springframework.web.bind.annotation.ResponseBody;

@ControllerAdvice(basePackages = "cn.iocoder.springboot.lab46.sentineldemo.controller")
public class GlobalExceptionHandler {

    @ResponseBody
    @ExceptionHandler(value = BlockException.class)
    public String blockExceptionHandler(BlockException blockException) {
        return "请求过于频繁";
    }

}
结构如下:
7.DemoController
package cn.iocoder.springboot.lab46.sentineldemo.controller;

import com.alibaba.csp.sentinel.Entry;
import com.alibaba.csp.sentinel.SphU;
import com.alibaba.csp.sentinel.annotation.SentinelResource;
import com.alibaba.csp.sentinel.slots.block.BlockException;
import org.springframework.web.bind.annotation.GetMapping;
import org.springframework.web.bind.annotation.RequestMapping;
import org.springframework.web.bind.annotation.RequestParam;
import org.springframework.web.bind.annotation.RestController;

@RestController
@RequestMapping("/demo")
public class DemoController {

    @GetMapping("/echo")
    public String echo() {
        return "echo";
    }

    @GetMapping("/test")
    public String test() {
        return "test";
    }

    @GetMapping("/sleep")
    public String sleep() throws InterruptedException {
        Thread.sleep(100L);
        return "sleep";
    }

    // 测试热点参数限流
    @GetMapping("/product_info")
    @SentinelResource("demo_product_info_hot")
    public String productInfo(Integer id) {
        return "商品编号:" + id;
    }

    // 手动使用 Sentinel 客户端 API
    @GetMapping("/entry_demo")
    public String entryDemo() {
        Entry entry = null;
        try {
            // 访问资源
            entry = SphU.entry("entry_demo");

            // ... 执行业务逻辑

            return "执行成功";
        } catch (BlockException ex) {
            return "被拒绝";
        } finally {
            // 释放资源
            if (entry != null) {
                entry.exit();
            }
        }
    }

    // 测试 @SentinelResource 注解
    @GetMapping("/annotations_demo")
    @SentinelResource(value = "annotations_demo_resource",
            blockHandler = "blockHandler",
            fallback = "fallback")
    public String annotationsDemo(@RequestParam(required = false) Integer id) throws InterruptedException {
        if (id == null) {
            throw new IllegalArgumentException("id 参数不允许为空");
        }
        return "success...";
    }

    // BlockHandler 处理函数,参数最后多一个 BlockException,其余与原函数一致.
    public String blockHandler(Integer id, BlockException ex) {
        return "block:" + ex.getClass().getSimpleName();
    }

    // Fallback 处理函数,函数签名与原函数一致或加一个 Throwable 类型的参数.
    public String fallback(Integer id, Throwable throwable) {
        return "fallback:" + throwable.getMessage();
    }

}
8. 简单测试
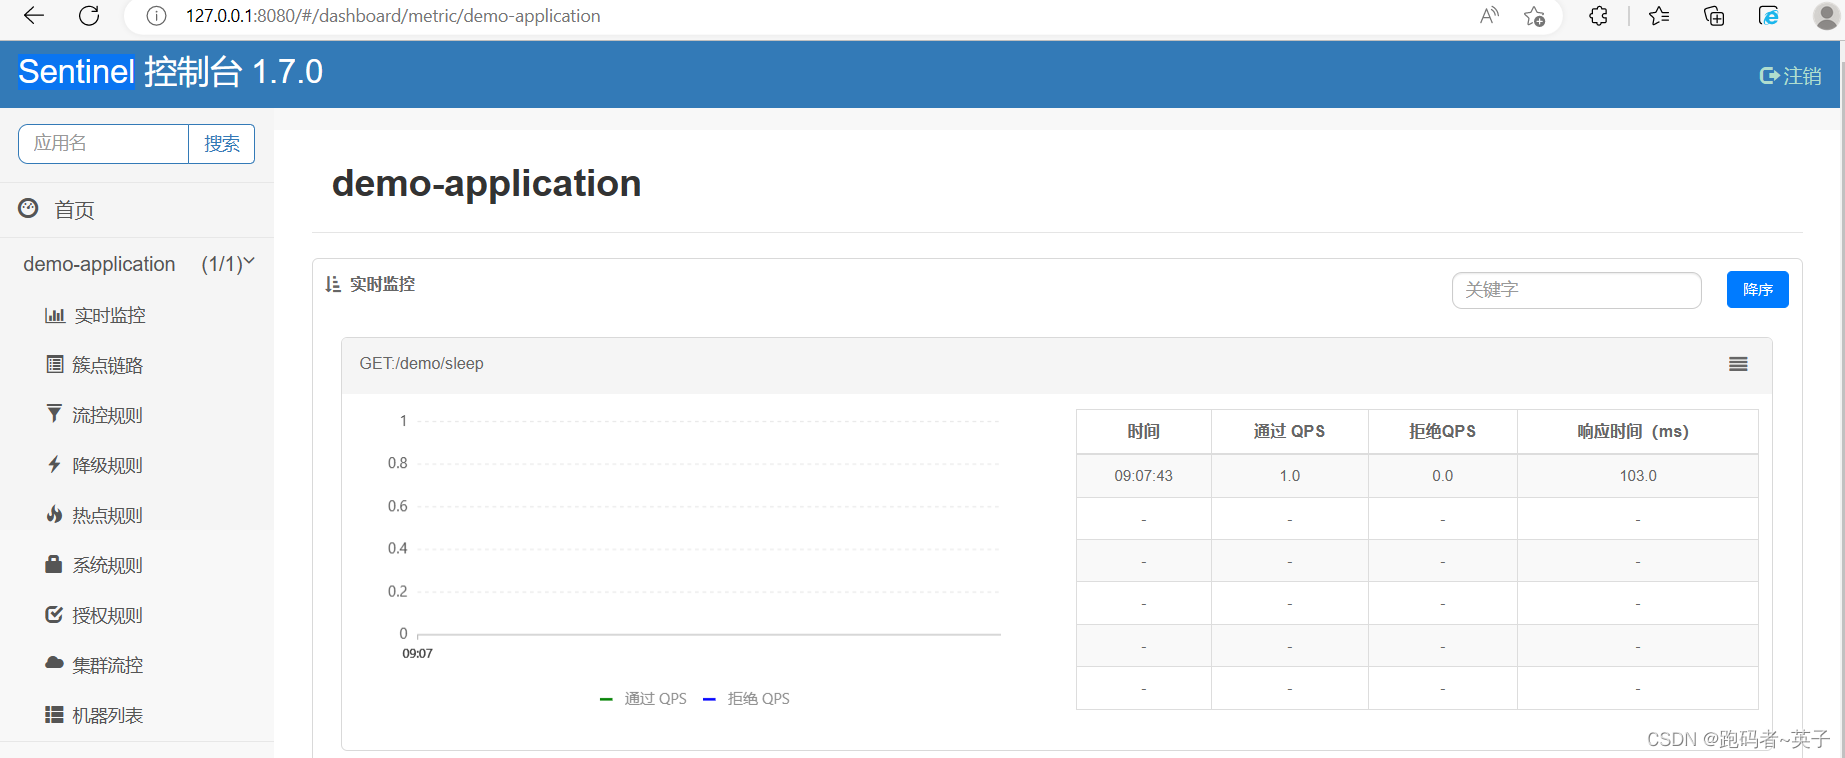
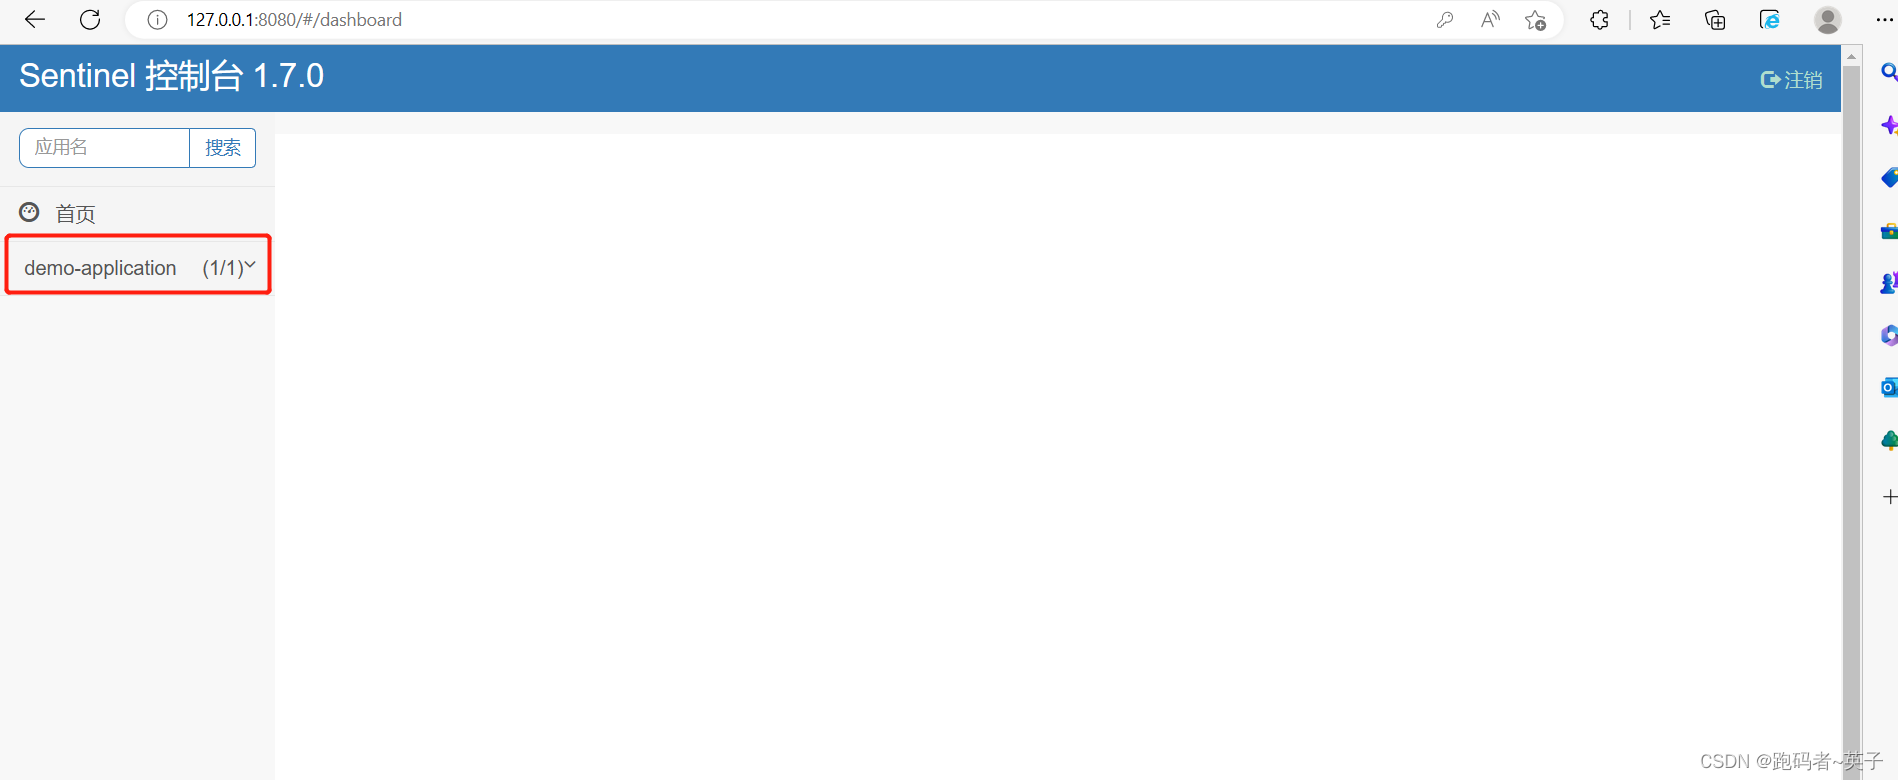
使用浏览器,访问下 http://127.0.0.1:7070/ 地址,进入 Sentinel 控制台。此时,我们可以看到 demo-application 应用。如下图所示:
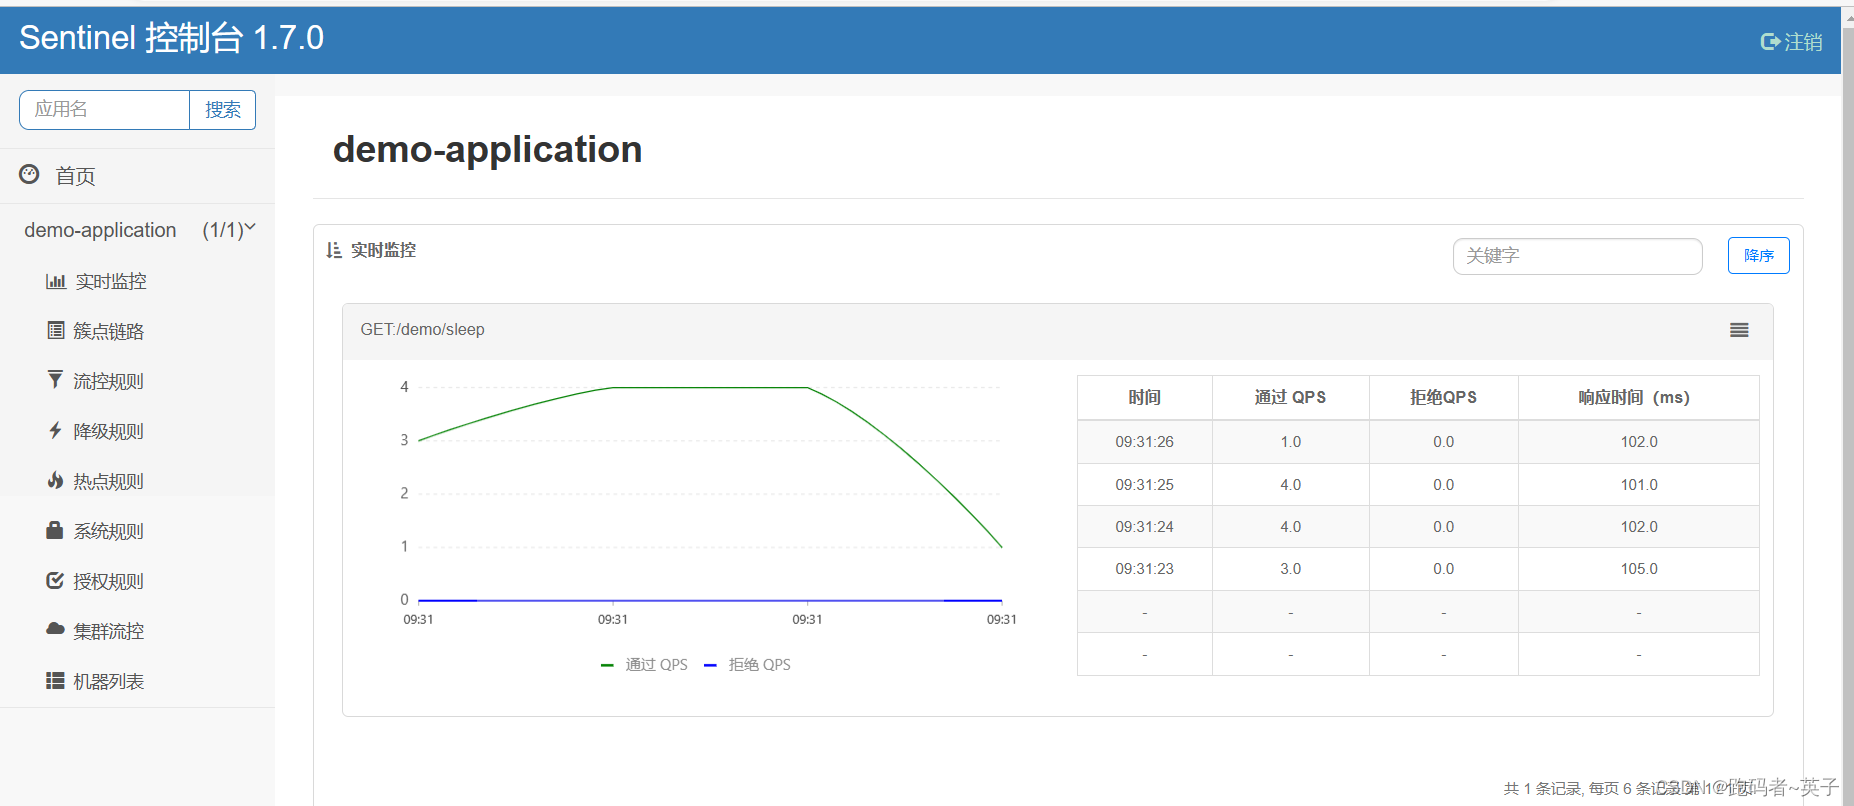
使用浏览器,访问下 http://127.0.0.1:8080/demo/echo 接口 10 次。然后点击 Sentinel 控制台的「实时监控」菜单,可以看到该接口的请求情况。如下图所示:
9.根据自己的需求设置:流量规则,降级规则,热点规则,系统规则等。


 8432
8432


 被折叠的 条评论
为什么被折叠?
被折叠的 条评论
为什么被折叠?
 到【灌水乐园】发言


