


 文章探讨了在分布式环境下synchronized和ReentrantLock的局限性,介绍了分布式锁的必要条件,并以Redis为例实现了一种基于lua脚本的分布式锁,强调了可重入性和自动续期功能,最后展示了Redisson官方推荐的简单使用方法。
引言
在日常开发中,我们经常会使用 synchronized 以及 ReentrantLock。但是如果放在分布式的背景下,它们还会起作用吗?分布式锁又是什么?本篇文章会详细说明,并基于分布式锁的思想给出相关源码。
synchronized 和 ReentrantLock 的无奈
synchronized 以及 ReentrantLock 都是非常好用的单机锁,至于为什么说是单机锁,是因为这两把锁锁住的是同一个 JVM 内的资源类。但是分布式是多个不同的 JVM 虚拟机,此时单机的线程锁机制自然就不在起作用,资源类在不同服务器之间共享,也正是基于这种背景,分布式锁应运而生。
分布式锁需要具备的必要条件
1、独占性
任何时刻只能有且仅有一个线程持有。
2、高可用
在集群环境下,不能因为某一个节点 down 机而出现获取锁和释放锁失败的情况,在高并发请求下性能依旧不错。
3、防死锁
杜绝死锁,必须有超时控制机制或者撤销操作,要有个兜底的终止跳出方案。
4、可重入性
同一个节点的同一个线程如果获得锁之后,它也可以再度获得这把锁。
5、不乱抢
不能私下随意 unlock 别人的锁,只能自己加锁并释放自己的锁
什么是可重入锁
是指在同一个线程在外层方法获取锁的时候,再进入该线程的内层方法会自动获取锁(前提,锁对象是同一个对象),不会因为之前已经获取过还没释放而阻塞。如果说一个 synchronized 修饰的递归调用的方法,在程序第二次进入进入该程序时,却被自己阻塞那简直......,所以在 Java 中 synchronized 以及 ReentrantLock 都是可重入锁,可重入锁的一个优点就是在一定程度上避免死锁。
synchronized 的重入原理
每个锁对象拥有一个锁计数器和一个指向持有该锁的线程的指针。
当执行 monitorenter 时,如果目标锁对象的计数器为零,那么说明它没有被其他线程所持有, Java 虚拟机会将该锁对象的持有线程设置为当前线程,并将其计数器加 1。
在目标锁对象的计数器不为零的情况下,如果锁对象的持有线程是当前线程,那么 Java 虚拟机可以将其计数器加 1,否则需要等待,直至持有线程释放该锁。
当执行 monitorexit 时, Java 虚拟机则将锁对象的计数器减 1。计数器为零代表锁已被释放。
ps:真的很像 gc 的标记清除算法。
分布式锁构建的思路
通过知晓一把分布式锁的必要条件后以及其诞生背景后,不妨思考,既然单机锁的淘汰是因为无法锁住不同 JVM 内的共享资源类,那么我们如何去跳出单个 JVM 来实现加锁的效果呢?那必然是使用一个仓库一样的存在,这个仓库和 JVM 完全是两个东西,不同的 JVM 获取资源都要到这个仓库里来,这样不就可以解决了吗。此时进一步思考,如果并发量较大,那么基于内存的存储是不是效率较优的呢!所以,使用 redis 构建分布式锁,是水到渠成的想法。我们只需要在 redis 中存储一个 key:value 这个 key 就是锁,所有线程都要获取这个 key,但是如果这个 key 已经被持有,那么其他的线程就不可再获取。
如何实现这种效果?其实我们可以换个角度来思考,所谓不可再获取这个锁,我们其实可以看成不能再造一个这样的锁,在一个线程获取锁时,其实就是这个线程创造了一个锁,而当其他线程想过来再创造一个这样的锁时就会被拒绝,只有当已经创造过这把锁的线程将其销毁,其他线程才能再来创造这把锁。这种想法不由自主地就让我想到一个 String 类型的命令 setnx。setnx 就是说如果 redis 中已经存在相同的 key,那么就不再创建。这简直太棒了!那么我们赶紧来写代码吧。no,no,no!不可以!如果使用 setnx 虽然乍一看实现了我们期盼的效果但是我们不妨再多想一点点,可重入性的问题。如果使用 setnx 那么,当递归调用时,再度触发 setnx 却发现 redis 中已经有该 key,于是拒绝创建。然后就被拒之门外,等待之前创建的锁被释放,可是之前创建的锁却在等待递归调用的结束,这样就形成了死锁,你在等我,我在等你。所以 setnx 不可行!那么该用什么呢?
既然之前的问题在于可重入性,而 synchronized 已经实现了可重入性,那么我们不妨去参考下 synchronized 的重入原理可以发现,我们只需要有一个计数的机制就好了,也就是说在一个 key 后面要跟一个能代表当前线程的字符串还要跟一个数字,来代表这把锁被该线程使用了的次数。这种结构 key:field:element,不就是 redis 的 Hash 类型吗!因此我们抛弃 setnx 转而使用 hset。
实现基于 Redis 的分布式锁
package com.example.redis_study.biz;

import lombok.extern.slf4j.Slf4j;
import org.springframework.data.redis.core.StringRedisTemplate;
import org.springframework.data.redis.core.script.DefaultRedisScript;

import java.util.Arrays;
import java.util.Timer;
import java.util.TimerTask;
import java.util.concurrent.TimeUnit;
import java.util.concurrent.locks.Condition;
import java.util.concurrent.locks.Lock;

@Slf4j
public class RedisDistributedLock implements Lock {

    private StringRedisTemplate stringRedisTemplate;

    private String LOCK_NAME;

    private String uuid;

    public RedisDistributedLock(StringRedisTemplate stringRedisTemplate, String lockName, String uuid) {
        this.stringRedisTemplate = stringRedisTemplate;
        this.LOCK_NAME = lockName;
        this.uuid = uuid;
    }

    @Override
    public void lock() {
        tryLock();
    }

    @Override
    public void lockInterruptibly() throws InterruptedException {

    }

    @Override
    public boolean tryLock() {
        try {
            tryLock(-1L, TimeUnit.SECONDS);
        } catch (InterruptedException e) {
            throw new RuntimeException(e);
        }
        return true;
    }

    @Override
    public boolean tryLock(long time, TimeUnit unit) throws InterruptedException {
        if (time == -1L) {
            String script = "if redis.call('exists', KEYS[1]) == 0 or redis.call('hexists', KEYS[1], ARGV[1]) == 1 then " +
                                "redis.call('hincrby', KEYS[1], ARGV[1], 1) " +
                                "redis.call('expire', KEYS[1], ARGV[2]) " +
                                "return 1 " +
                            "else " +
                                "return 0 " +
                            "end";
            System.out.println("当前线程:" + uuid);
            while (!stringRedisTemplate.execute(new DefaultRedisScript<>(script, Boolean.class), Arrays.asList(LOCK_NAME), uuid, String.valueOf(1L))) {
                try {
//                    log.info("threadID={}", uuid);
                    System.out.println("=========================================当前线程尝试激活:" + uuid);
                    TimeUnit.MILLISECONDS.sleep(60);
                } catch (InterruptedException e) {
                    e.printStackTrace();
                }
            }
            return true;
        }
        return false;
    }

    @Override
    public void unlock() {
        String script = "if redis.call('hexists', KEYS[1], ARGV[1]) == 0 then " +
                            "return nil " +
                        "elseif redis.call('hincrby', KEYS[1], ARGV[1], -1) == 0 then " +
                            "return redis.call('del', KEYS[1]) " +
                        "else " +
                            "return 0 " +
                        "end";

        Long flag = stringRedisTemplate.execute(new DefaultRedisScript<>(script, Long.class), Arrays.asList(LOCK_NAME), uuid);

        if (null == flag) {
            throw new RuntimeException("this lock doesn`t exists");
        }
    }

    @Override
    public Condition newCondition() {
        return null;
    }
}
在写分布式锁时说到底,它依旧是锁,只要是锁就要遵守锁的规范,因此基于 Lock 接口来实现 RedisDistributedLock 类。在代码中我们使用了 Lua 脚本来保证代码执行的原子性。接下来给出测试用代码以及 redis 中 goods 对应的 value
@Override
    public Boolean deleteGoods(Integer params) {
        try {
            Long goods = Long.valueOf(stringRedisTemplate.opsForValue().get("goods"));
            if (goods > 0L) {
                while (0L < goods) {
                    goods = stringRedisTemplate.opsForValue().decrement("goods", 1);
                    System.out.println(goods);
                }
            }
            return true;
        }catch (Exception e) {
            return false;
        }
    }
此时的测试代码并未上锁,我们来测试下,测试结果如下
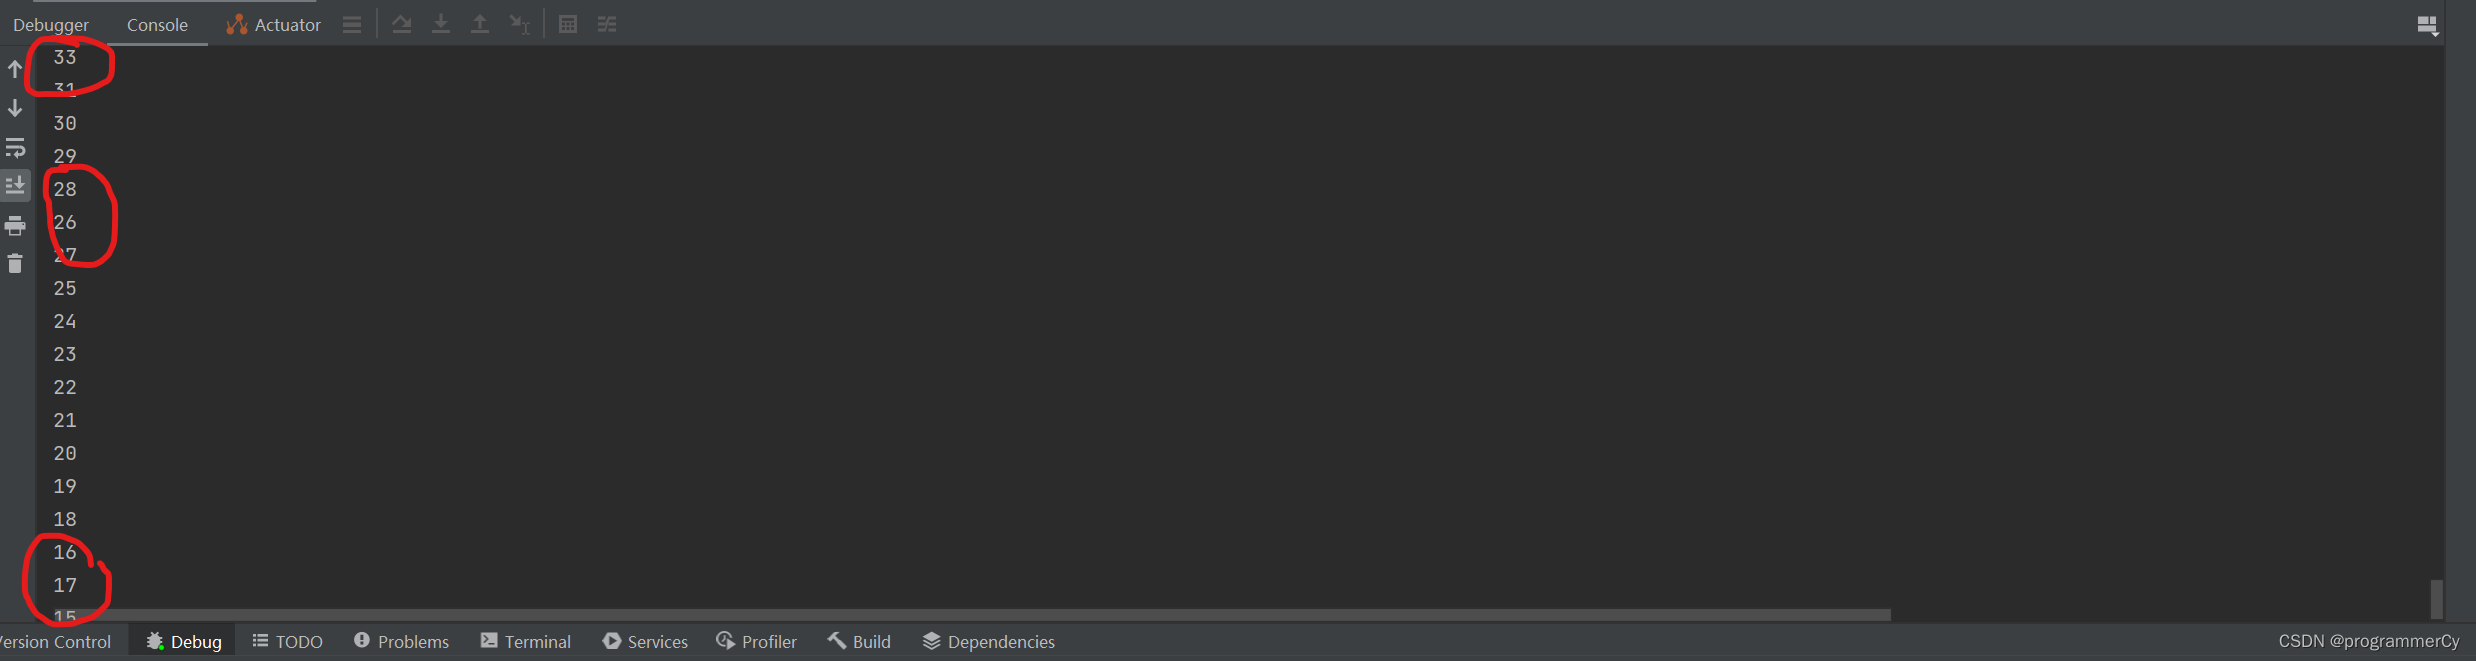
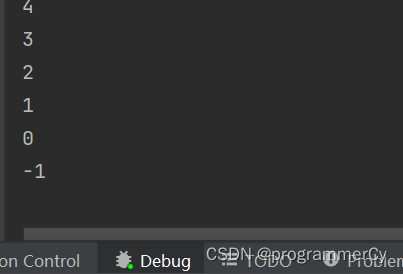
可以发现顺序混乱,甚至减到了 -1 这种不合理的数字,接下来我们测试下使用我们分布式锁的测试代码,代码如下
@Override
    public Boolean deleteGoods(Integer params) {
        String uuid = UUID.randomUUID().toString() + Thread.currentThread().getId();
        Lock redisDistributedLock = new RedisDistributedLock(stringRedisTemplate, "RedisLock", uuid);

        redisDistributedLock.lock();

        try {
            Long goods = Long.valueOf(stringRedisTemplate.opsForValue().get("goods"));
            if (goods > 0L) {
                while (0L < goods) {
                    goods = stringRedisTemplate.opsForValue().decrement("goods", 1);
                    System.out.println(goods);
                }
            }
            return true;
        }catch (Exception e) {
            return false;
        }finally {
            redisDistributedLock.unlock();
        }
    }
再来看看控制台的打印效果
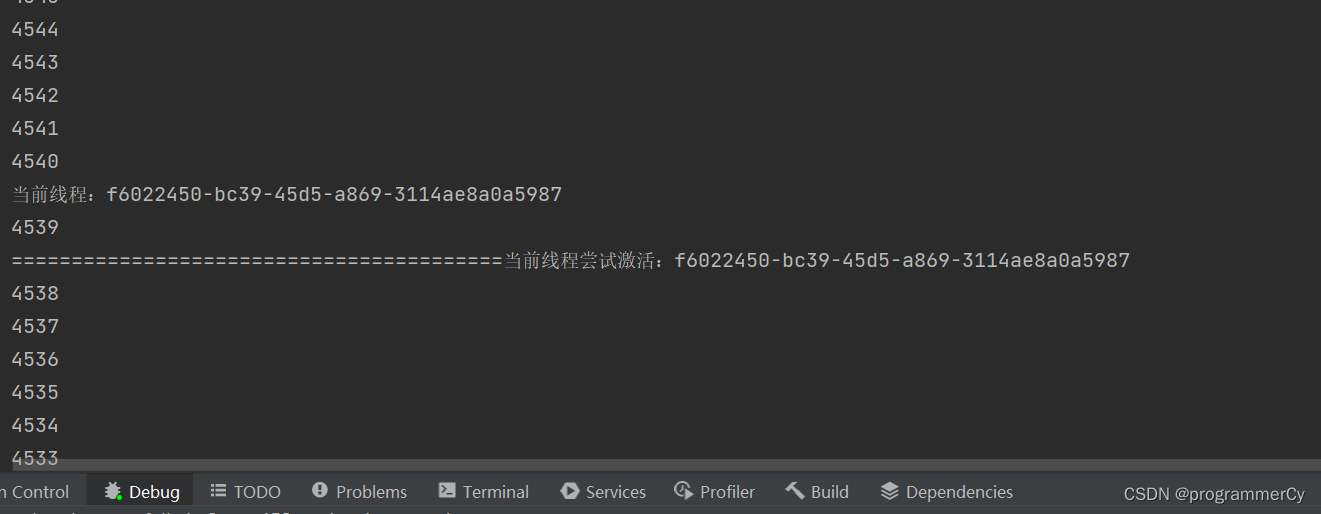

首先顺序是正确的,而且减到零就结束,并未出现不合理的数字,其次在控制台还打印了当前线程尝试激活:f6022450-bc39-45d5-a869-3114ae8a0a5987 的效果,这个效果正是在之前写分布式锁时如果有多个线程争抢同一把锁,在等待期间打印的一句话,这句话输出证明第二个线程在等待第一个线程释放该锁。那么接下来,我们再试试可重入性,代码如下
@Override
    public Boolean deleteGoods(Integer params) {
        String uuid = UUID.randomUUID().toString() + Thread.currentThread().getId();
        Lock redisDistributedLock = new RedisDistributedLock(stringRedisTemplate, "RedisLock", uuid);

        redisDistributedLock.lock();

        try {
            Long goods = Long.valueOf(stringRedisTemplate.opsForValue().get("goods"));
            if (goods > 0L) {
                while (0L < goods) {
                    goods = stringRedisTemplate.opsForValue().decrement("goods", 1);
                    System.out.println(goods);
                    reTest(uuid);
                }
            }
            return true;
        }catch (Exception e) {
            return false;
        }finally {
            redisDistributedLock.unlock();
        }
    }

    public void reTest(String uuid) {
        Lock redisDistributedLock = new RedisDistributedLock(stringRedisTemplate, "RedisLock", uuid);
        redisDistributedLock.lock();
        try {
            System.out.println("成功进入");
        } finally {
            redisDistributedLock.unlock();
        }
    }
再看看控制台的效果
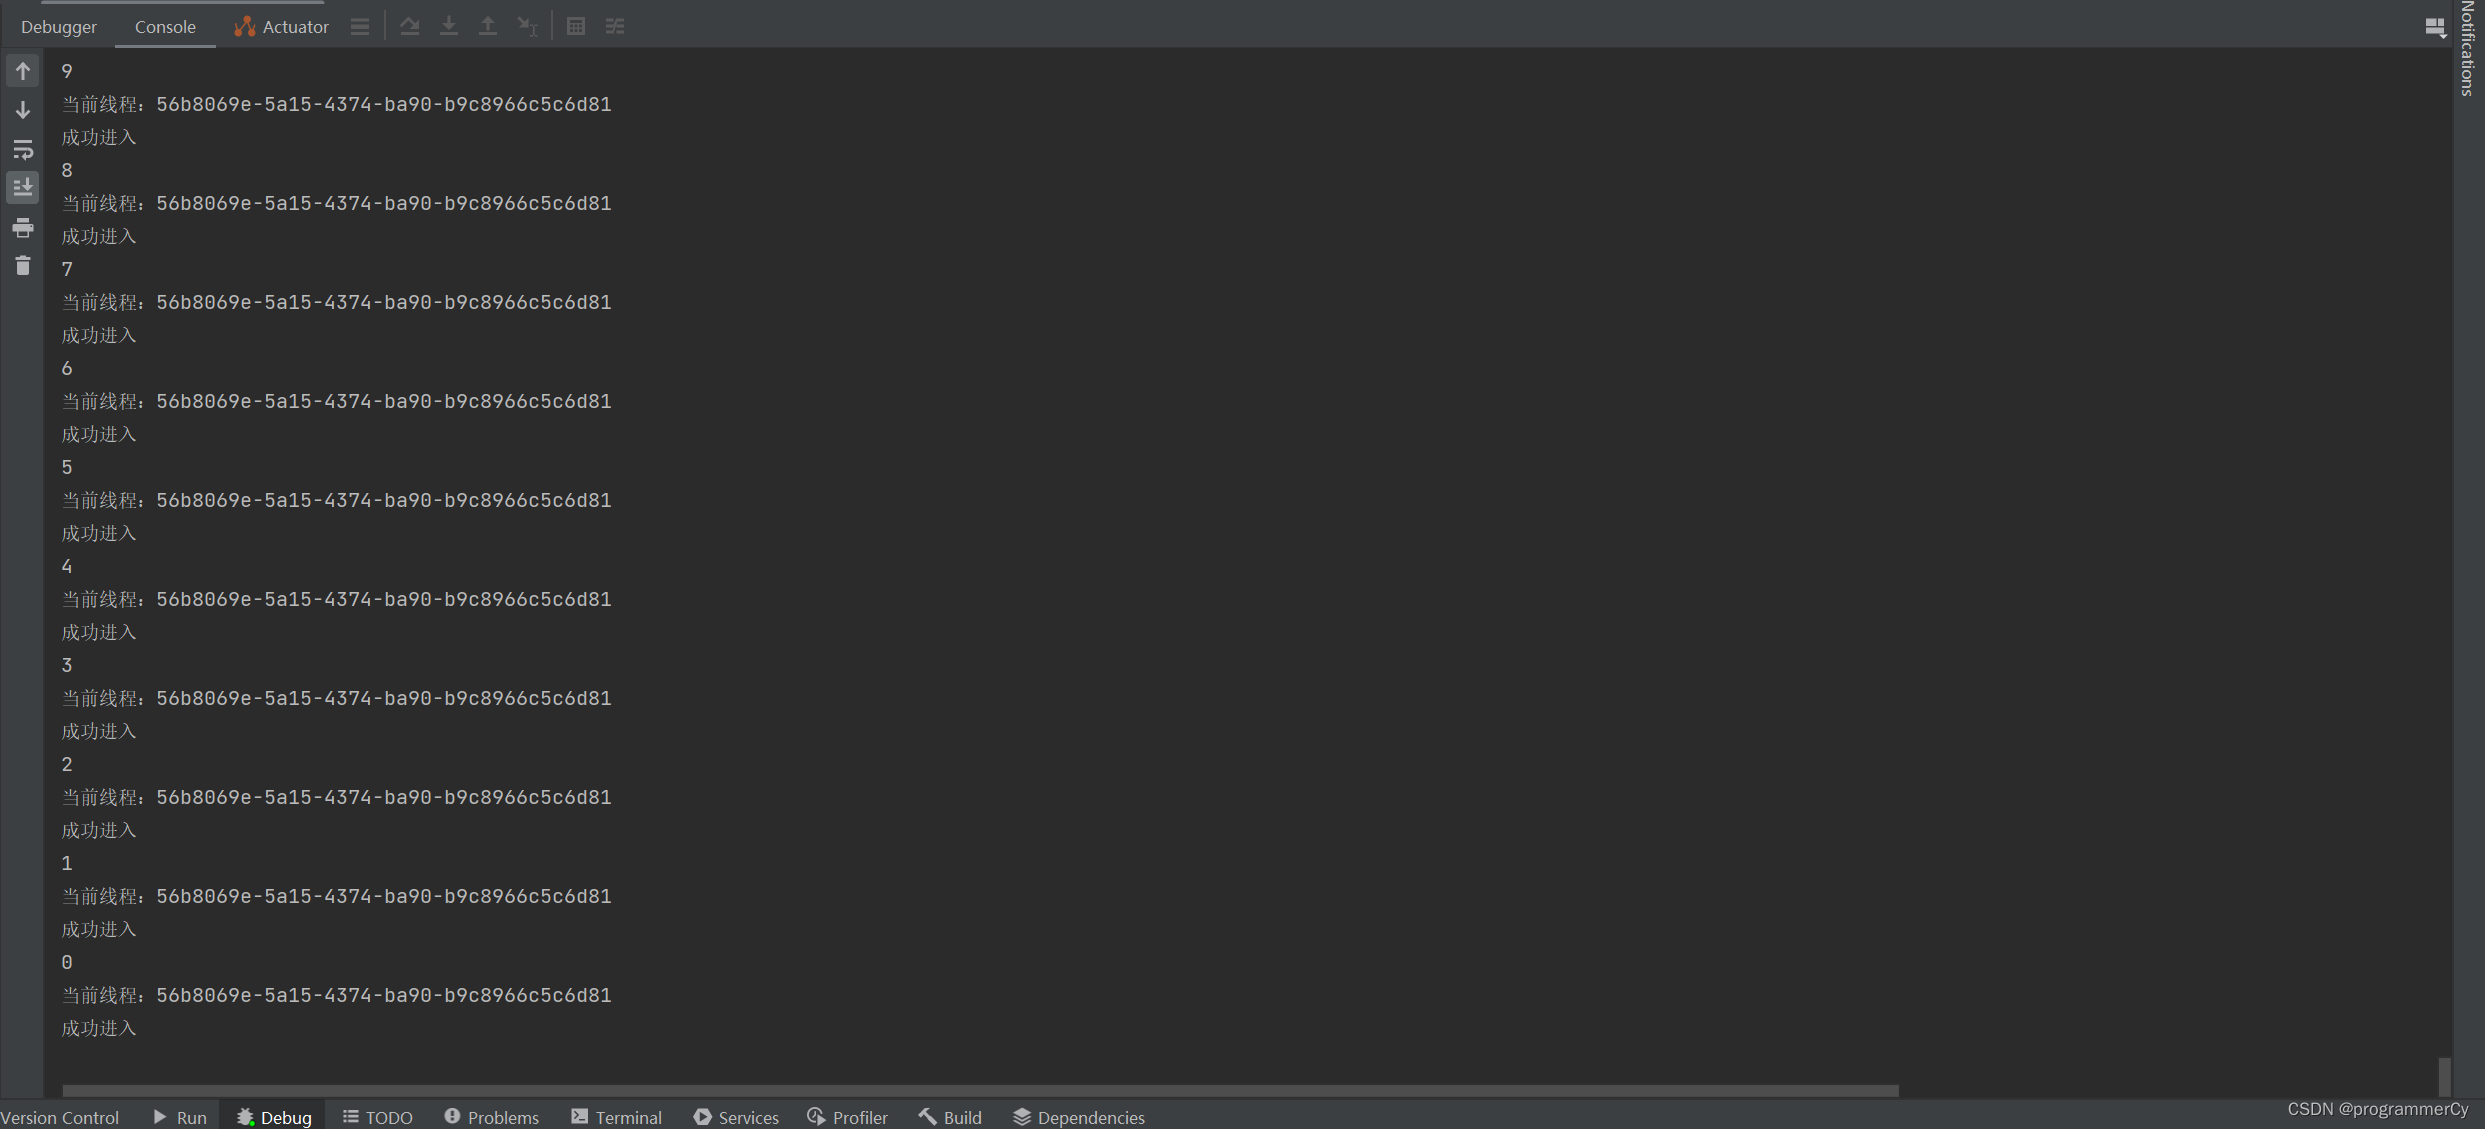
可以发现,该锁具备可重入性,此时我们手写的这个分布式锁已经具备了必要条件,但我们不妨假设有这么一个场景,处理的数据量非常庞大,庞大到在我们给锁设置的有效时间都耗尽了都还在执行,而当有效时间耗尽,其他等待的线程会立刻去获取锁,那么当之前的任务处理完去释放锁时,会发现无自己的锁可以释放。我们将有效时间设置为 1s。来看看运行效果
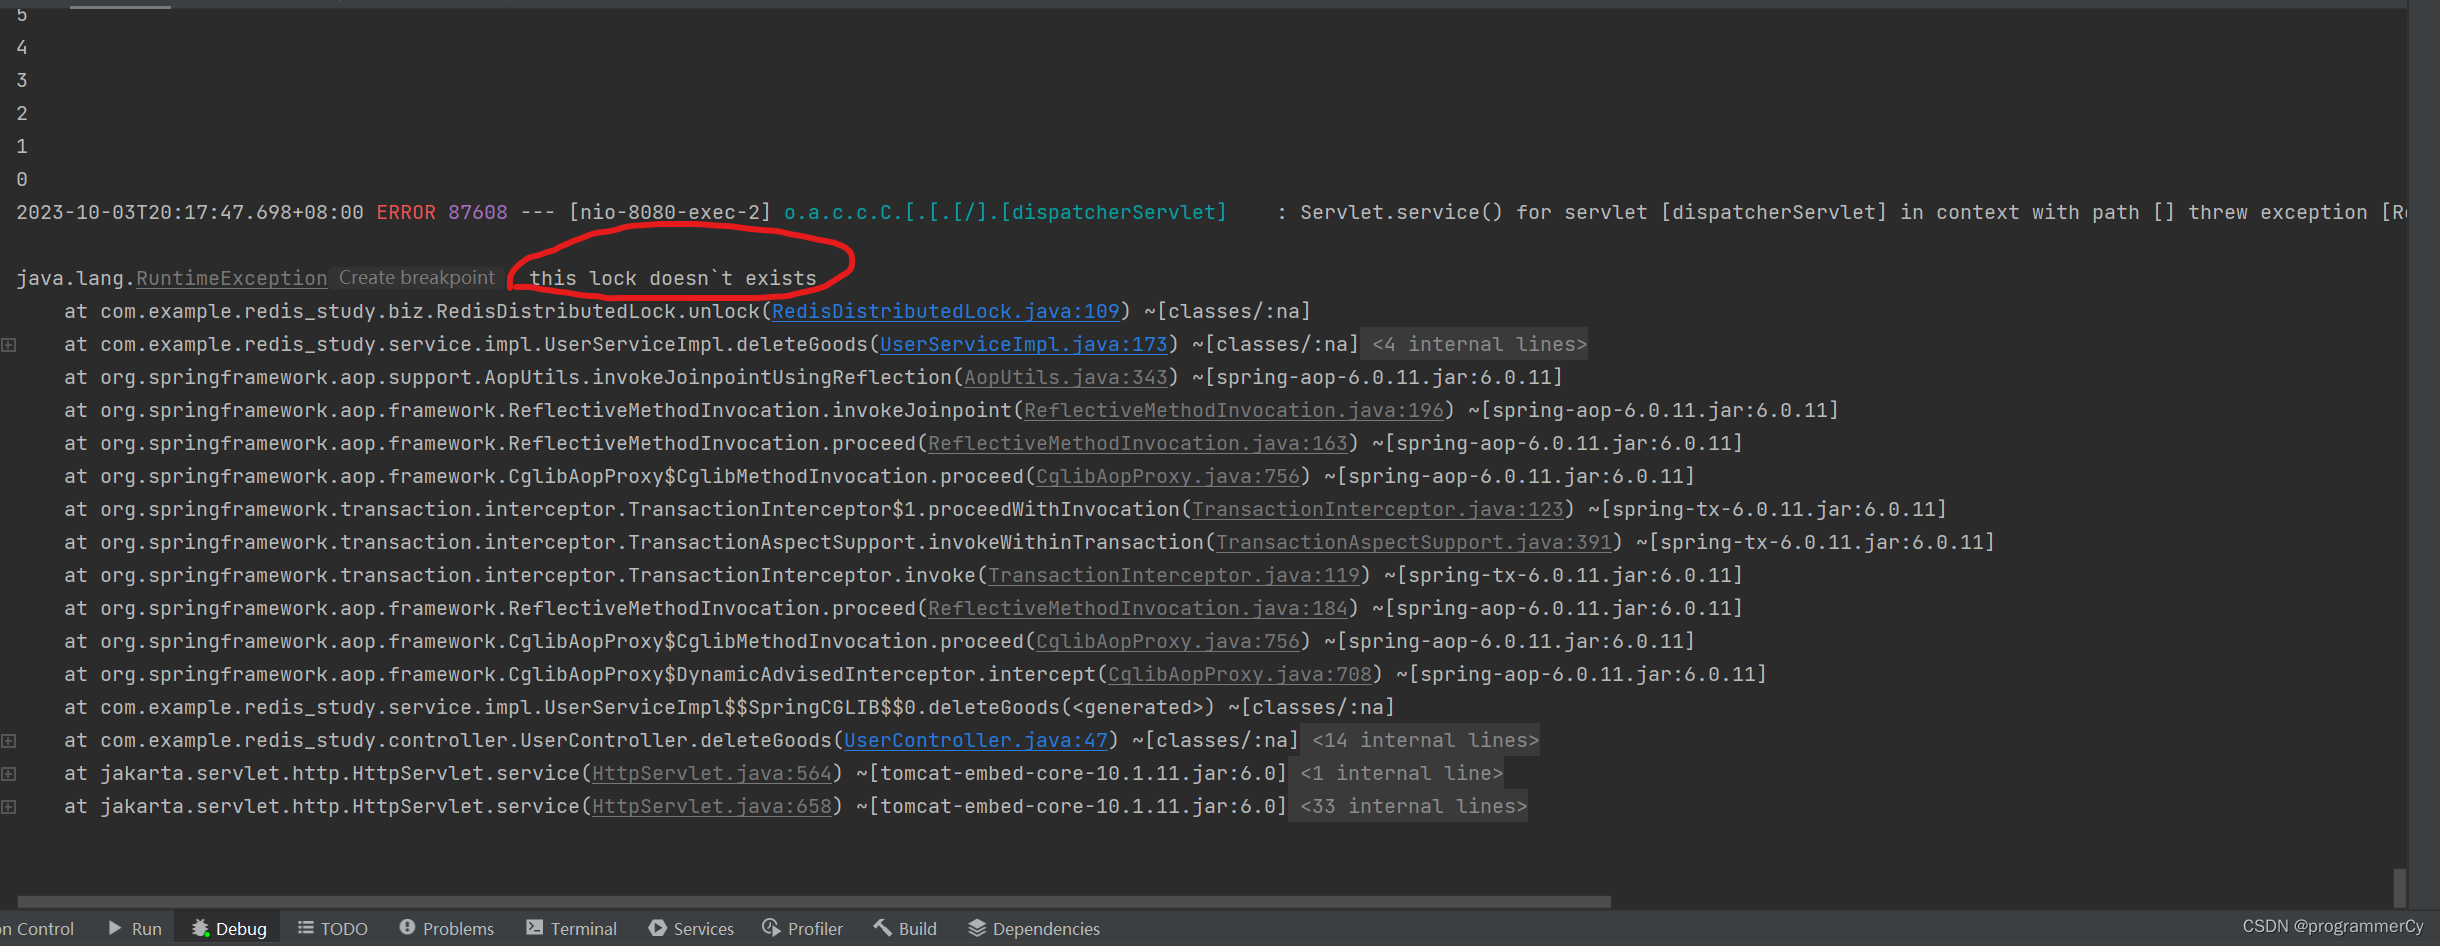
控制台报错,显示运行时异常,并指明锁不存在。
改进的基于 Redis 的分布式锁
在之前我们实现的分布式锁中虽然核心要求都实现了,但是也发现了新的问题,那就是在锁的有效时间内如果任务没有运行完毕,那么在解锁时就会报错。因此,我们需要一段代码来实现自动续期的效果,也就是在规定时间内,如果检测到锁还存在,那么就重置该锁的有效时间,这样一来按照原本的有效时间虽然无法执行完任务,但是只要你任务没执行完,且锁还存在,那么就自动刷新有效时间,直到你释放锁,那么自动续期的效果才终止。也就是加上这样一段代码即可
private void renewExpire() {
        String script = "if redis.call('hexists', KEYS[1], ARGV[1]) == 1 then " +
                            "return redis.call('expire', KEYS[1], ARGV[2]) " +
                        "else " +
                            "return 0 " +
                        "end";
        new Timer().schedule(new TimerTask() {
            @Override
            public void run() {
                if (stringRedisTemplate.execute(new DefaultRedisScript<>(script, Boolean.class), Arrays.asList(LOCK_NAME), uuid, String.valueOf(1L))) {
                    renewExpire();
                }
            }
        }, (1 * 1000)/3);
    }
将这段代码放入原先的分布式锁中,改良后的代码如下
package com.example.redis_study.biz;

import lombok.extern.slf4j.Slf4j;
import org.springframework.data.redis.core.StringRedisTemplate;
import org.springframework.data.redis.core.script.DefaultRedisScript;

import java.util.Arrays;
import java.util.Timer;
import java.util.TimerTask;
import java.util.concurrent.TimeUnit;
import java.util.concurrent.locks.Condition;
import java.util.concurrent.locks.Lock;

@Slf4j
public class RedisDistributedLock implements Lock {

    private StringRedisTemplate stringRedisTemplate;

    private String LOCK_NAME;

    private String uuid;

    public RedisDistributedLock(StringRedisTemplate stringRedisTemplate, String lockName, String uuid) {
        this.stringRedisTemplate = stringRedisTemplate;
        this.LOCK_NAME = lockName;
        this.uuid = uuid;
    }

    @Override
    public void lock() {
        tryLock();
    }

    @Override
    public void lockInterruptibly() throws InterruptedException {

    }

    @Override
    public boolean tryLock() {
        try {
            tryLock(-1L, TimeUnit.SECONDS);
        } catch (InterruptedException e) {
            throw new RuntimeException(e);
        }
        return true;
    }

    @Override
    public boolean tryLock(long time, TimeUnit unit) throws InterruptedException {
        if (time == -1L) {
            String script = "if redis.call('exists', KEYS[1]) == 0 or redis.call('hexists', KEYS[1], ARGV[1]) == 1 then " +
                                "redis.call('hincrby', KEYS[1], ARGV[1], 1) " +
                                "redis.call('expire', KEYS[1], ARGV[2]) " +
                                "return 1 " +
                            "else " +
                                "return 0 " +
                            "end";
            System.out.println("当前线程:" + uuid);
            while (!stringRedisTemplate.execute(new DefaultRedisScript<>(script, Boolean.class), Arrays.asList(LOCK_NAME), uuid, String.valueOf(1L))) {
                try {
//                    log.info("threadID={}", uuid);
                    System.out.println("=========================================当前线程尝试激活:" + uuid);
                    TimeUnit.MILLISECONDS.sleep(60);
                } catch (InterruptedException e) {
                    e.printStackTrace();
                }
            }
            renewExpire();
            return true;
        }
        return false;
    }

    private void renewExpire() {
        String script = "if redis.call('hexists', KEYS[1], ARGV[1]) == 1 then " +
                            "return redis.call('expire', KEYS[1], ARGV[2]) " +
                        "else " +
                            "return 0 " +
                        "end";
        new Timer().schedule(new TimerTask() {
            @Override
            public void run() {
                if (stringRedisTemplate.execute(new DefaultRedisScript<>(script, Boolean.class), Arrays.asList(LOCK_NAME), uuid, String.valueOf(1L))) {
                    renewExpire();
                }
            }
        }, (1 * 1000)/3);
    }

    @Override
    public void unlock() {
        String script = "if redis.call('hexists', KEYS[1], ARGV[1]) == 0 then " +
                            "return nil " +
                        "elseif redis.call('hincrby', KEYS[1], ARGV[1], -1) == 0 then " +
                            "return redis.call('del', KEYS[1]) " +
                        "else " +
                            "return 0 " +
                        "end";

        Long flag = stringRedisTemplate.execute(new DefaultRedisScript<>(script, Long.class), Arrays.asList(LOCK_NAME), uuid);

        if (null == flag) {
            throw new RuntimeException("this lock doesn`t exists");
        }
    }

    @Override
    public Condition newCondition() {
        return null;
    }
}
此时,我们再来测试,看看控制台
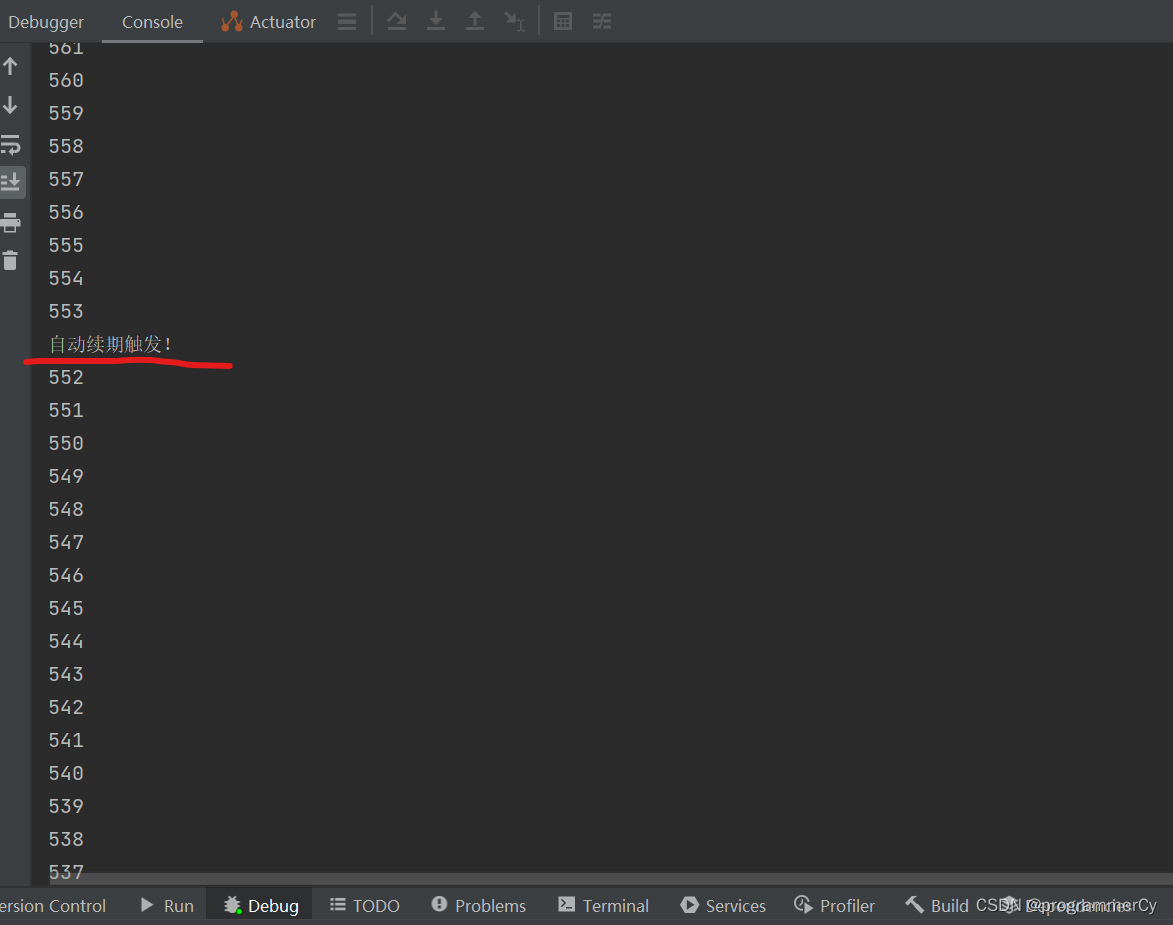
可以看见自动续期已经触发,且运行结束后也没有报错。那么手写基于 Redis 的分布式锁完成。
补充:redis 官方推荐的分布式锁 redisson 的简单使用
官方推荐的工具不是本文讲解的重点,这里只演示一下简单的使用
1、导入依赖
<dependency>
   <groupId>org.redisson</groupId>
   <artifactId>redisson</artifactId>
   <version>3.19.1</version>
</dependency>
2、写配置类
package com.example.redis_study.biz;

import org.redisson.Redisson;
import org.redisson.config.Config;
import org.springframework.context.annotation.Bean;
import org.springframework.stereotype.Component;

@Component
public class RedisConfig {
    @Bean
    public Redisson redisson() {
        Config config = new Config();
        config.useSingleServer().
                setAddress("redis://ip地址:端口号").
                setDatabase(0).
                setPassword("写自己的 redis 的密码");
        return (Redisson) Redisson.create(config);
    }
}
3、使用测试
@Override
    public Boolean deleteGoods(Integer params) {

        Redisson redisson = redisConfig.redisson();
        RLock lock = redisson.getLock("RedissonLock");
        lock.lock();

        try {
            Long goods = Long.valueOf(stringRedisTemplate.opsForValue().get("goods"));
            if (goods > 0L) {
                while (0L < goods) {
                    goods = stringRedisTemplate.opsForValue().decrement("goods", 1);
                    System.out.println(goods);
                    reTest(uuid);
                }
            }
            return true;
        }catch (Exception e) {
            return false;
        }finally {
            lock.unlock();
        }
    }
看下控制台
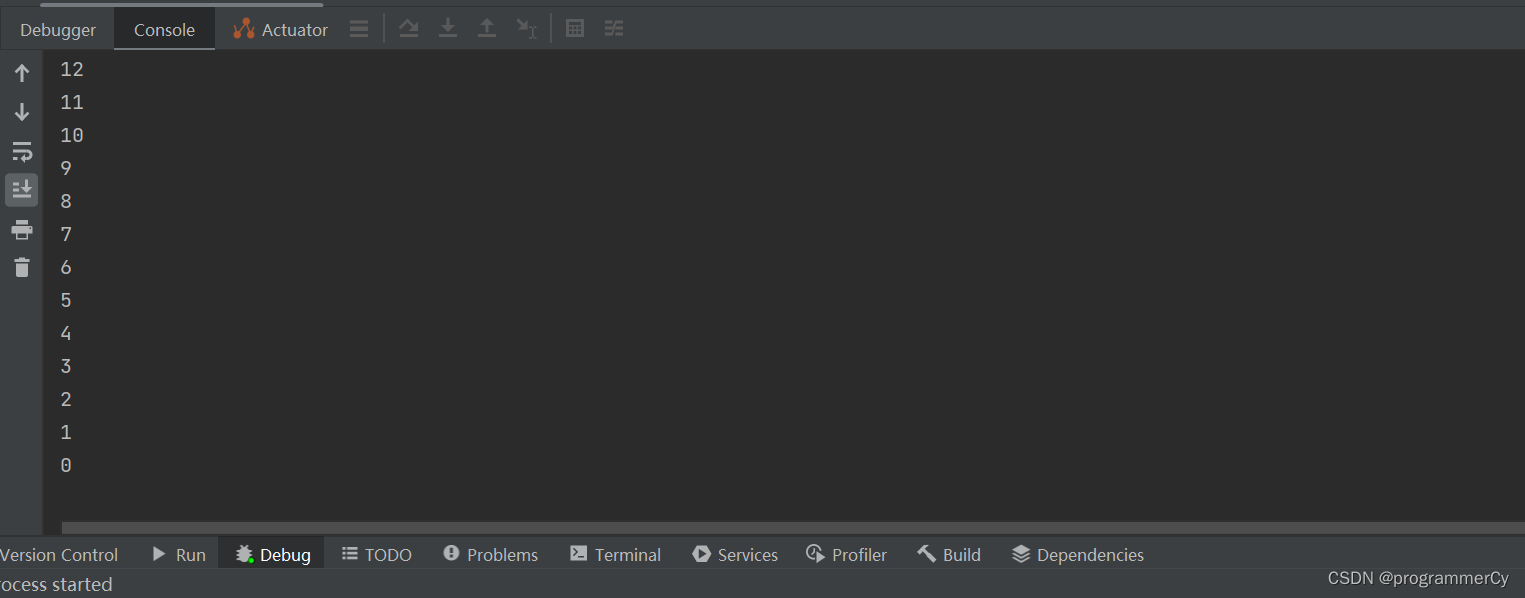
顺利执行完毕。


 177
177


 被折叠的 条评论
为什么被折叠?
被折叠的 条评论
为什么被折叠?
 到【灌水乐园】发言


