


0x00 前言
前段时间有朋友询问我 Windows 终端的样式是如何设置的,我也进行了一些简单的回复。在之前的 Windows 11 版本中,系统提供了一个界面按钮,可以直接将终端样式设置为复古风格。然而,系统更新之后,这个按钮好像不见了。
0x01 环境说明
| Windows11 23H2 |
| Corporation 1.18.10301.0 |
0x02 打开终端界面
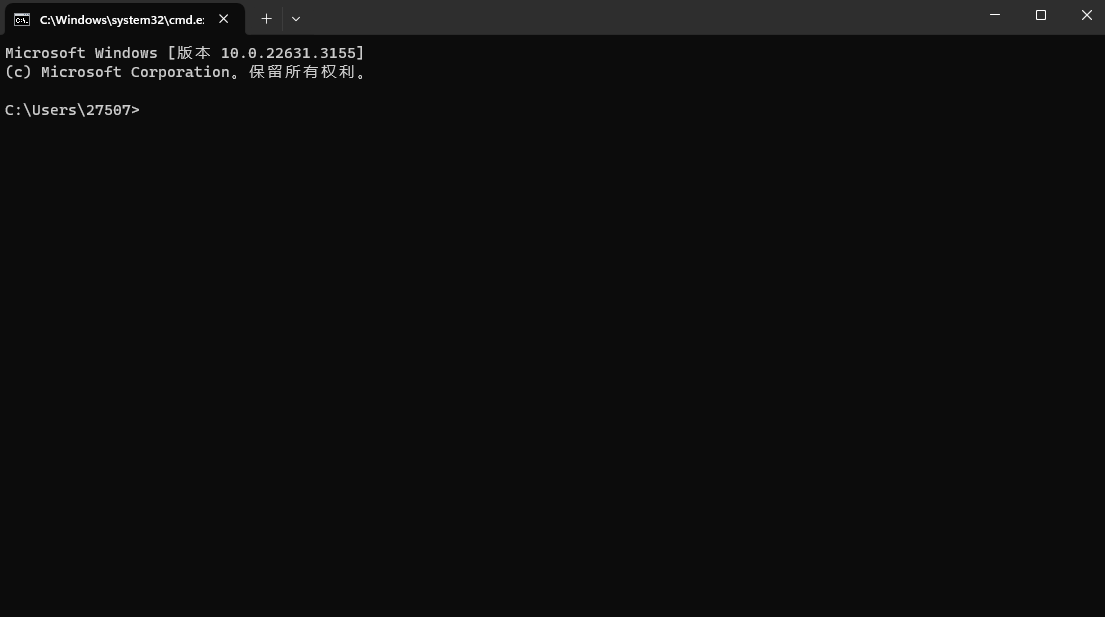
Ⅰ按下 win + R 打开运行窗口,输入 cmd 并回车进入命令行。
0x03 打开JSON文件
Ⅰ按下 Ctrl + , 打开设置界面,点击左下角设置按钮打开 JSON 文件。

0x04 设置复古风格样式
Ⅰ使用 Ctrl + F 快捷查找 defaulst 。
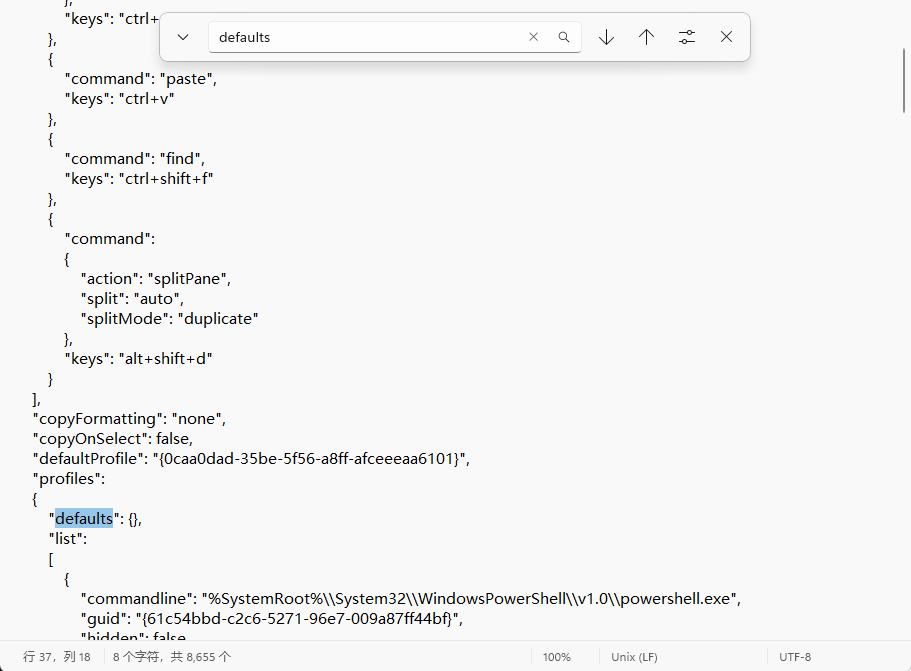
defaults
Ⅱ在 defaults 中设置样式,设置 experimental.retroTerminalEffect 开启即可启用复古终端效果。设置完成后使用 Ctrl + S 进行保存。
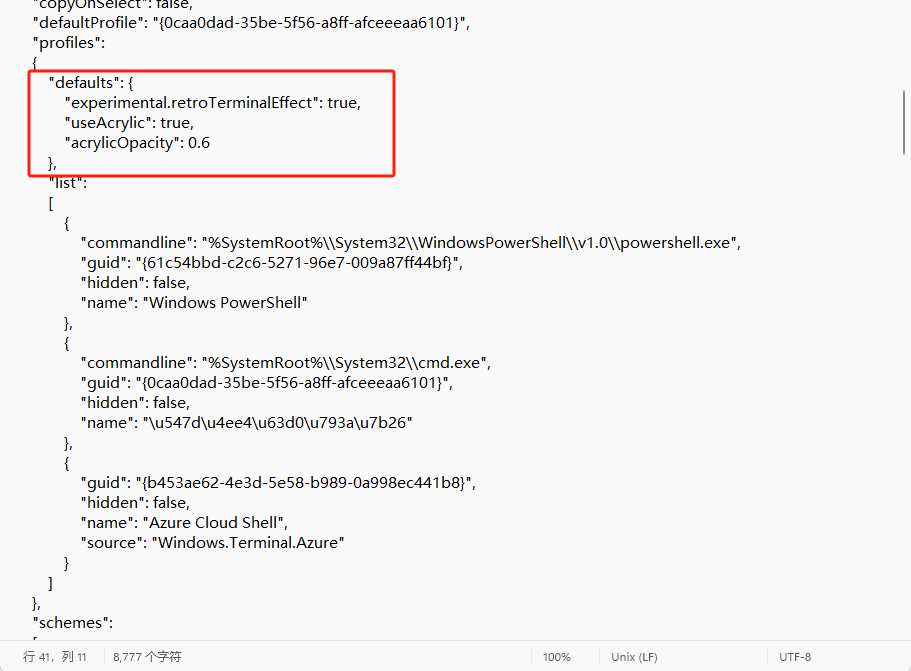
"defaults": {
    "experimental.retroTerminalEffect": true,  // 启用实验性的复古终端效果
    "useAcrylic": true,  // 启用亚克力效果(终端透明背景)
    "acrylicOpacity": 0.6  // 设置亚克力效果的不透明度为 0.6
},
0x05 检查命令行状态
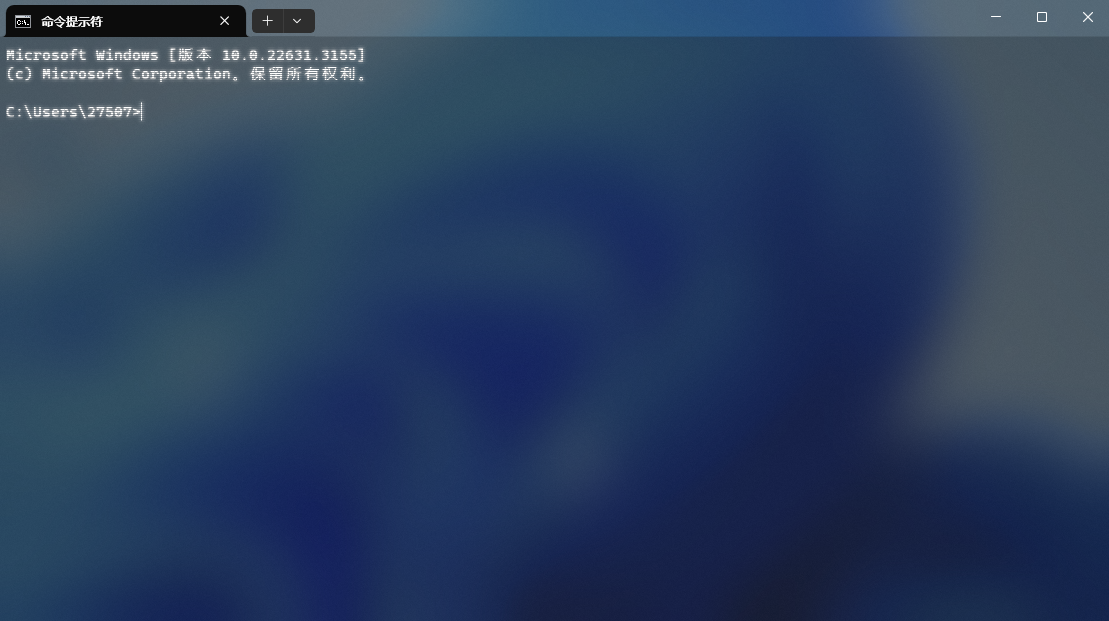
Ⅰ重新查看命令行可以看到复古风格样式设置成功。
0x06 总结
至此Windows复古风格终端样式设置完成。由于作者水平有限,文中若有错误与不足欢迎留言,便于及时更正。


 345
345

 被折叠的 条评论
为什么被折叠?
被折叠的 条评论
为什么被折叠?
 到【灌水乐园】发言


