


QT实现实时跟随鼠标绘制彩色线条
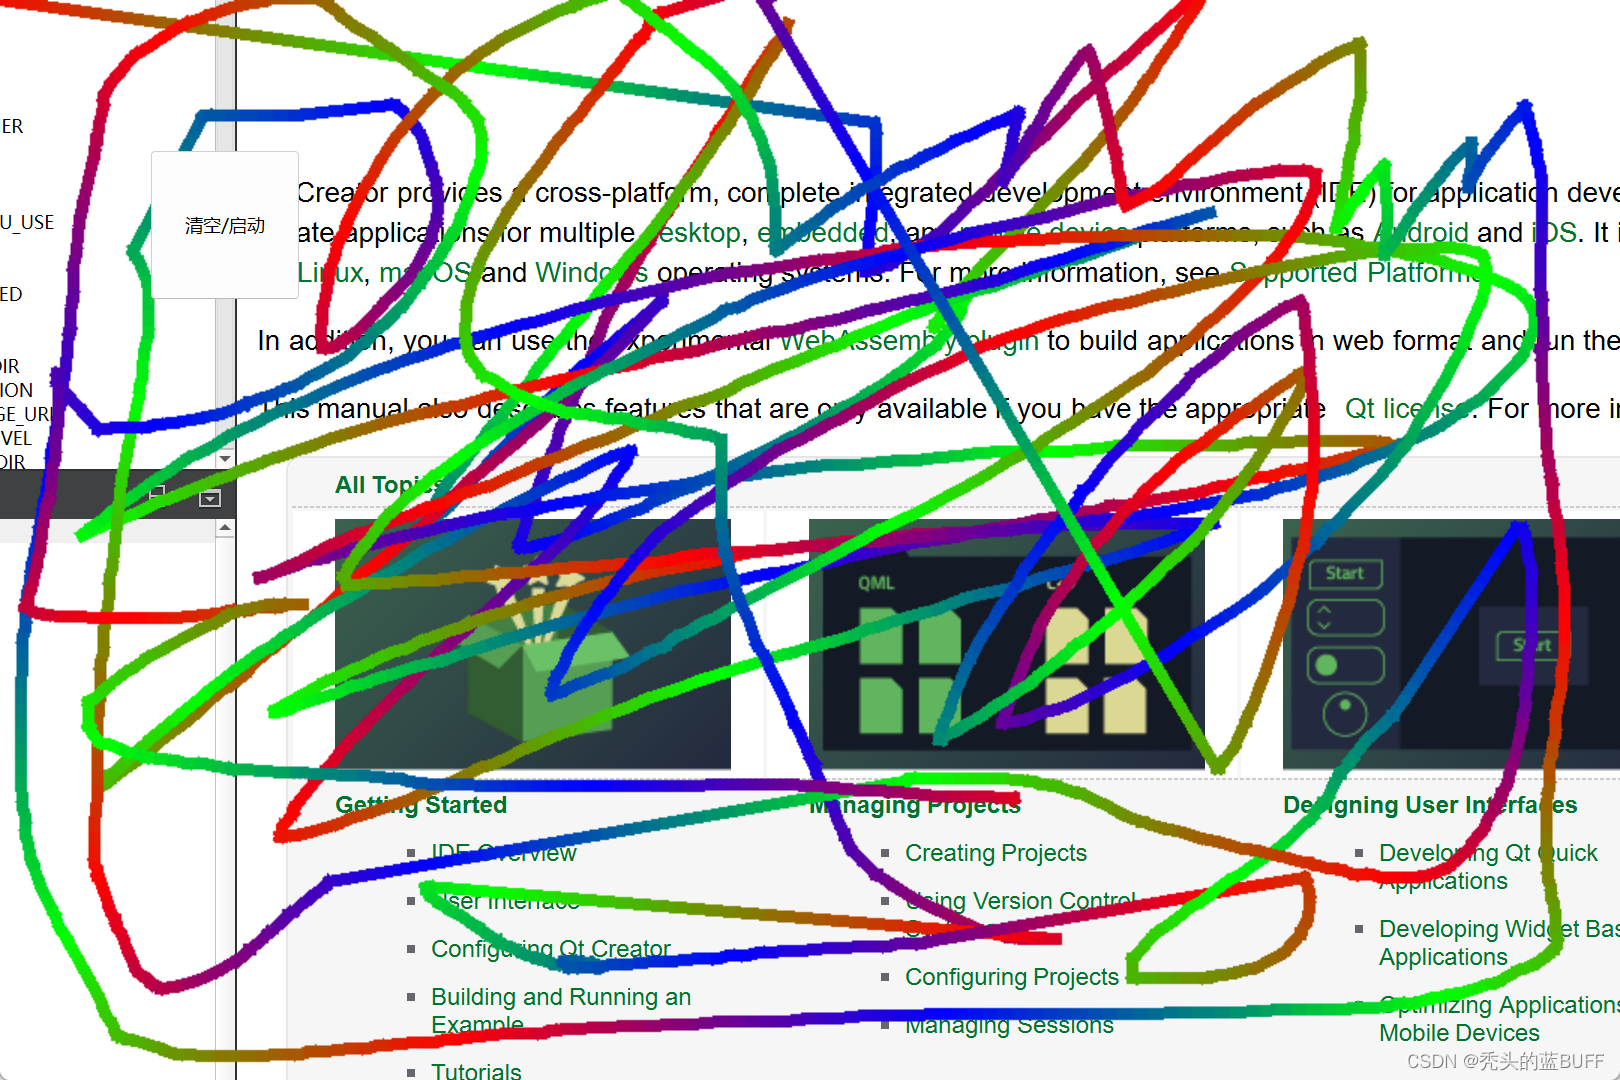
鼠标按下时执行画图,如图效果:
开发环境QT6.5 MSVC2019 windows
实现难点:只用QPainter的drawPath方法只能绘制单色的线条,绘制彩色线条参考的代码:彩色线条,并且项目的GPU、CPU分配有限,不能占用太多。
实现原理,通过继承QOpenGLWidget调用paintGL的GPU绘图,避免大量绘图占用CPU的问题,在实时计算时放入单独的线程中执行,定时刷新页面数据,同时运用双缓冲机制绘图,保证界面不会卡顿。
核心代码如下:
class MyCalculator : public QObject
{
    Q_OBJECT

public:
    MyCalculator()
    {
        annotationPath.clear();
        oldPath.clear();
        img=QImage(1,100,QImage::Format_ARGB32);
        QPainter imgp(&img);
        QLinearGradient gradient = QLinearGradient(QPointF(0,0),QPointF(0,100));
        gradient.setColorAt(0,Qt::red);
        gradient.setColorAt(0.333,Qt::green);
        gradient.setColorAt(0.666,Qt::blue);
        gradient.setColorAt(1,Qt::red);
        imgp.fillRect(img.rect(),gradient);

        pixmap = QPixmap(1080,720);
        pixmap.fill (Qt :: transparent);
        state=true;
    }

    void setPath(QPainterPath p)
    {
        QMutexLocker lock(&mutexs);
        annotationPath=p;
    };
    QPixmap getImage()
    {
        return pixmap;
    }
    void killThread()
    {
        state=false;
    }
public slots:
    void calculate()
    {
        while(state)
        {
            QThread::msleep(10);
            QMutexLocker lock(&mutexs);

            if(annotationPath.length() == 0)
            {
                QThread::msleep(10);
                continue;
            }
            // qDebug()<<"算法开始计算"<<QTime::currentTime();
            //颜色表,先绘制到img,再根据坐标取颜色值
            //根据路径长度和分片长度来取路径百分比坐标和颜色
            //注意:pointAtPercent比较耗时
            auto first=annotationPath;

            double len = first.length();
            int step = 10;

            int index=oldPath.length();
            pt1 =first.pointAtPercent(index/len);
            QPointF pt2=pt1;

            QPainter painter(&pixmap);
            QPen pen;
            pen.setColor(Qt::red);
            pen.setWidth(8);

            for(int i = index  ;i<len;i+=step)
            {
                pt1=pt2;
                int i2 = i+step;
                //根据分片长度获取两端的坐标

                pt2=first.pointAtPercent(i2<len?(i2/len):1.0);  //获取百分比的点,i2如果>len的长度说明到达了顶点

                //两点距离过长说明是到了另一段子路径上
                //那就往前找当前子路径的末尾

                while(QVector2D(pt1).distanceToPoint(QVector2D(pt2))>step+1){ //两点间距
                    i2--;
                    pt2=first.pointAtPercent(i2<len?(i2/len):1.0);
                }
                //从颜色表取对应的颜色值
                QColor color2=img.pixelColor(0,((i+step)/step+0)%100);
                pen.setColor(color2);
                painter.setPen(pen); //CPU
                painter.drawLine(pt1,pt2); //性能

                if(!list.contains(SBrushPointF(color2,pt1,pt2)))
                {
                    list<<SBrushPointF(color2,pt1,pt2);
                }
                else
                {
                    continue;
                }

                //根据两端颜色设置渐变,然后填充该分片

                //下一个子路径的端点
                if(i2!=i+step){
                    i2++;
                    pt2=first.pointAtPercent(i2<len?(i2/len):1.0);
                }
            }
            qDebug()<<"绘制结束"<<QTime::currentTime()<<first.length()<<list.size();
            oldPath=annotationPath;
            annotationPath.clear();

            emit finished(pixmap);
        }
    }
signals:
    void finished(QPixmap);
    void endExit();
public:
    QPainterPath annotationPath; //标注路径
    QPainterPath oldPath;
    QList<SBrushPointF> list;
    QMutex mutexs;
    QImage img;
    QPointF pt1;
    QPixmap  pixmap;
    std::atomic_bool state;
};
    thread = new QThread();
    // 创建计算对象
    calculator = new MyCalculator();
    // 将计算对象移动到子线程中
    calculator->moveToThread(thread);
    // 连接信号和槽
    connect(thread, &QThread::started, calculator, &MyCalculator::calculate);
    connect(calculator, &MyCalculator::finished, this, &MainWindow::onCalculateFinish,Qt::QueuedConnection);
    // 启动子线程
    thread->start();
void MainWindow::paintGL()
{
    glClear(GL_COLOR_BUFFER_BIT | GL_DEPTH_BUFFER_BIT);
    glClearColor(0, 0, 0, 0);

    QPainter painter(this);
    painter.setRenderHint(QPainter::SmoothPixmapTransform, true);
    painter.drawPixmap(0,0,pixmap);
}

完整代码见链接:[下载链接](https://download.csdn.net/download/m0_52215787/88561856)


 6618
6618


 被折叠的 条评论
为什么被折叠?
被折叠的 条评论
为什么被折叠?
 到【灌水乐园】发言


